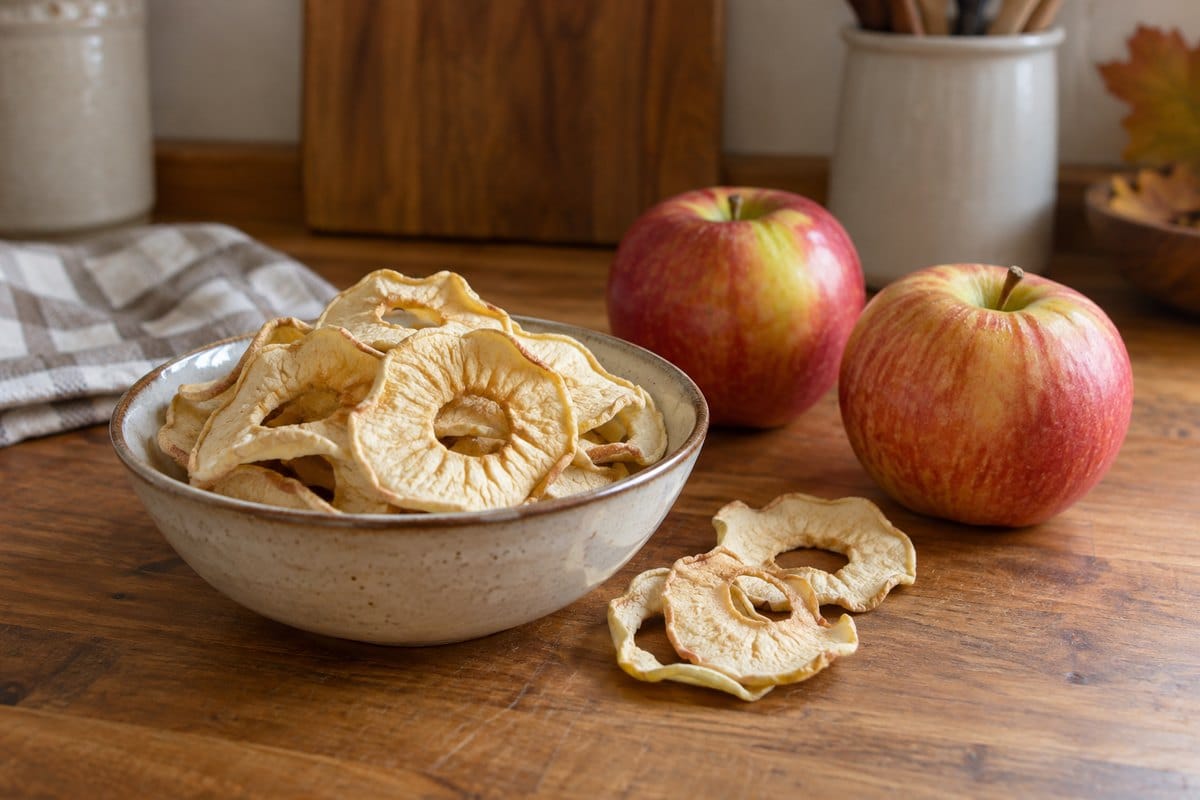
Dehydrating Apples: Slices, Dryness Checks, and Storage
A bowl of apples can take over the kitchen counter surprisingly quickly. Slice a few for the dehydrator, and the room fills with that warm, sweet apple smell while the rest of the day carries on around it.
Dehydrating apples is a useful small-batch project, but the timer is only part of the job. Even slices, a dryness check after cooling, and a short conditioning period help you judge when the fruit is ready for the pantry.
Table of Contents
Dehydrating Apples: The Quick Answer
- Prepare: Core the apples and cut even slices or rings about ¼ inch thick.
- Pretreat: Soak in equal parts bottled lemon juice and cold water for 10 minutes, then drain.
- Dry: Use a dehydrator at 140°F (60°C), keeping the pieces in one layer.
- Check: Allow roughly 6–12 hours, but judge cooled pieces rather than the clock. They should have no moist center.
- Condition: Loosely fill jars with cooled, dried fruit, seal, and check daily for 7–10 days before final packing.
The steps below follow university Extension guidance for preparation and drying, followed by the National Center for Home Food Preservation’s conditioning method. Drying time varies with the apples, slice thickness, humidity, and your equipment.
Start With Firm, Sound Apples
Choose fully ripe apples that are still firm. Drying concentrates what is already in the fruit; it is not a way to rescue moldy or decaying apples. A tart apple is a good starting point if you want a snack with some sharpness left after drying. Utah State Extension’s apple preservation guide recommends firm-textured, tart apples for this method.
For a first batch, keep different varieties on separate trays. That gives you a simple way to compare the finished flavor without having to remember which pale ring came from which apple.
Set out your apples, a clean cutting board, a knife and corer, a bowl for pretreatment, and drying trays. Have clean, dry jars ready for the later conditioning step. If you are weighing up drying against freezing or canning the rest of the harvest, our guide to methods of preserving food at home explains where each fits.
Prepare Even Apple Slices or Rings
Wash the apples under running water, then remove the cores. Peel if you prefer a more uniform texture; leaving the skin on is also an option. Peeled pieces generally dry faster. Cut into rings or wedges about ¼ inch thick, keeping the thickness as consistent as you can. These preparation details follow the UC Master Food Preserver apple guide.
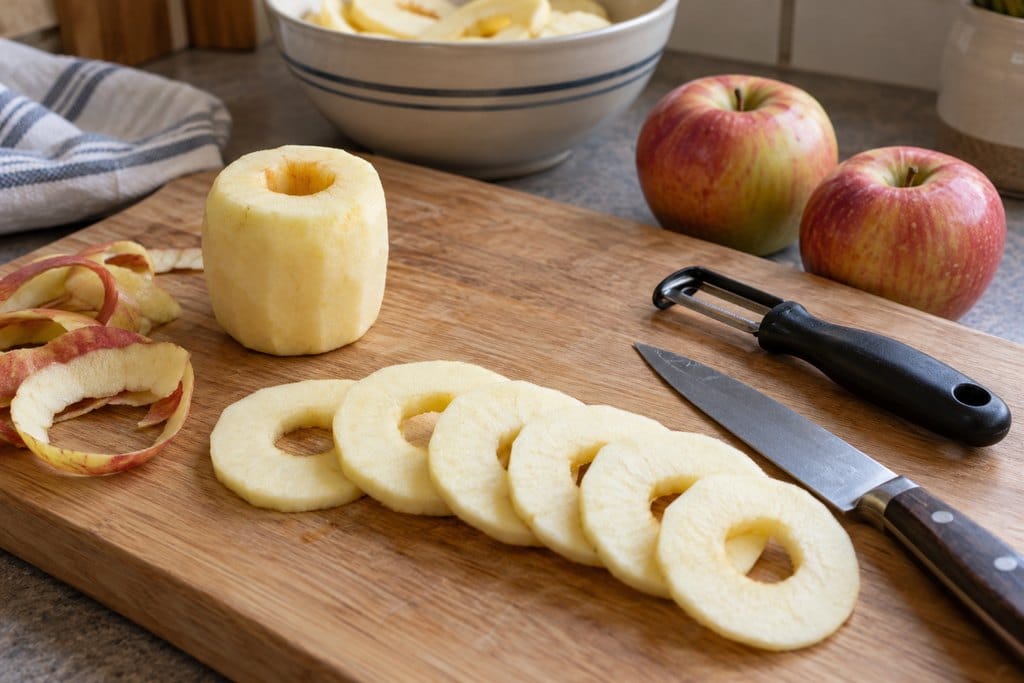
Rings are easy to pick up for snacks, while wedges may suit the knife and corer you already own. Pick one shape for the first batch. A tray of roughly matching pieces is easier to check than a mixture of thin edges and thick chunks.
Use a Measured Lemon-Water Pretreatment
Mix 1 cup bottled lemon juice with 1 cup cold water. Submerge the slices for 10 minutes, then drain well. Make a fresh solution for each batch; do not keep topping up a bowl of used soaking liquid. The bottled-juice mixture and fresh-batch advice come from University of Minnesota Extension’s drying guidance.
Acid pretreatment helps limit browning and supports the reduction of harmful bacteria during drying, as explained in Colorado State Extension’s fruit-drying guidance. It does not sterilize the apples or replace thorough drying. Measure the mixture rather than adding an unmeasured splash of juice to a large bowl of water.
Dry the Apples in a Dehydrator
A dehydrator with temperature control and a fan makes it easier to maintain gentle heat and moving air. Colorado State Extension’s equipment overview explains why those features matter. Check your appliance’s instructions for loading, tray rotation, and safe operation before you begin.
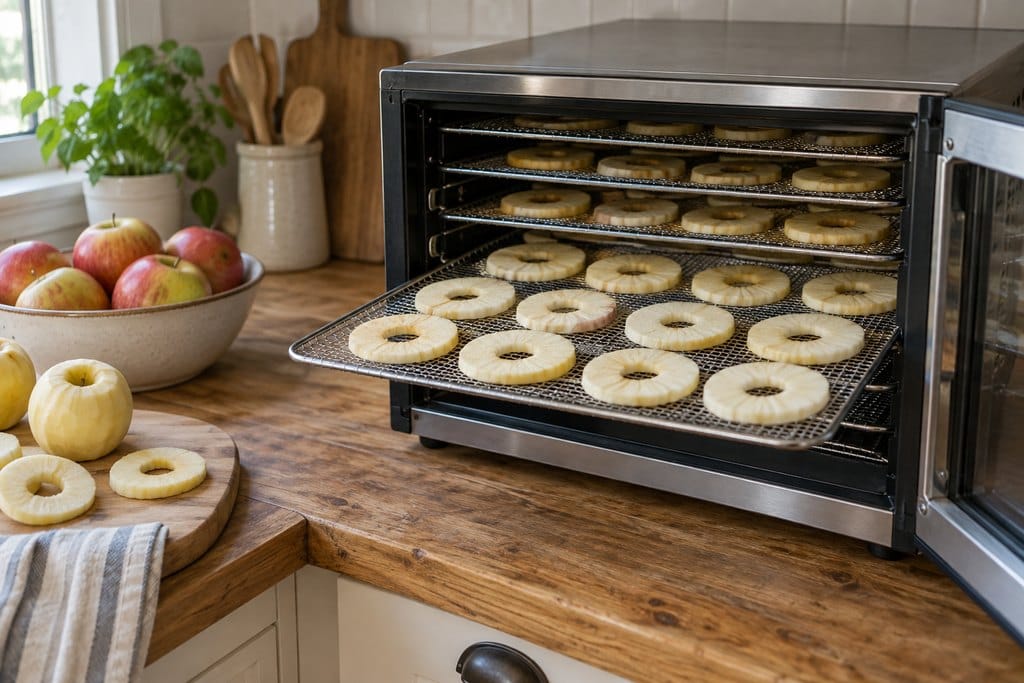
- Set the dehydrator to 140°F (60°C). This is within the range in Colorado State’s equipment guidance above.
- Spread out the drained slices. Keep them in a single layer without touching or overlapping. Close the appliance as directed after loading.
- Leave the air paths clear. Use the recommended trays and liners, and rotate trays if your appliance instructions call for it.
- Begin checking toward the early end of the time range. Remove a few representative pieces, including thicker ones, and let them cool before testing.
- Remove finished pieces as needed. Continue drying any that still have a moist center.
Penn State Extension gives approximately 6–12 hours for apple slices. Treat that as a planning window, not a promise that every tray is ready at six hours or must be finished at twelve.
Keep a short note of the variety, thickness, and actual drying time. On the next batch, that note will be more useful than trying to remember whether the rings were a little thicker last time. If tomatoes are also waiting on the counter, our guide to drying tomatoes covers that crop separately; do not use an apple’s finished texture as the test for every food.
Can You Dehydrate Apples in the Oven?
Yes, if your oven can maintain the low temperature required for drying and its manufacturer permits the necessary setup. Use an oven thermometer near the food to check a setting around 140°F. Follow the manufacturer’s ventilation instructions; do not assume propping the door open is suitable for every appliance.
Minnesota Extension cautions that excessive heat can harden the outside before moisture escapes from the center. If your oven cannot hold a suitably low temperature, use a dehydrator instead of compensating with a hotter, shorter bake. Oven drying can also take two to three times as long as dehydrator drying, according to South Dakota State Extension.
Check Cooled Pieces, Not Just Warm Trays
Let your test pieces cool before judging them. Cut a slice across its thickest section and check for visible moisture. Squeezing should not bring moisture to the surface, and the fruit should not feel sticky. A leathery, flexible slice can be dry enough; when folded, it should not stick to itself. These are the UC guide’s dryness checks.
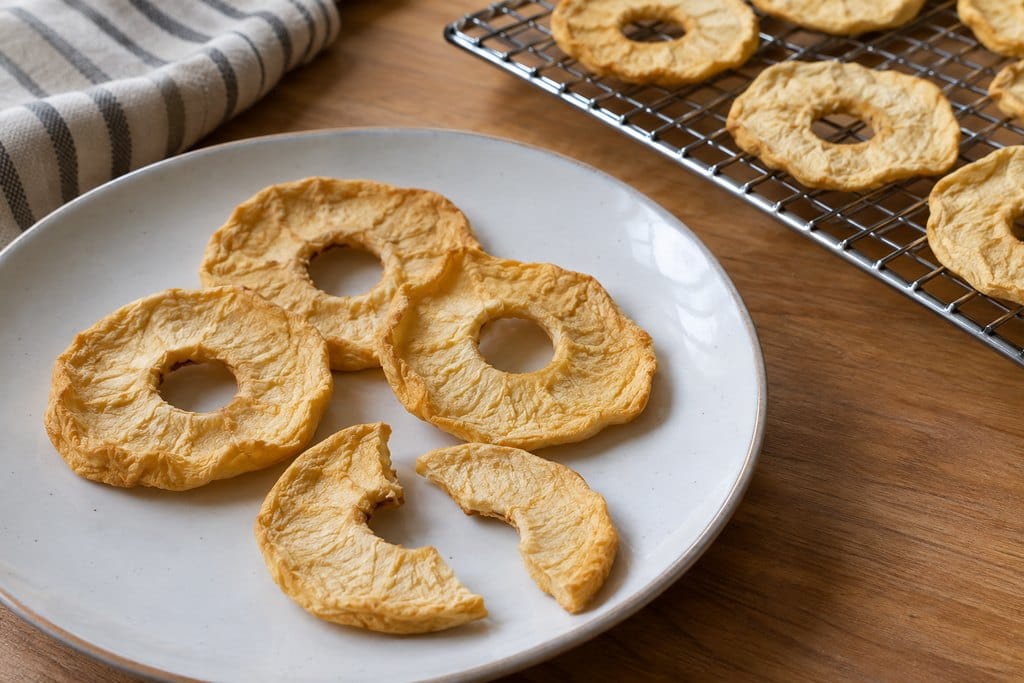
Chewy dried apples and crisp apple chips are not the same target. Thinly sliced apples can become crisp, while dried fruit may remain pliable. Penn State Extension’s dried-apple guidance discusses both textures. Do not keep drying every ring solely because it bends, and do not call a batch ready solely because its edges feel crisp.
Check pieces from more than one tray. If one sample still looks moist inside, give the unfinished pieces more drying time and test again after cooling. Photographs can show the general appearance, but they cannot tell you how much moisture remains in your own batch.
Condition the Dried Apples Before Storage
Conditioning gives residual moisture a chance to even out between already-dried pieces. It is a checking step, not a way to finish drying wet fruit.
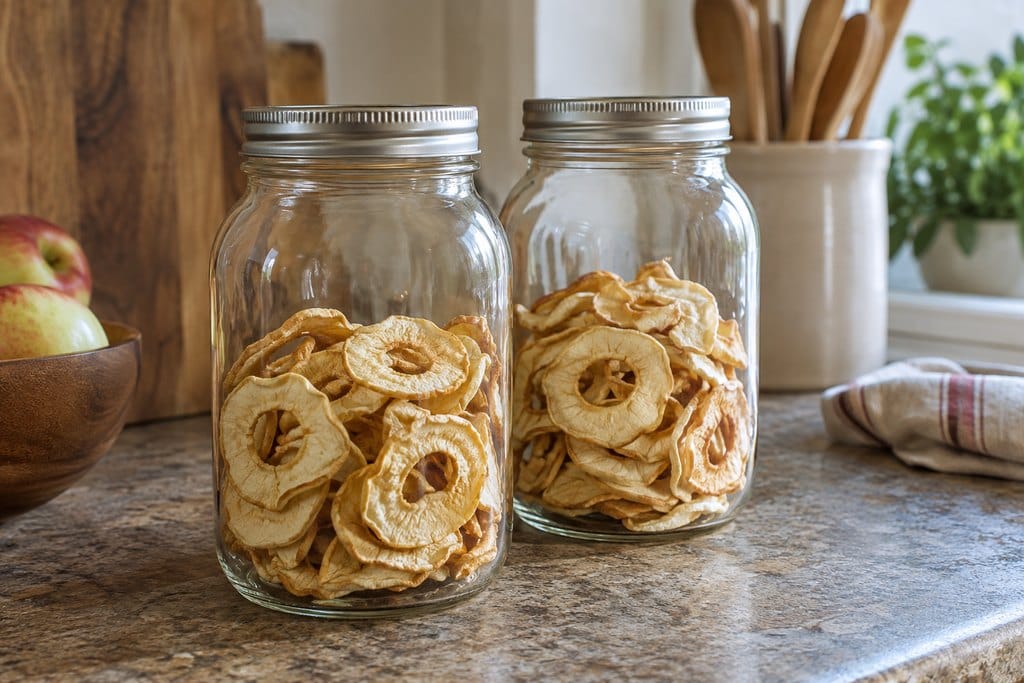
Follow the National Center for Home Food Preservation’s conditioning instructions:
- Cool the dried apples completely.
- Loosely pack them into clean, dry glass or plastic jars and seal.
- Keep them for 7–10 days, shaking the jars daily to separate the pieces.
- Inspect for condensation each day. If moisture appears, return the fruit to the dehydrator, cool it, and repeat conditioning. Discard moldy food.
Leave enough space to move the pieces when you shake the jar. Put a dated reminder beside the jars so this step stays part of the project rather than becoming a row of forgotten containers at the back of the counter.
Pack for Cool, Dry Storage
After conditioning, pack the apples into clean, dry, tightly closed containers in portions you will use. The NCHFP storage guide includes vacuum packaging as an option and recommends smaller packages to limit repeated exposure to air and moisture.
If you already seal other harvest foods, our vacuum sealer guide can help with equipment choices. Finish drying and conditioning first; a tight package is not a substitute for those steps.
Label the variety and packing date, then choose a cool, dry, dark storage spot. South Dakota State Extension gives a broad storage range of 4–12 months and notes the importance of cool conditions. That range is not a guarantee for a particular batch. Check stored food regularly and discard anything moldy rather than trying to trim away the affected pieces.
Common Questions About Dehydrating Apples
Do You Have to Peel Apples Before Drying?
No. Peeling is optional, though peeled slices tend to dry faster. Try a small tray each way if you are unsure which texture you prefer, and keep the batches separate while checking them.
Does Lemon Water Keep Every Slice White?
Not necessarily. Pretreatment helps reduce browning; it does not promise identical color across varieties and batches. Use the measured mixture, then rely on the cooled-piece checks rather than color alone to judge dryness.
What If the Apples Are Still Sticky?
For the plain apple method here, sticky pieces or a visibly moist center need more drying. Check again after cooling. Do not put an unfinished batch into conditioning jars and hope the waiting period will dry it out.
How Can You Use Dried Apple Slices?
Eat them as a snack, cut them into small pieces for a trail mix, or use them in a recipe written for dried fruit. Keep one small container for everyday use and leave the rest closed until needed.
Keep the First Batch Simple
One variety, one slice thickness, and a short note beside the dehydrator are enough to get started. Give the cooling and conditioning steps the same attention as the slicing, and you will have a much clearer idea of what belongs in the pantry.