How to Sterilize Jars for Canning: What You Actually Need to Do
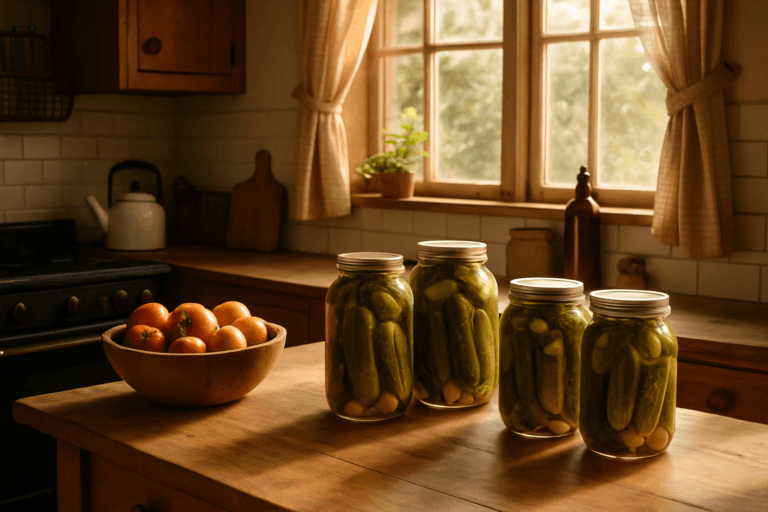
You have probably already pulled your jars out of the cabinet. Maybe you have your cucumbers sliced, your brine cooling on the stove, and now you are staring at a pot of water wondering how long to boil everything before you can get started. The short answer might surprise you: for most recipes, you do not need to pre-sterilize your jars at all.
That is not a shortcut or a corner being cut. It is the official guidance from the people who set the standards for home food preservation. Once you understand the logic behind it, the whole sterilization question gets a lot simpler — and you spend less time boiling empty jars and more time actually canning.
This guide walks through when sterilization is required and when it is not, how to do it correctly when you do need it, what the altitude where you live changes about the process, and why the oven is not a substitute for boiling water. By the end, you will know exactly which steps belong in your routine and which ones you can drop on how to sterilize jars for canning.
Table of Contents
Quick Picks: What You Actually Need to Do
- If your recipe has a boiling-water or pressure-canner processing time of 10 minutes or more, you do not need to pre-sterilize jars. Wash them in hot soapy water, rinse well, and keep them hot until filling.
- If your recipe processes for under 10 minutes (uncommon for beginners), sterilize jars by boiling right-side-up on a rack for 10 minutes at sea level.
- Do not boil your lids. Warm them in hot (not boiling) water around 180°F or wash in hot soapy water and keep warm.
- Do not sterilize jars in the oven. The NCHFP recommends against it, and dry heat does not work the same way as boiling water.
- New mason jars from the box are not sterile. Wash them before first use regardless.
- If you live above 1,000 feet elevation, add extra boiling time when sterilization is required (see table below).
When You Do Not Need to Sterilize Jars at All
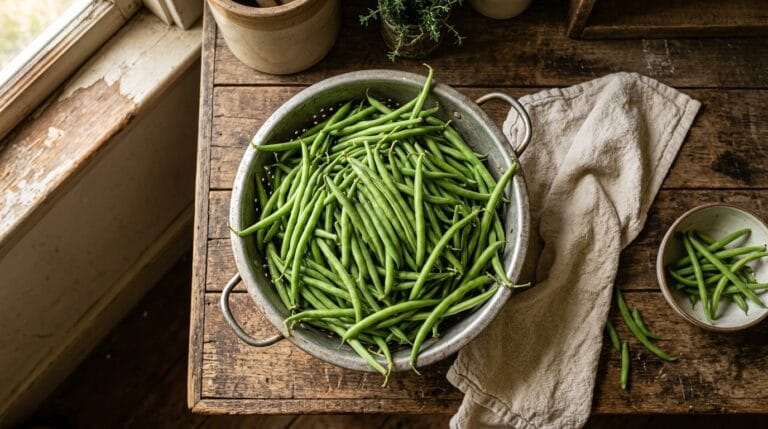
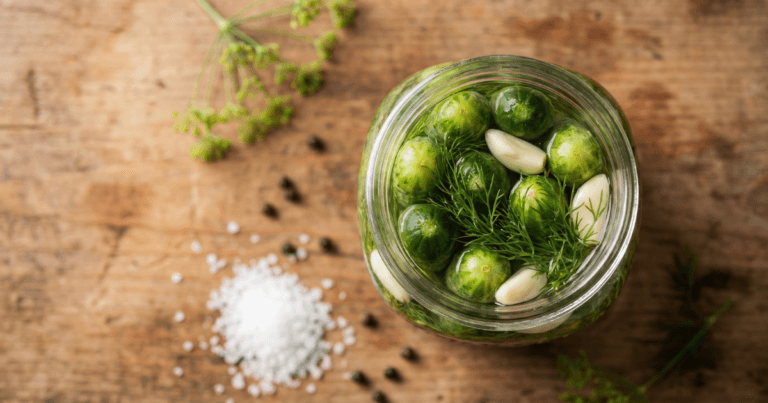
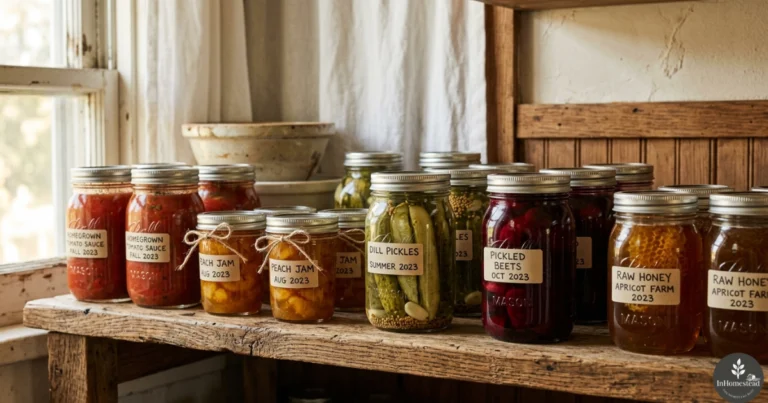
The rule here comes from the National Center for Home Food Preservation (NCHFP), which states that jars processed for 10 minutes or more in a boiling-water canner do not require pre-sterilization — the processing step renders them commercially sterile. That covers the overwhelming majority of beginner recipes: pickles, jams, tomato sauces, salsas, and most fruits. If the recipe tells you to process for 10 or more minutes in a water bath canner or a pressure canner, the boiling time inside the canner is doing the sterilization work for you.
Pre-sterilization is only required when a tested recipe calls for a processing time under 10 minutes. That situation is genuinely rare for home canners. You are most likely to encounter it with some high-sugar jams where very short processing times appear, but even then many tested recipes stay at or above the 10-minute mark.
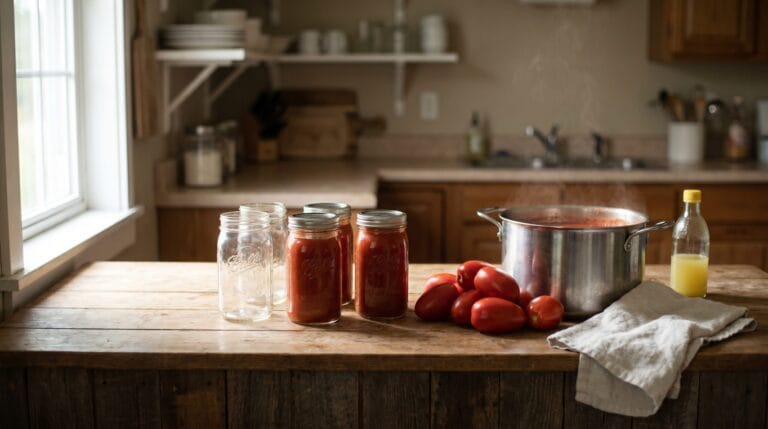
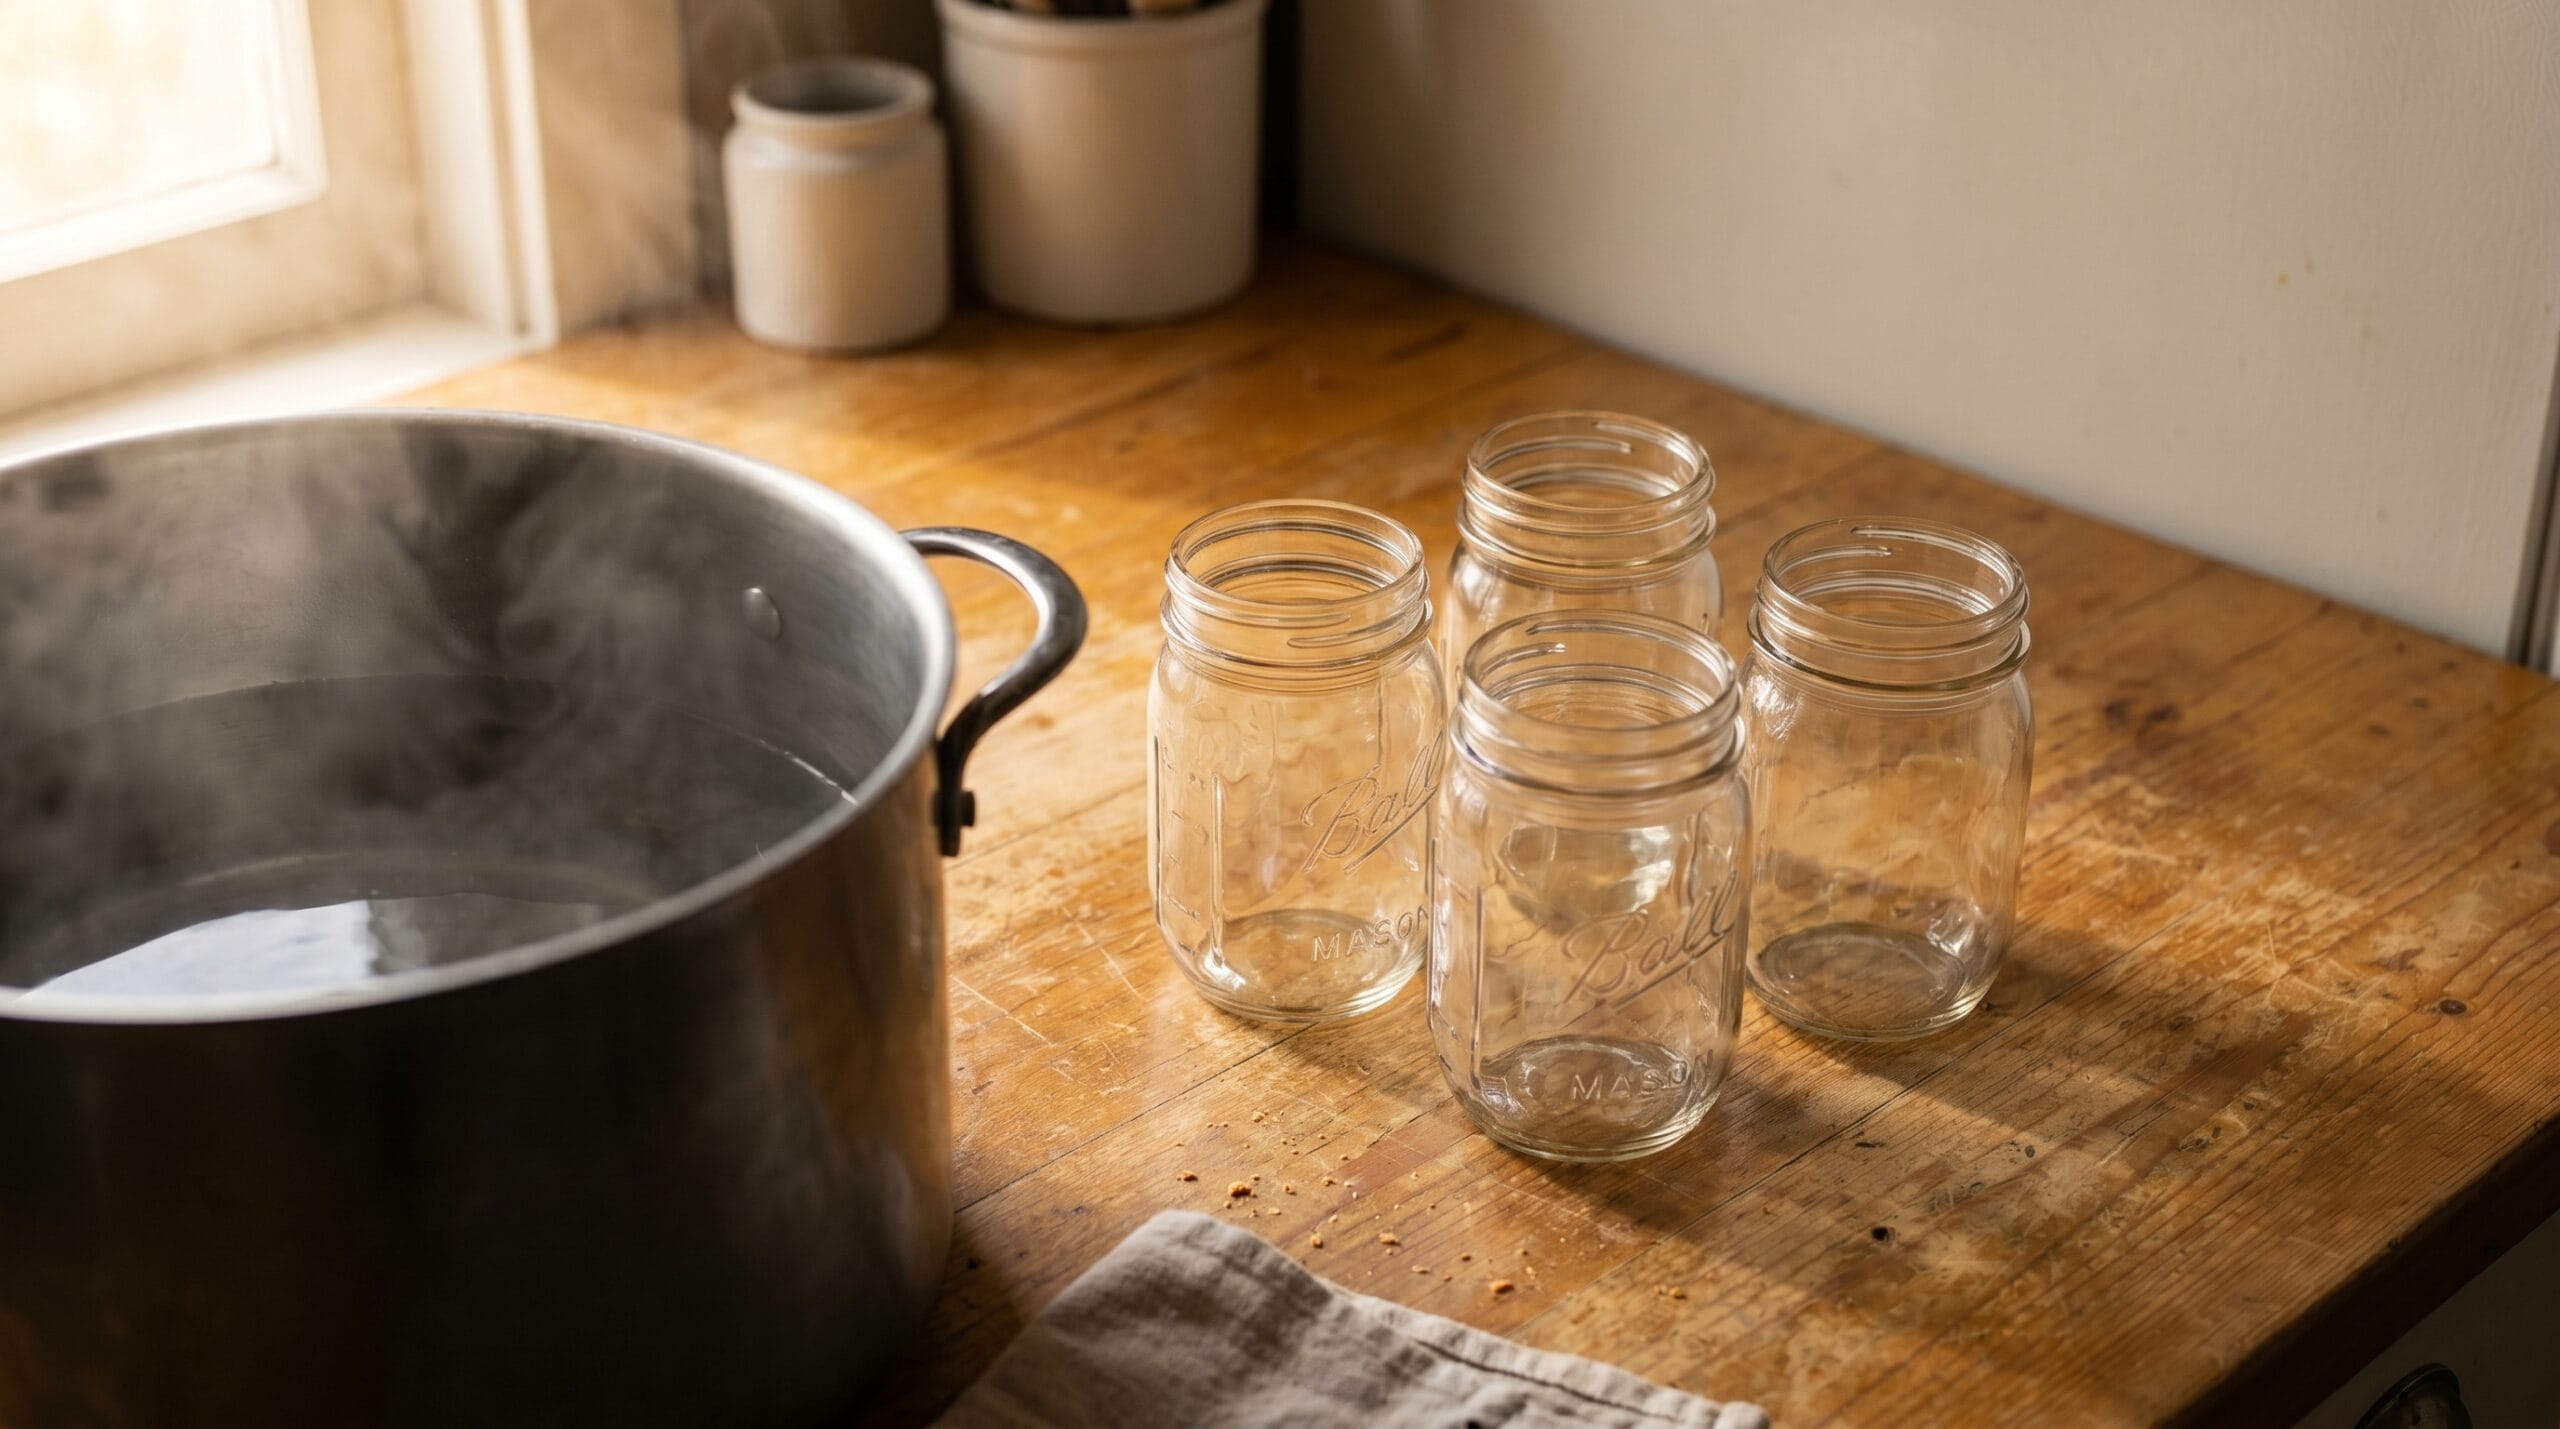
What is still required every single time, regardless of processing time: washing jars in hot soapy water and rinsing them well. Clean is not the same as sterile, but starting with clean jars is non-negotiable. Residue, dust from a cabinet shelf, or invisible film from the last batch can interfere with sealing or introduce spoilage organisms that the processing step is not designed to overcome.
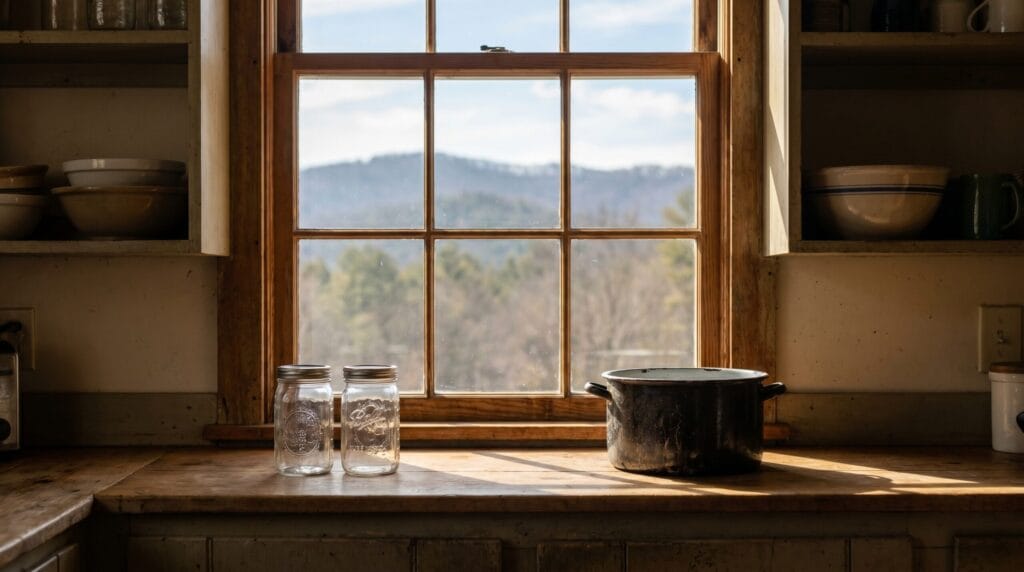
Keep washed jars hot until you fill them. You can do this by leaving them in a pot of hot water on a back burner or running them through the dishwasher on a heated dry cycle and cracking the door. Cold jars meeting hot contents are more likely to crack, and a cracked jar in the middle of filling is a frustrating way to waste an afternoon’s work.
How to Sterilize Canning Jars in a Boiling-Water Bath
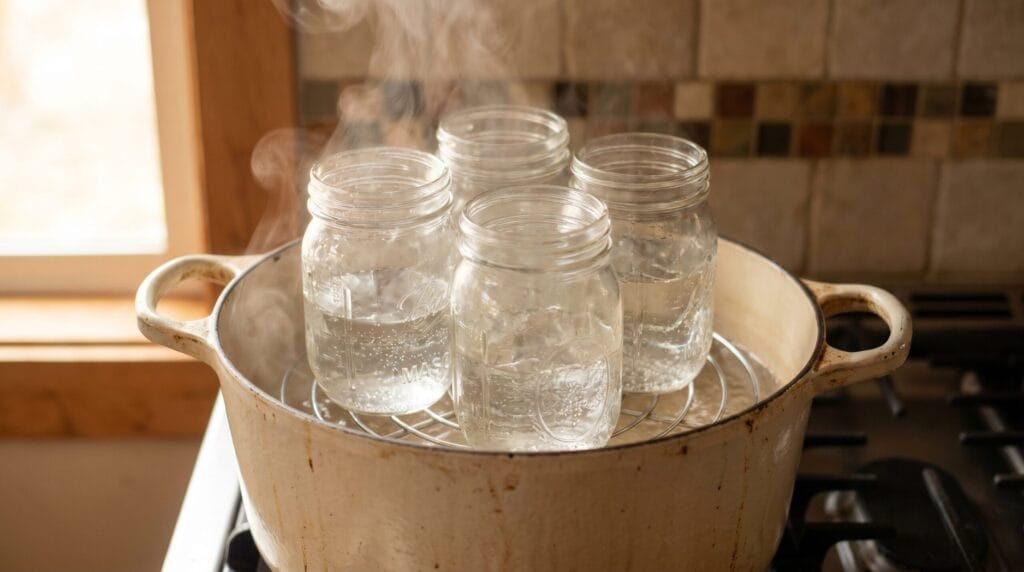
When your recipe does call for pre-sterilization — or you simply want the extra certainty — the boiling-water method is the validated approach. Here is how to do it correctly.
- Wash jars thoroughly in hot soapy water and rinse well. Never skip this step even if the jars look clean.
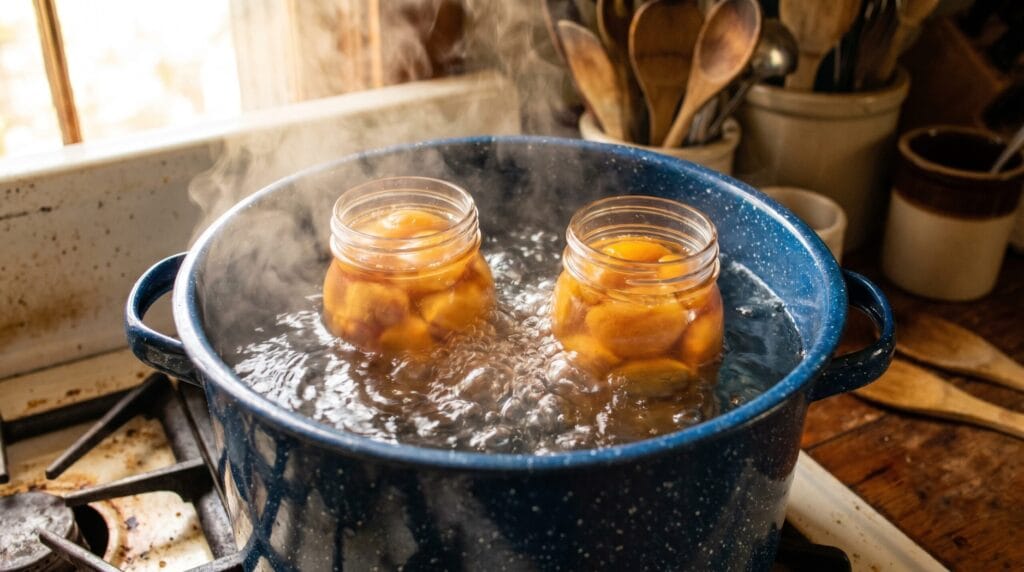
- Place a rack in the bottom of your water bath canner or a large stockpot. The rack keeps jars off direct heat and lets water circulate underneath.
- Set jars right-side-up on the rack. Inverted jars trap air and do not sterilize evenly.
- Cover jars with at least 1 inch of water above the rims.
- Bring the water to a full boil and boil for 10 minutes at sea level (see the altitude table below if you live above 1,000 feet).
- Keep jars in the hot water until you are ready to fill them. Do not set them on a cold counter to wait — that thermal shock can crack jars, and they will cool faster than you want.
- Use a jar lifter to remove one jar at a time. Tip it briefly to drain the water, then fill immediately.
One detail that trips up beginners: the 10-minute boil time is for sterilization of empty jars before filling. It is separate from, and in addition to, the processing time your recipe specifies after the jars are filled and sealed. Do not confuse the two.
New in the In Homestead Shop
Want this on your counter on canning day?
The Canning Jar Sterilizing Quick Kit turns this guide into a printable — the “do I need to sterilize?” flowchart, the boiling-water method, an altitude timing chart, a canning-day checklist, jar labels, and a batch log — all sourced from the USDA and the National Center for Home Food Preservation.
What Actually Goes Wrong When You Skip Sterilization (And What Does Not)
This is where a lot of beginner guides leave you with a vague sense of dread without actually explaining the risk. So here is what the evidence says.
For Recipes Processed 10 or More Minutes
Skipping pre-sterilization on a recipe that processes for 10 or more minutes in a boiling-water canner does not meaningfully raise your botulism risk. The processing step — sustained boiling inside a sealed canner — is what does the safety work. Botulism risk in low-acid foods is addressed by pressure canning, which reaches temperatures high enough to destroy Clostridium botulinum spores, not by jar sterilization alone. The NCHFP is explicit on this point, which is why its guidance permits skipping pre-sterilization for processed recipes.
For Short-Process or No-Process Recipes
The real risk comes when you skip sterilization on recipes that do not get a 10-minute processing time. Refrigerator pickles stored at room temperature, very short-process jams, or anything canned without a tested processing time — these are where inadequately cleaned or unsterilized jars create genuine problems. Mold and yeast spoilage are more likely failure modes than botulism in these situations, but spoiled food is spoiled food regardless of which organism caused it.
What This Does Not Mean
None of this means pre-sterilizing jars is pointless. It means context matters. For the beginner making making pickles at home with a standard tested recipe that calls for 10-plus minutes of processing, the sterilization step is not where the safety margin lives. For someone deviating from a tested recipe or doing short-process work, sterilization is part of the safety picture. Know which situation you are in before you decide what to skip.
How Altitude Changes Your Sterilization Time
Water boils at a lower temperature as elevation increases. At sea level, water boils at 212°F. At 5,000 feet, it boils closer to 202°F. That temperature difference matters because sterilization depends on heat, not just the presence of boiling water. If you are at elevation and using sea-level boiling times, you are under-sterilizing without knowing it.
Most of the eastern United States sits below 1,000 feet, so this adjustment is not something those canners need to think about. In the Mountain West — Colorado, Utah, Wyoming, Idaho, New Mexico, and parts of Arizona — it is genuinely relevant. The USDA specifies adding 1 minute of boiling time per 1,000 feet of elevation above sea level when sterilizing jars.
| Altitude (feet) | Boiling time for sterilization |
|---|---|
| Sea level to 1,000 ft | 10 minutes |
| 1,001 to 3,000 ft | 11 minutes |
| 3,001 to 6,000 ft | 12 minutes |
| 6,001 to 8,000 ft | 13 minutes |
| 8,001 to 10,000 ft | 14 minutes |
If you are not sure of your elevation, your zip code plus “elevation in feet” in any search engine will give you a reliable number in a few seconds. It is a one-time lookup that applies to all your canning going forward.
What to Know About Lids and Bands
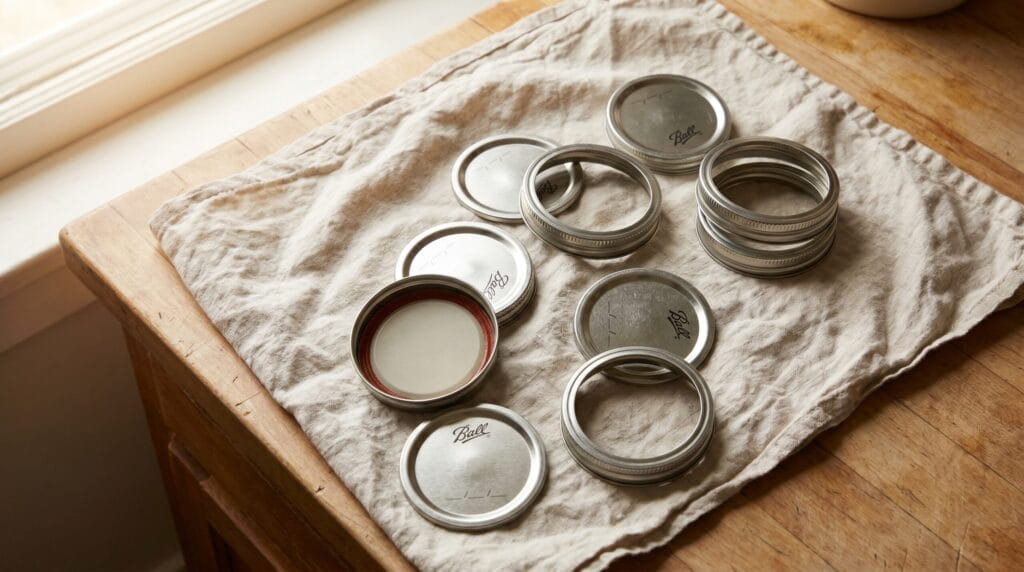
Lids and bands are not jars, and they should not be treated the same way during preparation.
Lids: Do Not Boil Them
The current guidance from the NCHFP advises against boiling canning lids, noting that boiling can damage the sealing compound on the underside of the lid. That compound is what creates the vacuum seal when the jar cools. Damage it, and you risk a jar that appears sealed but is not.
The right approach: wash new lids in hot soapy water before use, then keep them warm in hot water that is around 180°F — warm enough to soften the sealing compound slightly, not boiling. You can do this in a small saucepan on the lowest heat setting, or simply let them sit in very hot tap water while you finish filling your jars.
Screw Bands (Rings): Wash and Dry Is Enough
The band — the screw ring that holds the lid in place during processing — does not require sterilization. Wash it in hot soapy water, dry it, and make sure it is not rusted or bent. A warped band will not apply even pressure during processing and can prevent a good seal. Bands can be reused from one canning season to the next as long as they are undamaged. Lids are single-use: always start each canning session with new lids.
Washing New Jars Before First Use
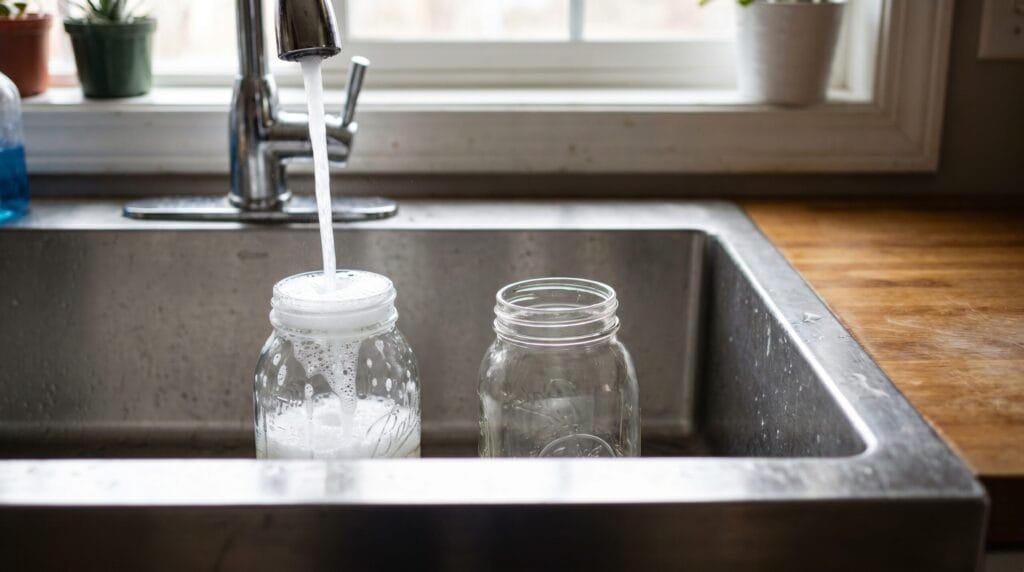
New mason jars from the box are not sterile. They have been manufactured, packaged, handled in a warehouse, stacked on a store shelf, and carried home in a bag. Whatever got on them along the way is still there.
Before using any jar for the first time, wash it in hot soapy water or run it through the dishwasher. This applies even if the jars look clean inside the box. If your dishwasher has a sanitize cycle, running jars through that cycle qualifies as pre-sterilization for most purposes — the water temperature in a sanitize cycle typically reaches or exceeds the 180°F threshold. Keep those jars in the closed dishwasher until you are ready to fill them so they stay hot.
While you are washing, inspect every jar along the rim. Run a clean finger around the lip and look closely for chips, cracks, or nicks. Even a small chip on the rim can prevent the lid from creating a proper seal. A jar with a chipped rim is not worth the risk — set it aside for refrigerator storage and use a new one for canning. If you are canning pickles for the first time, it is worth inspecting every single jar before you start rather than discovering a problem midway through filling.
What the Oven Cannot Do (And Why You Should Skip It)
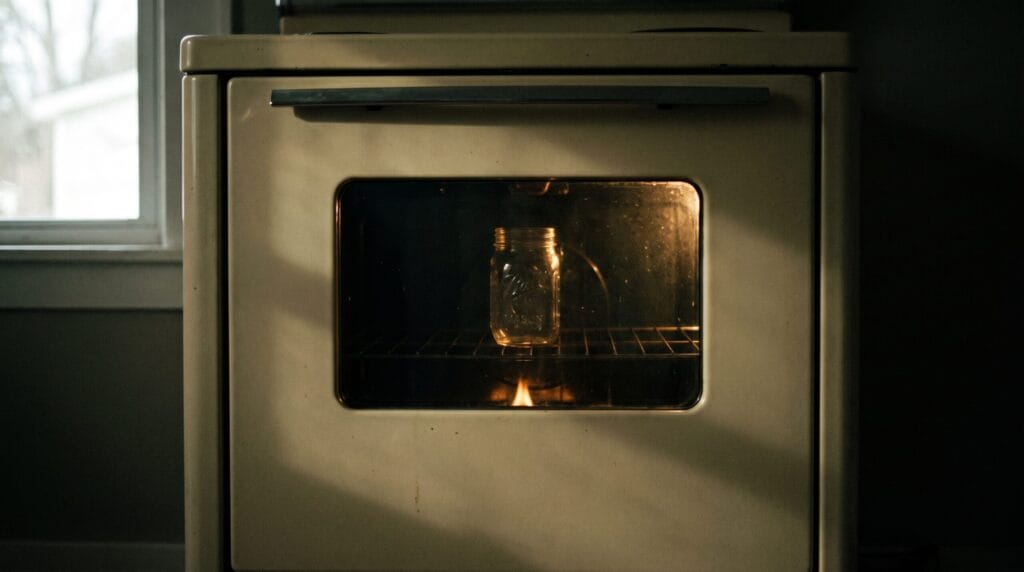
Oven sterilization comes up often in online homesteading communities, usually framed as a time-saver. The NCHFP recommends against it, and there are good reasons to pay attention to that recommendation.
Dry Heat Is Not the Same as Wet Heat
Sterilization in boiling water works because water is an efficient heat-transfer medium. It surrounds every surface of the jar and delivers consistent, measurable heat. Dry heat in an oven does not transfer the same way. The inside walls of a jar in a dry oven can lag significantly behind the oven air temperature, meaning the jar may never actually reach effective sterilization temperature even when the oven reads 250°F.
The Cracking Risk Is Real
Glass jars heated in a dry oven and then filled with hot contents are at risk of thermal shock cracking. The outside of the jar heats unevenly compared to the inside, and when hot liquid meets a glass surface that has different internal stress patterns, cracks happen. You may not see a hairline crack until the jar fails during processing or storage.
A Note on “I’ve Always Done It This Way”
People who oven-sterilize jars and have never had a problem are not evidence that the method is safe. They are evidence that they have been lucky, or that their recipes were forgiving enough to compensate for the shortcut. Survivorship bias is a poor foundation for food safety decisions. The boiling-water method is validated, consistent, and not meaningfully harder than the oven version.
From the In Homestead Shop
Want every water-bath recipe in one place?
The Beginner’s Canning eBook gathers 12 tested recipes — jar prep and safe sealing included — with every processing time pulled straight from the USDA and the National Center for Home Food Preservation, plus a printable safety card for the kitchen wall.
Frequently Asked Questions About Sterilizing Canning Jars
How Long Do I Boil Mason Jars to Sterilize Them?
10 minutes at sea level, right-side-up on a rack with at least 1 inch of water over the rims. If you live above 1,000 feet, add 1 minute for each additional 1,000 feet of elevation. So at 5,000 feet, you would boil for 15 minutes.
What Happens If You Do Not Sterilize Your Canning Jars?
For recipes processed 10 or more minutes in a boiling-water or pressure canner, probably nothing — the processing step handles sterilization. For short-process or no-process recipes, skipping sterilization raises the risk of mold, yeast growth, and spoilage. The rule is: know your recipe’s processing time before deciding whether pre-sterilization matters.
Can You Sterilize Jars in the Oven?
The NCHFP recommends against it. Dry heat transfers unevenly, temperatures inside jars are hard to verify, and glass is more likely to crack when hot jars meet cooler contents. Boiling water is the validated method — it is not significantly harder and the results are consistent.
Do You Sterilize Jars and Lids Together?
No. Jars are sterilized right-side-up in boiling water. Lids should not be boiled — the boiling water damages the sealing compound. Keep lids warm in hot (not boiling) water around 180°F, or wash them in hot soapy water and keep them warm until needed. Screw bands require only washing and drying.
Do You Need to Sterilize Jars Every Time You Can?
Only if your recipe specifies a processing time under 10 minutes. Most tested beginner recipes — pickles, jams, tomato products, salsa — process for 10 minutes or more, which means pre-sterilization is not required. Washing in hot soapy water and keeping jars hot is always required.
How Do You Sterilize Canning Jars Without Boiling Them?
A dishwasher with a sanitize cycle reaches temperatures sufficient for sterilization and is the most practical alternative to the boiling-water method. Keep jars in the closed dishwasher until you are ready to fill them. Outside of that, there is no validated dry-heat method that the NCHFP or USDA endorses for home canning.
Start With the Recipe, Not the Pot
If you started reading this with your cucumbers already sliced and your brine on the stove, here is the practical answer: look at your recipe’s processing time. If it is 10 minutes or more — and it almost certainly is — wash your jars in hot soapy water, keep them hot, and skip the pre-sterilization step entirely. You are not cutting corners. You are following the process correctly.
If you do need to sterilize — either because your recipe specifies it or you want that extra margin — put clean jars right-side-up on a rack, cover with an inch of water, boil for the time appropriate to your altitude, and keep them submerged until you are ready to fill. Warm the lids separately in hot water. Use a jar lifter, drain briefly, fill immediately.
The one concrete step worth doing this week: look up your elevation. It takes 30 seconds, and it means every jar sterilization you do from here on will use the right boiling time for where you actually live rather than an assumption about sea level.