How to make pickles at home: a simple beginner’s guide
The first jar of pickles I made was a soft, sad mess. The cucumbers had been sitting in my fridge for a week before I got around to them, and by the time I opened the jar three days later, they had the texture of wet paper. Lesson learned: fresh cucumbers matter more than any fancy technique.
Once I figured that out — along with a few other small things — pickling went from “intimidating preservation project” to “a thing I do on a Tuesday afternoon.” That’s what this guide is for. By the end, you’ll know how to make a jar of crunchy, garlicky refrigerator pickles using ingredients you probably already have.
Table of Contents
Quick answer: how to make pickles in 60 seconds
Slice 1 pound of fresh pickling cucumbers. Pack them into a clean jar with 2–3 garlic cloves, a few sprigs of dill, and a teaspoon each of mustard seeds and peppercorns. Heat 1 cup vinegar (5% acidity), 1 cup water, and 1 tablespoon salt until the salt dissolves. Pour the brine over the cucumbers, let it cool, and refrigerate for at least 24 hours. That’s it.
Want the longer version with troubleshooting, variations, and food safety notes? Keep reading.
What pickles actually are
Pickles are vegetables preserved in a salty, acidic brine. Cucumbers are the classic, but you can pickle almost anything firm enough to hold up — carrots, onions, radishes, peppers, green beans, even watermelon rind.
The flavor comes from a few simple things working together: vinegar for acidity, salt for flavor and texture, garlic and herbs for depth, and time for the cucumbers to absorb everything.
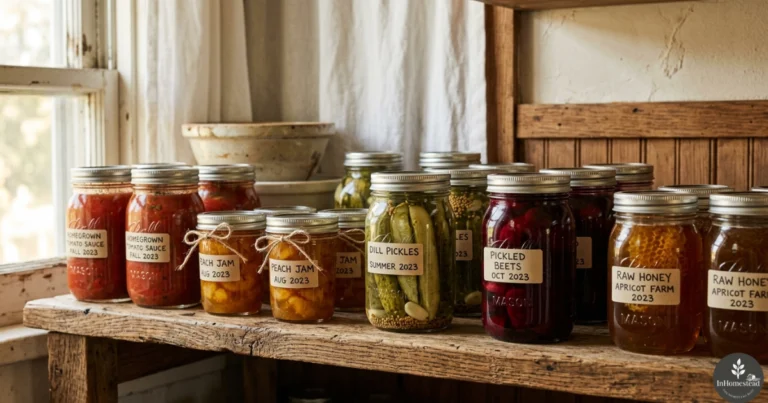
Pickling is one of the oldest methods of preserving food at home, alongside canning, fermenting, drying, and freezing.
This guide focuses on refrigerator pickles, which are the easiest entry point. No canning, no special equipment, no anxiety about whether you sealed the jar correctly. They live in your fridge and you eat them within a few weeks.
The three types of homemade pickles (and why beginners should pick one)
| Type | How it works | Beginner-friendly | Storage |
|---|---|---|---|
| Refrigerator pickles | Cucumbers sit in vinegar brine in the fridge | Yes — start here | Fridge, ~3–4 weeks |
| Canned pickles | Jars are processed in boiling water for shelf storage | More advanced | Pantry if properly canned |
| Fermented pickles | Natural bacteria create acidity over days/weeks | Intermediate | Usually fridge after fermenting |
If this is your first time, do refrigerator pickles. The University of Minnesota Extension notes that refrigerator pickles aren’t shelf-stable because they skip the canning process, but they’re a safe, simple option — especially for produce without tested canning recipes.
Canning is a real skill with real safety stakes (botulism is not a joke). Once you’ve made a few batches of refrigerator pickles, you can move up to my canning pickles for beginners guide when you’re ready. For now, the fridge is your friend.
What you’ll need
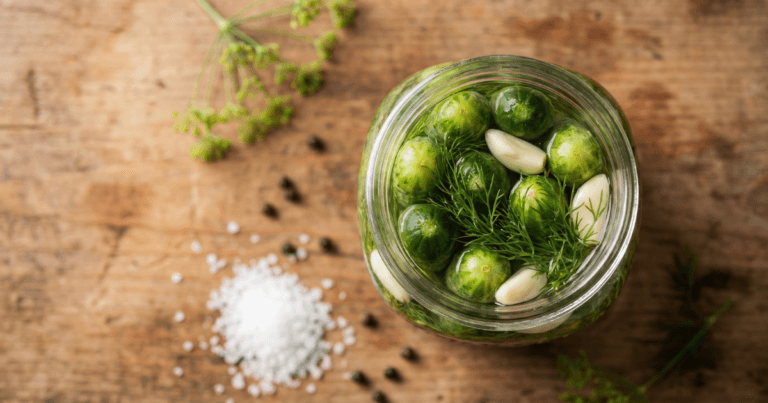
Ingredients for one jar (about 1 quart):
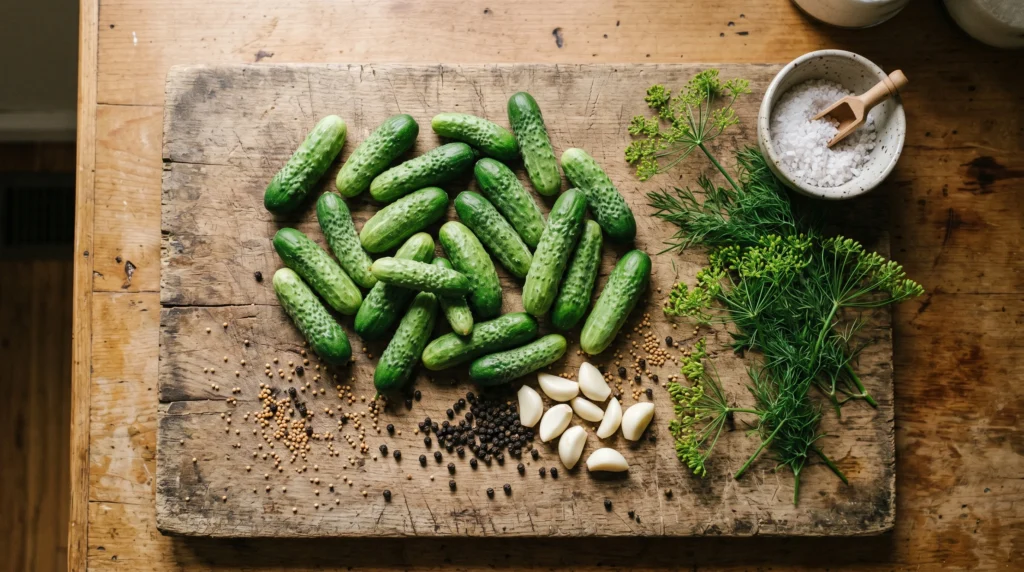
- 1 pound pickling cucumbers (Kirby, Persian, or small garden cucumbers)
- 1 cup white vinegar or apple cider vinegar — must be 5% acidity
- 1 cup water
- 1 tablespoon pickling salt or kosher salt (avoid iodized table salt — it can make the brine cloudy)
- 2–3 garlic cloves, smashed
- 3–4 sprigs fresh dill (or 1 tablespoon dill seed)
- 1 teaspoon mustard seeds
- 1 teaspoon black peppercorns
- 1–2 teaspoons sugar, optional (softens the vinegar bite)
The National Center for Home Food Preservation recommends using vinegar labeled at 5% acidity for any pickling. Cooking vinegars below that aren’t reliable for preservation, even in the fridge.
Equipment: A clean glass jar with a tight lid (a quart mason jar is perfect), a small saucepan, a knife, and a cutting board. That’s the whole list.
Pick the right cucumbers — this is the #1 thing that determines success
If you take one thing from this guide, take this: your pickles will only be as good as the cucumbers you start with.
Use:
- Kirby cucumbers (the gold standard)
- Persian cucumbers
- Small, firm garden cucumbers
- Anything labeled “pickling cucumbers”
Avoid:
- Large slicing cucumbers from the grocery store (too many seeds, soft texture)
- Anything with a wax coating (the brine can’t penetrate)
- Cucumbers that have been sitting in your fridge for more than a few days
- Soft or wrinkled cucumbers — they’re already on their way out
Fresh cucumbers should feel firm and heavy for their size. If they bend, they’re too old.
How to make pickles, step by step
Step 1: Prep the cucumbers
Wash them under cool running water and trim both ends. The blossom end (opposite the stem) contains enzymes that can soften pickles, so don’t skip this — even a thin slice off each end makes a real difference.
Slice them however you like:
- Spears — classic, holds crunch best
- Chips or coins — fastest to absorb flavor, great for sandwiches
- Halves or whole — best texture, slowest to flavor
Step 2: Pack the jar
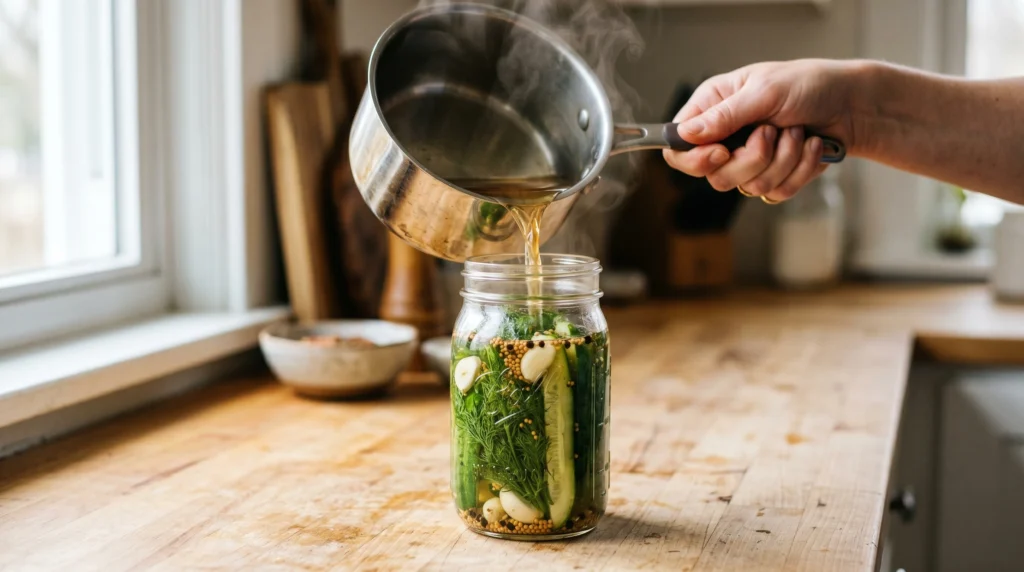
Drop the garlic, dill, mustard seeds, and peppercorns into the bottom of your clean jar. Then pack the cucumbers in tightly — they’ll shrink slightly as they pickle, and you want them snug. Leave about half an inch of space at the top.
Step 3: Make the brine
In a small saucepan, combine the vinegar, water, salt, and sugar (if using). Warm it over medium heat, stirring until the salt and sugar dissolve. You don’t need to boil it — just hot enough to fully dissolve.
Step 4: Pour and seal
Pour the warm brine over the cucumbers until they’re completely submerged. Tap the jar gently on the counter to release air bubbles, then top off with more brine if needed. Anything sticking out above the brine will spoil, so make sure everything is covered.
Let the jar sit on the counter for about 30 minutes to cool, then put the lid on and refrigerate.
Step 5: Wait
This is the hard part. Pickles are technically edible after 24 hours, but they’re noticeably better at 48–72 hours, and they hit their stride around day 5. Penn State Extension points out that the acid in the brine is what does the preserving work, so don’t shortcut the wait — and don’t dilute the vinegar trying to make them less sharp.
How long until they’re ready?
| Time | What you’ll get |
|---|---|
| 24 hours | Lightly pickled, fresh-tasting, full crunch |
| 2–3 days | Solid pickle flavor, still very crunchy |
| 1 week | Strong pickle flavor, peak balance |
| 2–4 weeks | Intense flavor, slightly softer texture |
For maximum crunch, eat them within the first two weeks.
Flavor variations once you’ve nailed the basics
Once you’ve made one batch and it worked, the recipe becomes a template. The brine ratio (1:1 vinegar to water, 1 tablespoon salt) stays the same — change everything else.
Spicy: Add red pepper flakes, sliced jalapeño, or a couple of dried chilies.
Garlic-heavy: Double or triple the garlic. Smash the cloves to release more flavor.
Sweet (bread-and-butter style): Increase sugar to 2–3 tablespoons, add thinly sliced onion, and bump the mustard seed to a tablespoon.
Tangy and sour: Use only apple cider vinegar and double the mustard seed.
Herby: Add bay leaves, coriander seed, fennel seed, or fresh tarragon.
One rule: don’t change the vinegar-to-water ratio if you’re following a tested canning recipe later. For refrigerator pickles you have more flexibility, but the acidity is what’s keeping things safe even in the fridge.
How to keep pickles crunchy (the most-asked question)
Soft pickles are the universal beginner complaint. Here’s what causes it and how to prevent it:
- Old cucumbers. Buy or harvest the same day if possible. Keep them cold right up until you pickle.
- Skipping the blossom-end trim. Trim both ends. Always.
- Hot brine on warm cucumbers. The brine doesn’t need to be boiling — warm is fine. And put the jar in the fridge as soon as it cools.
- Letting pickles sit in brine for months. Refrigerator pickles aren’t long-term storage. Eat them within 3–4 weeks.
Some people add a grape leaf, oak leaf, or commercial “pickle crisp” (calcium chloride) to the jar for extra firmness. You don’t need this for your first batch.
Troubleshooting common problems
| Problem | Likely cause | Fix |
|---|---|---|
| Soft pickles | Old cucumbers, didn’t trim blossom end, or jar got warm | Use fresher cucumbers, trim ends, refrigerate fast |
| Too sour | Vinegar too dominant | Add a teaspoon of sugar to the next batch |
| Bland | Not enough salt or aromatics | More garlic, more dill, longer wait |
| Cloudy brine | Iodized salt, hard water, or spices settling | Usually harmless if it smells right; switch to pickling salt |
| Mold or off smell | Contamination or cucumber sticking above the brine | Throw the whole jar away — don’t try to salvage it |
| Hollow pickles | Cucumbers were already overripe | Use smaller, firmer cucumbers next time |
The rule for any preserved food: when in doubt, throw it out. A jar of cucumbers costs a few dollars. A trip to the ER does not.
Food safety, briefly but seriously
Refrigerator pickles are forgiving but not invincible.
- Use 5% acidity vinegar, every time.
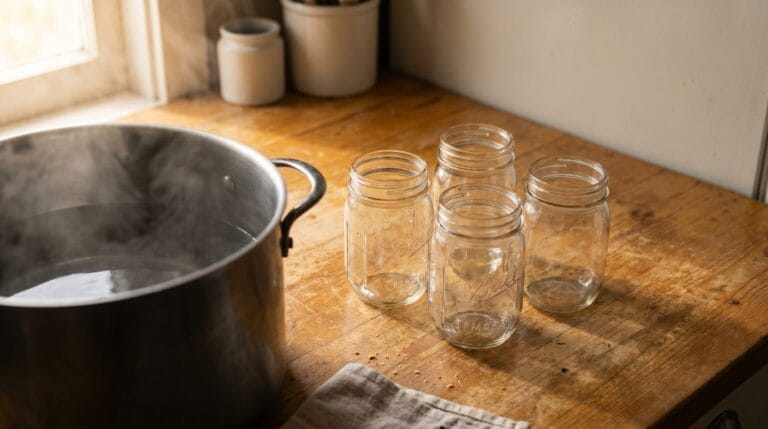
- Wash your jars in hot soapy water (you don’t need to sterilize for refrigerator pickles).
- Keep cucumbers fully submerged in brine.
- Refrigerate and keep refrigerated — don’t leave the jar on the counter.
- Discard immediately if you see mold, smell anything off, or notice fizzing or bubbling (that’s unintended fermentation).
If you eventually want to make shelf-stable canned pickles, follow a tested recipe from the USDA Complete Guide to Home Canning or the National Center for Home Food Preservation. Don’t improvise on canning recipes — the math behind safe acidity and processing time isn’t something to eyeball.
My step-by-step guide to canning pickles walks through the whole process safely.
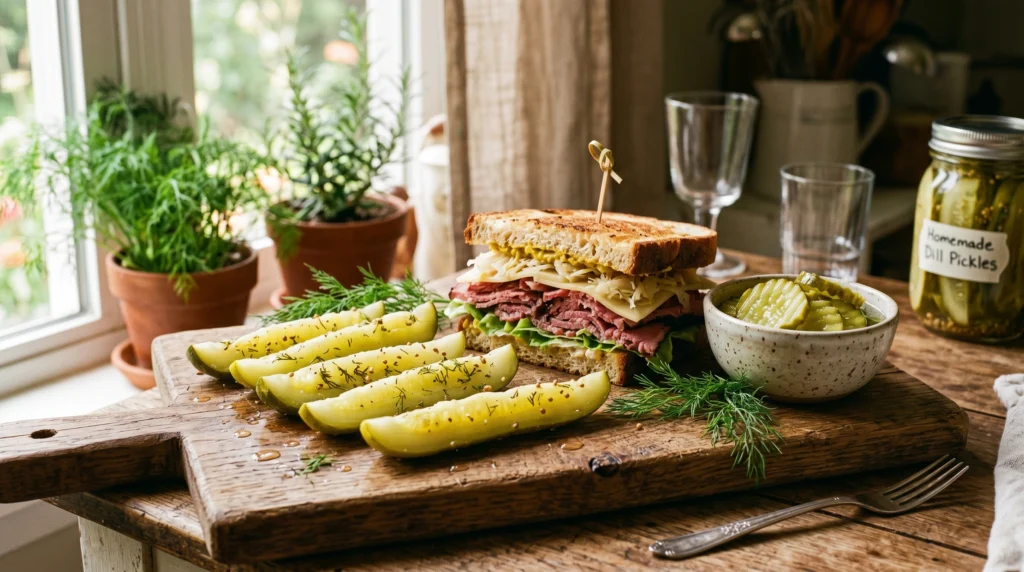
What to do with your pickles
Beyond eating them straight from the jar (no judgment):
- Chopped into tuna or chicken salad
- Sliced onto burgers, grilled cheese, or pulled pork sandwiches
- On a cheese board with sharp cheddar and crusty bread
- Diced into deviled egg filling or potato salad
- The brine itself is gold — use it in salad dressing, as a marinade for chicken, or to brine the next batch of vegetables
Don’t throw out leftover brine. Toss sliced onions, carrots, or radishes into the empty jar and you’ve got round two.
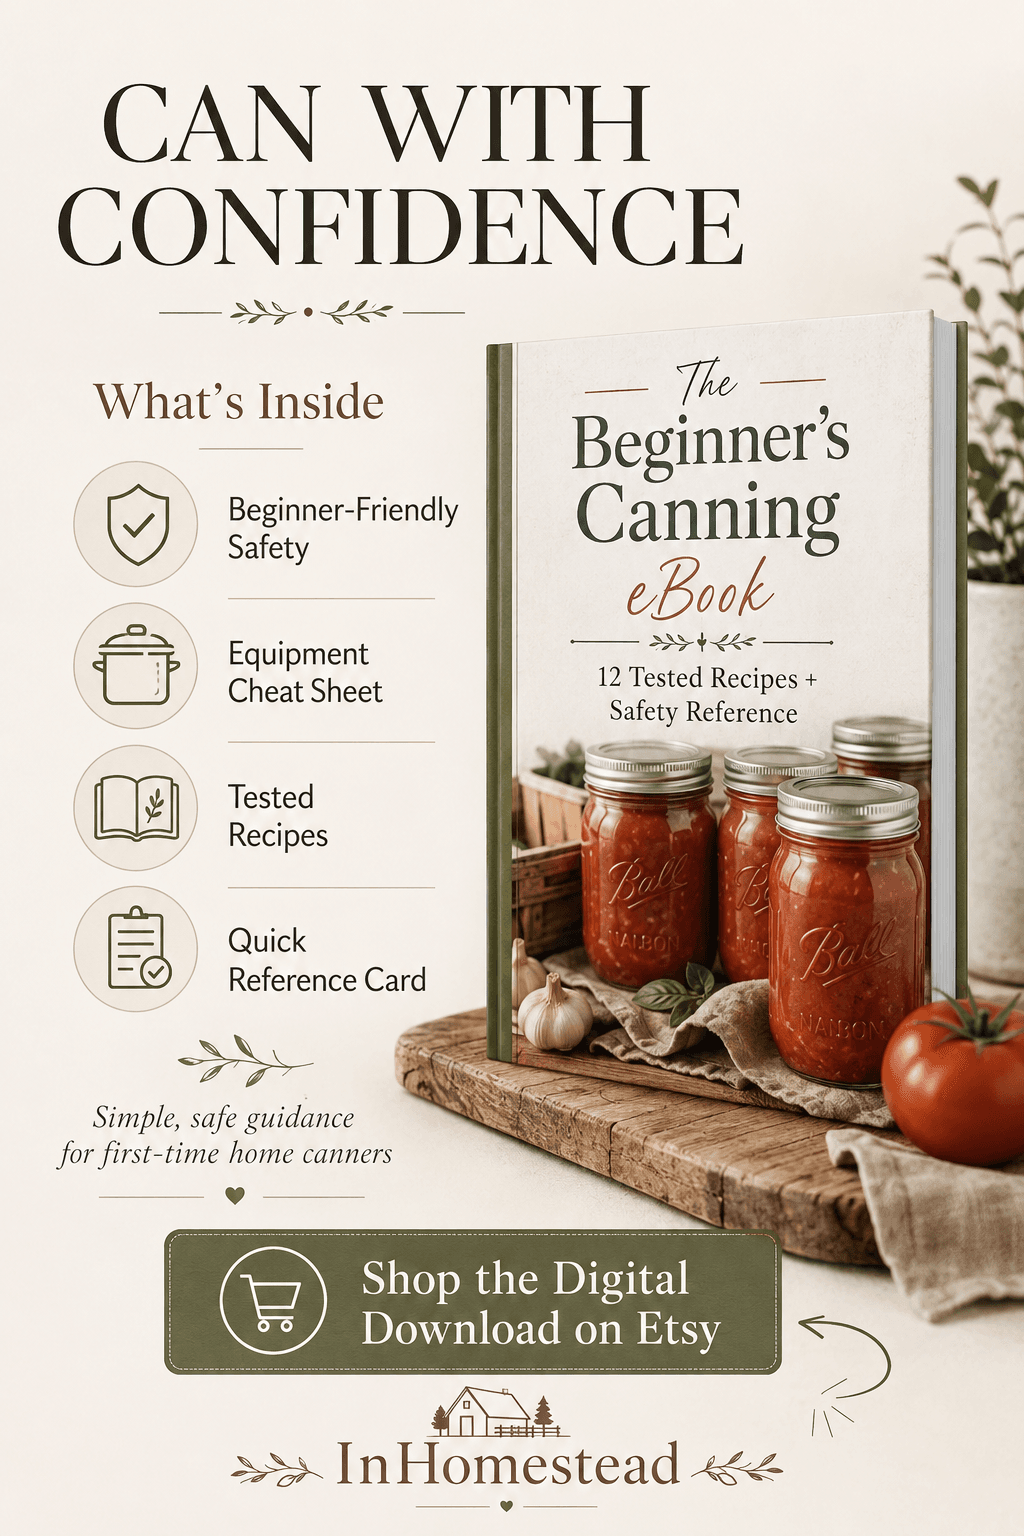
From the In Homestead Shop
Want every water-bath recipe in one place?
The Beginner’s Canning eBook gathers 12 tested recipes — homemade pickles included — with every processing time pulled straight from the USDA and the National Center for Home Food Preservation, plus a printable safety card for the kitchen wall.
FAQ: how to make pickles
How do you make pickles at home for beginners? Make refrigerator pickles. Slice fresh cucumbers, pack them in a jar with garlic and dill, cover with a 1:1 vinegar-water brine plus salt, and refrigerate for 24+ hours.
What’s the easiest way to make pickles? Refrigerator pickles. No canning equipment, no processing time, and no real risk if you keep them cold and use proper vinegar.
How long do homemade pickles take to be ready? 24 hours minimum, but 2–3 days is better. Peak flavor lands around day 5–7.
What vinegar is best for pickles? White distilled or apple cider vinegar, both at 5% acidity. White gives a cleaner, sharper flavor; apple cider is mellower and slightly fruity.
Can you make pickles without canning? Yes — that’s exactly what refrigerator pickles are. They’re not shelf-stable, but they’re simple and safe when refrigerated.
How long do homemade pickles last? Refrigerator pickles last about 3–4 weeks for best texture. They may stay safe longer, but they get progressively softer.
Why aren’t my pickles crunchy? Almost always one of three things: the cucumbers weren’t fresh, the blossom end wasn’t trimmed, or the jar got warm before going in the fridge.
Is it safe to make pickles at home? Yes, when you follow basic rules: 5% acidity vinegar, clean jars, full submersion, refrigeration. Canning has stricter requirements — use tested recipes from the USDA or NCHFP if you go that route.
Start with one jar
You don’t need to commit to a homesteading lifestyle to make pickles. You need a jar, an hour, and a willingness to eat the results.
Make one jar this week. Taste it after 24 hours, then again after three days, then again after a week. You’ll learn more from a single batch than from reading ten more guides — and your second batch, with whatever adjustments you make, will probably be the one that gets you hooked.