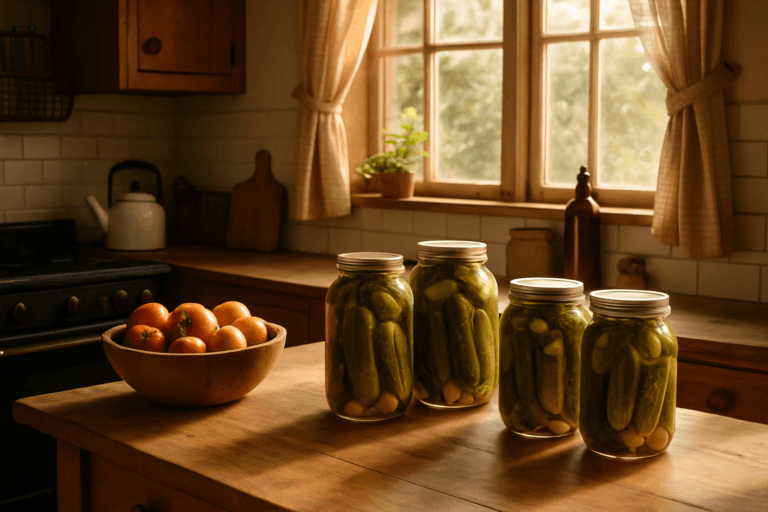
How to Can Tomato Sauce (Water Bath, Step by Step)
Most beginner canning guides spend the first three paragraphs telling you it is easier than you think. This one skips that. The steps are specific, the safety rules are non-negotiable, and knowing why each rule exists will serve you better than reassurance. What you will find here that other guides omit: honest time and cost numbers, the exact language of what the NCHFP actually requires, and a direct answer to the question most beginners get wrong before they even turn on the stove.
The fundamentals are simple: use a tested recipe, add acid, process for the right amount of time, and check your seals. Most beginner errors are not technique failures. They are substitution errors, things like swapping fresh lemon juice for bottled, or doubling the onion because it seems harmless. This guide explains what is flexible and what is not.
To can tomato sauce safely, use a tested recipe from the USDA or NCHFP, add 2 tablespoons of bottled lemon juice per quart jar to ensure safe acidity, and process in a boiling water bath canner for 35 minutes for pints or 40 minutes for quarts. If your sauce contains meat, switch to a pressure canner and follow tested times.
Quick Answer
- Use a water bath canner for plain tomato sauce with added lemon juice
- Add 2 tablespoons bottled lemon juice per quart jar (1 tablespoon per pint) before filling
- Pints process for 35 minutes; quarts process for 40 minutes at sea level
- Start the timer only after the water returns to a full rolling boil
- Avoid adding meat, large amounts of low-acid vegetables, flour, or butter
- 20 to 25 lb of paste tomatoes yields roughly 7 quarts of finished sauce
- Any jar that does not seal goes straight into the refrigerator
Water Bath vs. Pressure Canner: Which One Is Actually Safe for Tomato Sauce
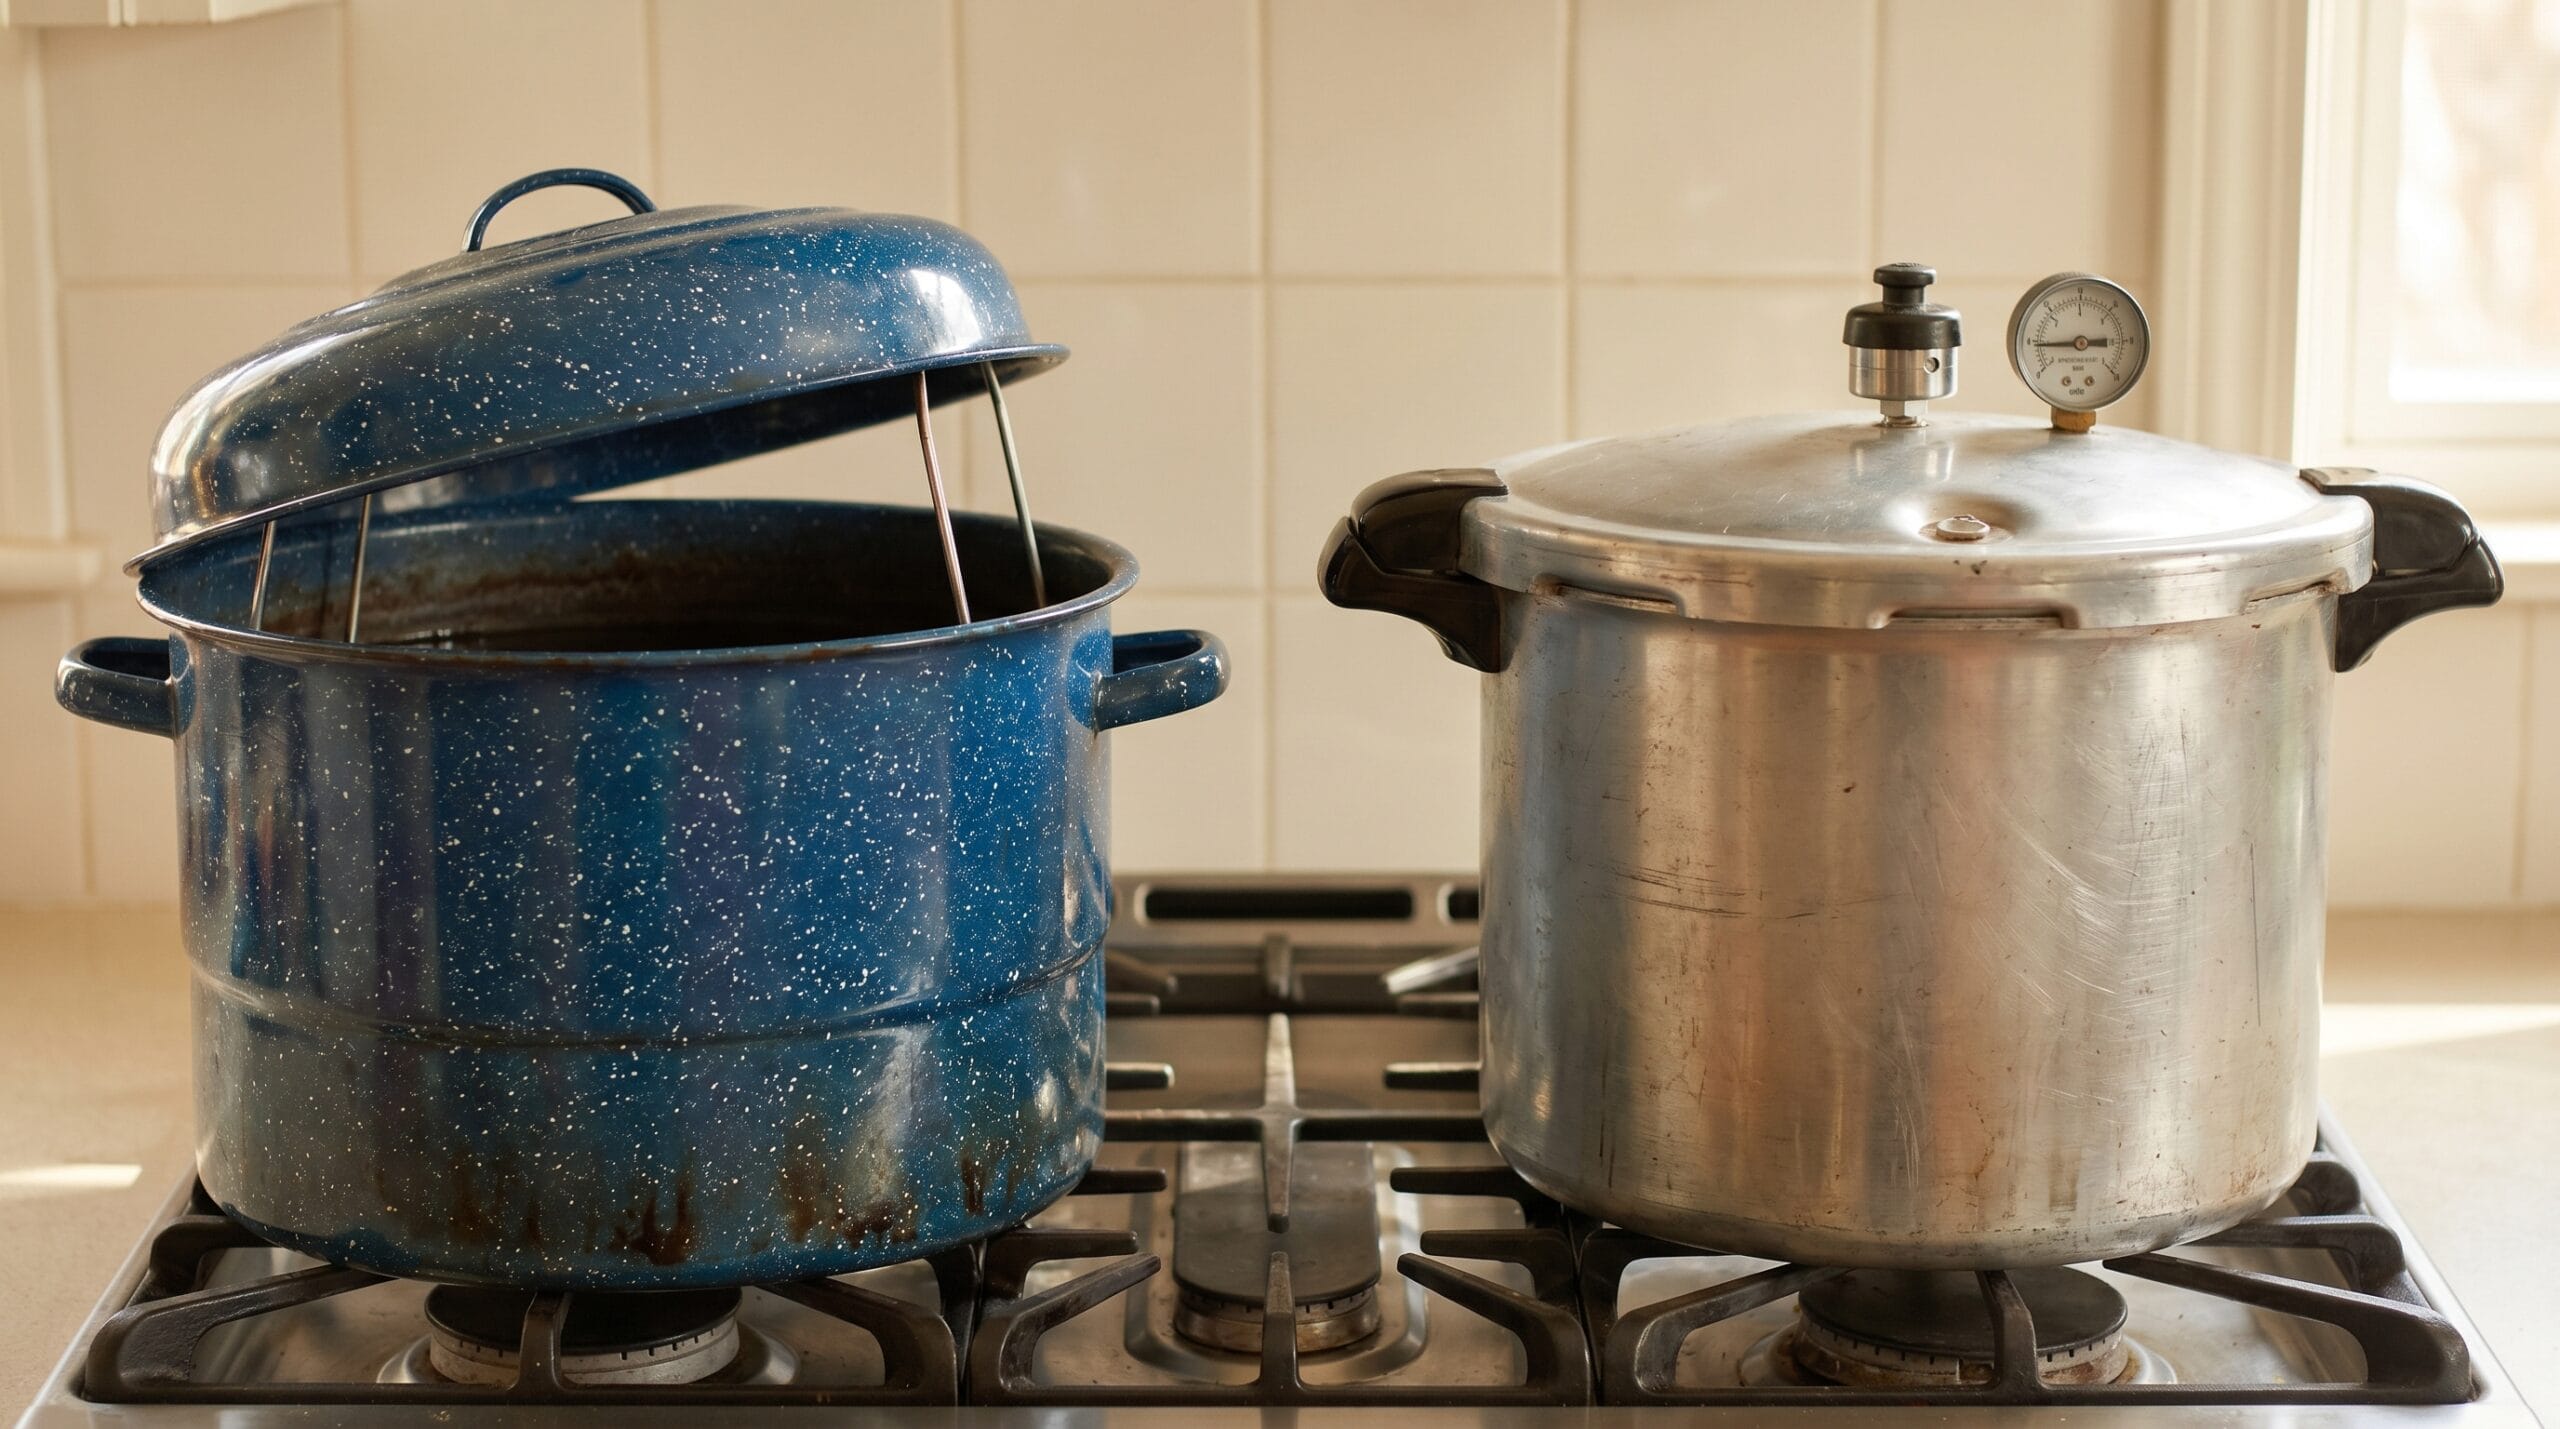
This is the question most beginners get wrong, or skip entirely. The short answer: plain tomato sauce with added acid is safe for water bath canning. Tomato sauce with meat, large amounts of peppers, or other low-acid vegetables added during cooking is not.
The reason comes down to pH. Botulism spores require an environment with a pH above 4.6 to produce toxin. Plain tomatoes hover right around that threshold, which is why added acid is mandatory. A water bath canner reaches 212°F, which is enough to destroy most pathogens in a high-acid environment. It is not enough to destroy botulism spores in a low-acid one.
When to Use a Water Bath Canner
Use a water bath canner when you are making plain tomato sauce, crushed tomatoes, or a simple sauce with onion and garlic in the exact proportions listed in a tested recipe, plus the required lemon juice. The sauce must stay within the tested recipe’s proportions. If you double the onion or add zucchini, you have created a different product with unknown acidity.
When to Switch to a Pressure Canner
Once meat enters the sauce, the calculation changes entirely. Tomato sauce containing meat requires pressure canning, not water bath canning, according to the National Center for Home Food Preservation. A pressure canner reaches 240°F under pressure, which is the temperature required to destroy botulism spores in a low-acid, dense food. For a meat sauce, pressure can at 10 lb pressure for 60 minutes for pints or 70 minutes for quarts, adjusting for altitude. For recipes that do require a pressure canner, like meat-based stocks and broths, the same rule applies.
If you do not own a pressure canner and want to add meat, the safe answer is to freeze the sauce instead.
Why Lemon Juice Is Non-Negotiable (And Exactly How Much to Add)
Tomatoes are unusual among garden vegetables. They feel acidic. They taste acidic. But their actual pH can vary significantly depending on variety, growing conditions, and ripeness. Some modern hybrid tomatoes have a measurably higher pH than older varieties, and any tomato that is overripe has a pH that trends upward.
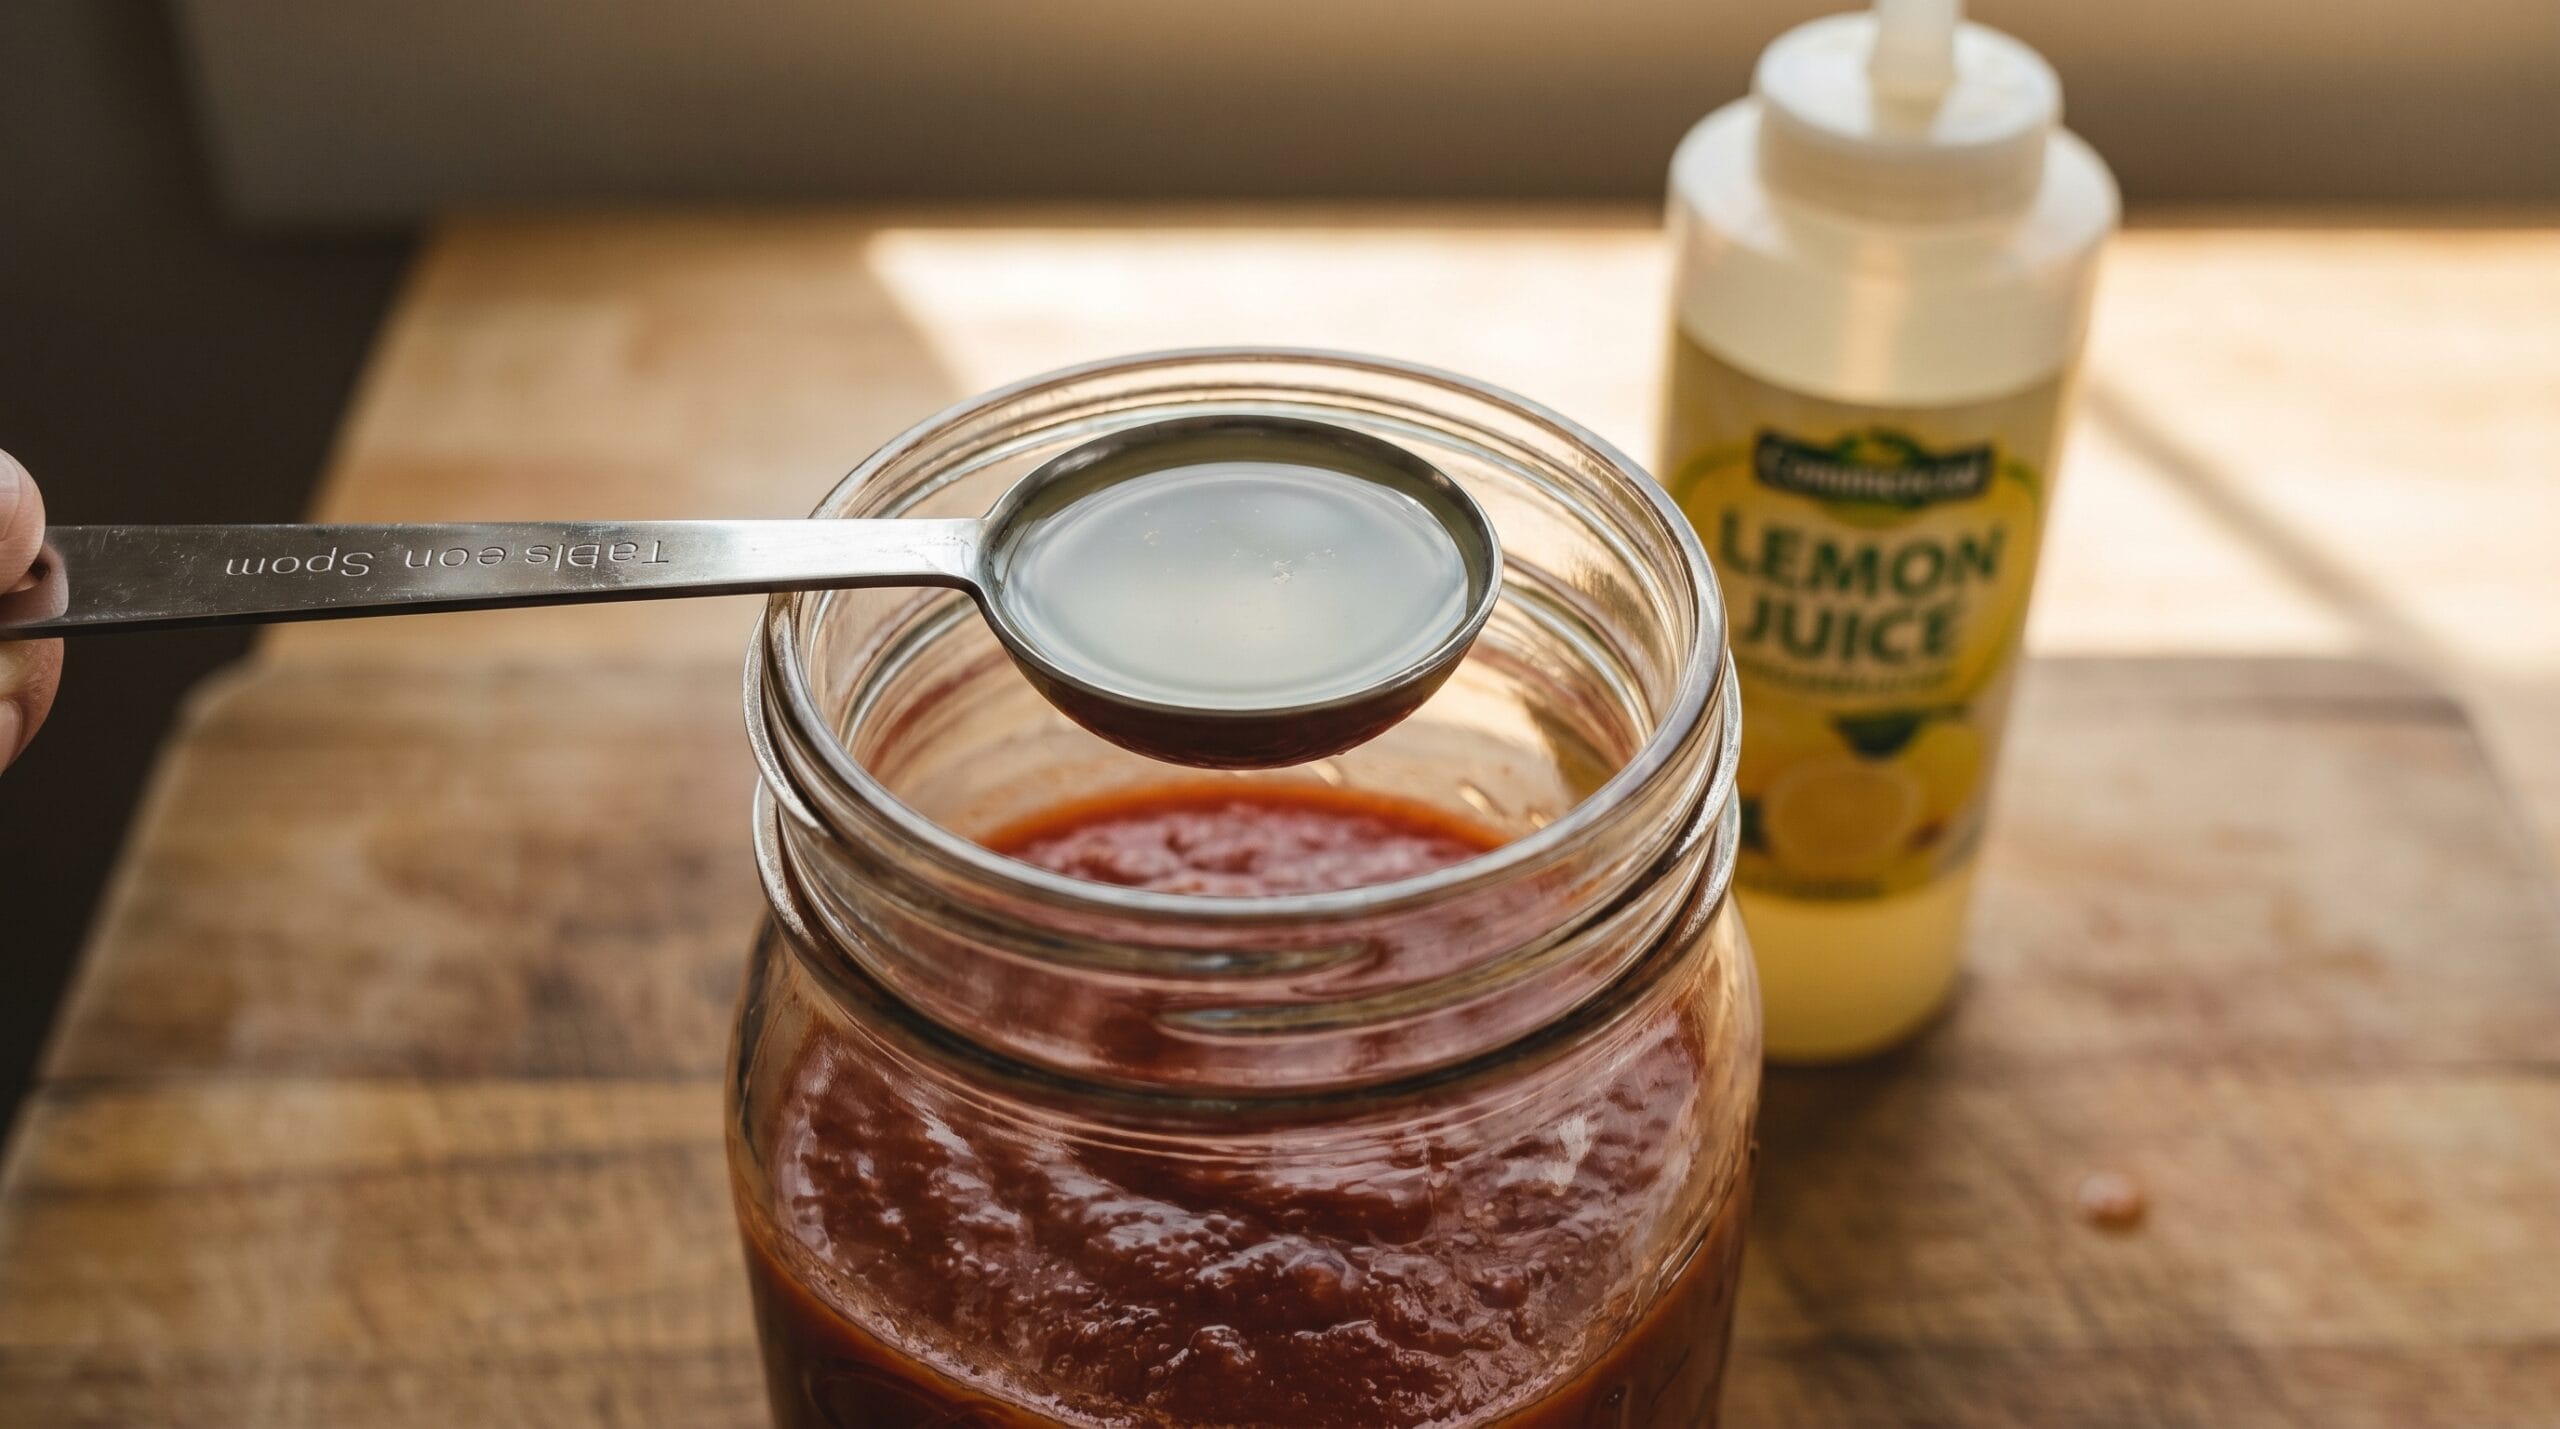
That variability is exactly why you cannot rely on taste or intuition here. The NCHFP’s tested recommendations are built around a consistent, verifiable acid level achieved by adding 2 tablespoons of bottled lemon juice per quart (1 tablespoon per pint) to ensure safe acidity in home-canned tomato products. Bottled lemon juice is specified over fresh squeezed because the acidity of bottled juice is standardized. Fresh lemon juice varies from fruit to fruit.
Can You Use Citric Acid Instead?
Yes. The NCHFP-tested equivalent is 1/2 teaspoon of citric acid per quart jar (1/4 teaspoon per pint). Some canners prefer it because it has no flavor impact on the sauce. Either option is safe as long as you follow the dose.
What the Lemon Juice Does Not Do
Adding lemon juice does not guarantee safety if the rest of the recipe is wrong. If you have loaded the jar with peppers, mushrooms, or squash and then added lemon juice, you have not compensated for the pH shift from all those low-acid additions. The established recipe is a package deal. Change the proportions significantly, and you need a different NCHFP-approved formula for that specific combination.
Equipment You Actually Need Before You Start
You do not need a dedicated canning store setup to process tomato sauce safely. Most of what you need is probably already in your kitchen, with two specific additions.
The Canner Itself
A water bath canner is just a large pot with a rack that holds jars off the bottom. Any pot that is at least 3 inches deeper than your tallest jar will work, as long as you can fully submerge the jars with boiling water. A dedicated canner (approximately $25 to $40 at most retailers, though prices vary) comes with a rack, which is convenient and worth the cost. The rack matters: jars need stable, even support with water circulating underneath them throughout processing. A towel or folded cloth on the pot bottom is not a safe substitute. It can shift during boiling, block water circulation under the jars, and allow jars to tip or crack from uneven heat.
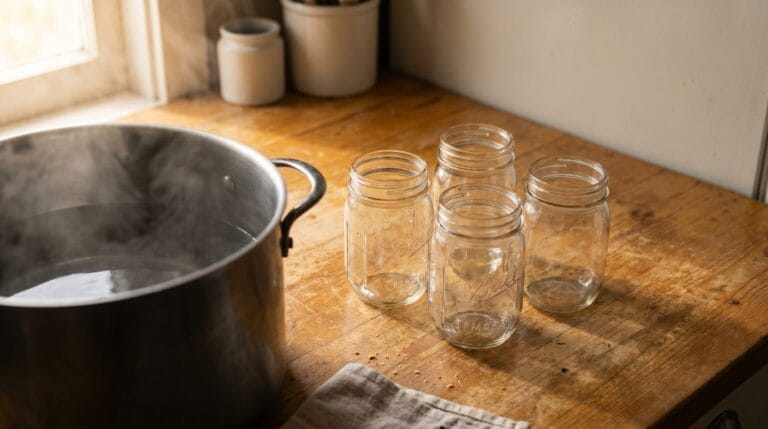
Jars, Lids, and Bands
Use Mason jars designed for canning. Wide-mouth jars are easier to fill and clean, and for a first batch that difference is noticeable. Pints and quarts both work for tomato sauce. Always use new lids for each batch. Bands (the screw rings) can be reused as long as they are not rusted or dented. Do not substitute commercial pasta jars or mayonnaise jars; they are not rated for the thermal stress of water bath processing.
Before you fill, sterilizing jars before you fill them is a step worth understanding. For products processed for 10 minutes or more (tomato sauce qualifies), clean jars that go into a boiling water bath do not need pre-sterilization. But they do need to be clean, hot, and free of chips or cracks.
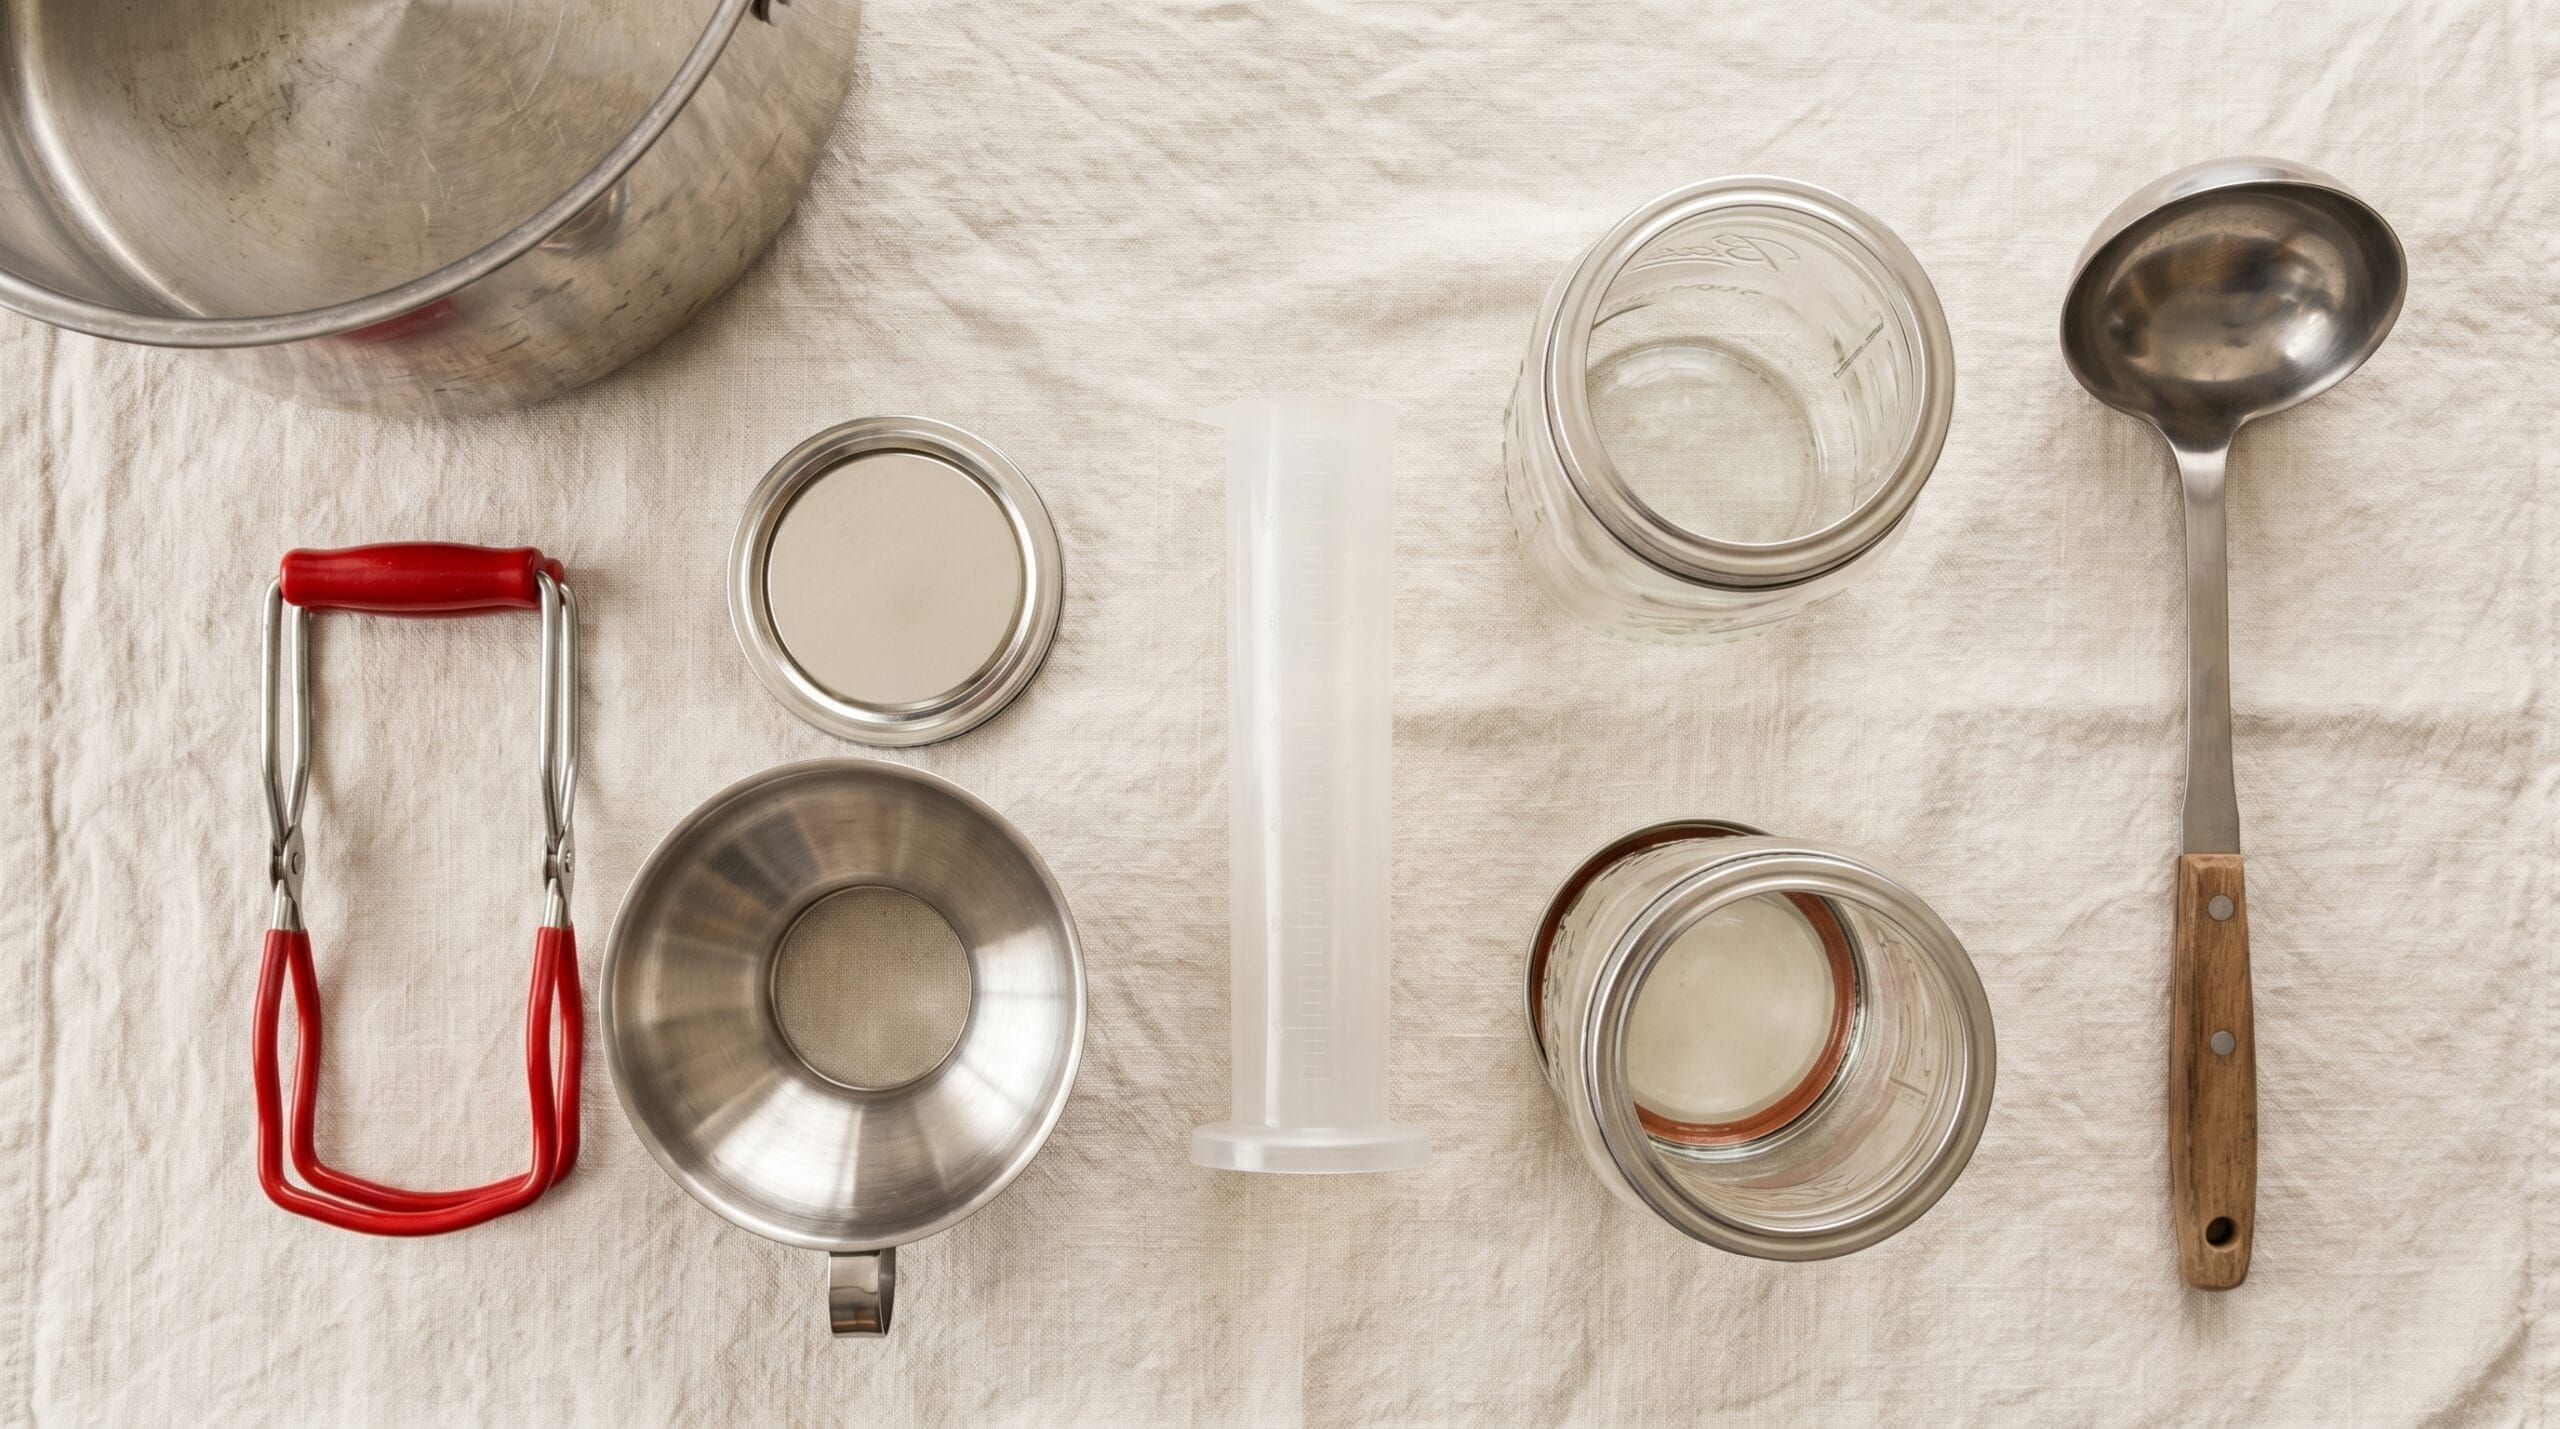
Small Tools That Matter
- A jar lifter (roughly $8 to $12 at most kitchen or hardware stores) is nearly mandatory. Tongs do not grip jar sides safely when they are submerged in boiling water.
- A wide-mouth canning funnel keeps the jar rims clean and speeds up filling.
- A headspace tool or ruler. Leave 1/2 inch of space at the top of each jar.
- A thin spatula or chopstick for releasing air bubbles.
- A ladle for transferring hot sauce.
- A food mill or immersion blender for sauce texture.
- Canning salt for seasoning. Canning salt dissolves cleanly and does not contain the anti-caking agents in iodized table salt, which can darken brine and affect clarity.
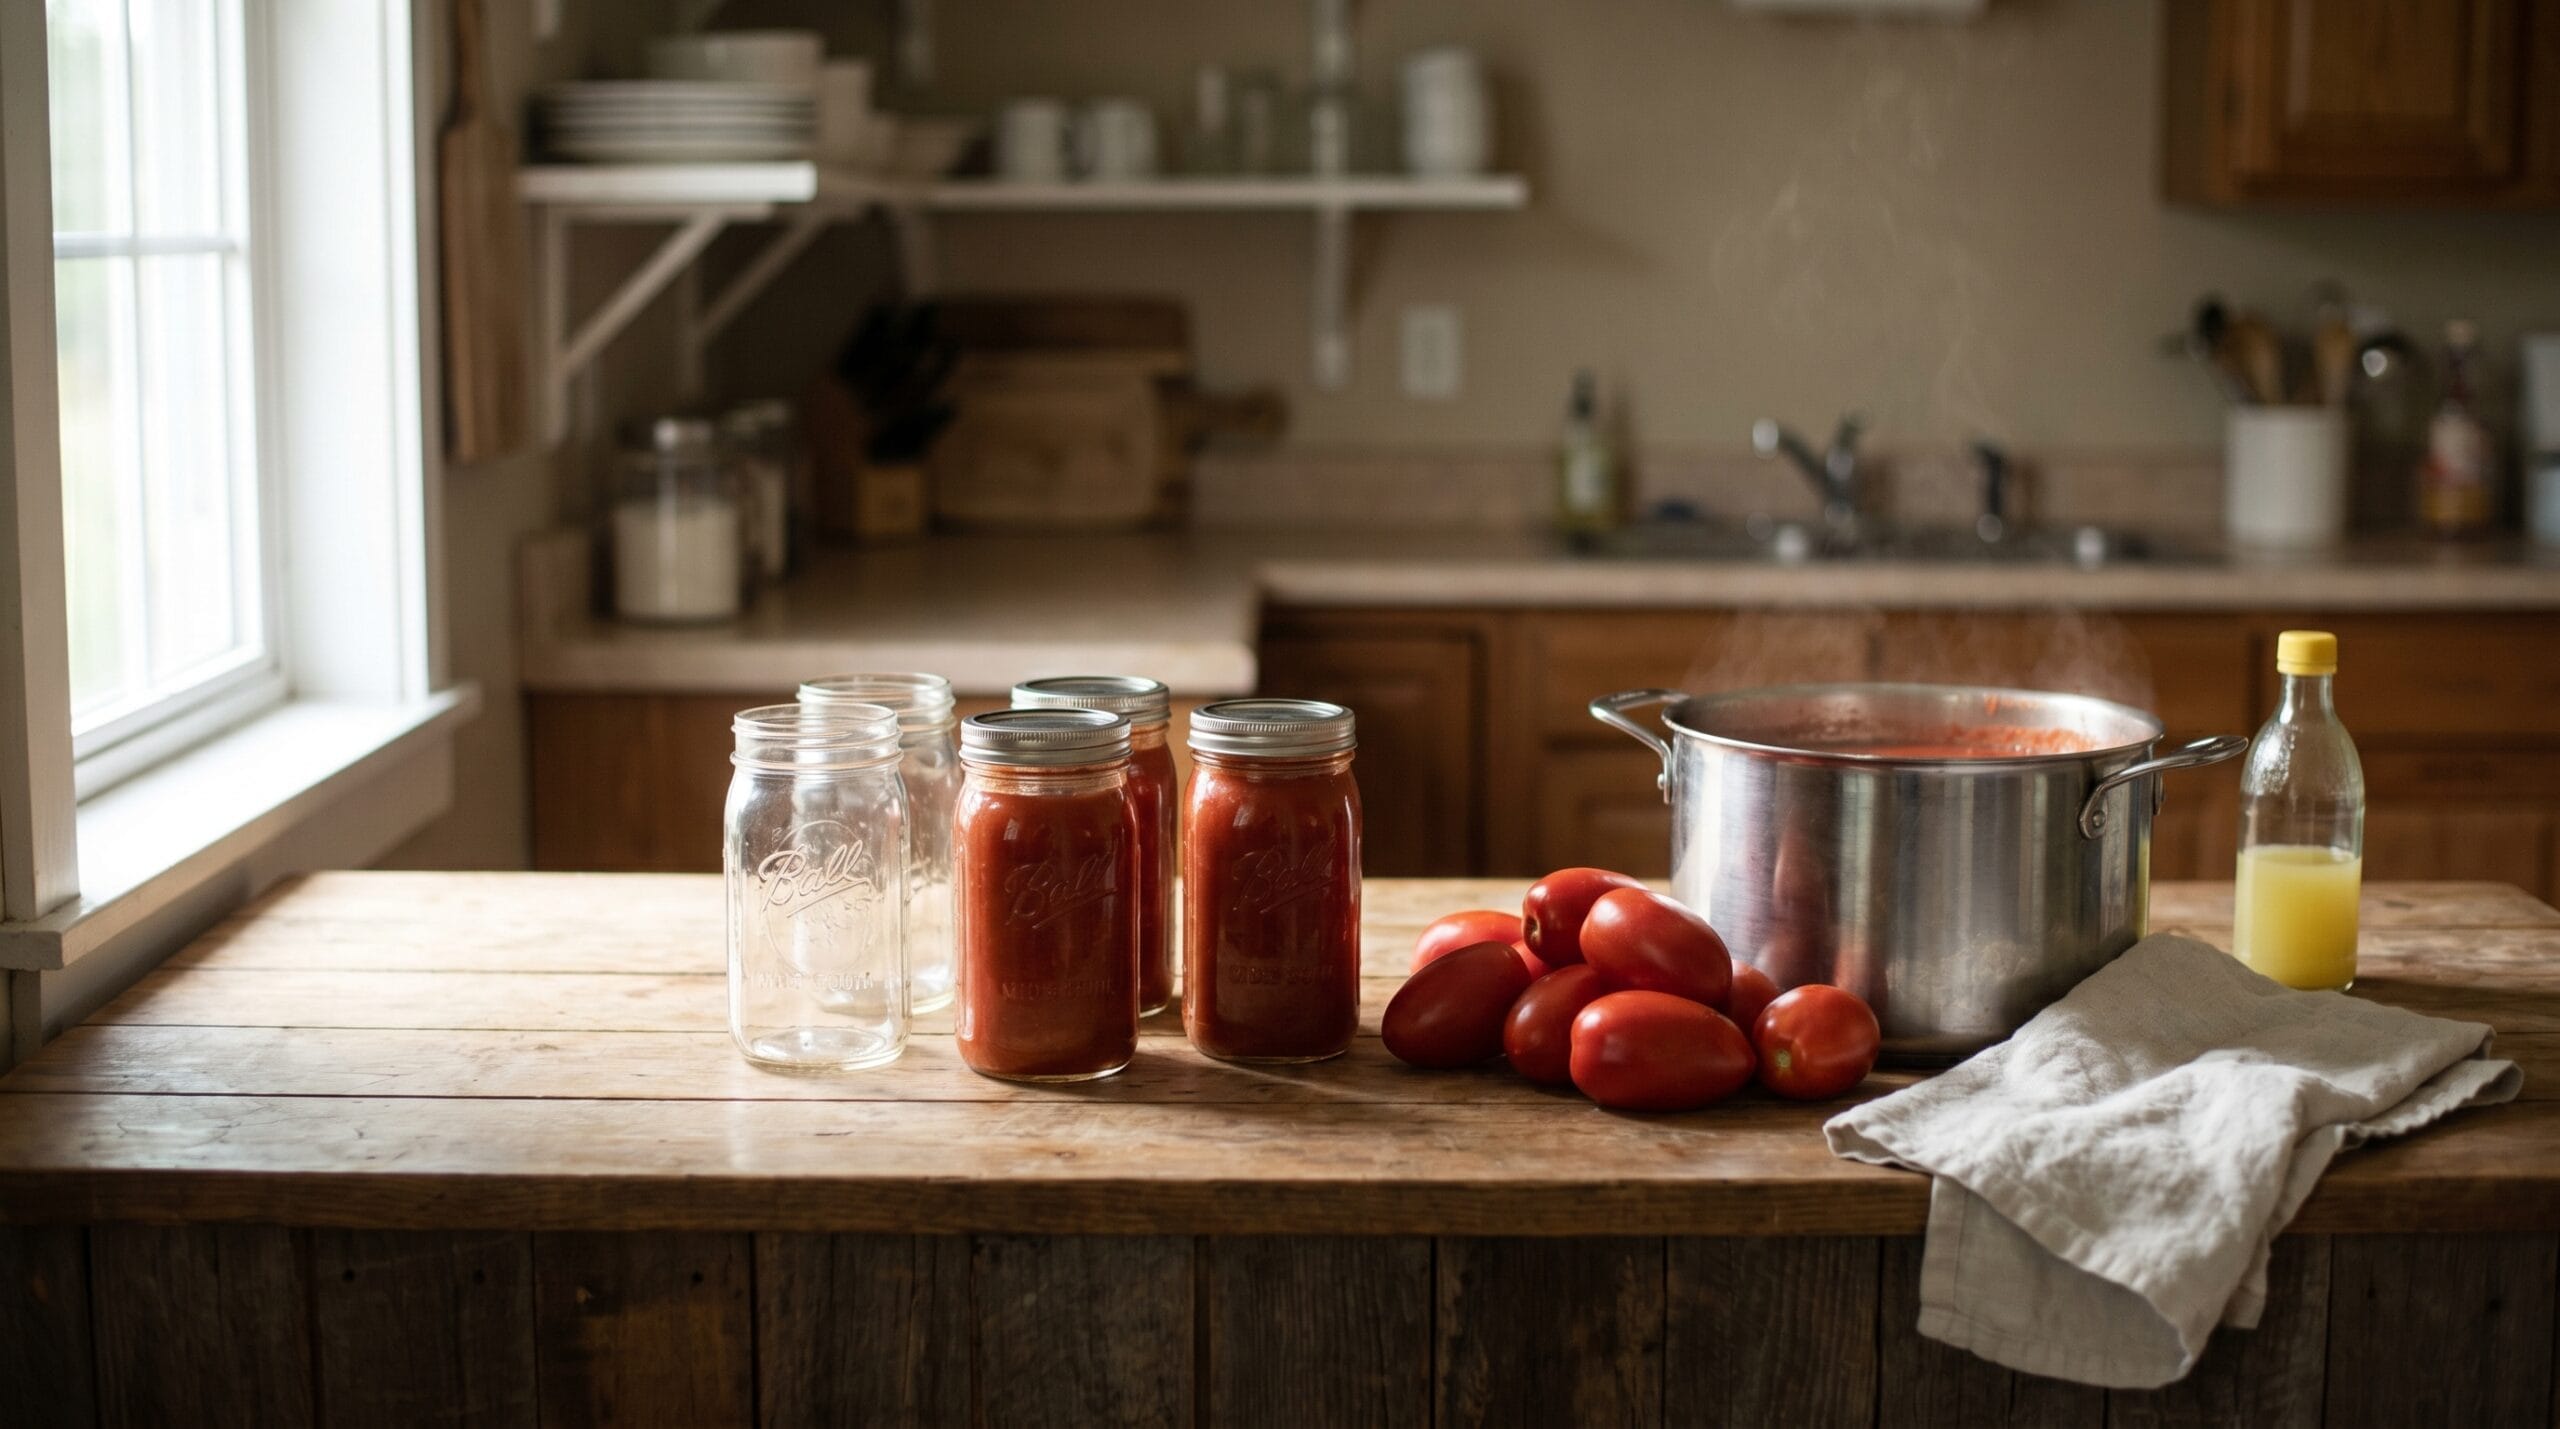
Choosing and Preparing Fresh Tomatoes for Sauce
Paste tomatoes are the better starting point for canned sauce, not because they taste better raw, but because they have less water and more flesh. Roma tomatoes and San Marzano varieties are the workhorses of the canning kitchen. A general rule: plan on 20 to 25 lb of fresh paste tomatoes to yield roughly 7 quarts of finished sauce. Slicing tomatoes yield more water, take longer to cook down, and give you less sauce per pound of fruit.
Picking the Right Fruit
Use tomatoes that are ripe but firm. Overripe or bruised tomatoes are a safety concern in canning, not just a quality concern. Damaged spots lower acidity unpredictably, and soft tomatoes bring more mold spores into the pot. If a tomato looks questionable, set it aside for immediate use or compost it.
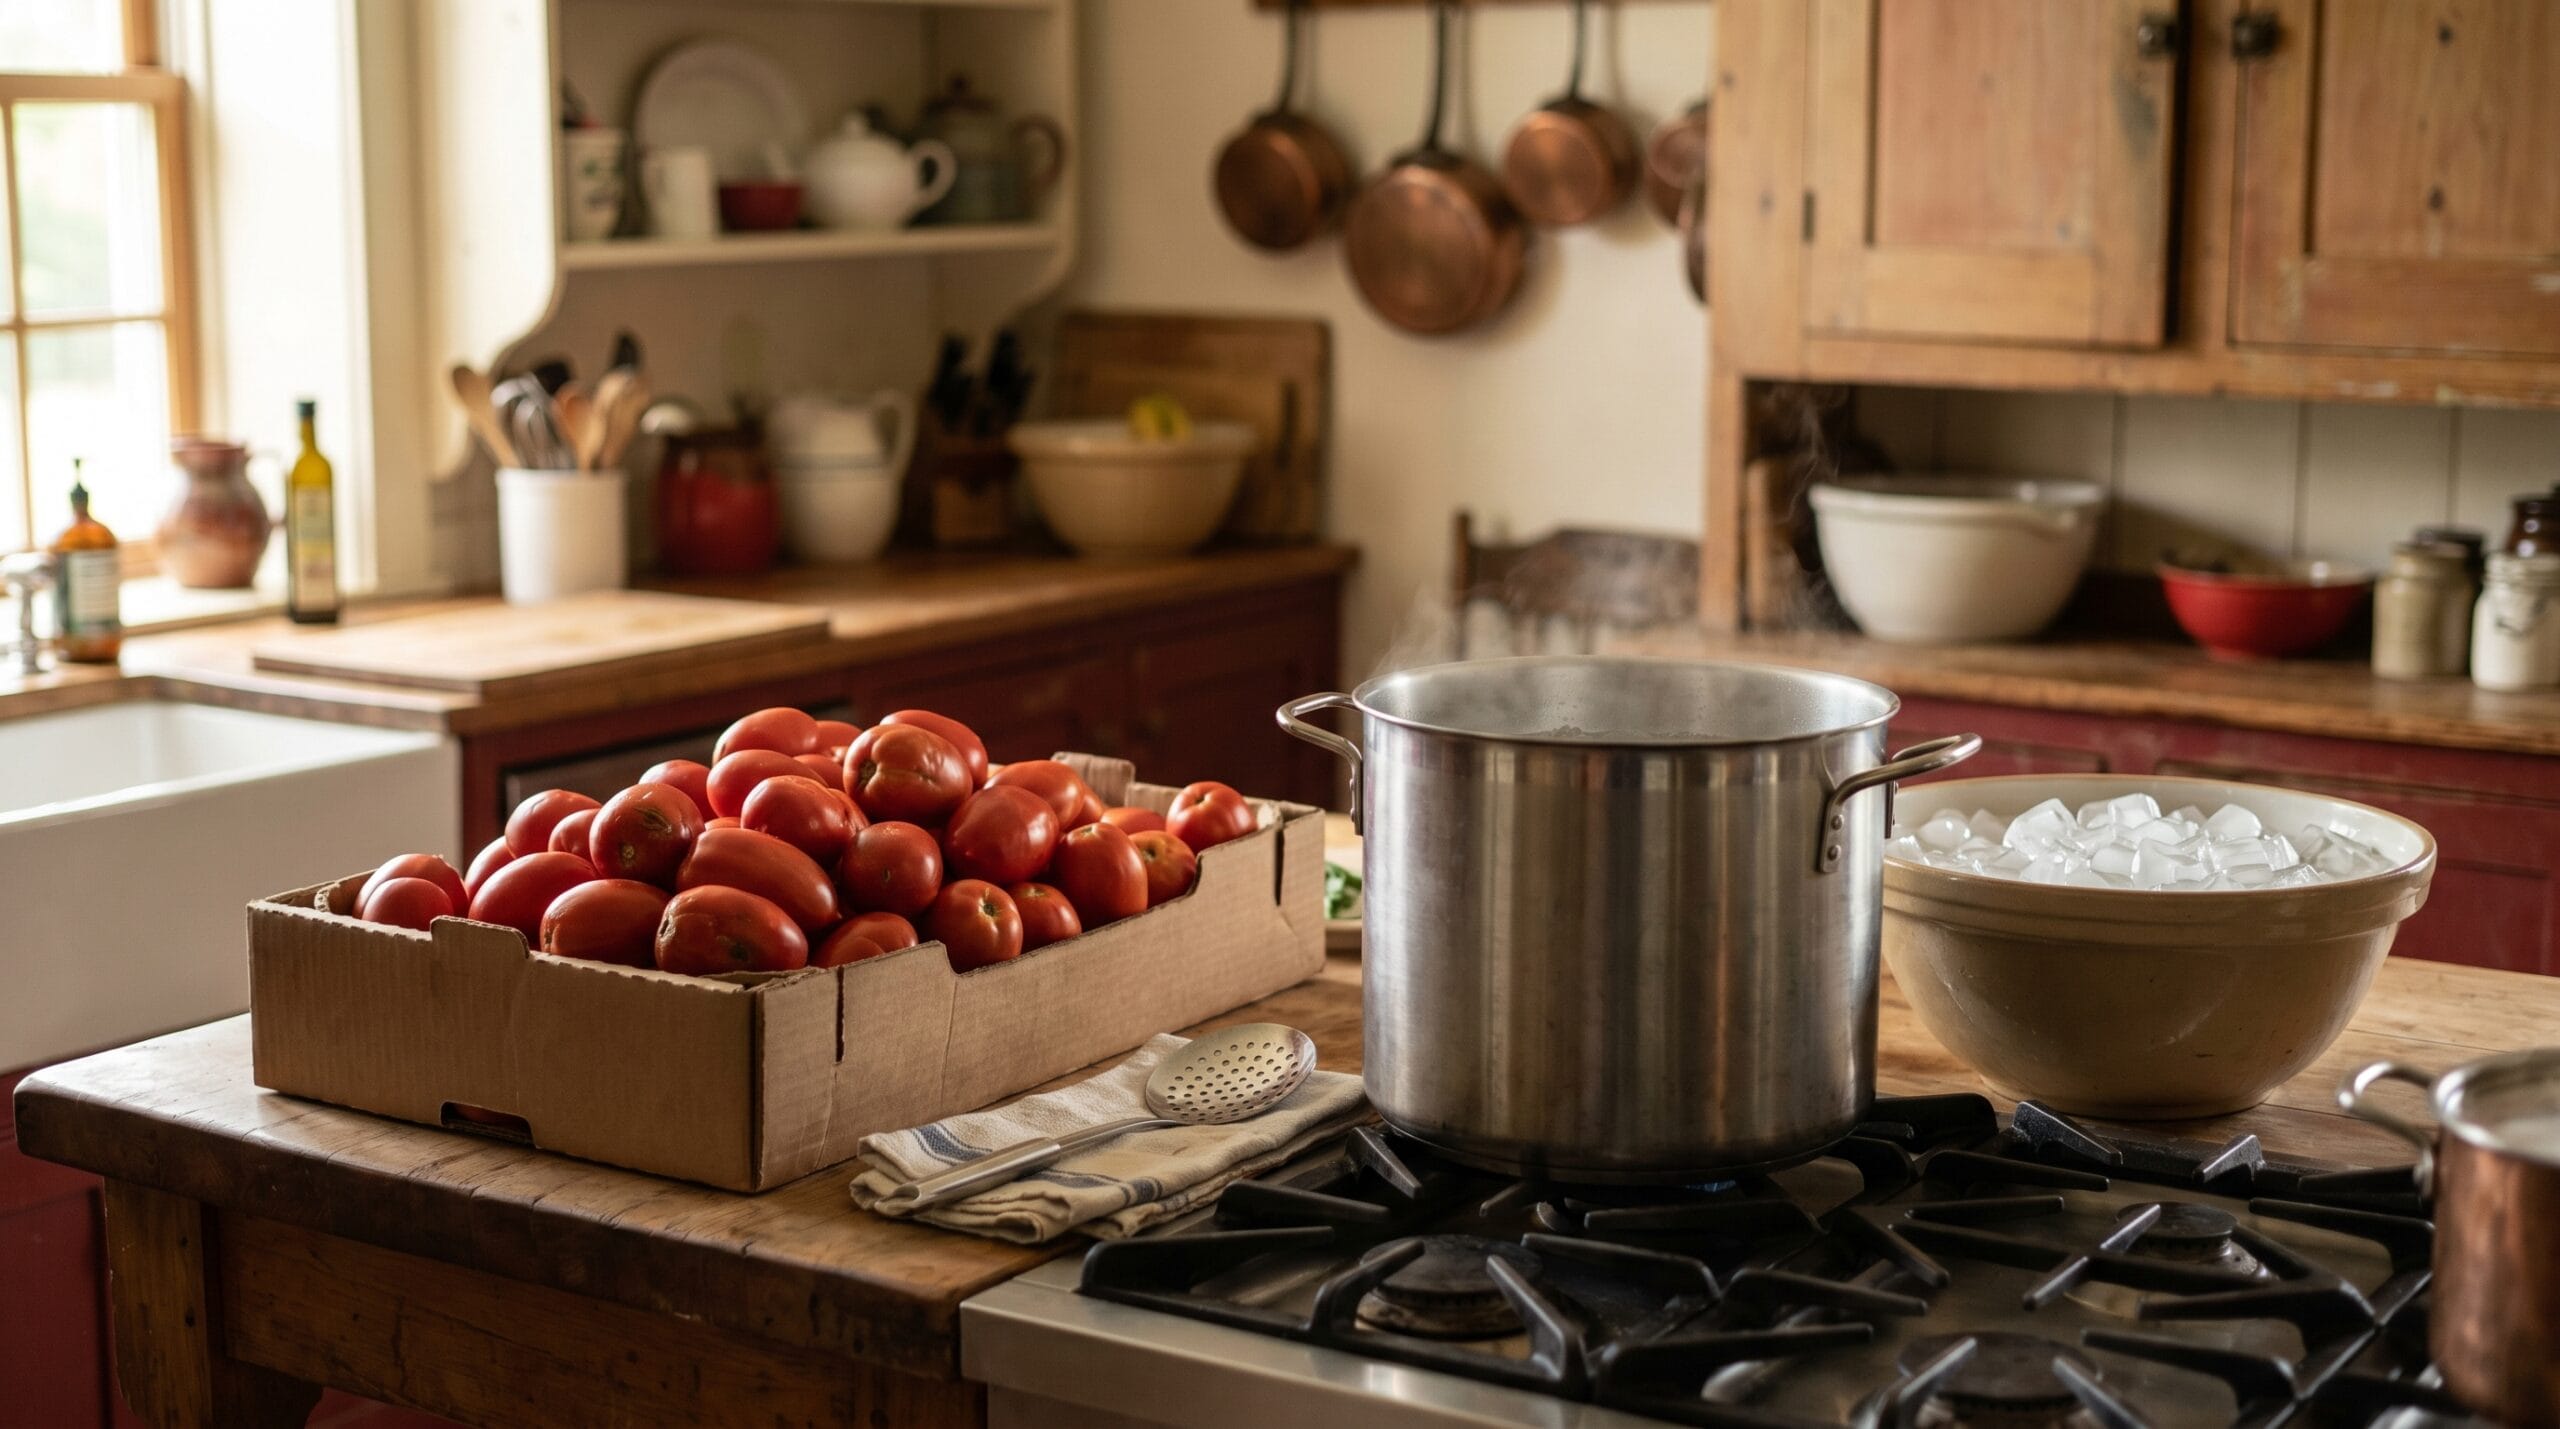
Peeling Without a Lot of Work
Blanching is the standard method. Cut a shallow X in the bottom of each tomato, drop them into boiling water for 30 to 60 seconds, then transfer to an ice bath. The skins slip off cleanly. Core out the stem end, squeeze or scoop out the seed pockets if you want a less watery sauce, and rough-chop the flesh.
Do not supplement with low-acid ingredients at this stage if you plan to use the water bath method. That means no bell peppers, zucchini, or other vegetables beyond the amounts specifically listed in an approved canning recipe.
Making the Sauce: Cook Time and Consistency
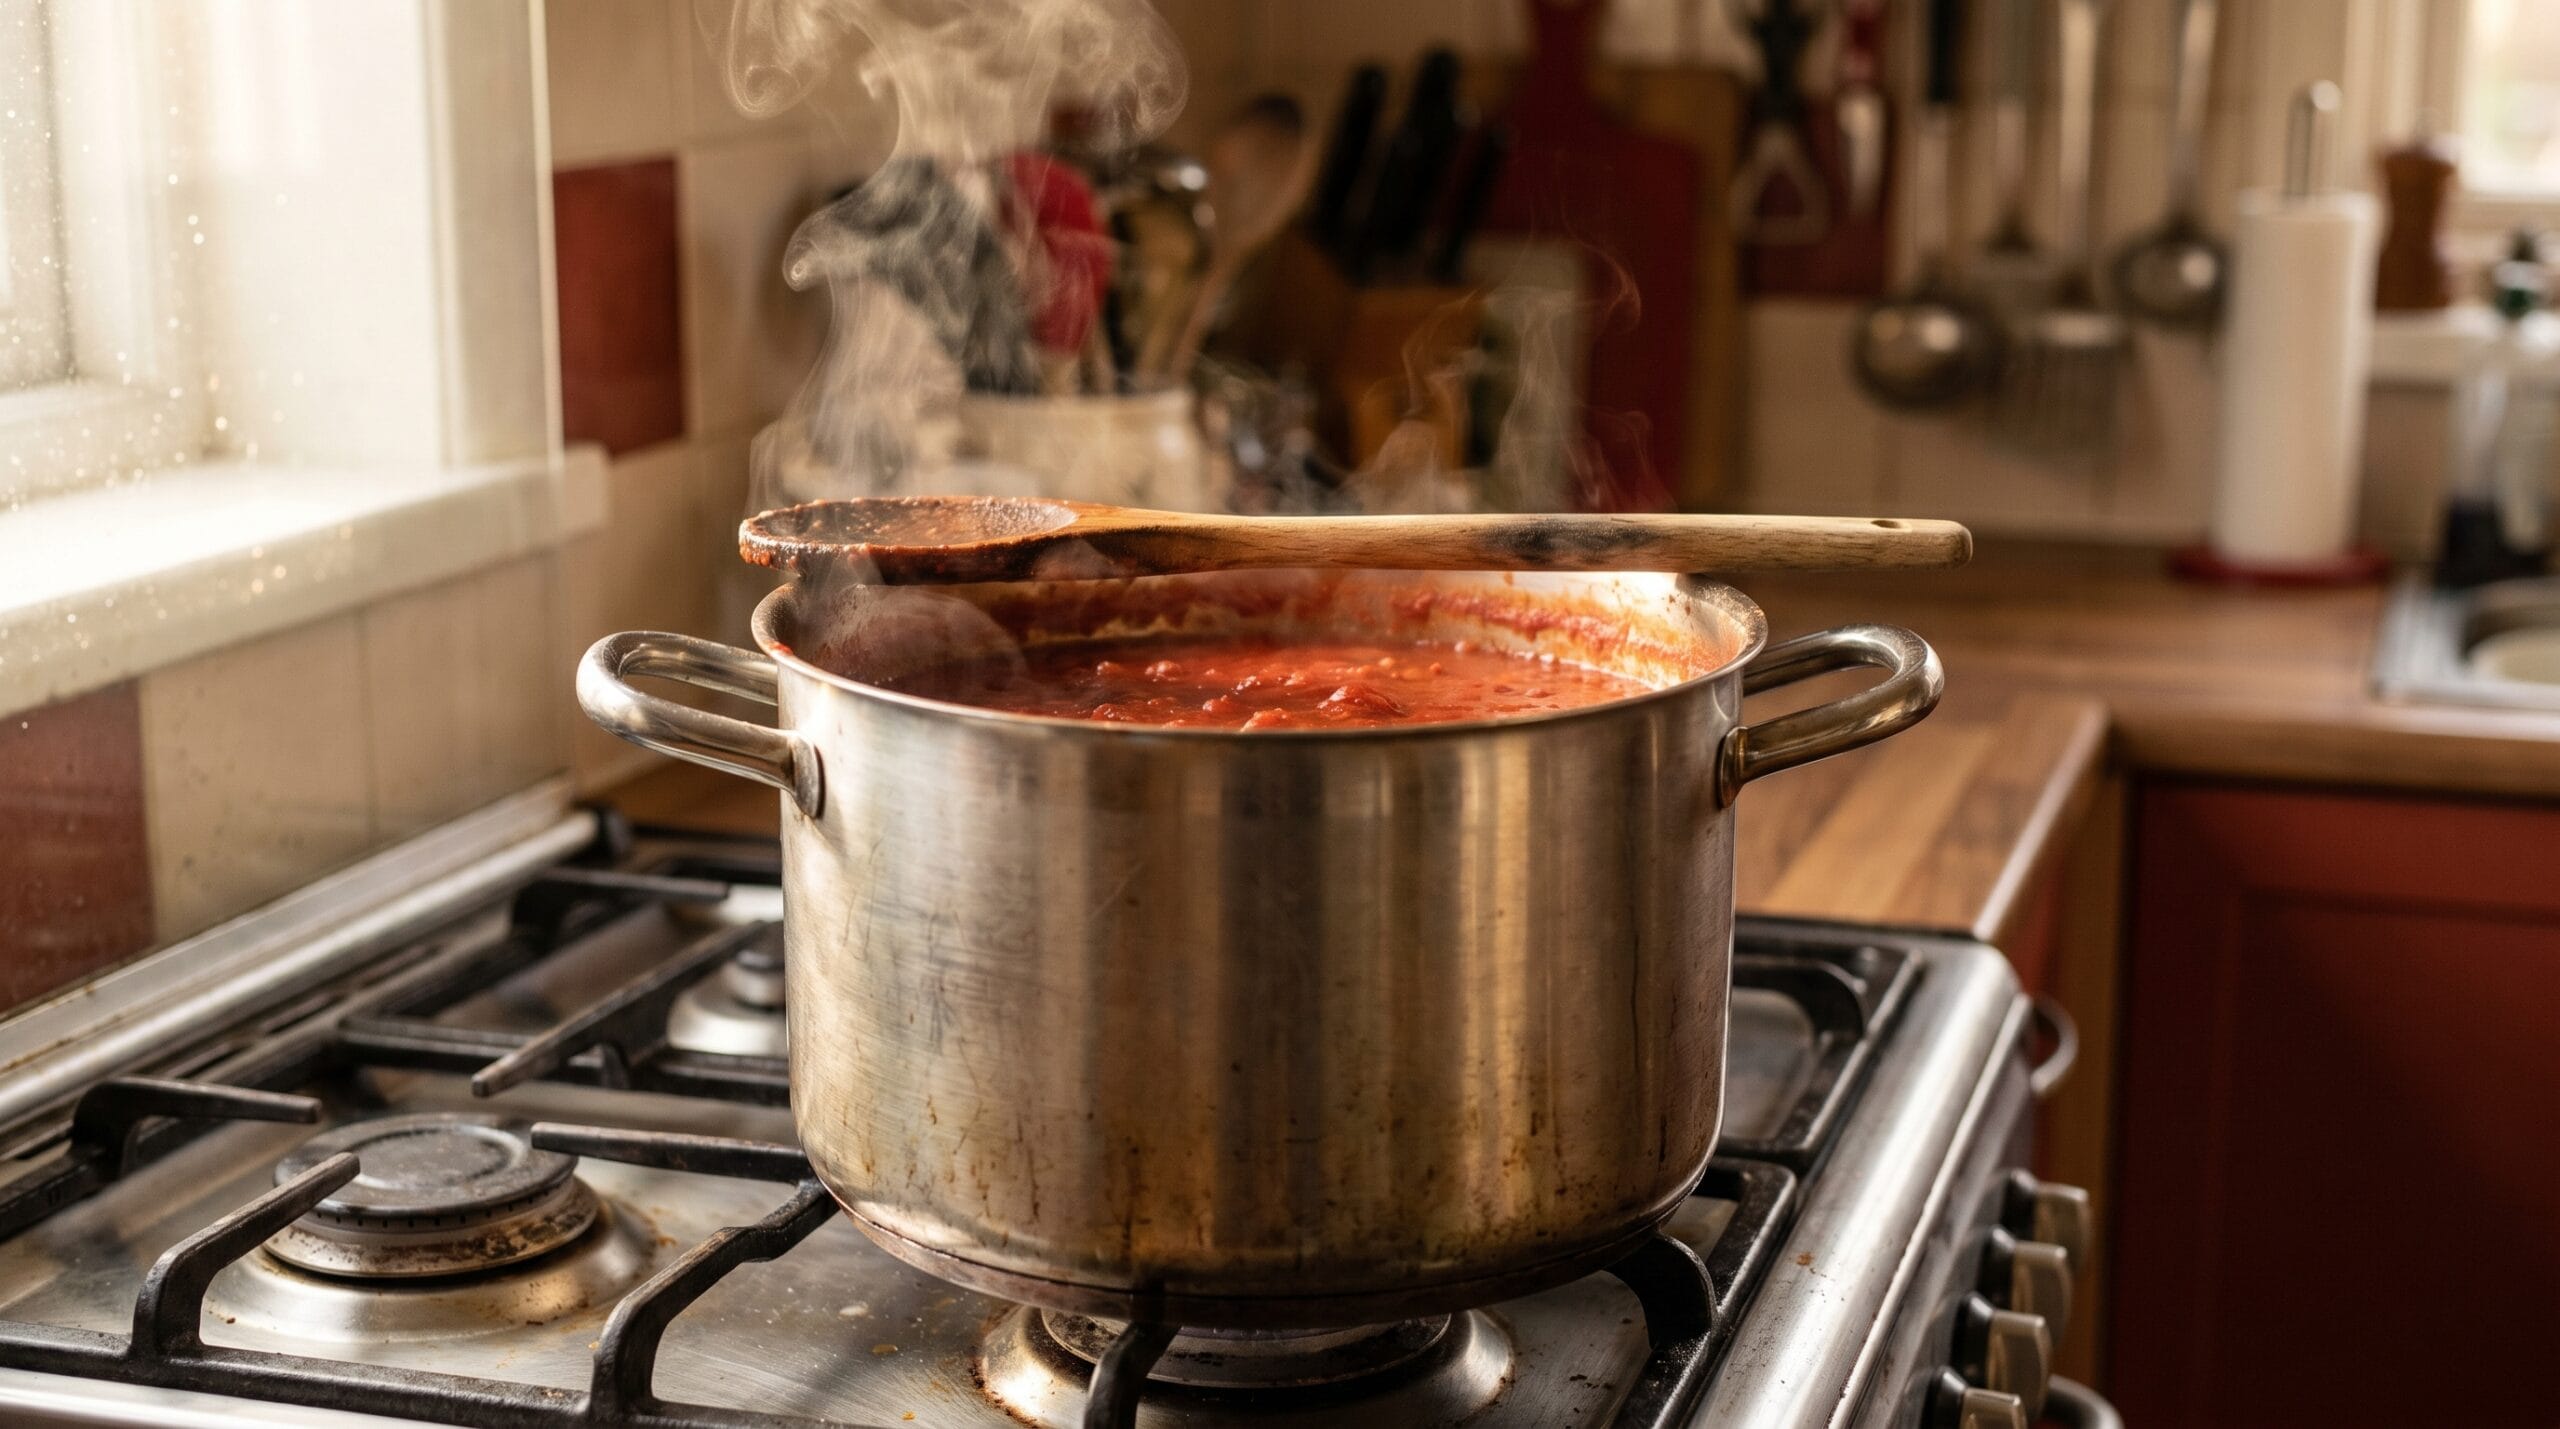
Once your tomatoes are peeled and chopped, the cooking process is straightforward. Sauté a moderate amount of garlic and onion in olive oil in your largest stockpot. Add the tomatoes and bring to a simmer. Let everything cook together for at least 20 minutes to break down the tomato flesh and meld the flavors.
Run the cooked mixture through a food mill or use an immersion blender if you want a smooth texture. A potato masher works too, but gives you a chunkier result. After blending, return the sauce to the pot and continue simmering until it reduces by roughly one-third. The target is a sauce thick enough to coat the back of a spoon. Paste tomatoes get there faster than slicers. Reduction time will also vary based on your pot width and stove output, so use the consistency cue rather than the clock as your final check.
Season with canning salt toward the end. Salt to taste, keeping in mind that flavors concentrate as the sauce reduces. Do not add flour, butter, cornstarch, or any starchy thickener. These interfere with heat penetration during processing and are not part of any NCHFP-tested recipe for good reason.
Filling Jars: Headspace, Lemon Juice, and Removing Air Bubbles
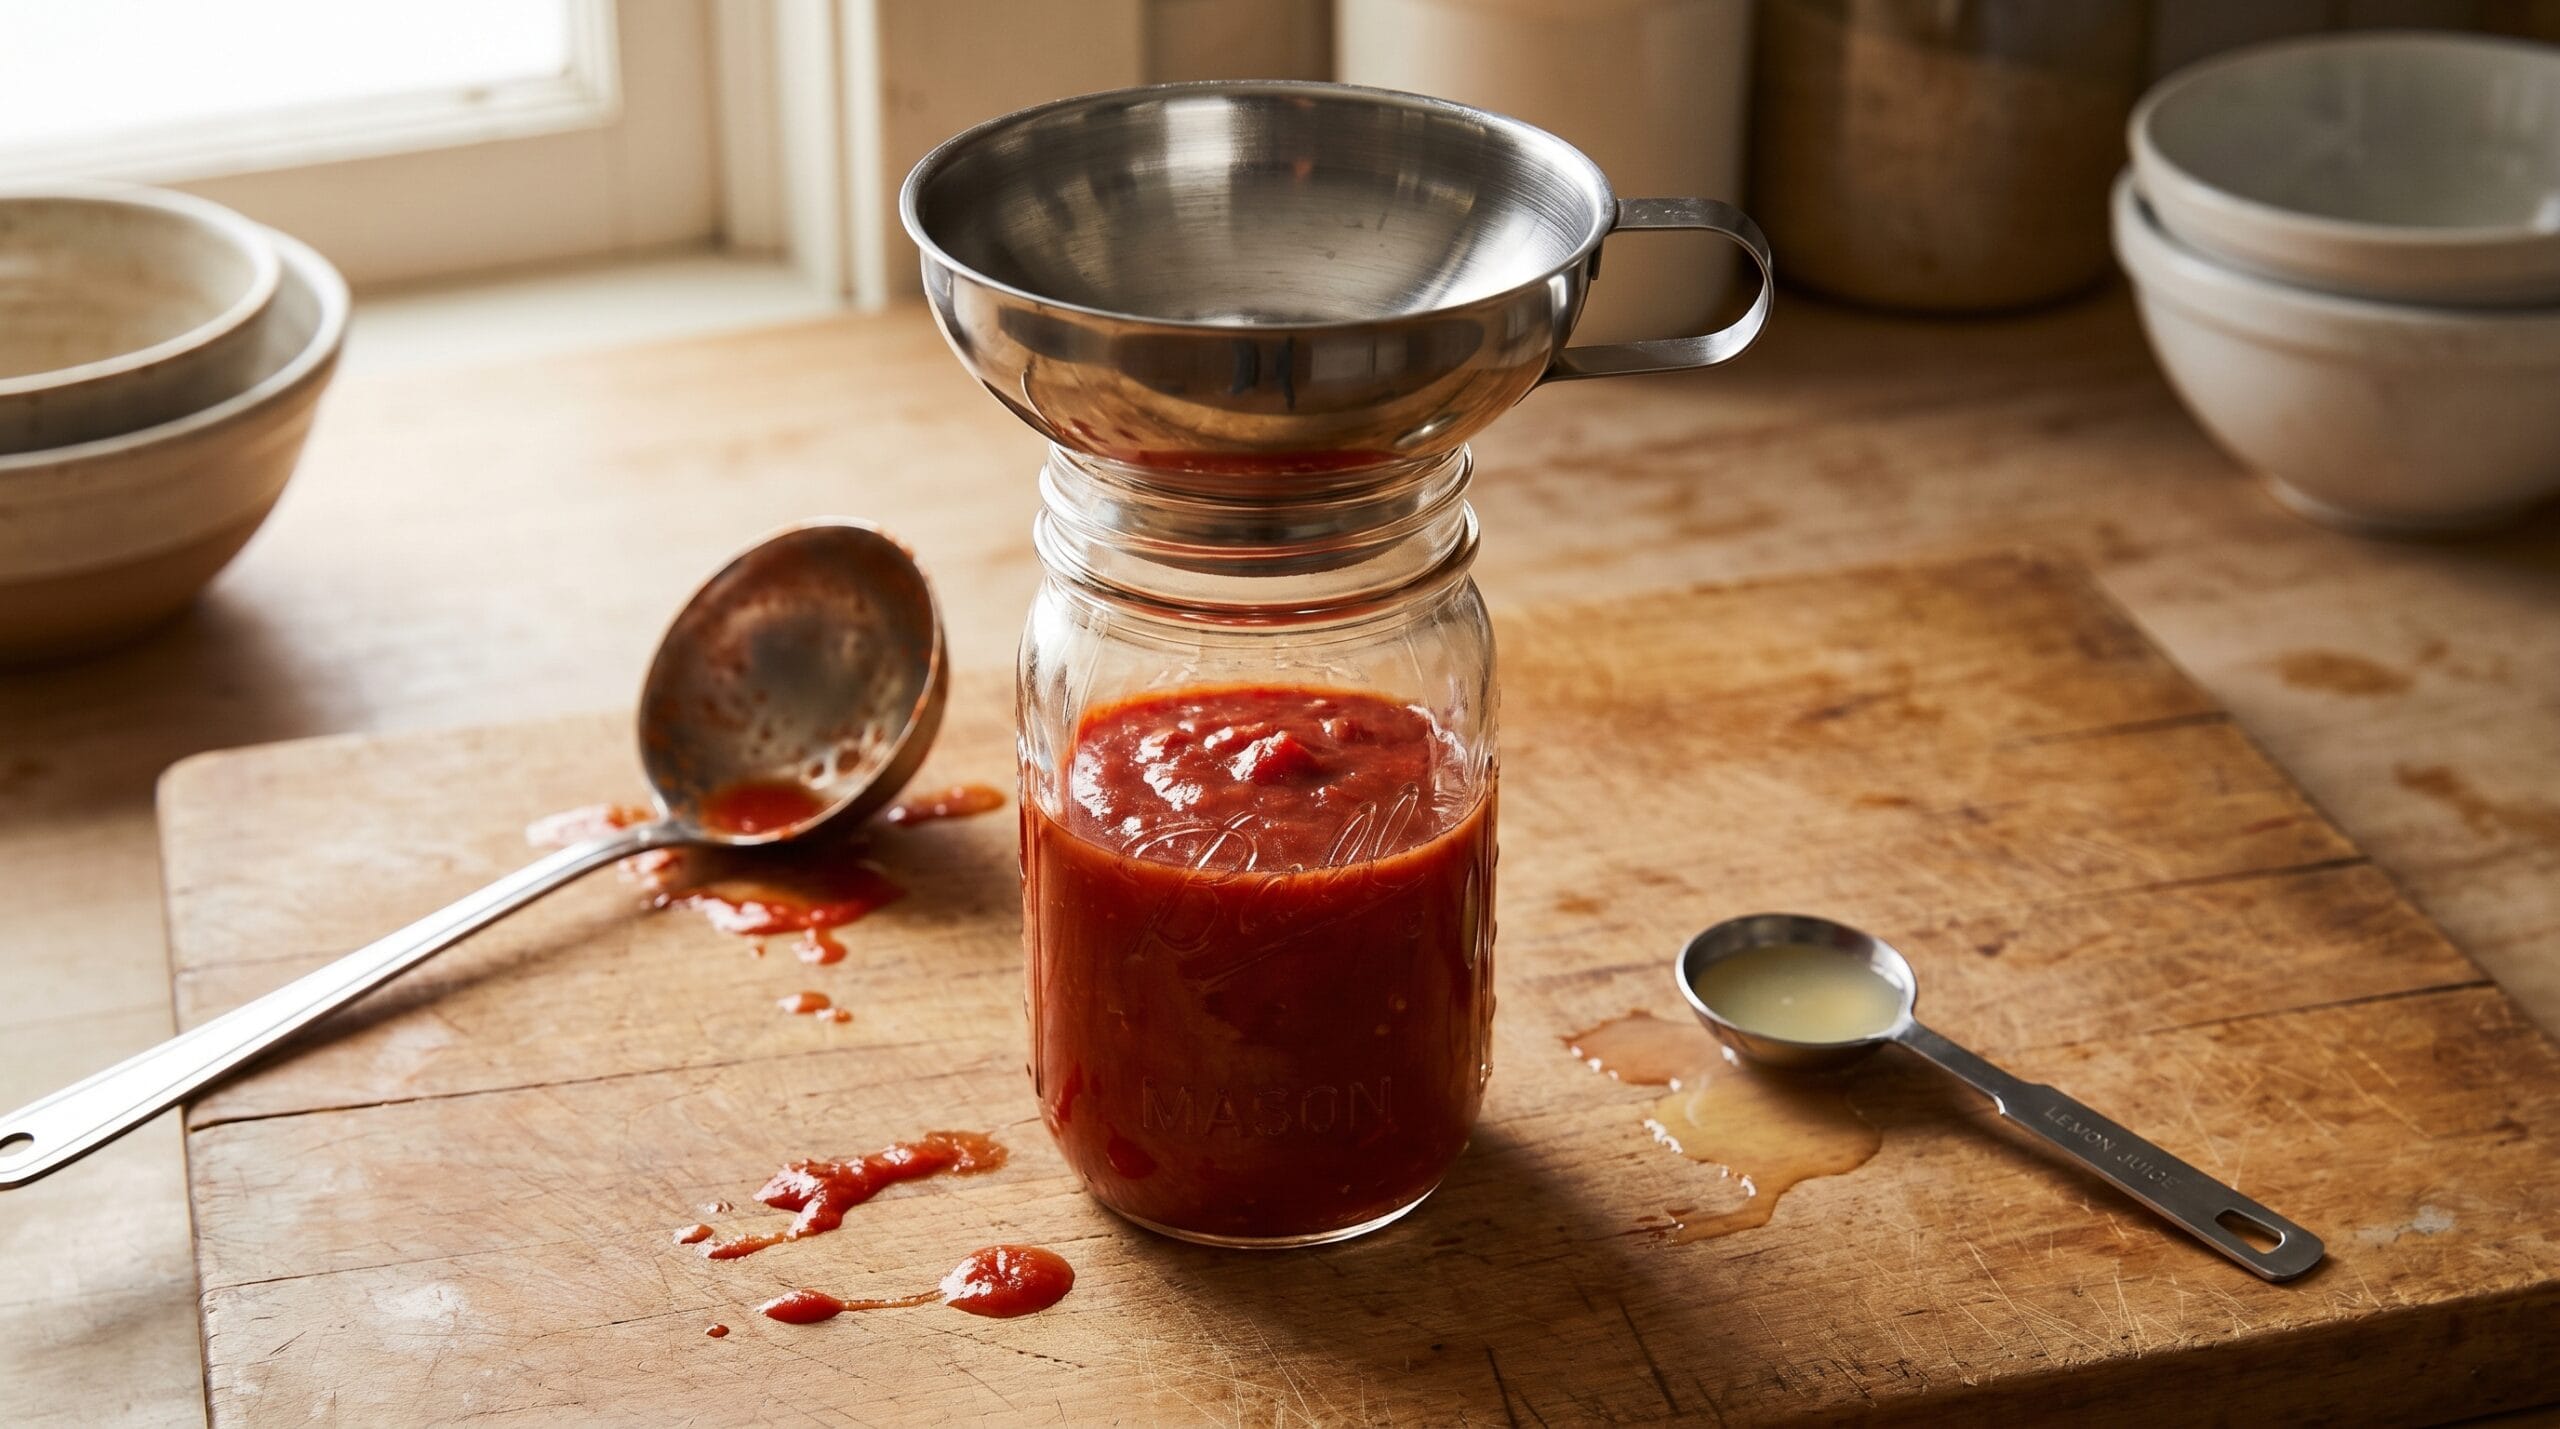
The filling sequence matters and it needs to happen quickly while everything is hot. Set up a clean workspace with your hot jars, your sauce still at a simmer, your lemon juice, and your small tools within reach.
Add the Acid First
Before the sauce goes in, add the lemon juice or citric acid directly to each empty jar. Two tablespoons of bottled lemon juice per quart jar, one tablespoon per pint. This is not optional. The acid needs to be in every jar, every batch. Citric acid at 1/2 teaspoon per quart works equally well.
Fill and Leave Headspace
Ladle hot sauce into hot jars, leaving 1/2 inch of headspace between the surface of the sauce and the rim. Too little headspace and the sauce can bubble up under the lid during processing. Too much and the jar may not seal properly. A headspace tool or a simple ruler makes this precise.
Remove Air Bubbles
Run a thin spatula or a chopstick around the inside edge of each jar, working it through the sauce to release any trapped air pockets. Bubbles left in the sauce take up space and throw off your headspace measurement.
Wipe Rims and Apply Lids
Wipe the rim of each jar with a clean damp cloth. Any residue on the rim can prevent a proper seal. Center the lid on the jar, then apply the band finger-tight. Snug, not torqued down. The band just needs to hold the lid in place during processing.
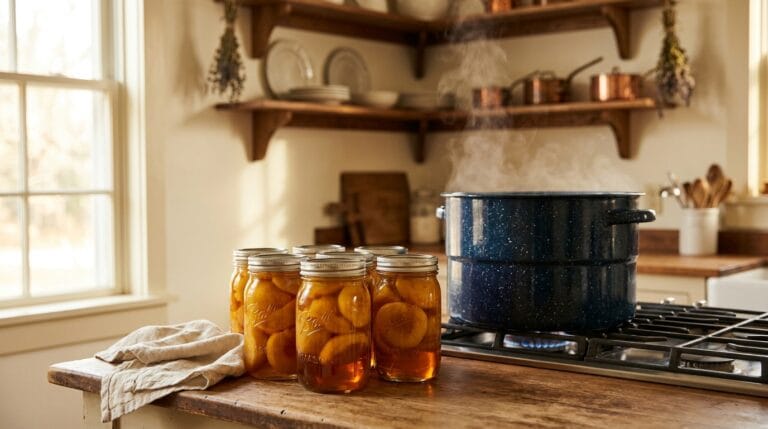
Processing the Jars: Times and What to Watch For
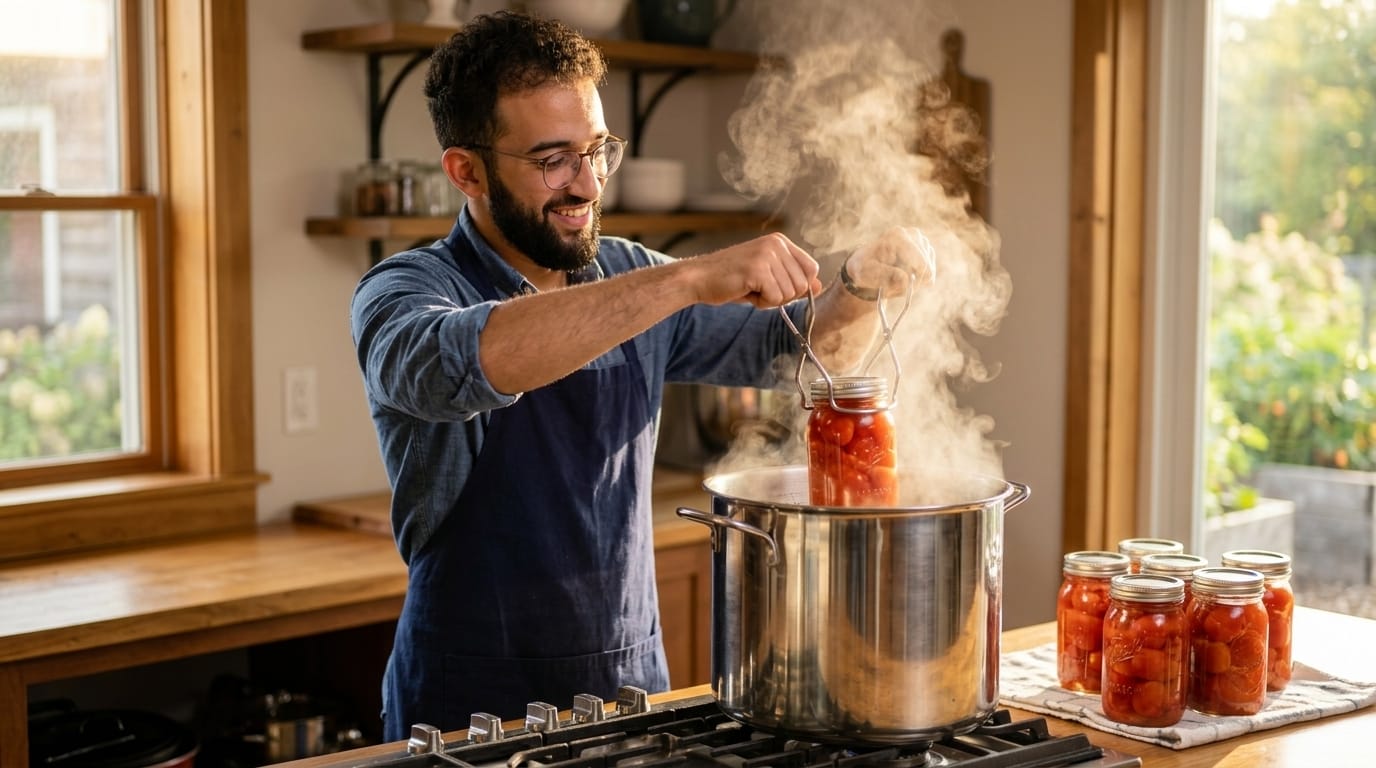
Lower the filled jars into the canner using your jar lifter. The water should already be hot, close to boiling. Once all jars are in, bring the water to a full rolling boil before you start the timer.
Processing Times
- Pints: 35 minutes
- Quarts: 40 minutes
These times apply at sea level. If you are above 1,000 feet in elevation, processing times must be adjusted for altitude when water bath canning tomato products, per land-grant extension guidance. At 1,001 to 3,000 feet, add 5 minutes. At 3,001 to 6,000 feet, add 10 minutes. Check your state cooperative extension for the full altitude table.
During Processing
Do not lift the canner lid during processing. Do not reduce the heat below a full boil. If the water stops boiling at any point, bring it back to a full boil and restart the timer from zero.
One practical note for anyone using a glass-top or induction stove: large, heavy canners can be slow to recover a boil on these surfaces and may struggle to maintain one. If your water drops below a boil during processing, the timer resets. Some glass-top stove manufacturers advise against using heavy canners on their cooktops altogether. Check your stove manual before you start.
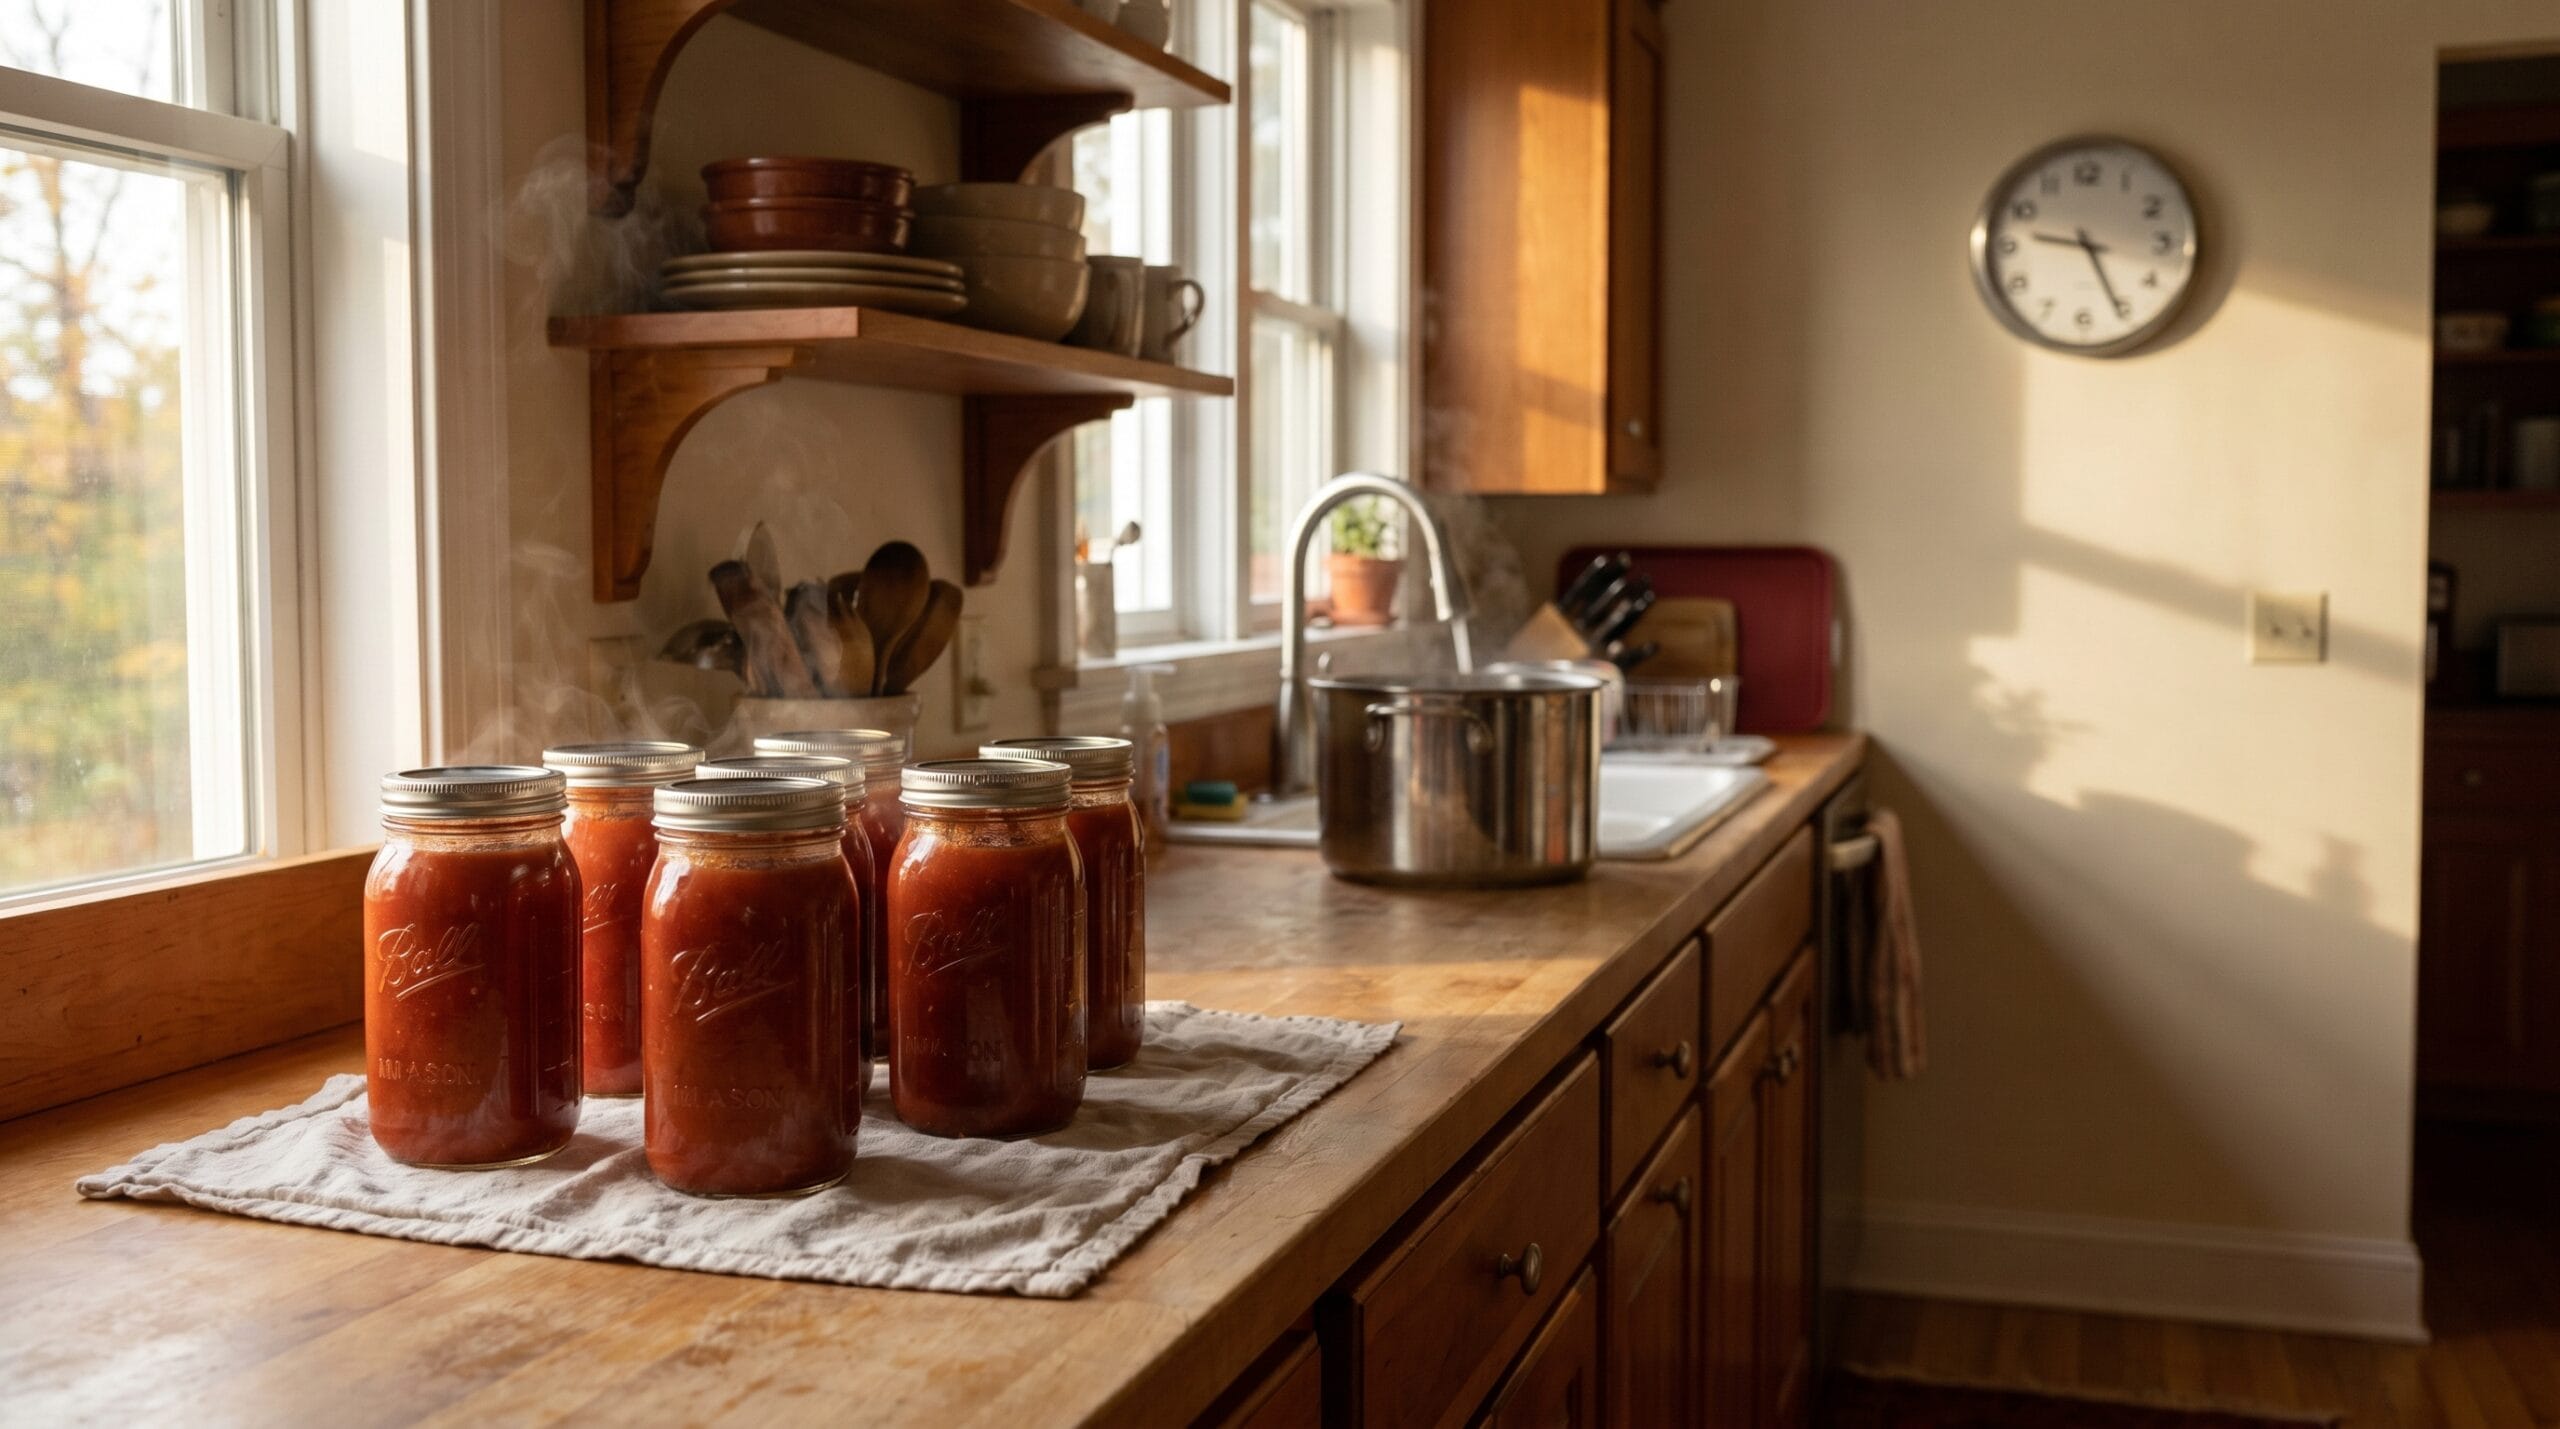
When the time is up, turn off the heat and remove the lid. Wait 5 minutes before lifting jars out. This rest period reduces the chance of liquid siphoning out of the jars as they adjust to the temperature change. Lift jars straight up without tilting, and set them on a folded towel at least 1 inch apart. Leave them undisturbed for 12 to 24 hours.
Do not press on the lids to test them while the jars are still hot. You will hear the satisfying ping of sealing lids as they cool.
Real Time and Cost: What a Canning Day Actually Looks Like
No top-ranking guide for this topic gives honest numbers on what a canning session actually costs you in time and money. Here is a realistic breakdown for a beginner batch.
Total Time
A batch of 7 quarts from scratch, starting with whole tomatoes, runs about 4 to 5 hours from first knife cut to removing jars from the canner. Peeling and prepping 20 to 25 lb of tomatoes takes longer than people expect, roughly 1 to 1.5 hours. Cooking and reducing the sauce takes another hour or more. Filling jars, processing, and cleanup take the rest.
Active time is maybe 2.5 hours. The rest is waiting for water to boil and sauce to reduce. Put on a podcast.
Approximate Cost Per Jar
Costs vary by region and season, but as a rough estimate in 2026: if you are buying paste tomatoes at a farmers market or grocery store, figure on spending roughly $0.80 to $1.50 per pound. At 20 lb for 7 quarts, that is $16 to $30 in tomatoes alone. Add lids, lemon juice, salt, and energy costs, and each quart jar of sauce runs somewhere in the range of $3 to $6 to produce. That is not dramatically cheaper than store brands in most markets.
The value proposition shifts if you are growing your own tomatoes or buying a bushel at peak-season bulk prices. At roughly $0.30 to $0.50 per pound in bulk, the cost per quart drops significantly, and the sauce quality is meaningfully better than anything shelf-stable at that price point.
Is It Worth It?
For other ways to preserve food at home, the calculus varies. For tomato sauce specifically, the payoff is shelf space that does not depend on electricity, plus the satisfaction of knowing exactly what went into every jar. Beginners often discover that the second batch takes half as long as the first. The setup becomes muscle memory quickly.
Freezing sauce is faster and requires no special equipment. Canning frees up freezer space and keeps sauce stable for up to 18 months without power. Neither method is objectively better. Pick the one that fits your setup.
Storing and Checking Sealed Jars
After 12 to 24 hours of undisturbed cooling, press the center of each lid. A sealed lid is firm and does not flex. An unsealed lid will give slightly when pressed and may pop back up. Any jar that did not seal should go directly into the refrigerator and be used within a week.
Remove the bands before putting jars into storage. This sounds counterintuitive, but it matters. A band left on can hold down a lid that has actually lost its seal, masking the failure until you open the jar months later. Without the band, a failed seal will become obvious.
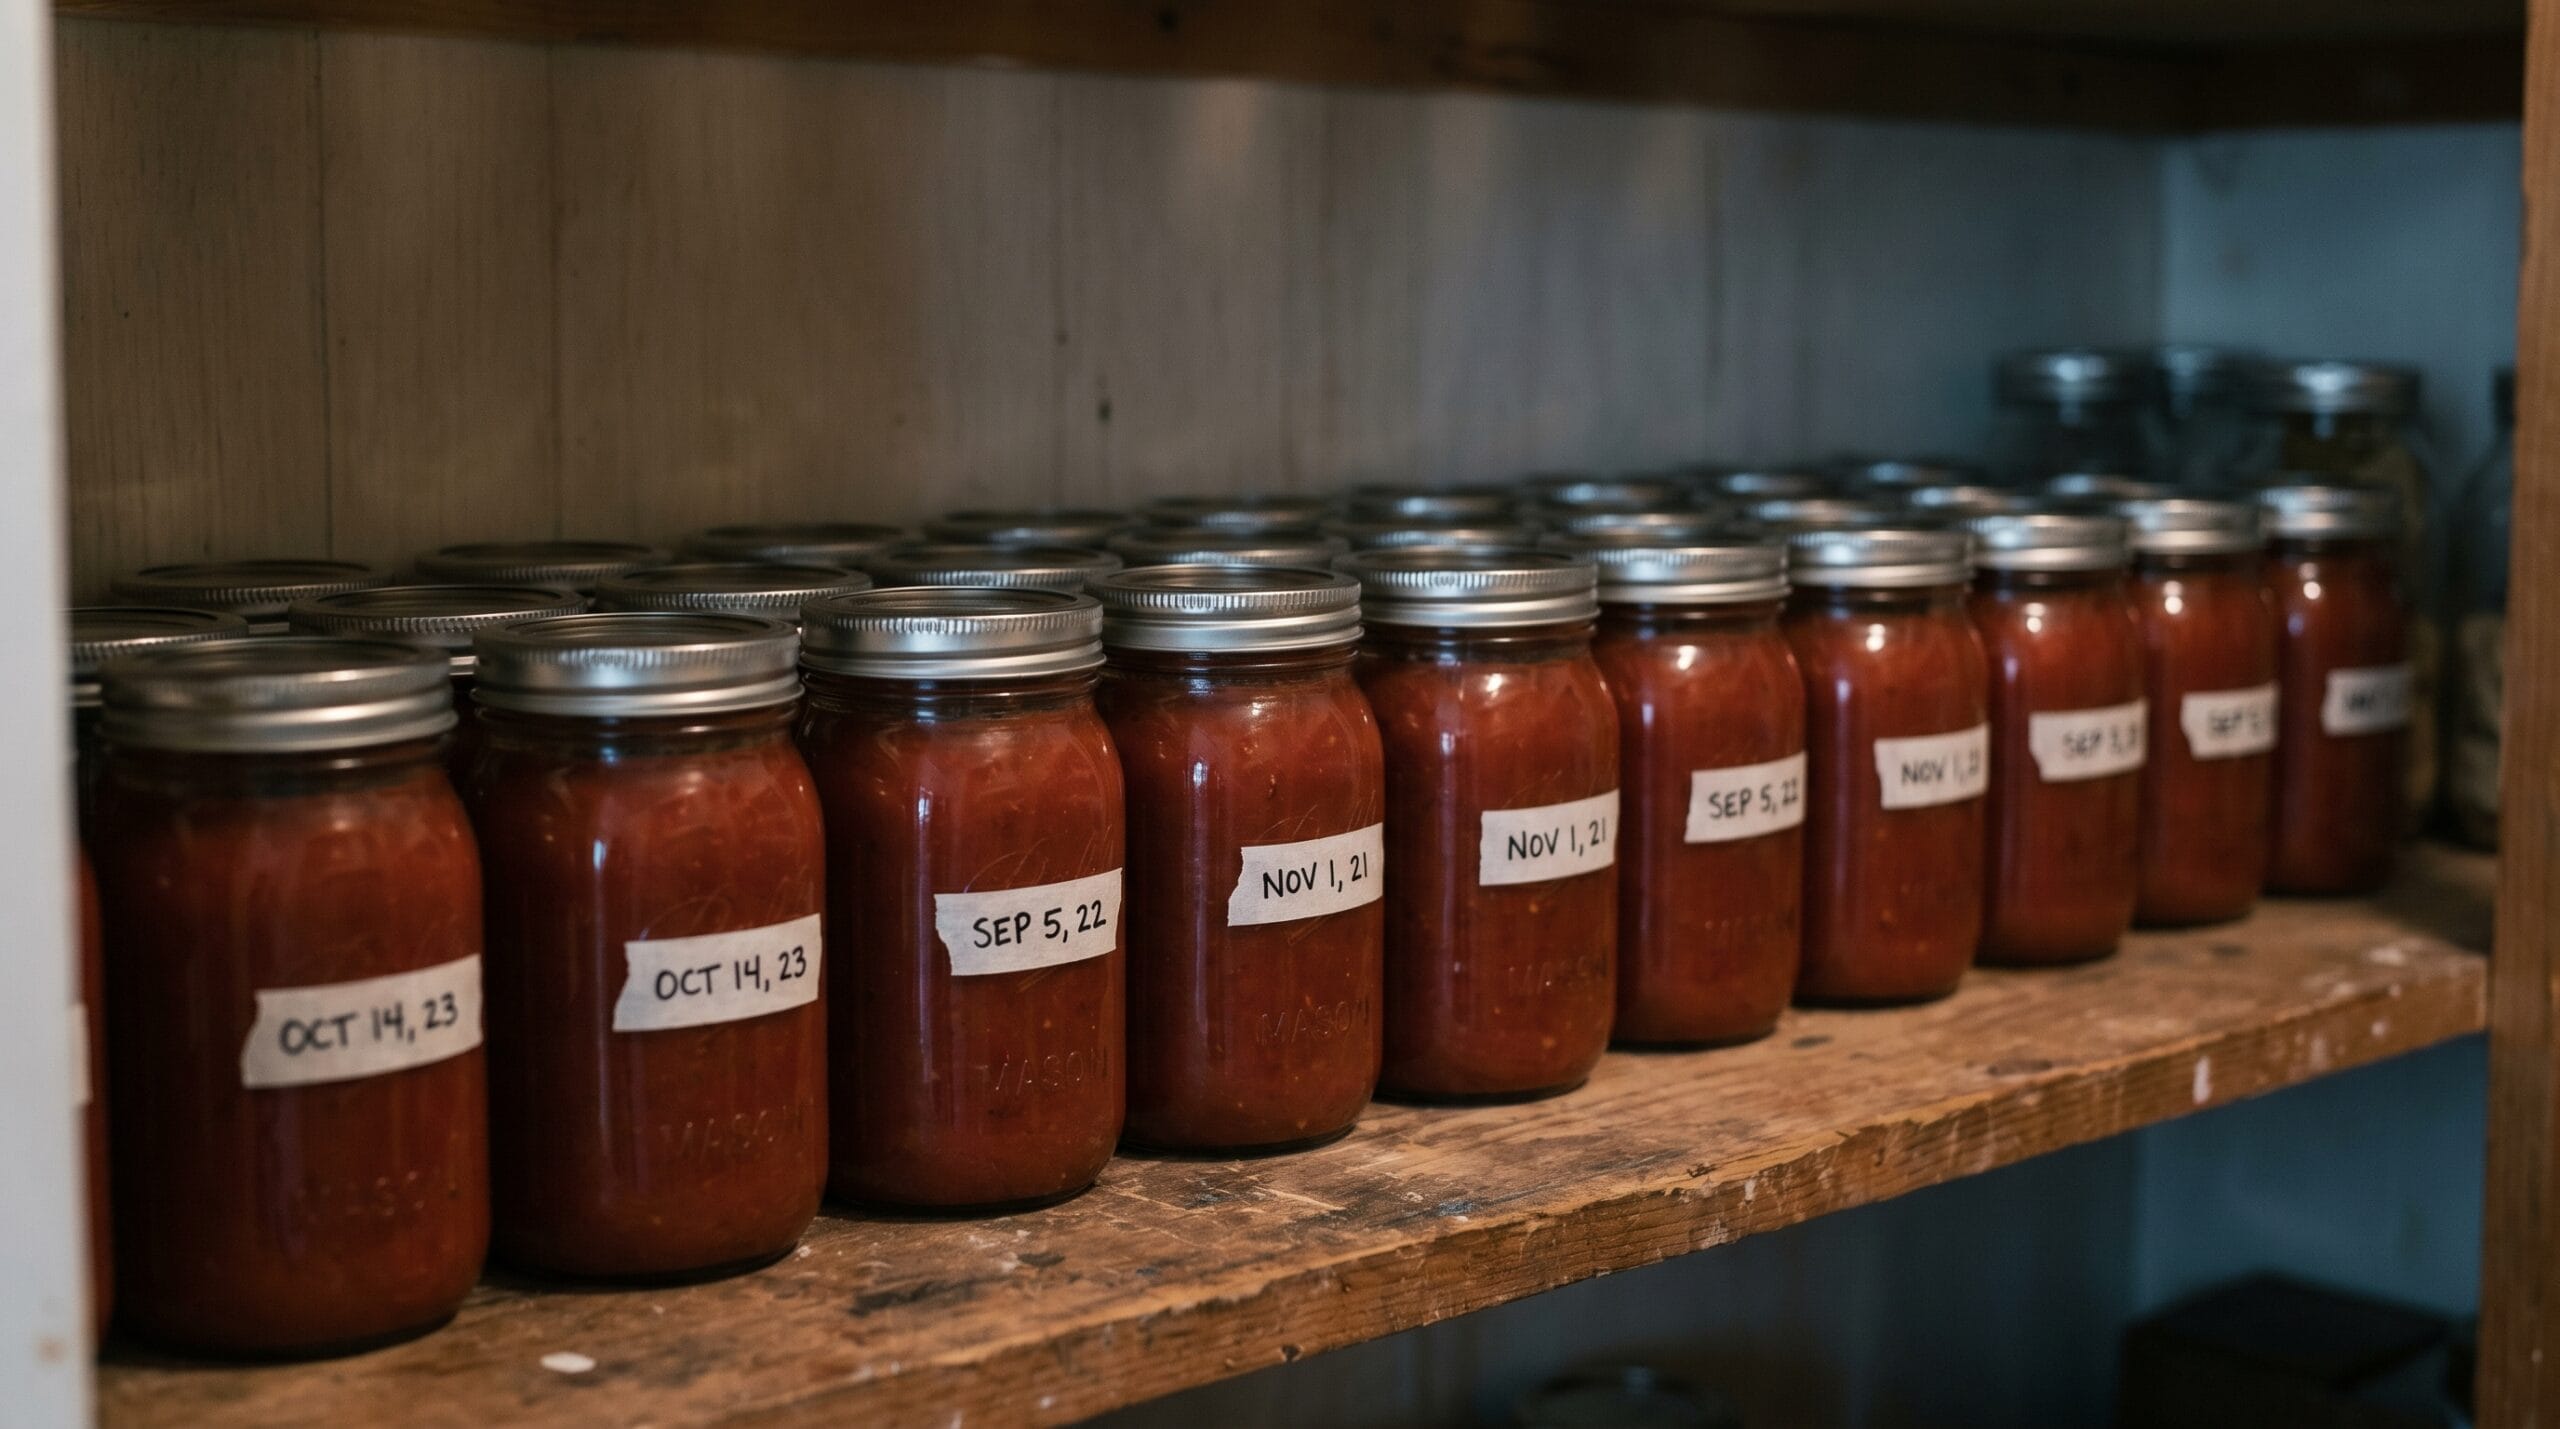
Store sealed jars in a cool, dark location, ideally below 70°F. A basement shelf or a cool pantry works well. Properly sealed canned tomato sauce is generally shelf-stable for 12 to 18 months, in line with USDA guidance, though quality is best in the first year.
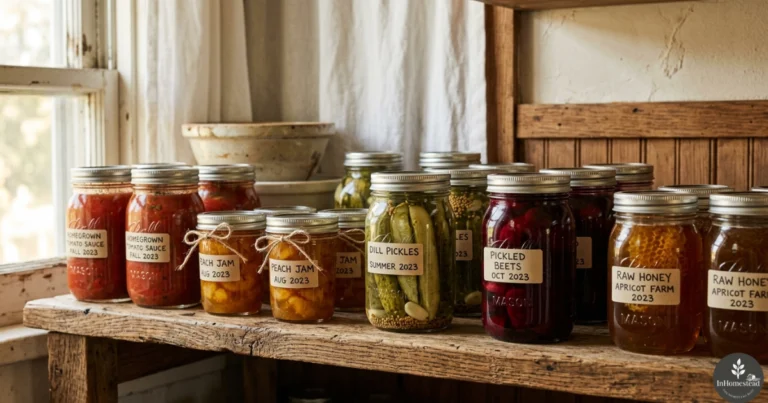
Label each jar with the date and contents before you put it away. “Tomato sauce, July 2026” tells you everything you need at a glance. A simple strip of masking tape and a marker is all you need.
Signs Something Went Wrong
Before opening any jar, check for these warning signs: a lid that bulges upward, a lid that pops when you press it, any spurting liquid when opened, cloudiness in the sauce that was not there when you filled the jar, or any off smell. Do not taste-test anything that shows these signs.
If you suspect a jar has spoiled, do not open it further or pour the contents down a drain. Place the sealed jar in a heavy plastic bag, seal the bag, and put it in a covered trash container out of reach of people and animals. If a jar has already been opened, the USDA recommends detoxifying the contents before disposal: place the jar and lid in a pot, cover with water by at least an inch, boil for 30 minutes, then discard. Wear gloves when handling any suspected jar and wash your hands thoroughly afterward.
If you want to branch out from water bath canning, another beginner-friendly preservation project that uses an entirely different preservation mechanism is fermented pickles. No heat processing required, and the risk profile is well-understood once you learn the basics.
From the In Homestead Shop
Want every water-bath recipe in one place?
The Beginner’s Canning eBook gathers 12 tested recipes — this tomato sauce included — with every processing time pulled straight from the USDA and the National Center for Home Food Preservation, plus a printable safety card for the kitchen wall.
Frequently Asked Questions About Canning Tomato Sauce
Is It Better to Pressure Can or Water Bath Tomato Sauce?
Water bath canning is safe for plain tomato sauce when you follow an NCHFP-approved recipe and add the correct amount of bottled lemon juice. Pressure canning is required if your sauce contains meat, peppers added beyond tested amounts, or other low-acid vegetables. For plain sauce, water bath is the more accessible method and perfectly adequate.
What Can I Use If I Do Not Have a Pressure Canner?
For plain tomato sauce without meat, a water bath canner (or any large pot with a rack) is sufficient. If you want to make meat sauce or other low-acid products and do not own a pressure canner, freeze them instead. Freezing meat sauce is safe, practical, and requires no special equipment beyond a freezer-safe container.
How Long Does Canned Tomato Sauce Last?
The USDA places best quality within the first year. Most sources consider properly sealed jars shelf-stable for up to 18 months when stored in a cool, dark location. Flavor and color tend to fade after that even if the seal remains intact. Once opened, refrigerate and use within a week.
How Long to Pressure Can Tomato Sauce with Meat?
Meat sauce processed in a pressure canner requires 60 minutes for pints and 70 minutes for quarts at 10 lb pressure (adjusted for altitude). Always follow an established recipe from the NCHFP or USDA rather than adapting a standard sauce recipe. The density and composition of the sauce affects heat penetration.
What Are the Most Common Mistakes When Canning Tomatoes?
The most common mistakes are skipping the acid addition entirely, using overripe or damaged fruit, measuring headspace imprecisely, and starting the processing timer before the water has returned to a full boil. A related error is substituting fresh lemon juice for bottled: fresh juice has variable acidity and is not equivalent for canning safety purposes.