Beef Broth Recipe: One Pot, No Waste, Ready in About 5 Hours
You probably already have most of what you need. A bag of bones in the freezer from last week’s roast, half an onion, a few carrots going soft in the crisper. Homemade beef broth is one of those projects that looks like it takes all day, and technically it does, but almost none of that time is yours. The pot does the work. You just have to start it.
The other thing beginners often discover is that the scraps they were throwing away are the valuable part. Knuckle bones, marrow bones, the odd bits trimmed from a roast: these are what turn plain water into something rich, dark, and genuinely useful. Nothing goes to waste, and the spent vegetables and bones can go straight into the compost bin when you are done.
Homemade beef broth recipe is made by simmering roasted beef bones with onion, carrot, garlic, and water for 4 to 8 hours on the stovetop. Roasting the bones first at 425 F for 30 to 40 minutes deepens the color and flavor before a drop of water touches them. A slow cooker can extend that to 10 to 18 hours hands-free.
Table of Contents
Quick Answer
- Use 2 to 3 lb of mixed beef bones (knuckle, marrow, or neck bones work well)
- Roast bones at 425 F for 30 to 40 minutes before adding any liquid
- Simmer on the stovetop for 4 to 8 hours at the lowest possible heat, not a boil
- Add onion, carrot, garlic, tomato paste, and a splash of red wine vinegar
- Strain through a fine mesh strainer, then salt to taste after straining
- Refrigerate up to 5 days or freeze up to 6 months
- Slow cooker option: 10 to 18 hours on low; Instant Pot option: 120 minutes at high pressure
Beef Broth vs. Beef Stock: Does the Difference Matter Here?
Technically, stock is made from bones and broth is made from meat. That is the classical distinction, and culinary schools will insist on it. In home cooking, though, the terms get used interchangeably, and the recipes are nearly identical.
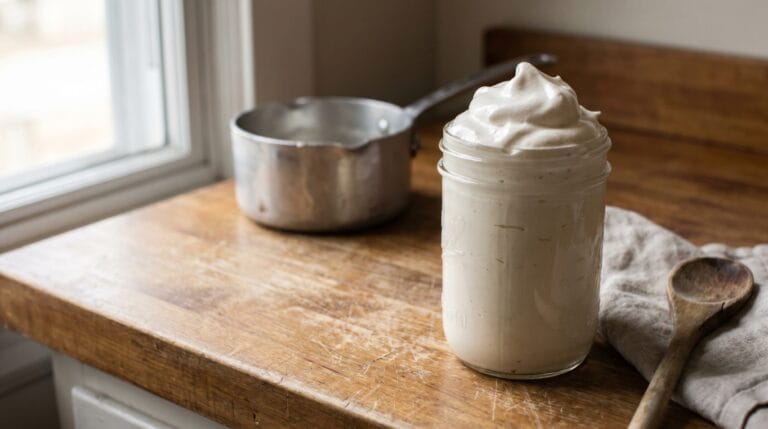
For most homesteaders working from saved roast bones, the result sits somewhere between the two: rich, deeply colored, and gelatinous when chilled. That gel is collagen pulled from the bones during the long simmer. It means your broth is doing everything right. Do not be alarmed by it, and do not try to cook it out. The recipe below works regardless of what you call the end result.
Which Bones to Use and Where to Get Them
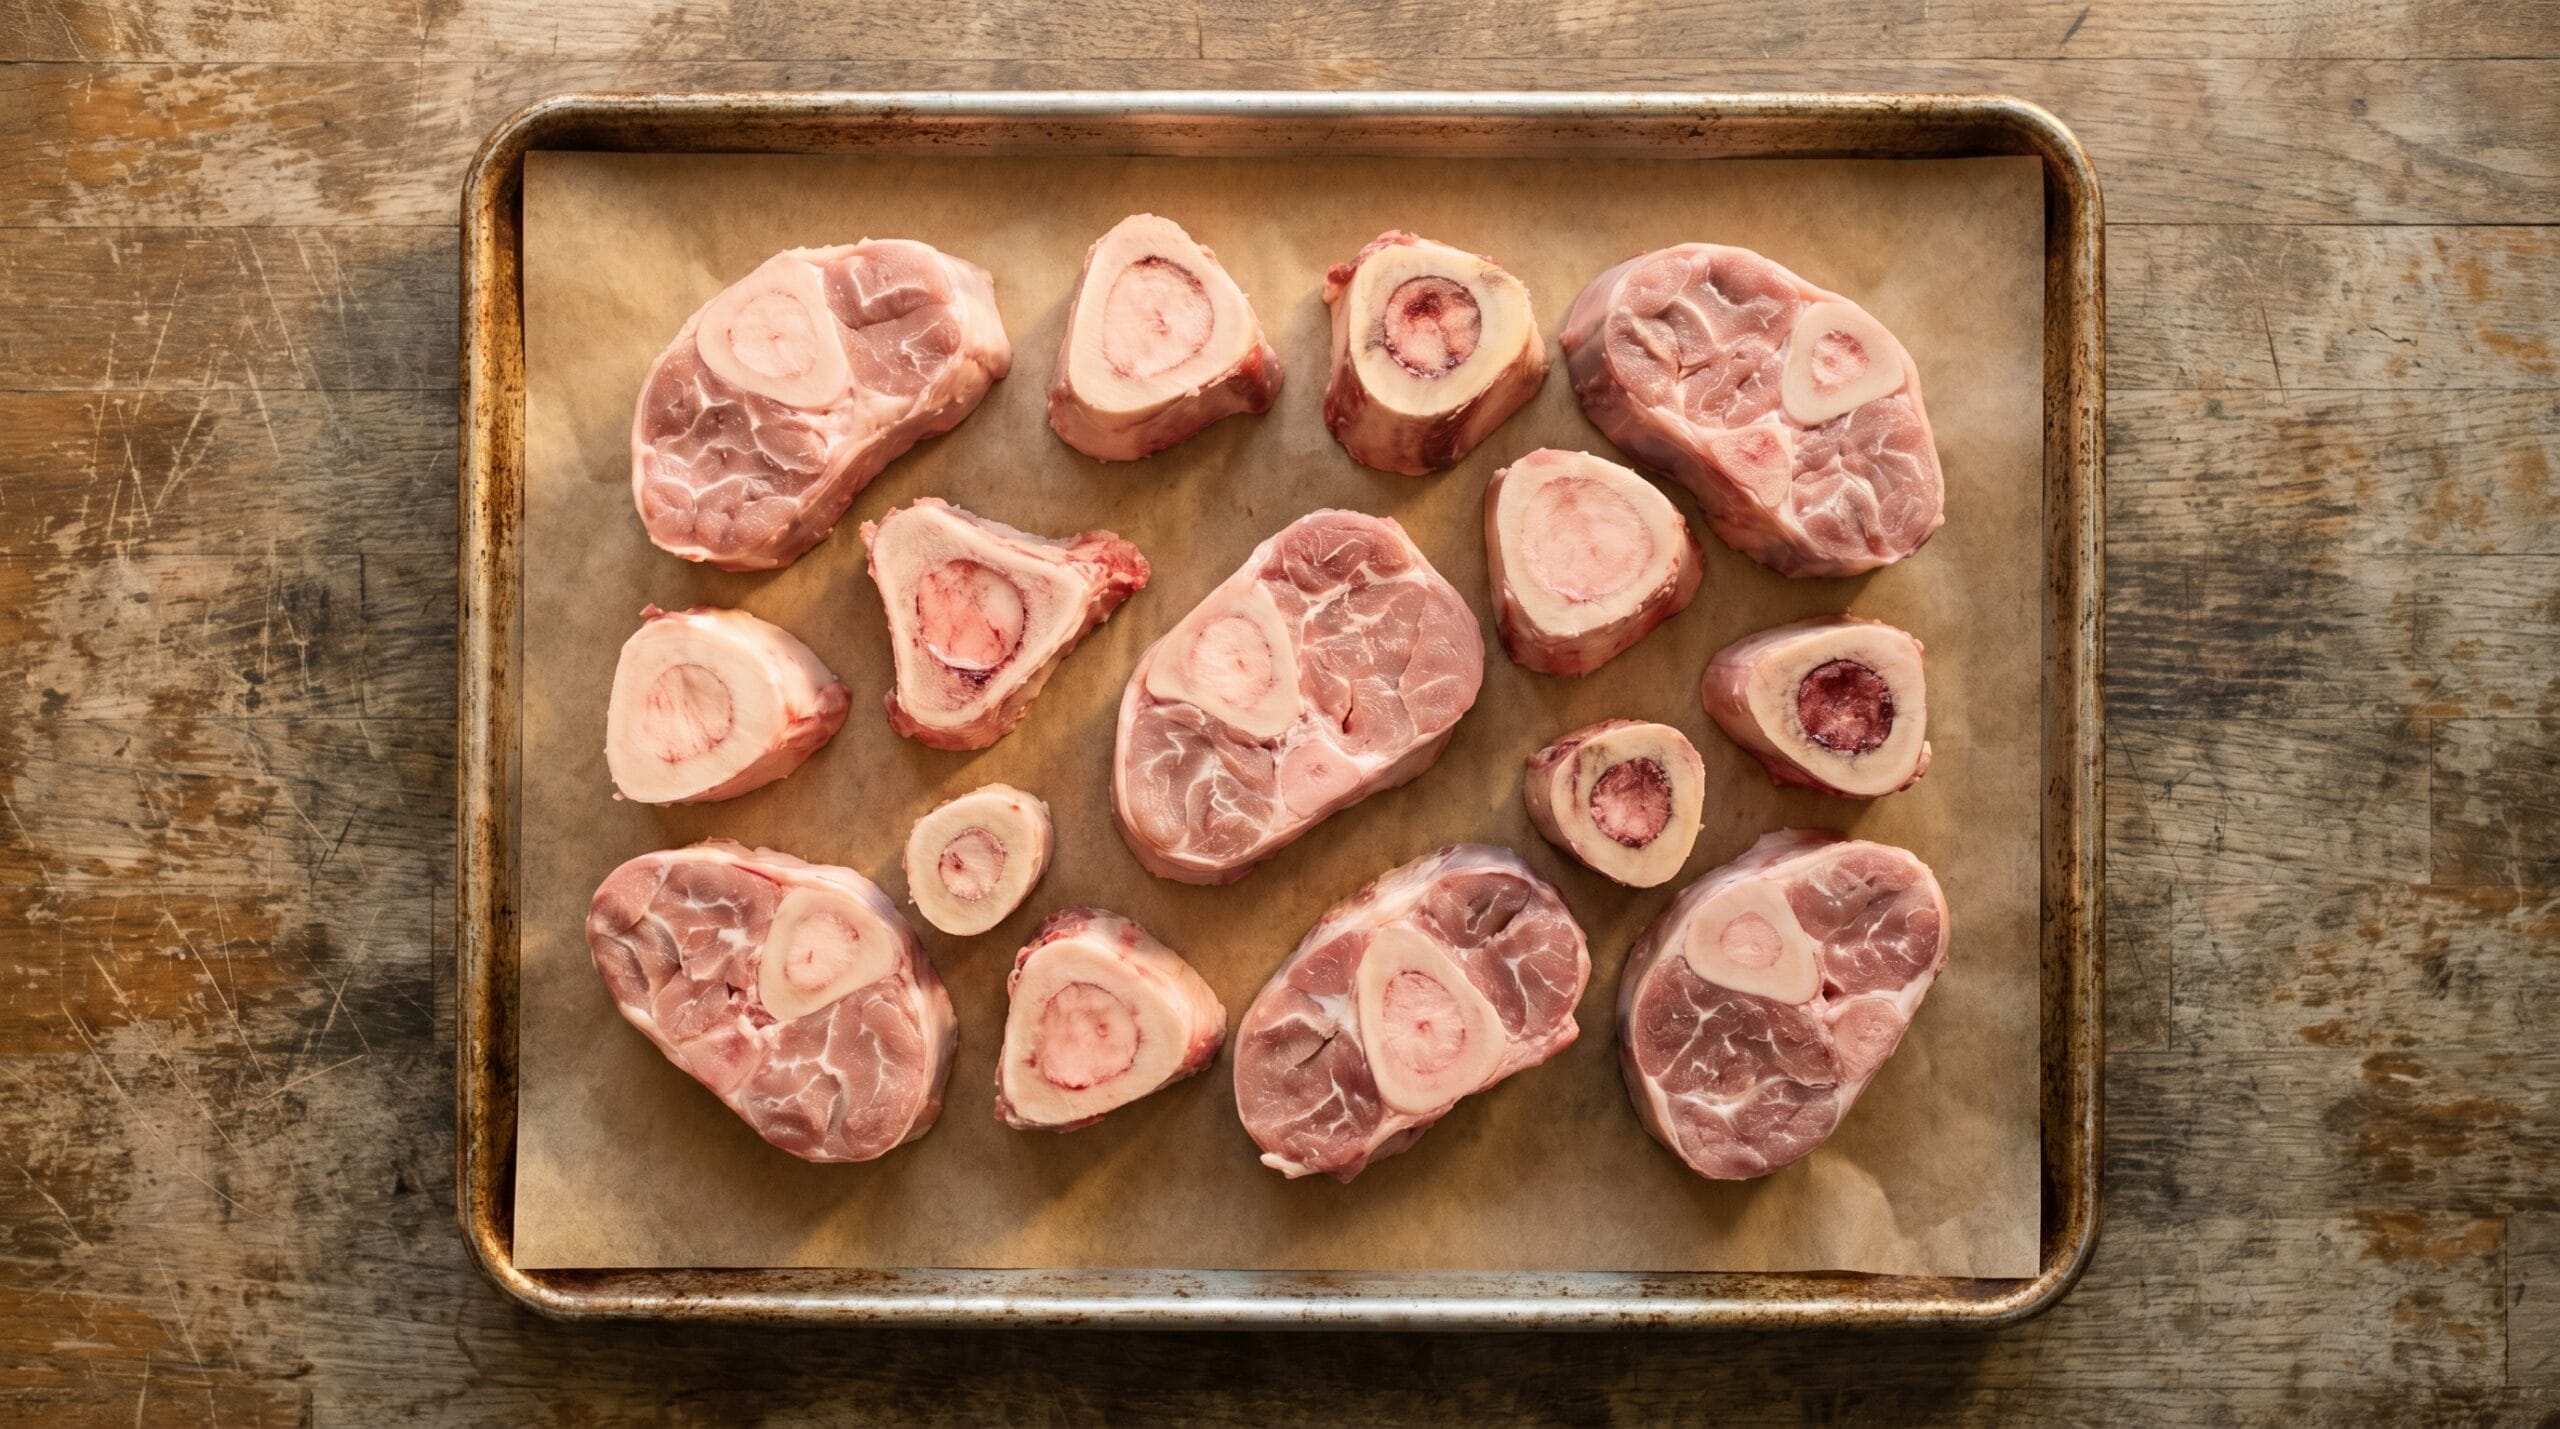
The bones you choose determine the final texture more than any seasoning decision you make. Knuckle bones and marrow bones give the most gelatin, which is what produces that silky, slightly thick mouthfeel in a finished broth. Neck bones and short ribs add depth of flavor. Oxtail does both.
A simple starting point is a 50/50 mix of marrow bones and knuckle bones, roughly 2 to 3 lb total. That combination reliably produces a broth that gels when refrigerated, which is the clearest sign that the bones did their job.
Where to Source Bones
Saved bones from a roast are ideal, and the freezer bag approach works well: collect beef bones in a sealed zip-top bag over several weeks until you have enough to start a batch. There is no need to wait until after a specific meal or commit to cooking a whole roast just to make broth.
Butchers often sell beef bones separately at a lower price than roast cuts, sometimes as low as a dollar or two per pound depending on the cut and the shop. Grocery stores with a full meat counter frequently carry marrow bones in the beef section. Ask if you do not see them displayed.
The Full Beef Broth Recipe (Stovetop Method)
Ingredients
- 2 to 3 lb mixed beef bones (marrow, knuckle, neck, or short rib)
- 1 large onion, quartered (no need to peel)
- 2 to 3 medium carrots, roughly chopped
- 4 to 6 garlic cloves, smashed
- 1 tbsp tomato paste
- 1 tbsp red wine vinegar
- 10 to 12 cups cold water
- Salt to taste, added only after straining
Steps
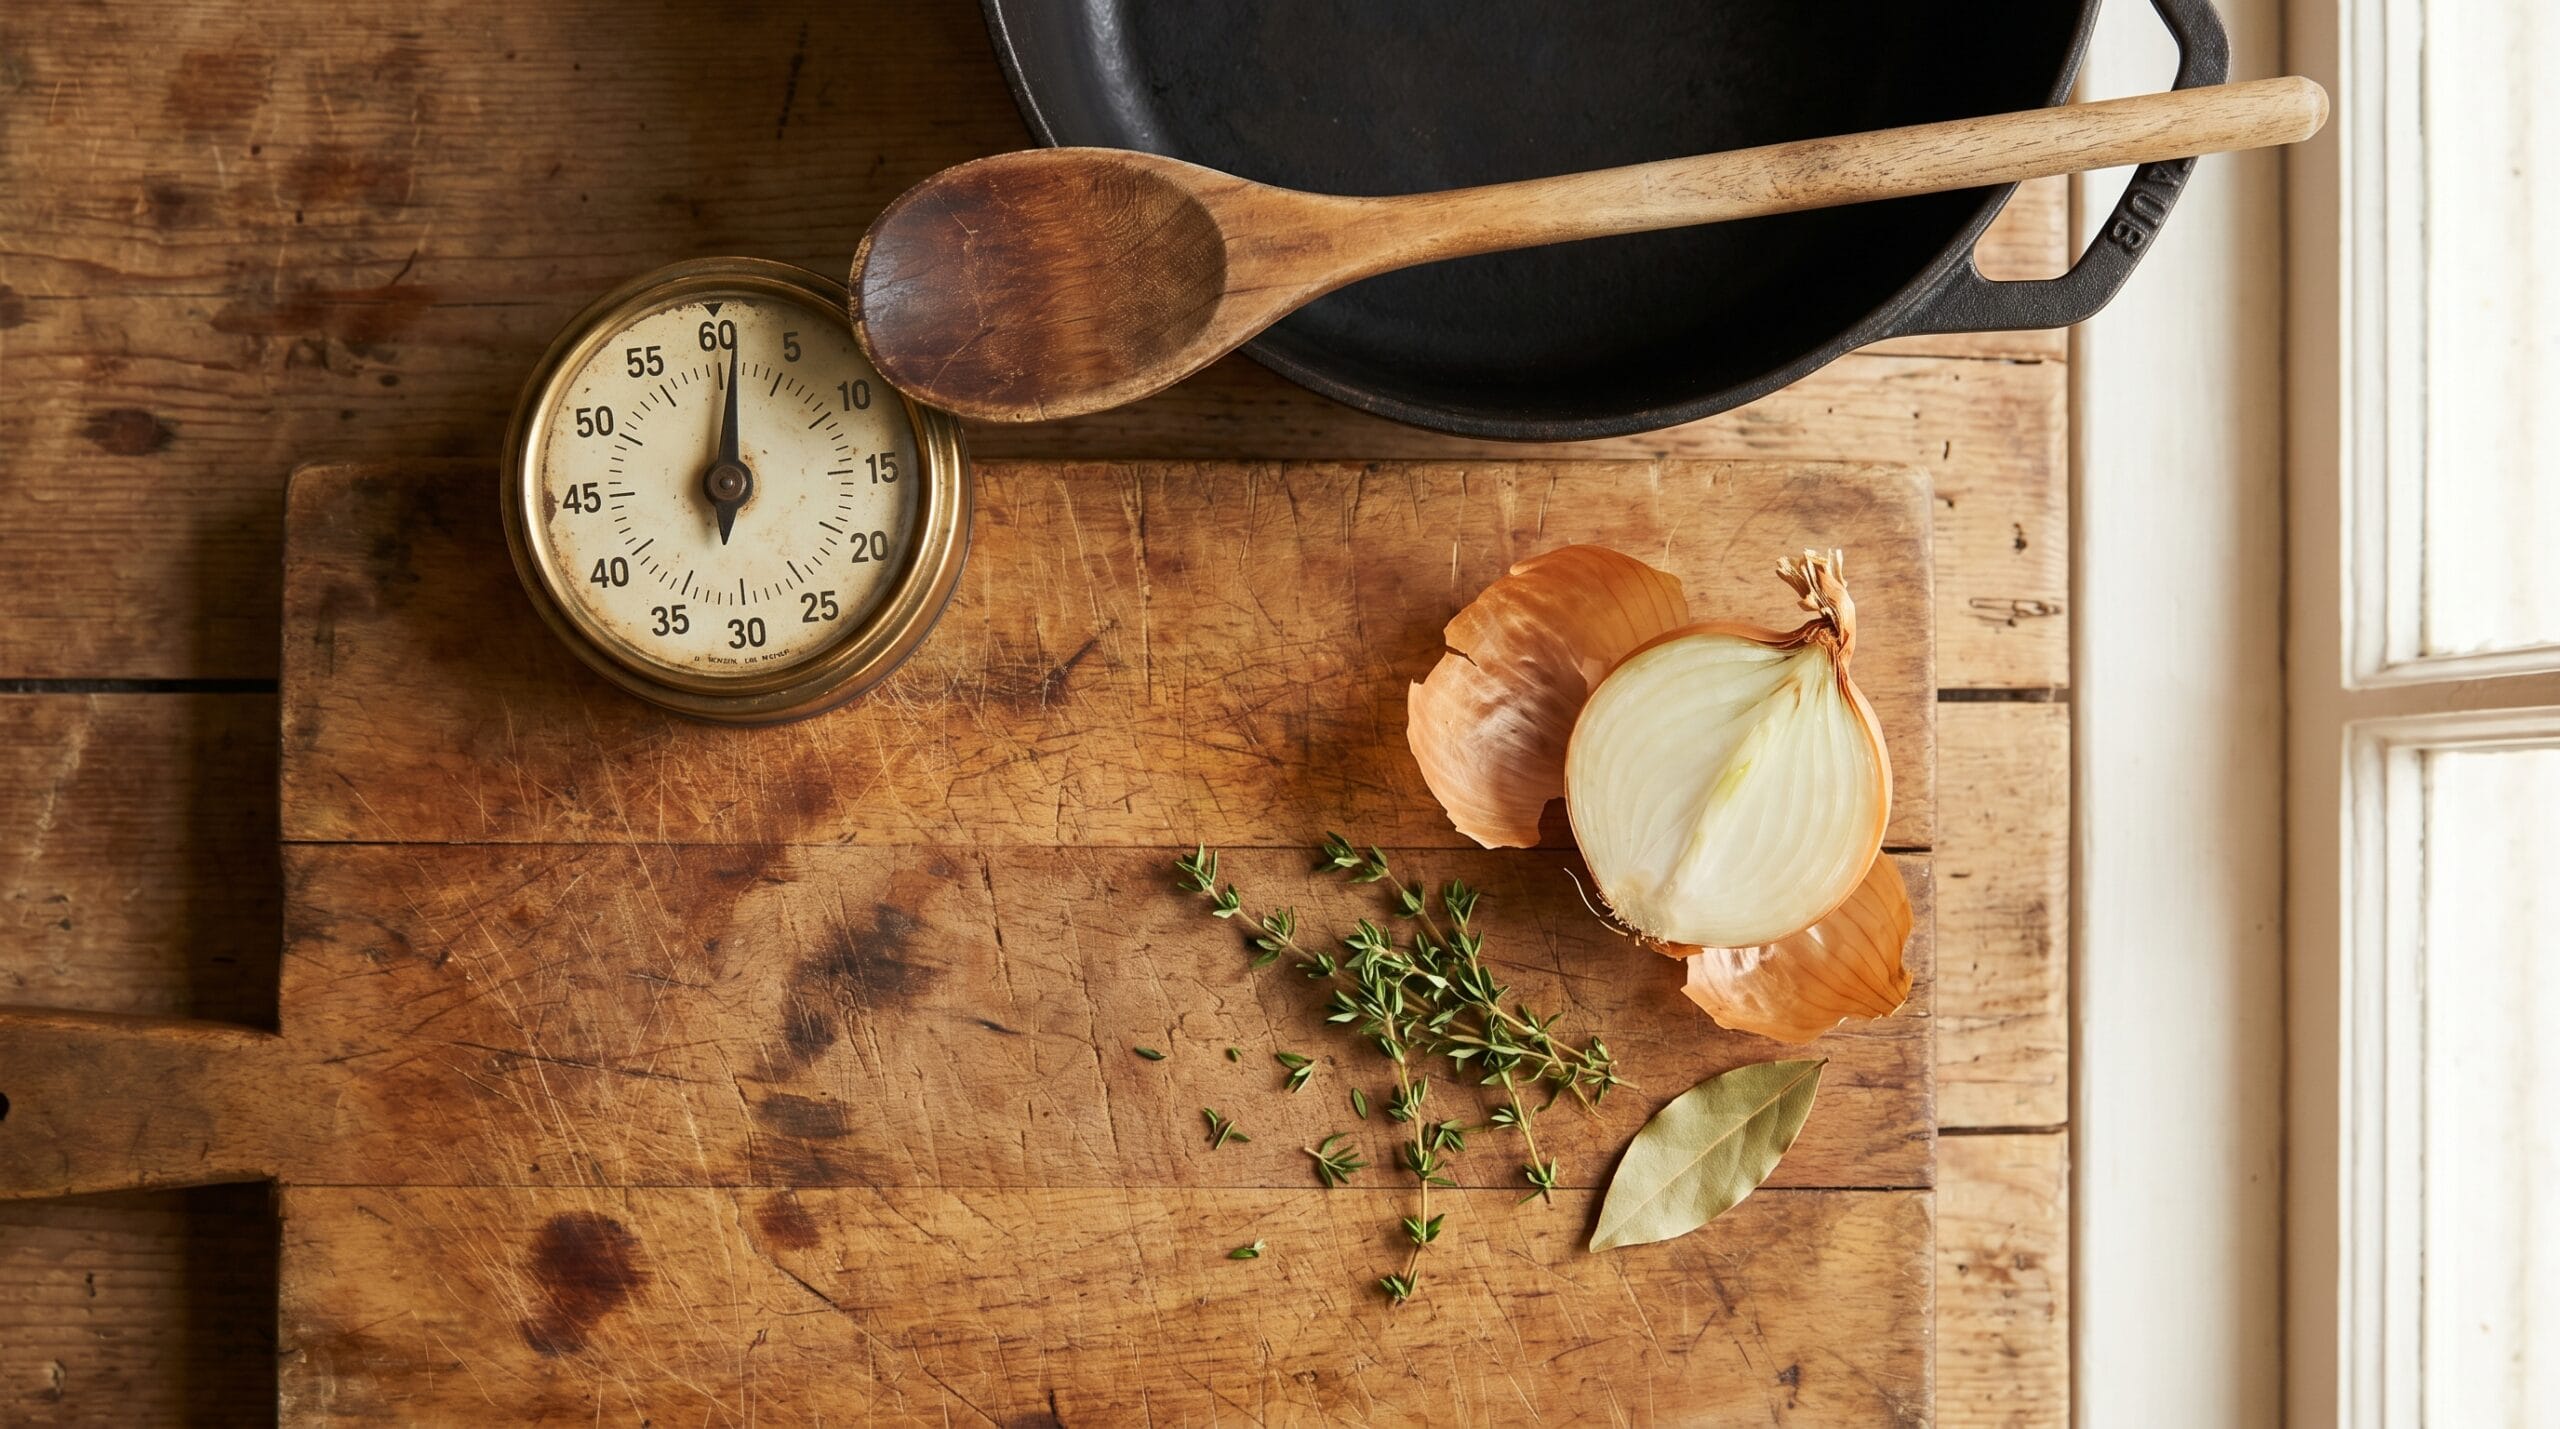
Step 1: Roast the bones. Spread bones on a sheet pan or cast iron skillet and roast at 425 F for 30 to 40 minutes, turning once halfway through. You are looking for a deep golden-brown color on the cut surfaces. This is where most of the final flavor comes from.
Step 2: Deglaze the pan. Remove bones to a Dutch oven or large heavy pot. Pour about 1 cup of water onto the hot sheet pan and scrape up the browned bits with a wooden spoon. Add everything from the pan to the pot. Those drippings matter.
Step 3: Build the pot. Add onion, carrot, garlic, tomato paste, and vinegar. Cover everything with the cold water. The vinegar is not there for flavor, a small amount of acid helps pull minerals and collagen from the bones during the long simmer without leaving any sour taste in the finished broth.
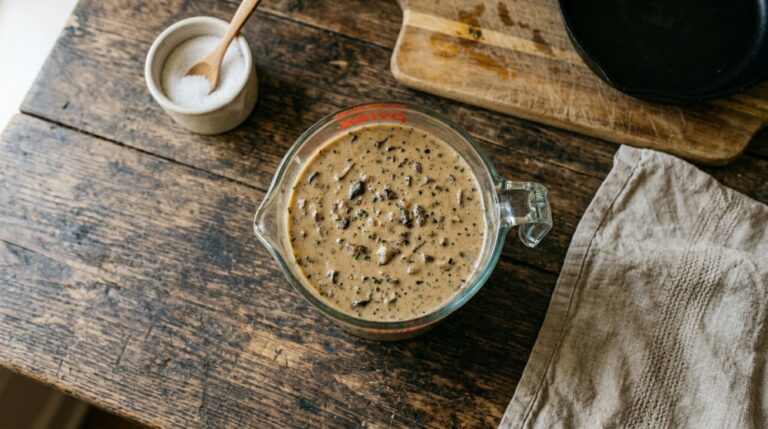
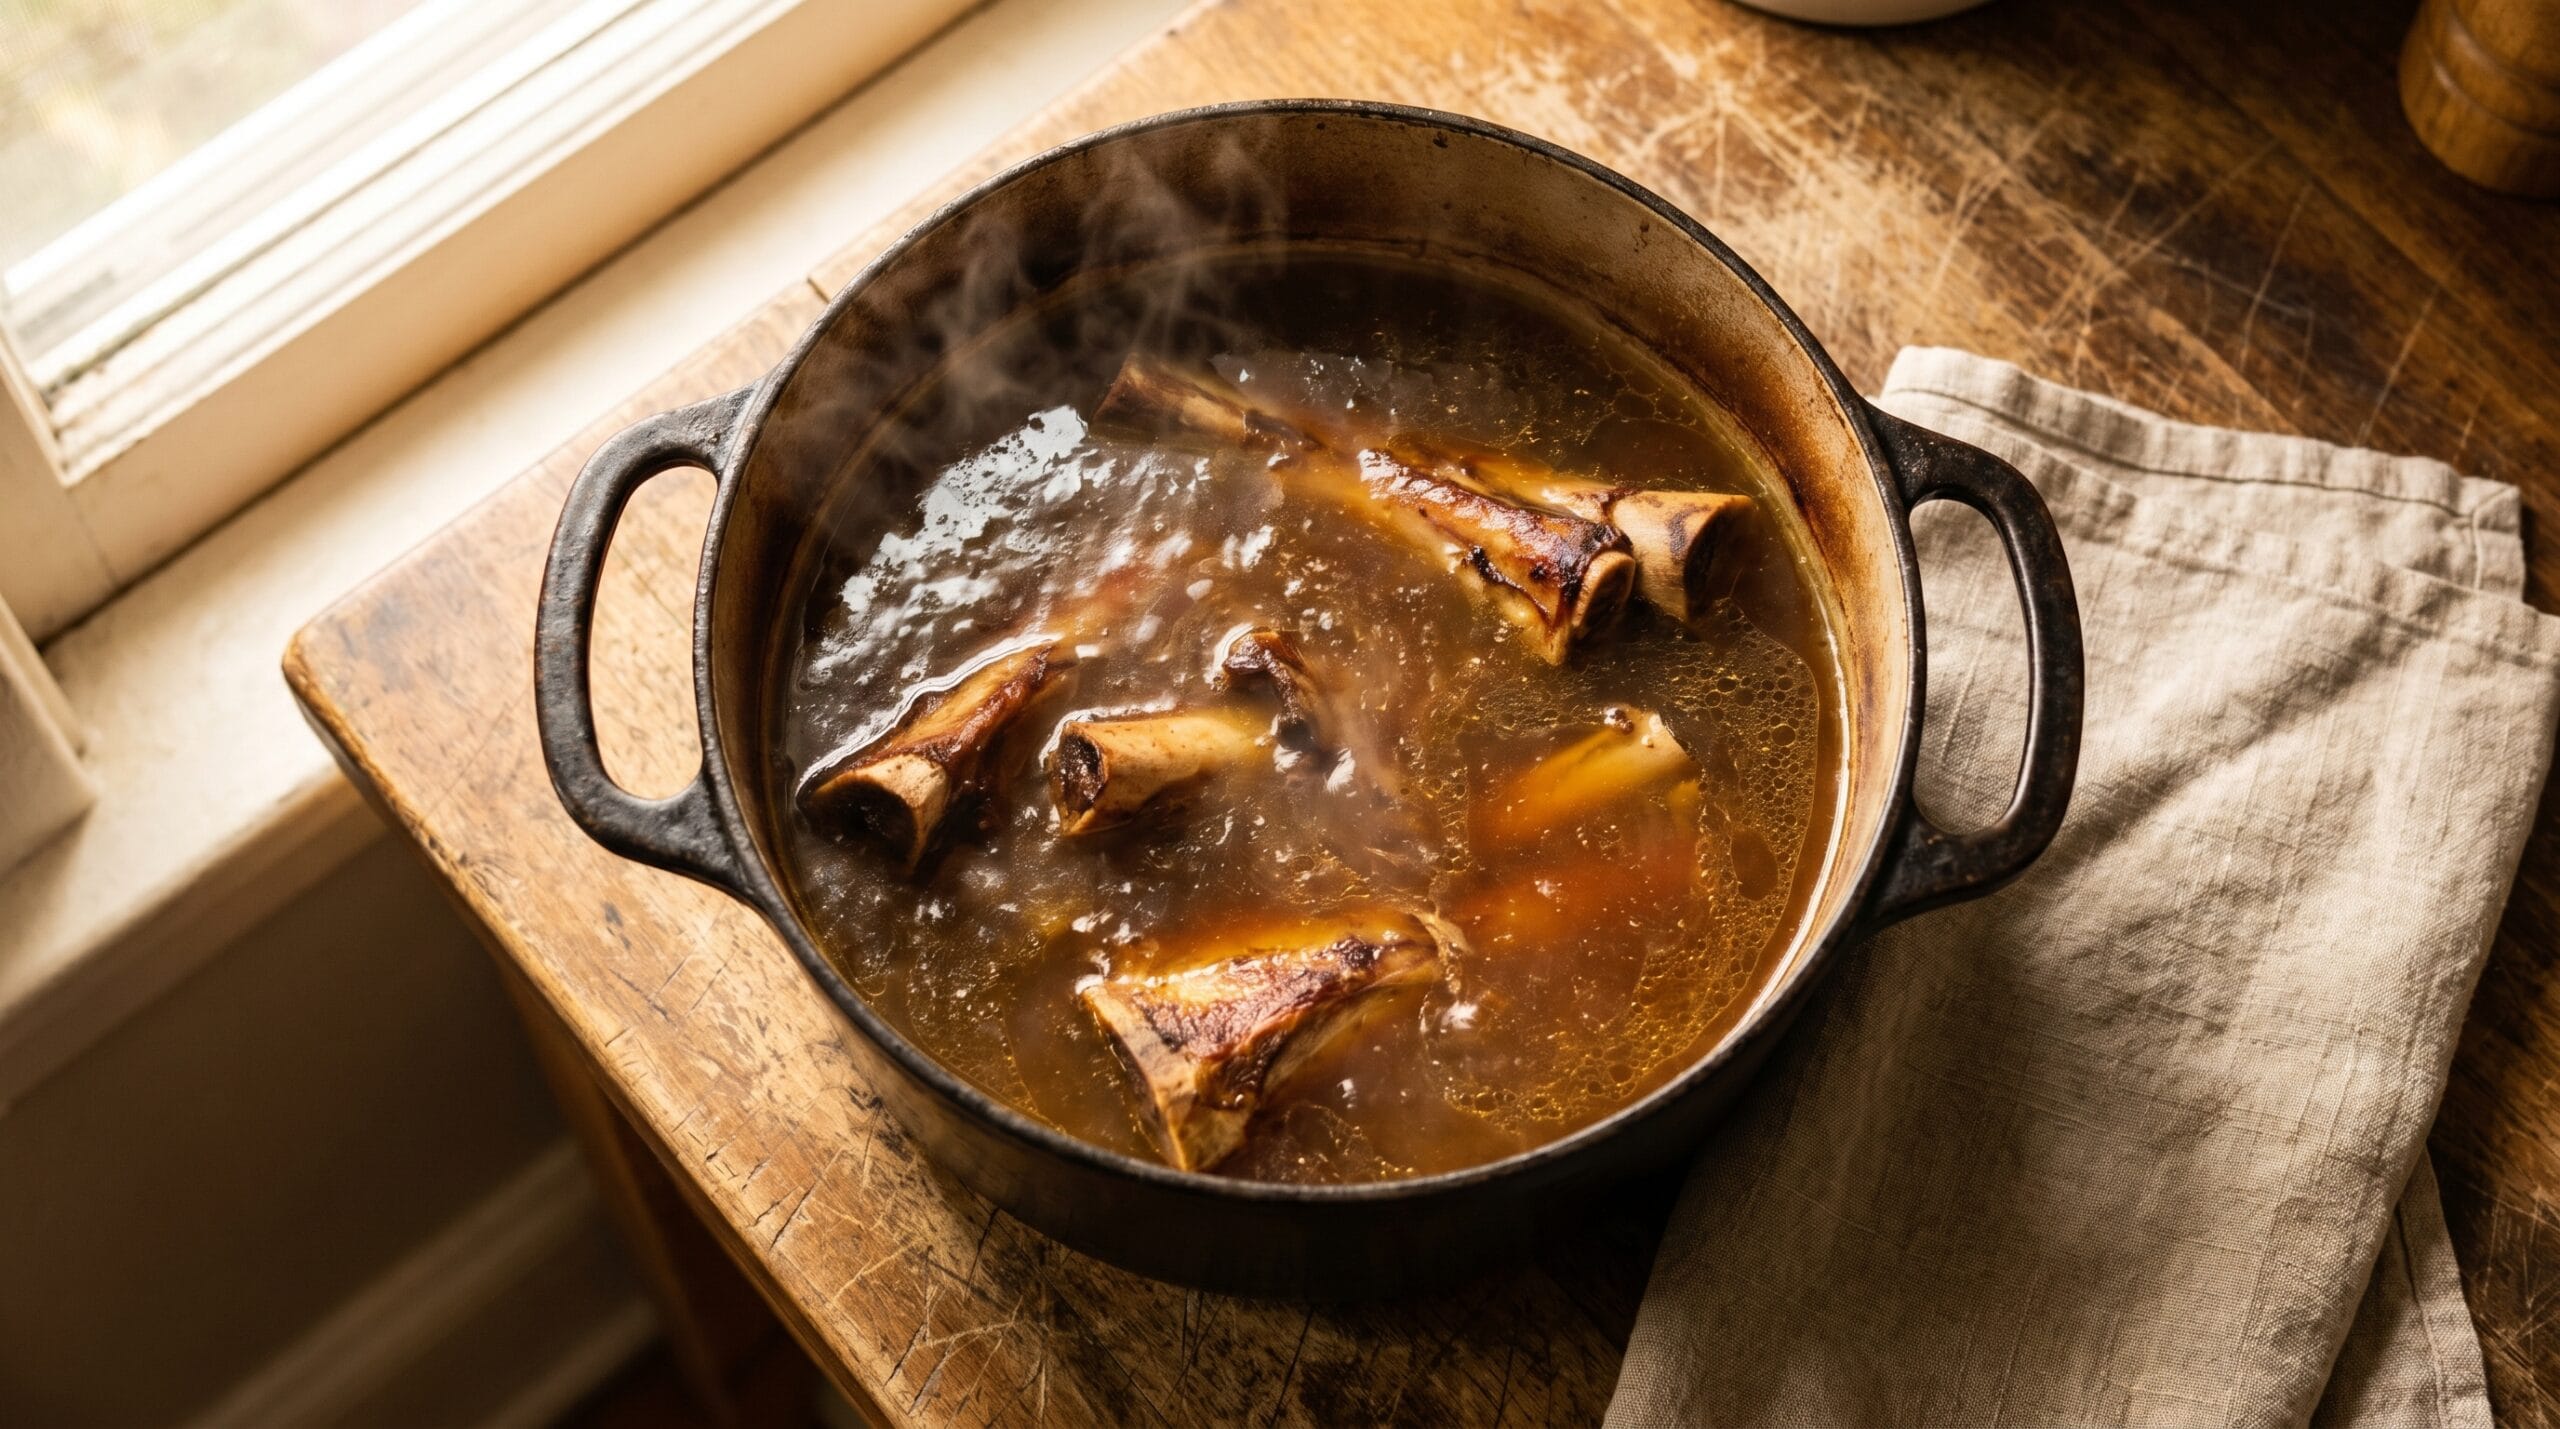
Step 4: Bring to a bare simmer, then skim. Set the burner to medium until the pot just begins to show small bubbles, then reduce to the lowest setting your stove allows. On electric coil stoves, the lowest setting can still run hot enough to boil; if that happens, try a burner diffuser or crack the lid to bleed off heat. Skim the grayish foam that rises to the surface for the first 15 to 20 minutes. After that, leave it alone.
Step 5: Simmer low and slow. Four hours produces a solid broth. Six to eight hours produces something richer and more gelatinous. Do not walk away and crank the heat to speed things up. A hard boil is one of the main ways a batch gets ruined (more on that below).
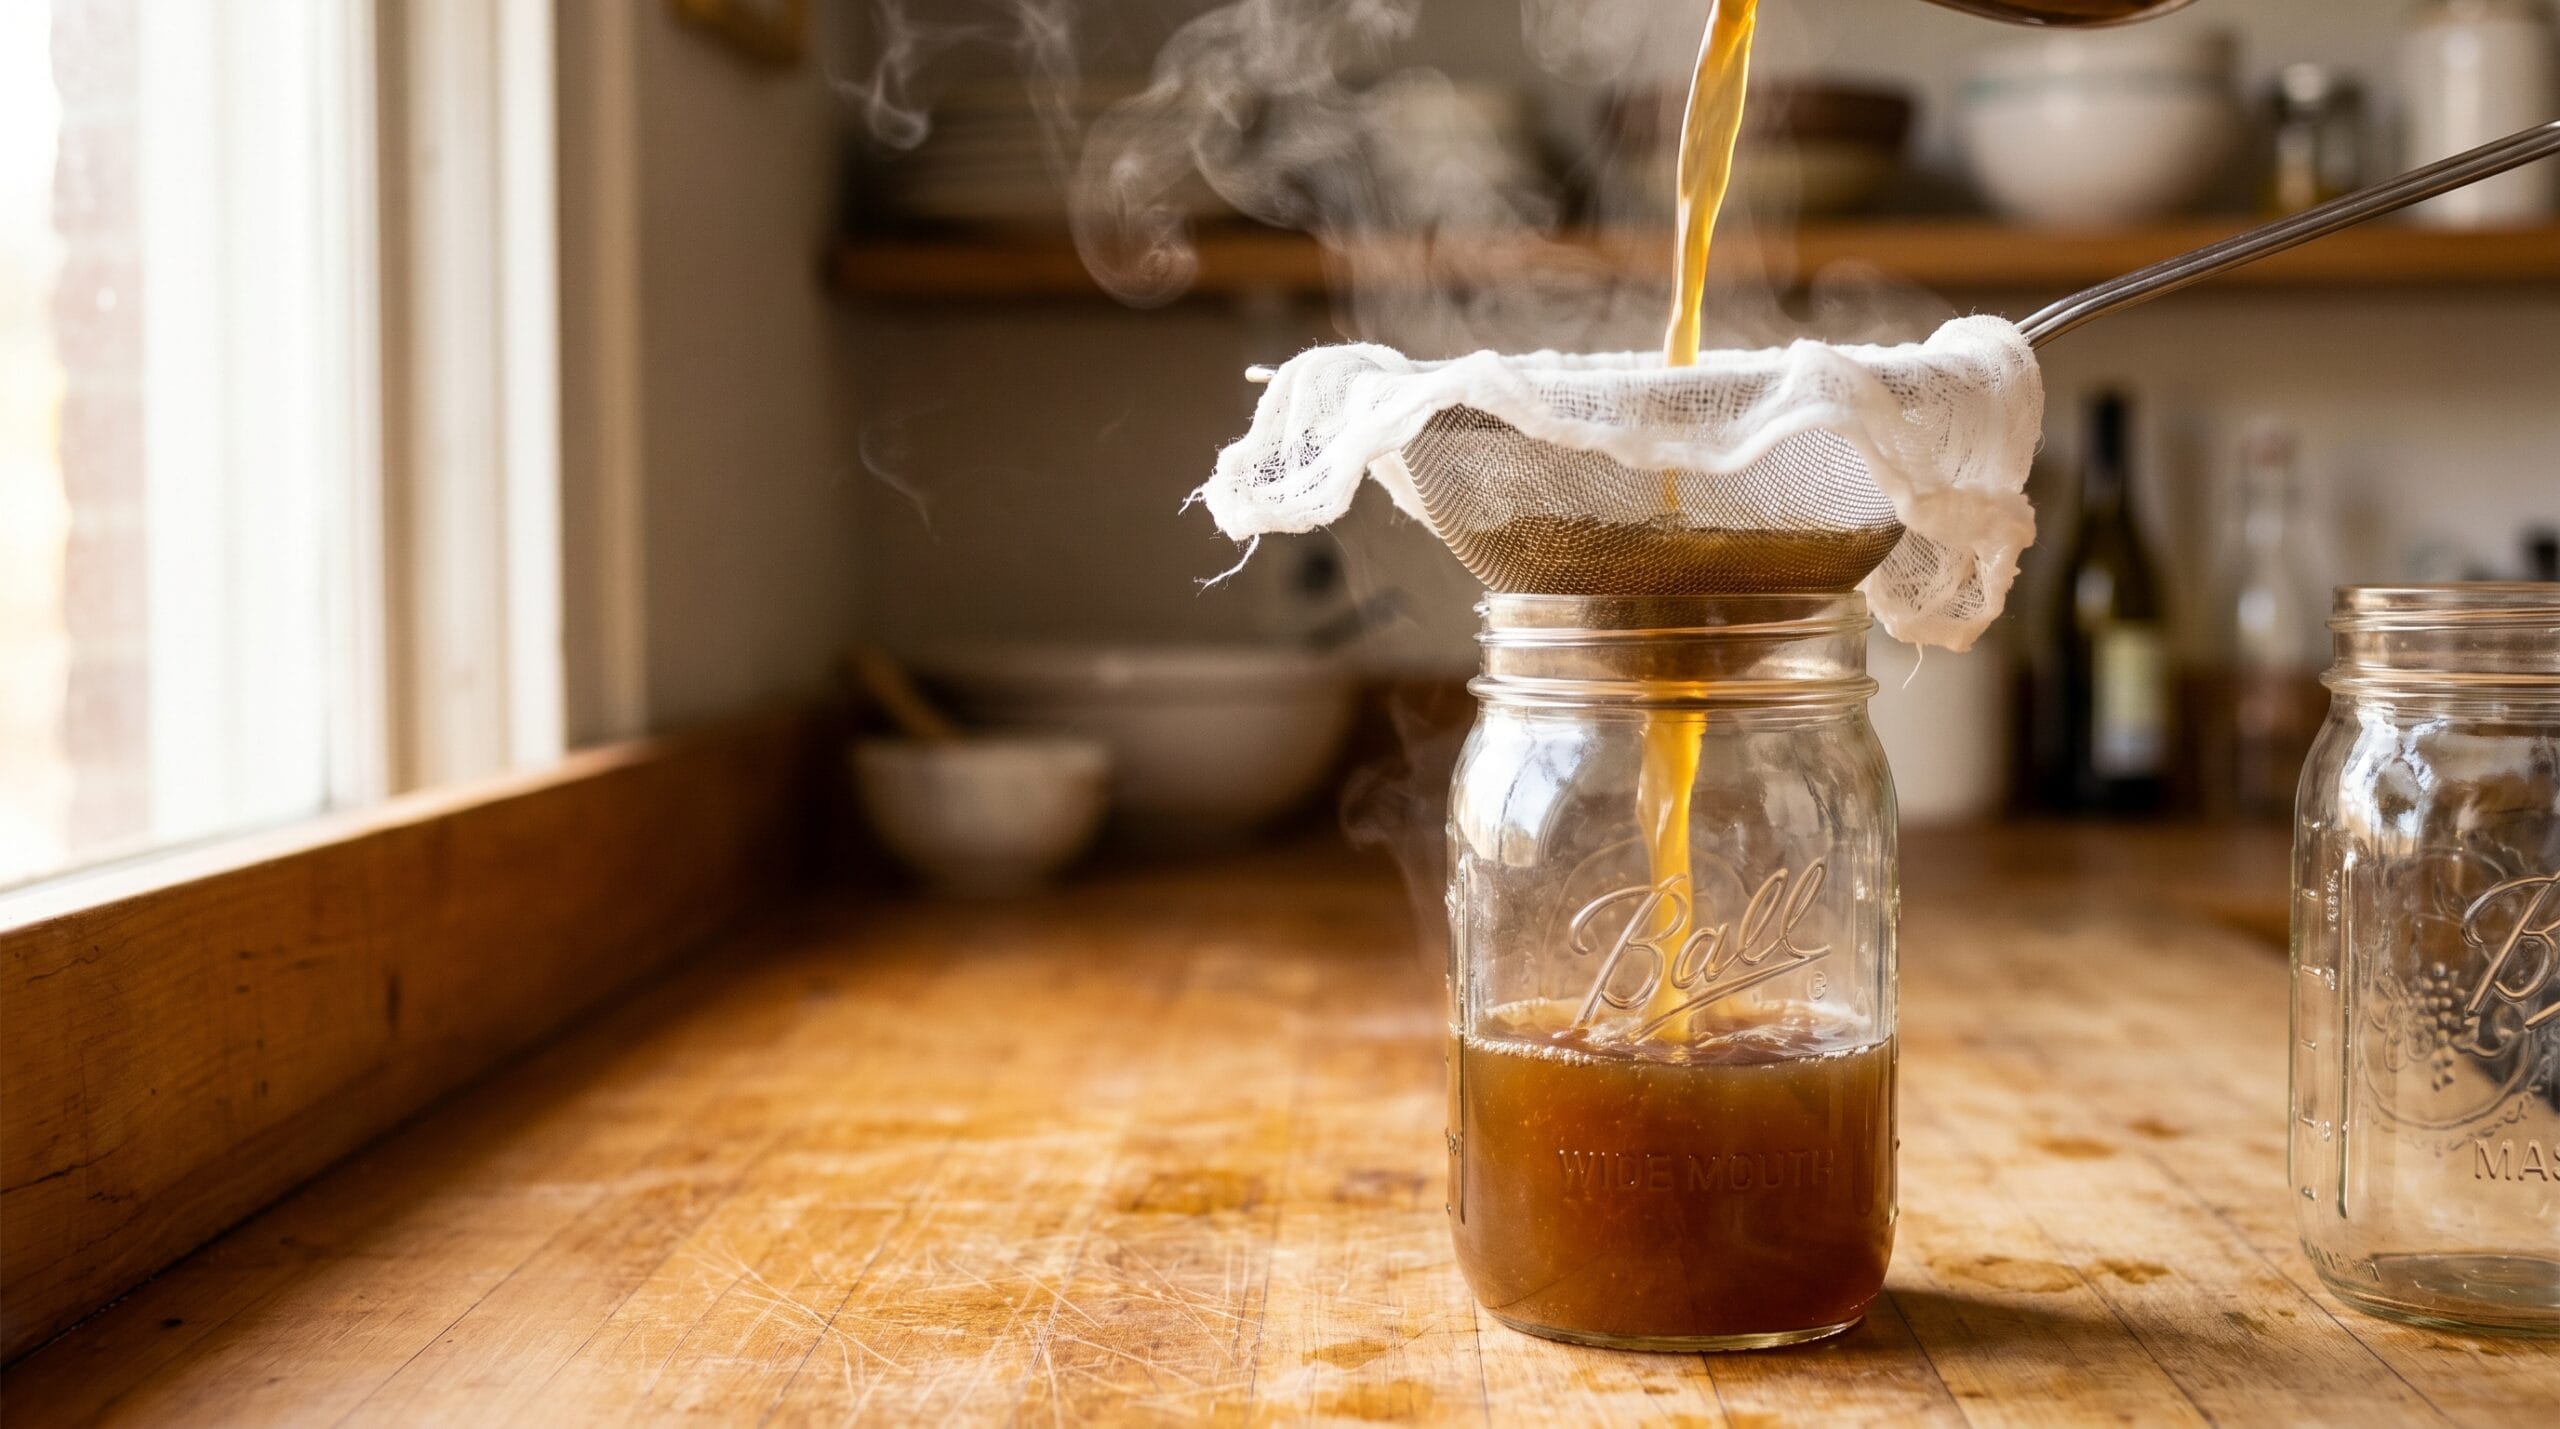
Step 6: Strain and season. Pour the finished broth through a fine mesh strainer lined with cheesecloth, or simply through a cheesecloth-lined colander. Discard the solids or add them to the compost. Salt the broth only after straining, taste as you go.
Slow Cooker and Instant Pot Options
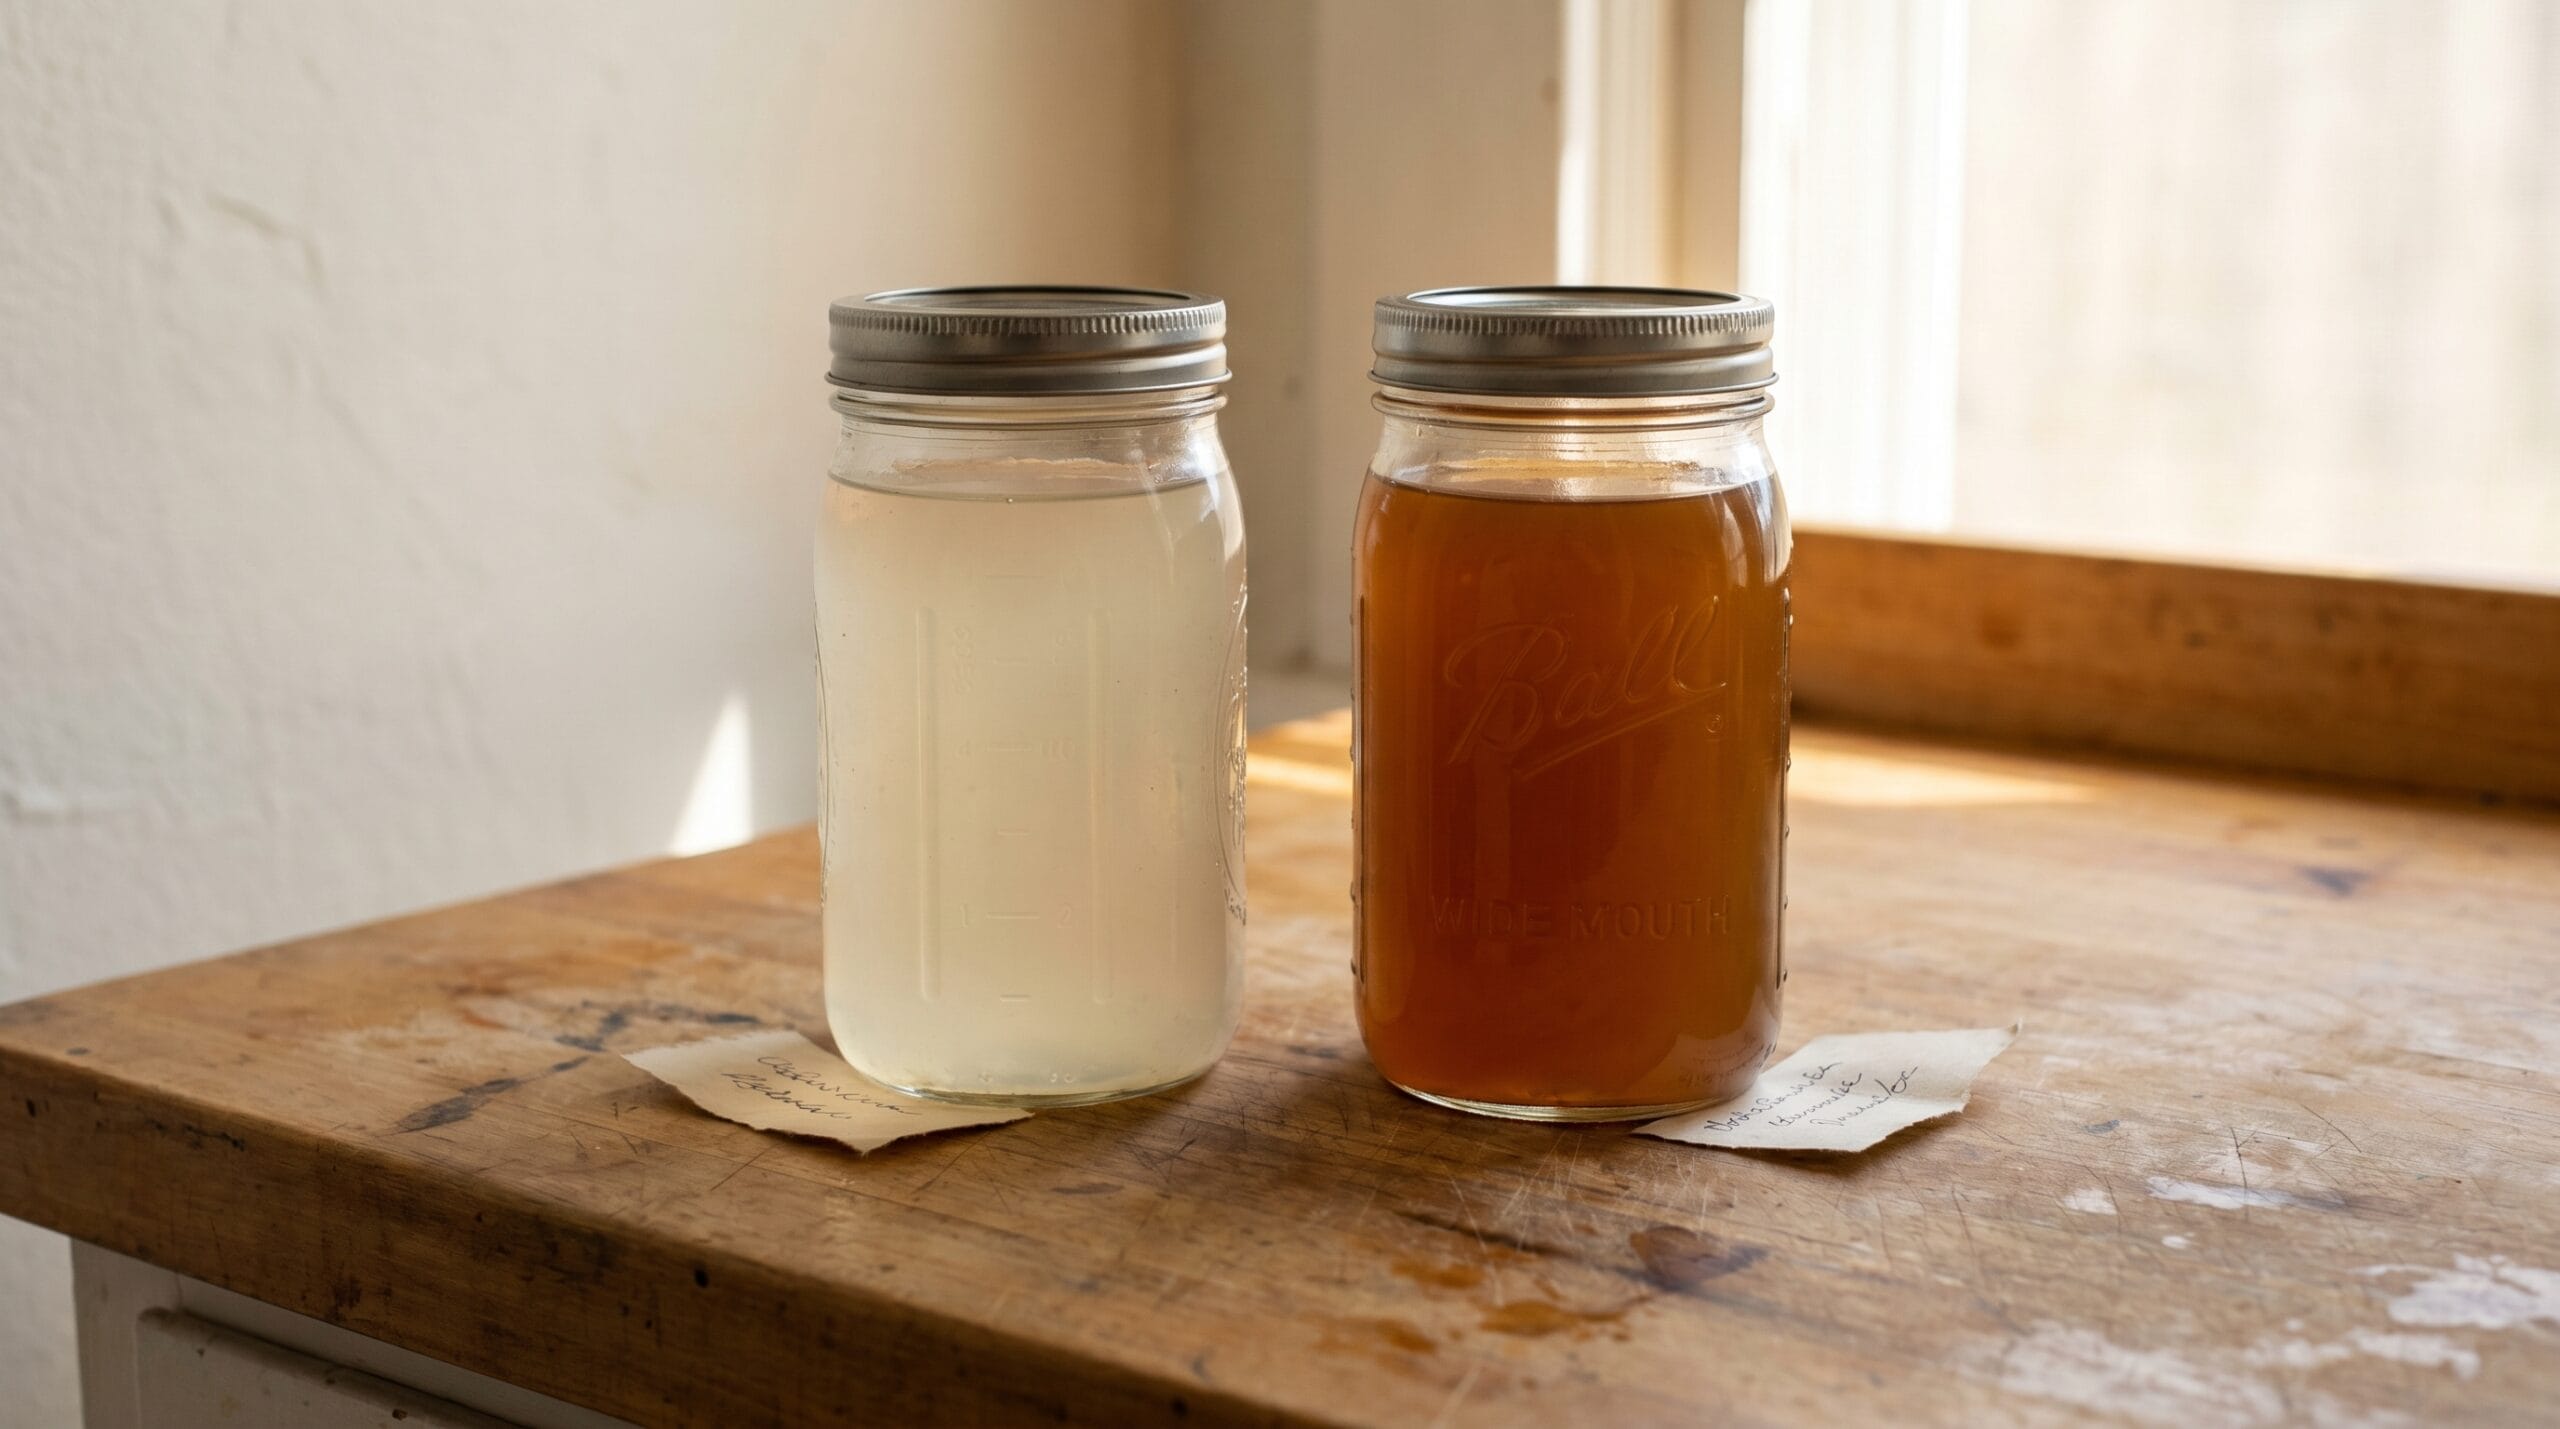
All three methods start with the same step: roast the bones first. That part does not change regardless of how you plan to finish the broth. Skipping the roast gives you pale, flat-tasting broth no matter how long you simmer it.
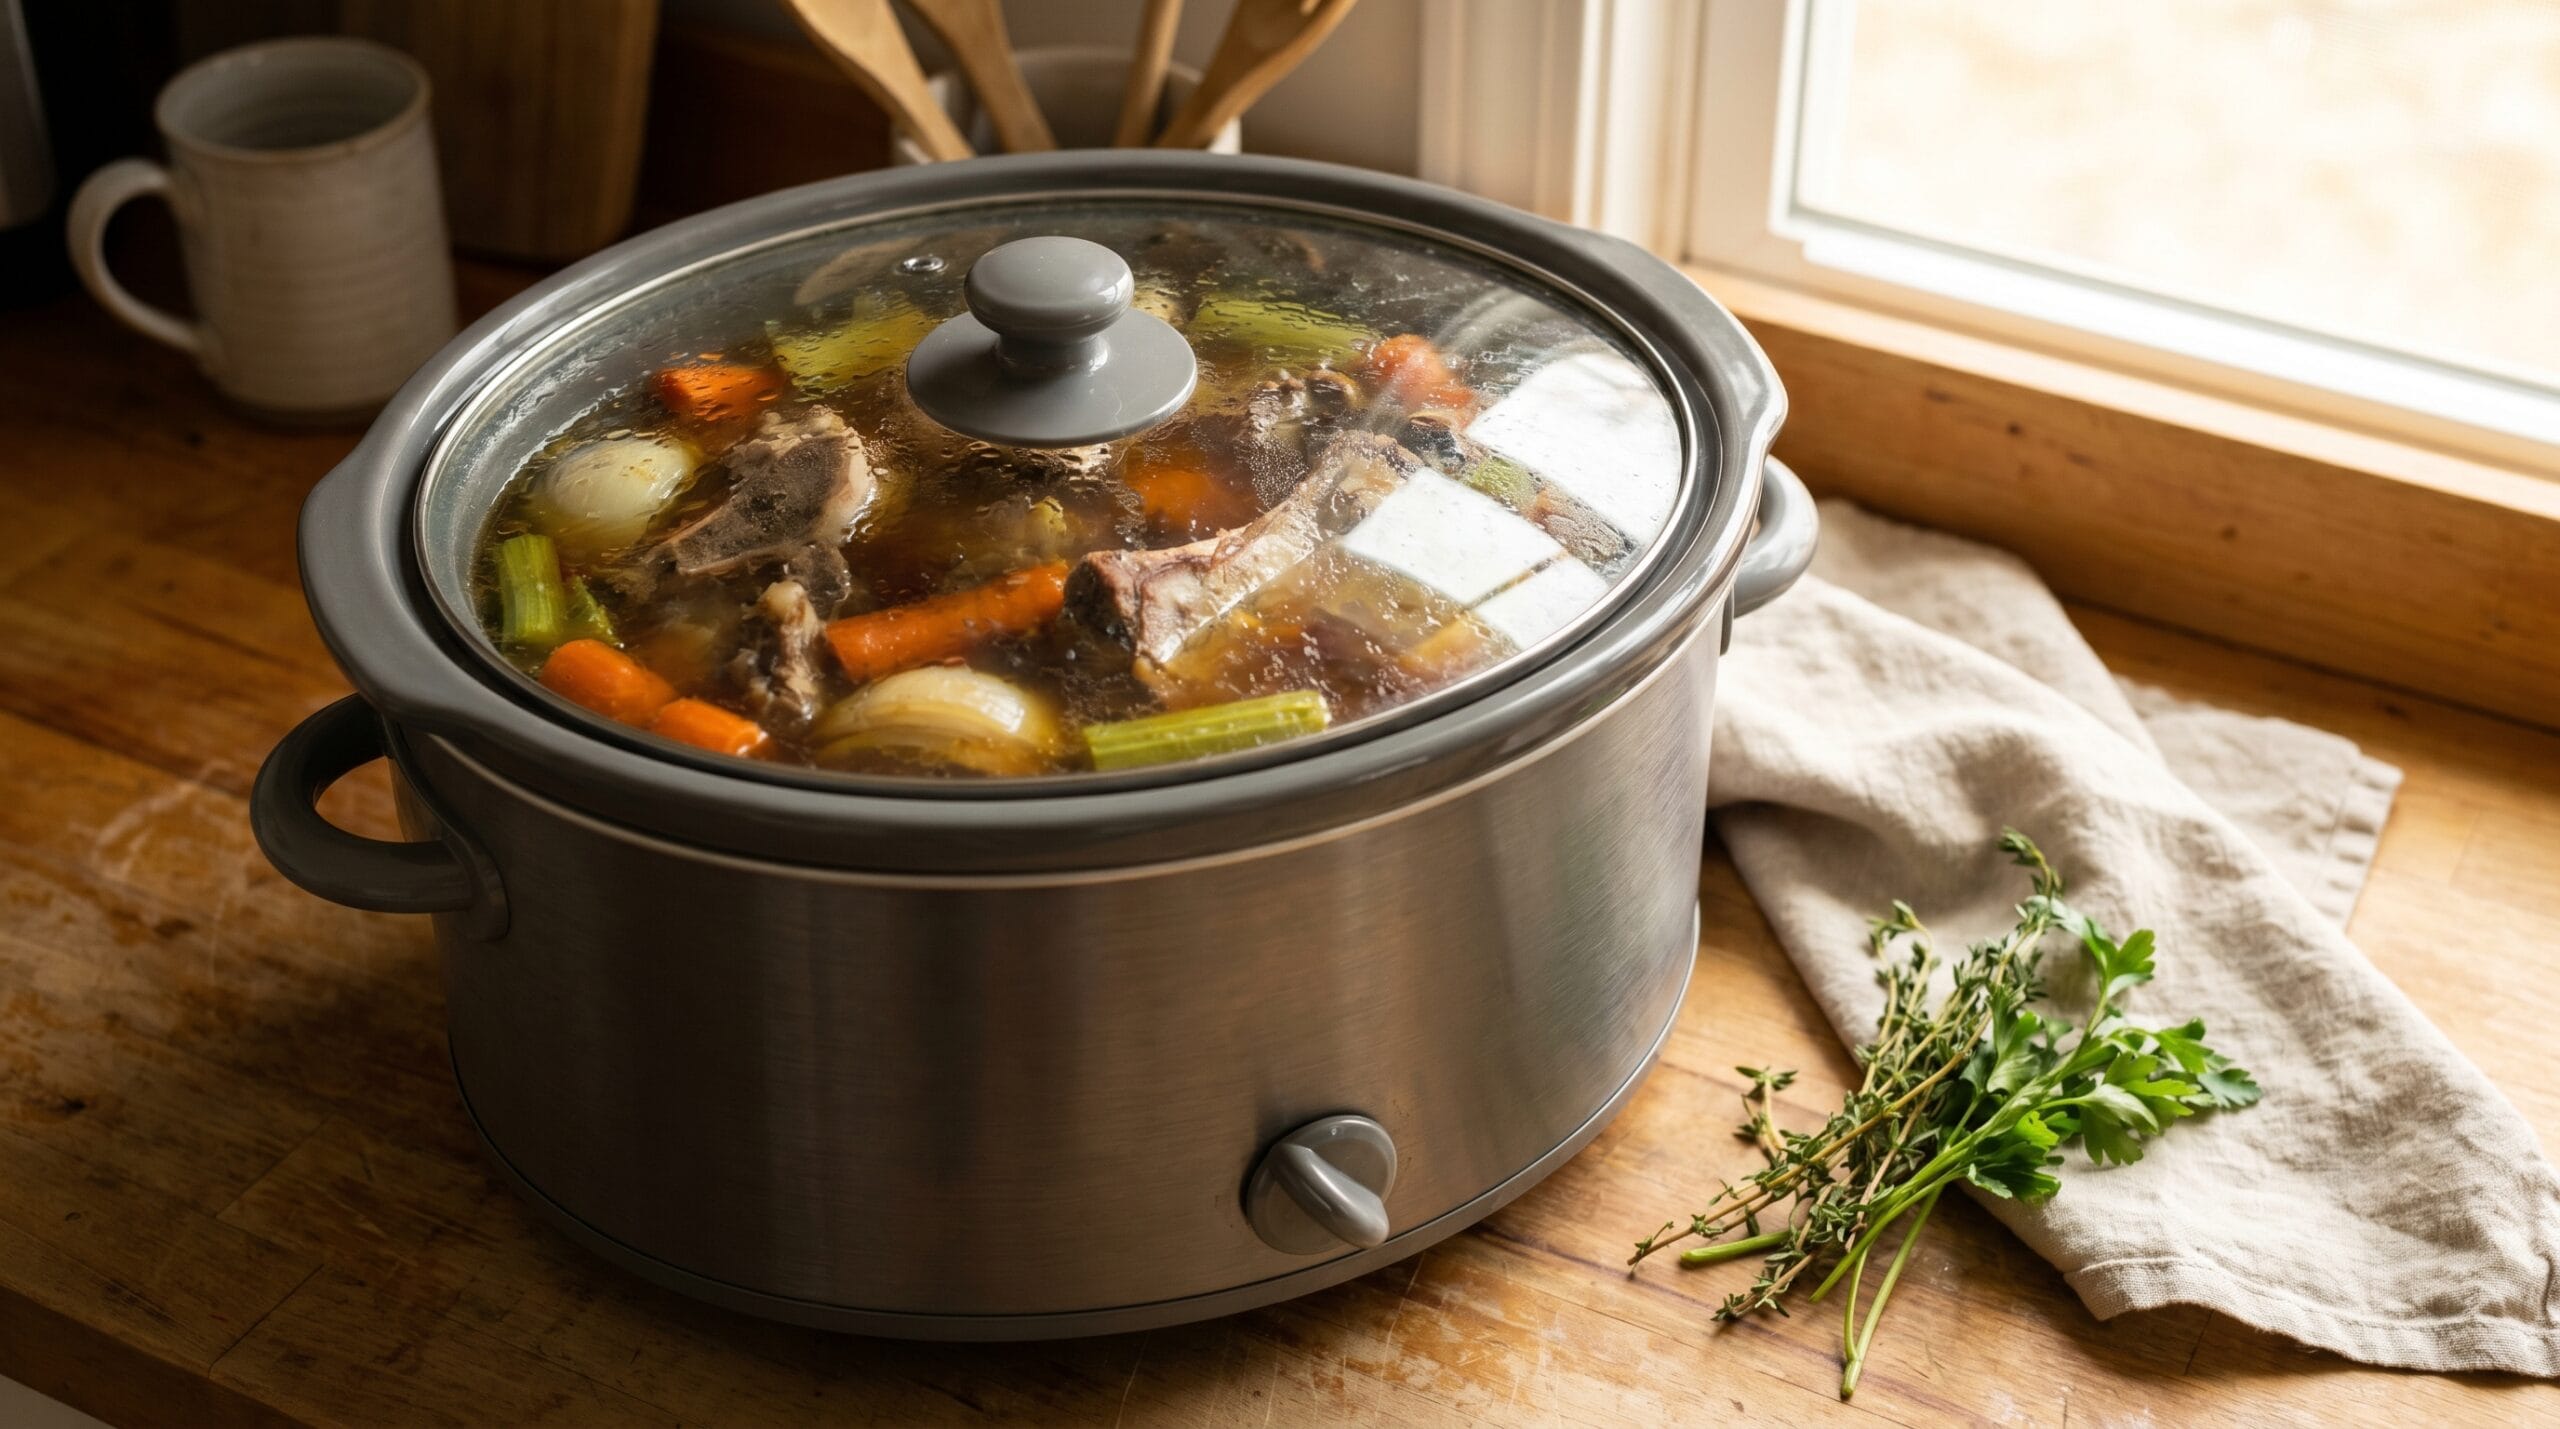
Slow Cooker
Transfer the roasted bones, vegetables, tomato paste, vinegar, and water to a slow cooker. Cook on low for 10 to 18 hours. This is the most hands-off option and works well overnight or while you are at work. Strain and salt the same way you would the stovetop version.
Instant Pot
Set the Instant Pot to high pressure for 120 minutes with the same ingredients and liquid level used in the stovetop recipe. Most Instant Pot models require at least 1 to 1.5 cups of liquid to pressurize correctly; do not reduce the water below that minimum or you risk a burn warning before the cook even starts. Use natural release. The finished broth may be slightly less clear than the stovetop version because the pressurized environment is more turbulent, but the flavor is solid. If clarity matters, run it through cheesecloth twice.
How Long This Actually Takes (Active Time vs. Passive Time)
This is the part most recipes skip. The total time can look intimidating, but the active time, the part where you actually have to do something, is very short.
| Method | Active Time | Passive Time | Total Time |
|---|---|---|---|
| Stovetop | 30 to 45 min | 4 to 8 hours | ~5 to 9 hours |
| Slow cooker | 30 to 45 min | 10 to 18 hours | ~11 to 19 hours |
| Instant Pot | 30 to 45 min | ~2.5 hours (with pressure build and release) | ~3.5 hours |
The 30 to 45 minutes of active time covers roasting the bones, deglazing the pan, and loading the pot. After that, you are mostly waiting. The stovetop method requires occasional glancing to confirm the simmer is still low, but there is no stirring, no tending, no real attention required once the foam stage is over.
If you are starting on a weekday morning, a 4-hour stovetop batch is done by early afternoon. A slow cooker batch started in the evening is ready by morning.
Is Homemade Beef Broth Cheaper Than Store-Bought?
The honest answer is: it depends on how you source your bones.
If you are using bones saved from a roast you were already making, the cost is essentially the vegetable scraps and water. The bones were already paid for. A batch made this way might cost less than a dollar out of pocket.
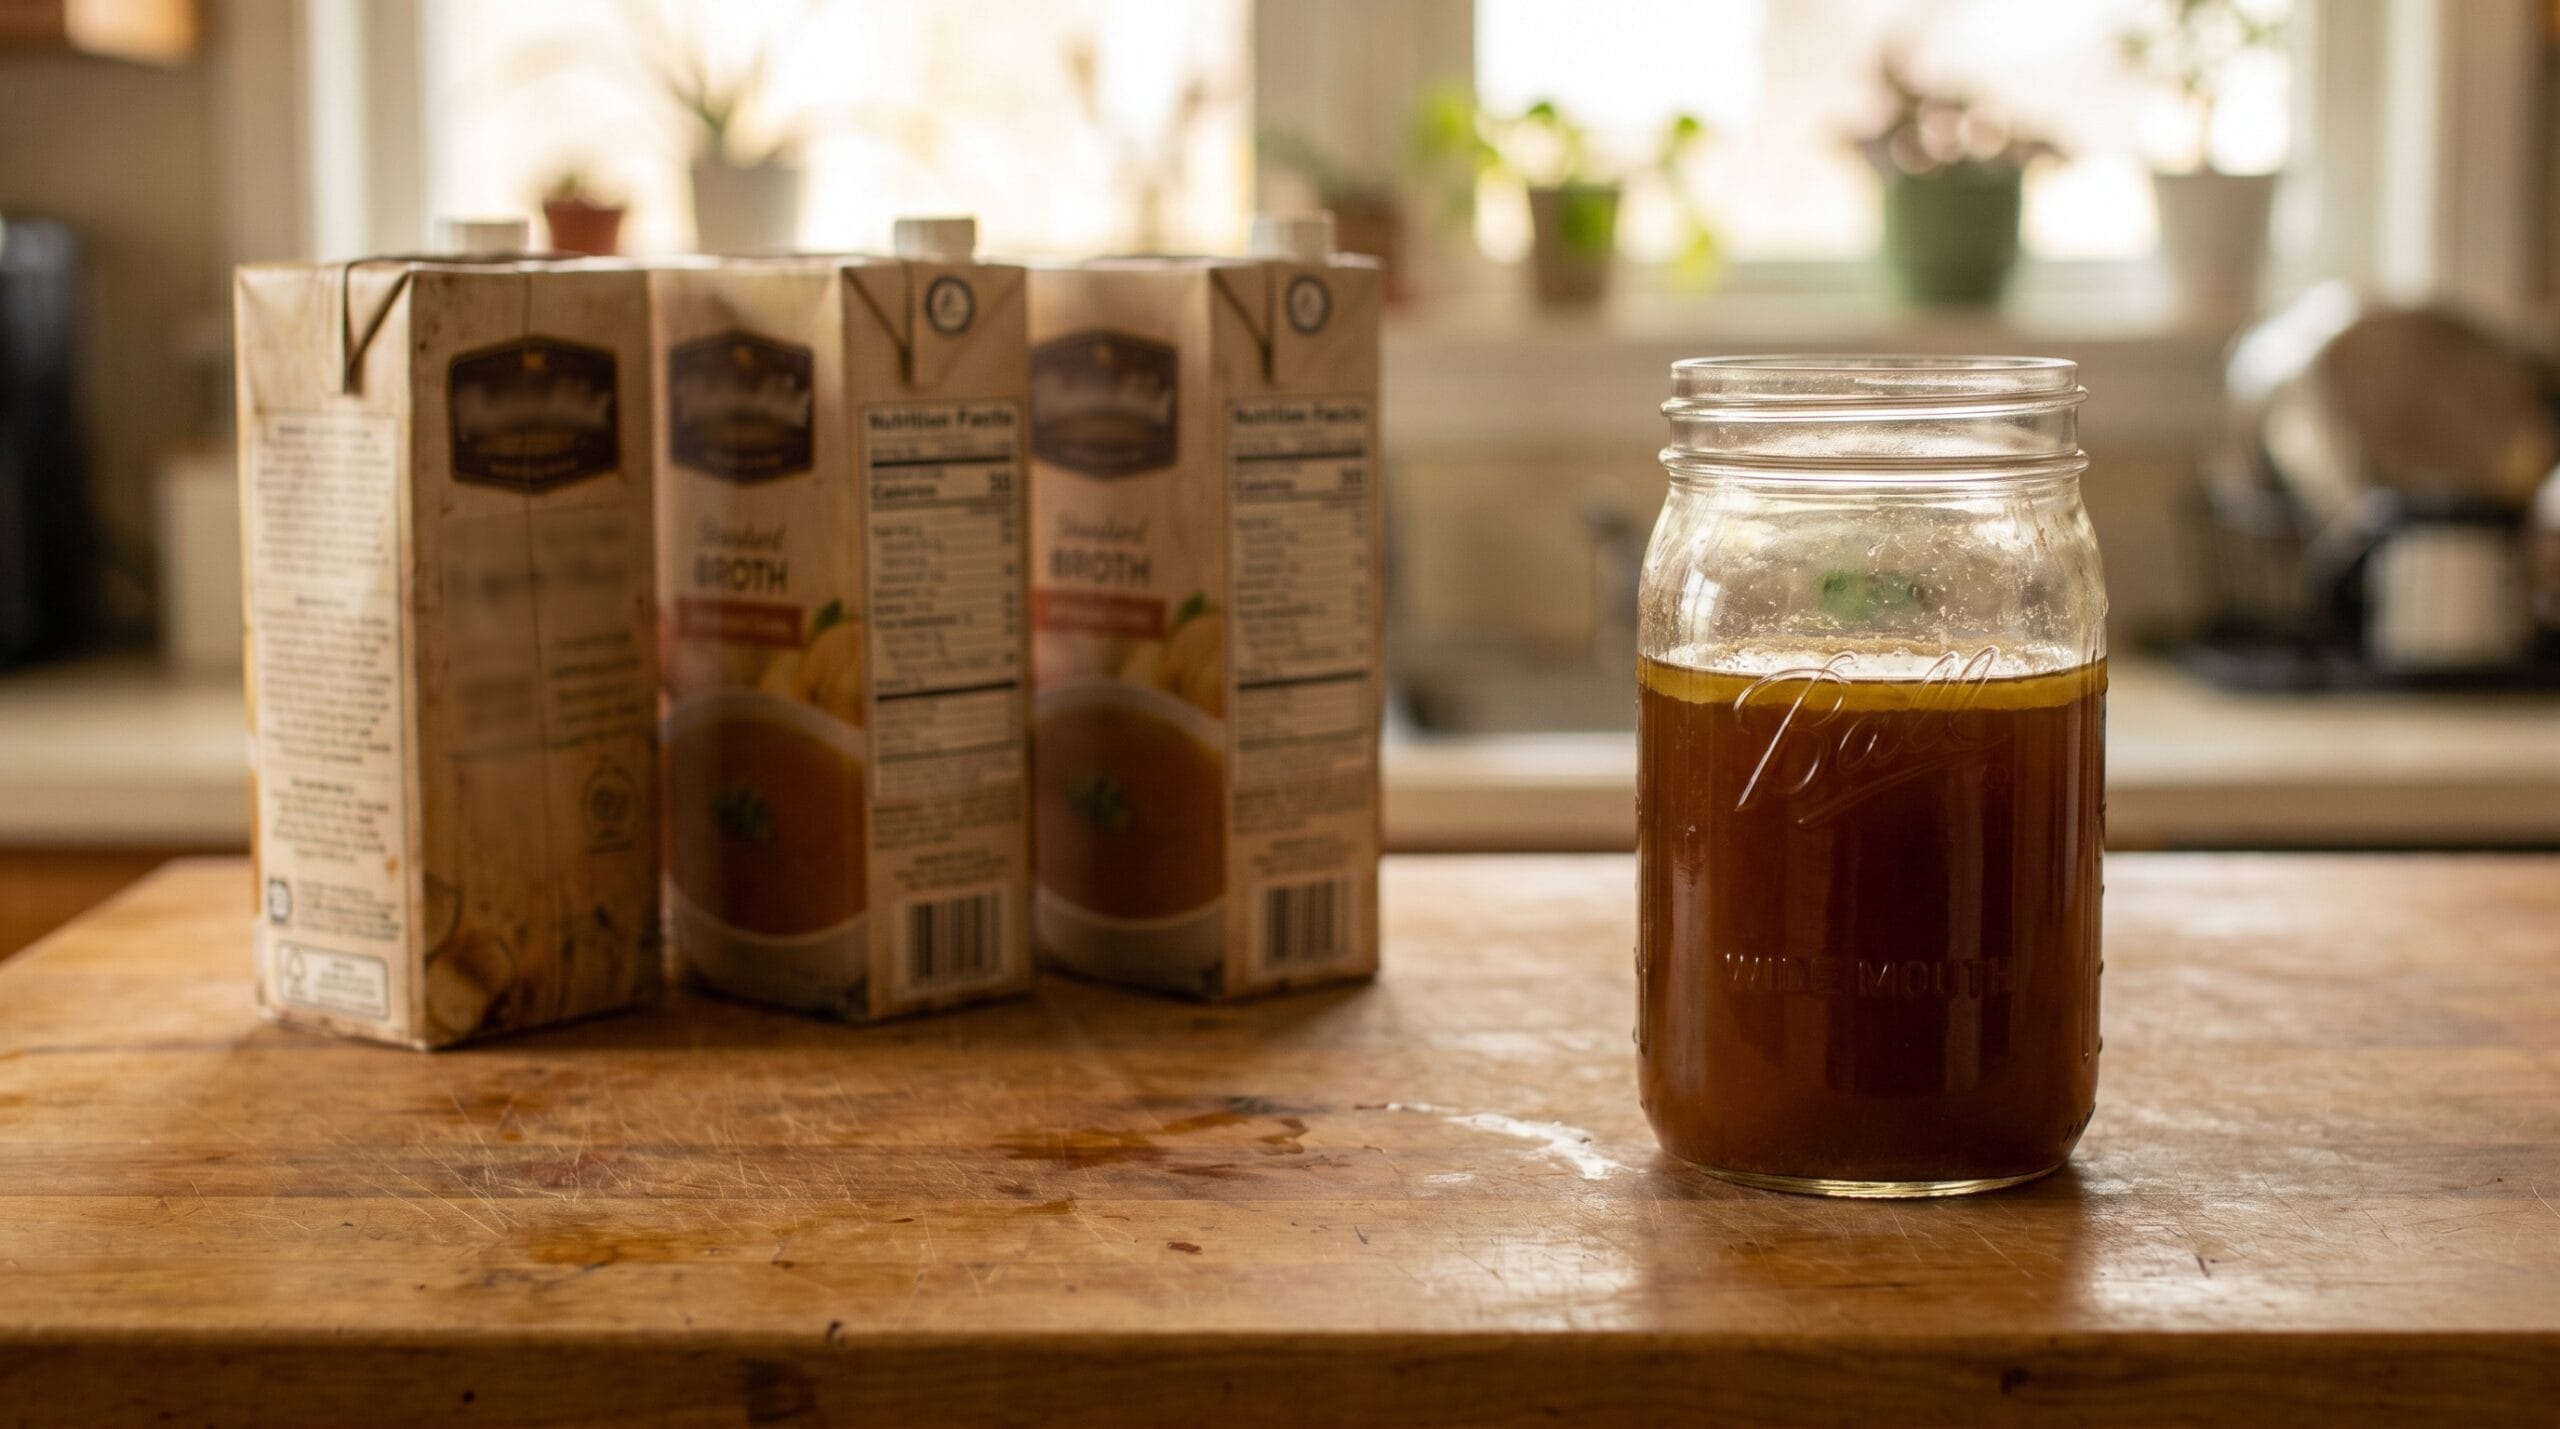
If you are buying bones specifically for broth, the math changes. Marrow and knuckle bones typically run roughly $2 to $5 per pound depending on the region and source, as of 2026. A 2 to 3 lb batch plus a few vegetables and utilities puts the cost somewhere around $8 to $15 for roughly 8 to 10 cups of finished broth. Store-bought broth in a 32 oz (4-cup) carton runs roughly $3 to $5 per carton at many grocery stores, meaning a comparable volume could cost $6 to $12 at retail, prices vary considerably by brand and region.
The cost advantage at that point is modest. What homemade broth does offer is quality: a higher gelatin content, no added sodium or preservatives, and a flavor depth that most carton broths do not match. The USDA recommends refrigerating broth within 2 hours of cooking and using it within 3 to 5 days, or transferring it to the freezer for longer storage, which means a single batch can stretch across multiple meals and shift the math in favor of making it yourself.
Why Your Broth Turned Out Bitter, Cloudy, or Weak
These are the three most common outcomes for a first batch, and each one has a fixable cause.
Bitter Broth
Bitterness usually comes from one of two places: boiling too hard or simmering too long past 8 hours. Simmering broth at a hard boil forces fat into emulsion, permanently clouding the liquid and contributing to a bitter or greasy taste. Keep the heat low enough that you see only gentle, occasional bubbling. If you pushed past 10 hours on the stovetop, the collagen can begin to break down in ways that affect flavor.
Vegetables left in too long, especially garlic, can also go from savory to astringent. If you are doing a very long simmer, consider adding the vegetables in the last 2 to 3 hours rather than at the start.
Cloudy Broth
Cloudy broth is almost always caused by boiling rather than simmering, or by not skimming the foam during the first 20 minutes. Both drive proteins and fat into suspension. If you want a clearer broth, skim diligently at the start, keep the temperature low throughout, and strain through cheesecloth rather than just a metal strainer.
Cloudy broth is still safe to eat and tastes fine. Clarity is mostly aesthetic.
Weak or Pale Broth
The most likely cause is skipping the roasting step. Unroasted bones produce light, thin broth with a flat flavor. The second most common cause is too much water relative to bones. Start with no more than 10 to 12 cups for a 2 to 3 lb bone batch, and add more only if the level drops below the bones during simmering.
Storing and Freezing Your Broth
Once the broth is strained and cooled slightly, you have a few practical options.
Refrigerator: Pour into mason jars or sealed containers and refrigerate. Use within 5 days. A layer of fat will solidify on the surface once the broth is cold, that is rendered beef tallow, and it acts as a natural seal. Leave it in place until you are ready to use the broth, then lift it off in one piece. It is useful for sautéing and worth keeping rather than discarding.
Freezer: Wide-mouth mason jars work well, but leave at least 1 inch of headspace, liquid expands as it freezes and a jar with no room will crack. Standard (non-wide-mouth) mason jars have a narrower shoulder that concentrates the expansion stress, making them more likely to crack in the freezer than wide-mouth jars, so use wide-mouth if you have the choice. Zip-top freezer bags laid flat take up less space and thaw more quickly. An ice cube tray is ideal for small portions (roughly 2 tablespoons per cube) that you can drop directly into sauces or braises. Broth keeps for up to 6 months in the freezer with no meaningful loss of quality.
What not to do with shelf-stable storage: Do not attempt to preserve beef broth using a water bath canner. Beef broth is a low-acid food, and water bath canning does not reach temperatures high enough to kill the bacteria that grow in low-acid environments. According to the National Center for Home Food Preservation, beef broth is a low-acid food that requires pressure canning at verified processing times for safe shelf-stable storage. A pressure canner is the correct equipment for this, not a standard stockpot or water bath setup. For most home cooks, the freezer is still the safer and more practical choice. If you want to learn more about safe ways to preserve low-acid foods at home, that is worth reading before you commit to a pressure canning setup.

What to Do With Your Finished Broth
A strong homemade broth is more versatile than most beginners expect. The most immediate use is soup, but it is also the base for braises, pan sauces, and rice cooked in broth instead of water.
You can turn your finished broth into a rich brown gravy with a simple roux and a few minutes on the stovetop, a genuinely satisfying way to use the last cup from a batch. If you are mid-recipe and have run out, the same site has notes on using a quick beef broth substitute when a full batch is not ready.
Drink it plain if you want. A mug of warm broth is straightforward and filling. Some people report mild digestive discomfort after drinking a large amount of bone broth, particularly with a high-fat batch. That is usually the fat content, not the collagen. Skimming more of the surface fat during cooking or lifting the solidified layer completely before drinking it usually resolves it for most people.

Frequently Asked Questions About Beef Broth
What is the best way to make beef broth at home?
The most reliable method is roasting the bones at 425 F until deeply browned, then simmering them with onion, carrot, garlic, tomato paste, vinegar, and water at the lowest possible heat for 4 to 8 hours. Roasting before adding liquid is the single most important step for flavor and color. A Dutch oven on the stovetop or a slow cooker on low both work well.
Is beef broth the same as beef stock?
In classical cooking, stock is made from bones and broth is made from meat, but home cooks use the terms interchangeably and the difference is minor. If your finished broth gels in the refrigerator, it is technically closer to a stock, and that is the more desirable outcome, If your finished broth gels in the refrigerator, that usually means you extracted plenty of collagen and gelatin from the bones, which gives the broth body and richness.
What can I use if I do not have beef broth?
Chicken broth or vegetable broth are the most common swaps in recipes that call for beef broth. They change the flavor profile but work reasonably well. For a beef-forward substitute in a sauce or gravy, a small amount of tomato paste dissolved in chicken broth or water adds body and color without broth on hand.
What are the most common mistakes when making beef broth?
Three problems account for most ruined batches. Skipping the roasting step produces pale, flat-tasting liquid regardless of how long you simmer. Running the pot at a hard boil rather than a gentle simmer drives fat into emulsion, muddying both color and taste. Salting before straining can leave you with broth that is too salty once the liquid concentrates, so hold off until after you strain.
Does beef broth help with muscle recovery?
Beef broth made from bones contains collagen and gelatin, which the body converts to amino acids including glycine and proline. Some preliminary research points to a role for these amino acids in connective tissue repair, but the evidence is not strong enough to support specific recovery claims. Broth is a nutritious food worth eating on its own merits; treating it as a targeted supplement goes further than what the current research supports.
Why do I feel strange after drinking bone broth?
The most common cause is the fat content. A batch made with high-marrow bones can carry a significant amount of fat into the finished liquid, especially if the solidified layer was not removed before drinking. Starting with a leaner batch, skimming more during cooking, or fully removing the chilled fat layer before reheating usually resolves it for most people.
Wrapping Up
One thing this recipe makes obvious once you have done it: the process is mostly logistics, not skill. Source decent bones, roast them until they are genuinely brown, and keep the heat low enough that you could leave the room without worrying. The variables that beginners tend to overthink, exact simmer time, precise vegetable ratios, whether to add wine, matter far less than those two steps.
A batch of 2 to 3 lb of bones is a reasonable starting point precisely because it is recoverable if something goes wrong. You will also have enough broth to use across several meals, which is the point where the effort starts to feel worth it. The bones and spent vegetables go into the compost, the fat layer goes into a jar for cooking, and the broth goes into whatever you are making next.