How to Make Milk Butter From Whole Milk or Cream
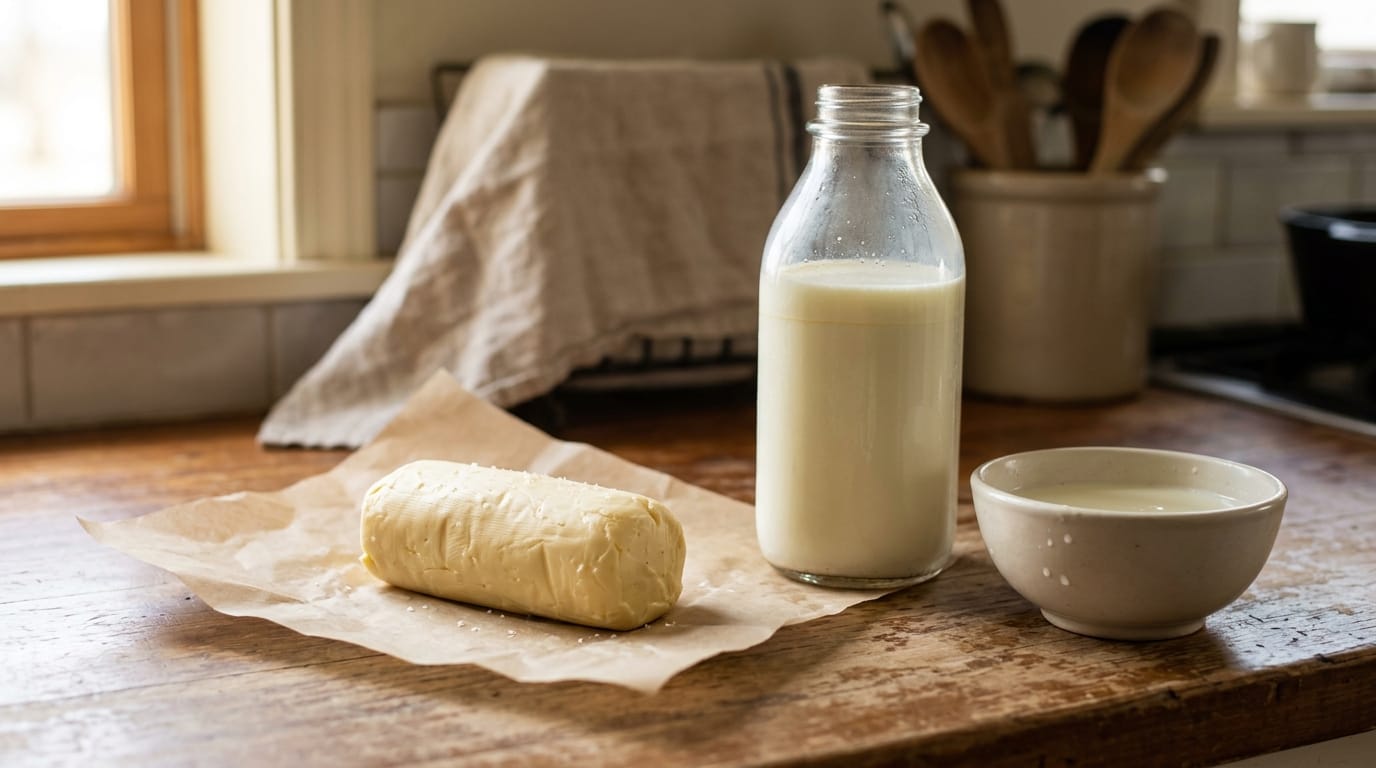
The first butter I ever made was an accident. I walked away from the stand mixer while it whipped cream for a pie, came back to a bowl of grainy yellow curds sloshing in thin white liquid, and assumed I had ruined both. What I had actually done was finish the recipe most beginners are afraid to start.
A bottle of fresh, non-homogenized milk tells you what it is made of if you leave it undisturbed in the refrigerator. A pale cream line gathers at the top. That small layer is where the butter is waiting.
Learning how to make milk butter has two parts. First, you need cream with enough milk fat. Then you beat or shake that cream until the fat separates. You do not need a churn. A stand mixer, food processor, or tightly closed jar can do the work.
To make butter from milk, first collect the cream, because butter forms from milk fat, not the watery portion of milk. Skim the cream from chilled non-homogenized whole milk, or start with pasteurized heavy cream. Then churn, drain, wash, and salt the butter.
Table of Contents
Quick Answer
- The practical way to make milk butter is to separate the cream first, then churn the cream.
- Store-bought homogenized whole milk will not form a cream layer and is not a useful starting point.
- Use pasteurized, non-homogenized whole milk if you want to skim your own cream.
- For the shortest method, start with pasteurized heavy cream or heavy whipping cream close to 40 percent fat.
- Let the cream warm slightly so the fat separates more readily. Cool room temperature, around 60 F, is enough.
- Beat it past whipped cream until yellow butter clumps separate from a thin white liquid.
- Save the liquid. It is fresh sweet-cream buttermilk, although it is not the same as cultured buttermilk from the store.
- Wash the butter several times in very cold water. This removes trapped buttermilk that can shorten its keeping quality.
- Press out as much water as you can, then add salt if you want it.
- Wrap the finished butter tightly and refrigerate it.
How to Make Milk Butter From Whole Milk
To make butter from whole milk, chill non-homogenized milk until the cream rises, skim that cream off, and churn the cream alone. You do not churn the entire volume of milk and expect it all to become butter; the fat lives in the cream, and the rest of the milk stays milk no matter how long you shake it.
The type of milk determines whether that works.
| Starting Milk | Will It Work? | What to Do |
|---|---|---|
| Pasteurized heavy cream | Yes, easiest | Churn it directly |
| Pasteurized non-homogenized whole milk | Yes | Chill undisturbed, skim the cream, then churn |
| Raw cow’s milk | Cream will rise, but it carries a food-safety risk | Separate the cream, pasteurize it, cool it, then churn |
| Homogenized whole milk from the grocery store | Not practical | Buy heavy cream instead |
| Half-and-half or reduced-fat milk | Poor choice | Fat content is too low for a useful yield |
Homogenization breaks the milk fat into droplets small enough to remain suspended. That is why ordinary supermarket milk does not develop a thick cream cap, even after several days. Shaking it harder does not reverse that process.
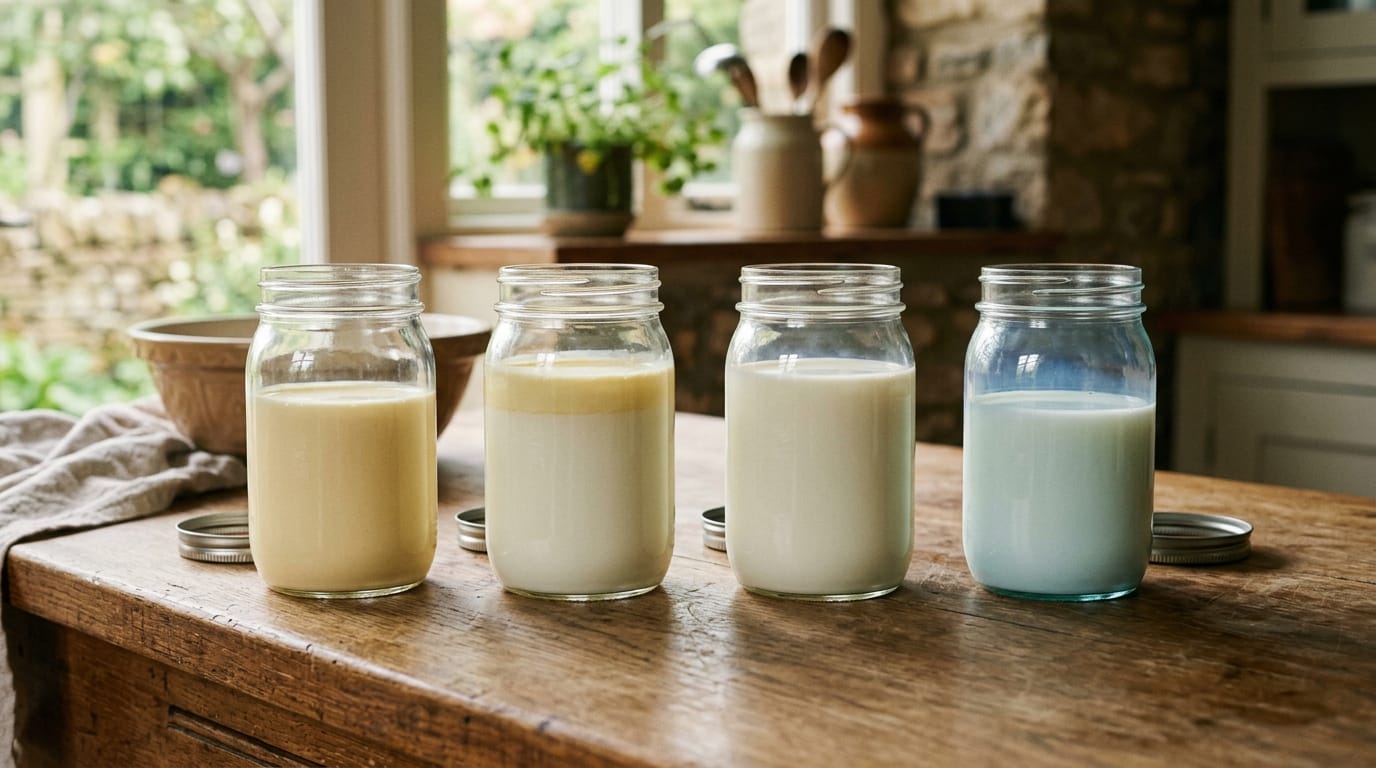
Start with pasteurized, non-homogenized whole milk labeled “cream top” or milk from a source that confirms it has not been homogenized. Keep it refrigerated and avoid jostling the container while the cream rises.
- Let the milk settle cold. Leave the container upright and undisturbed until a distinct cream line forms. The timing varies with the milk and how it was handled.
- Skim the cream. Use a clean shallow spoon or small ladle to lift the thick top layer into a clean covered jar. A narrow cream separator is useful if you process fresh milk regularly, but it is not necessary for a first batch.
- Save more than one skimming if needed. A quart of whole milk contains far less butterfat than a quart of heavy cream. You may need milk from several days to collect 2 cups of cream.
- Keep the collected cream cold. Date the container and churn it while it is still fresh. Do not leave dairy at room temperature while you wait for another batch.
- Churn the cream. Once you have enough, use the stand mixer, food processor, or jar method below.
This is the honest answer to how to make butter from whole milk: separate first, churn second. If the milk never forms a cream line, it has probably been homogenized and heavy cream is the better option.
How to Make Butter From Raw Milk
Raw cow’s milk usually forms a strong cream line, which makes it look like the ideal homestead starting point. The separation is easy. The food-safety decision is the part that matters.
Penn State Extension states that raw cream or fat from raw milk should not be used without pasteurization. The FDA explains that pasteurization kills harmful bacteria in milk, and careful milking or a healthy cow cannot guarantee that raw milk is free from harmful germs.
If you are starting with raw cow’s milk, skim the cream with clean equipment, pasteurize it using verified dairy guidance, cool it promptly, and then make the butter. Do not treat churning, washing, salting, or freezing as a substitute for pasteurization.
What You Need to Make Butter
The ingredient list is short. The details of that one ingredient matter more than any special equipment.
Ingredients
- 2 cups pasteurized heavy cream or heavy whipping cream
- 1/4 teaspoon fine salt, optional
- Several cups of ice-cold water for washing
Heavy cream with more fat produces more butter. Penn State Extension’s home method uses cream with about 40 percent fat. Check the carton rather than relying only on the product name. Heavy cream and heavy whipping cream are generally the most reliable choices.
Ordinary whipping cream can still work, but its lower fat content means a smaller yield. Half-and-half contains too little fat for this method. Whole milk works only when it is non-homogenized and you skim and collect its cream first.
Expected Yield
Plan on getting back somewhere between a third and half the volume of your cream as butter. The spread depends on the cream’s actual fat percentage and how thoroughly you press the water out at the end, which is why two batches from different cartons rarely match.
For this 2-cup batch, expect roughly:
- 2/3 to 1 cup homemade butter, somewhere around 5 to 8 oz
- 1 to 1 1/4 cups fresh buttermilk
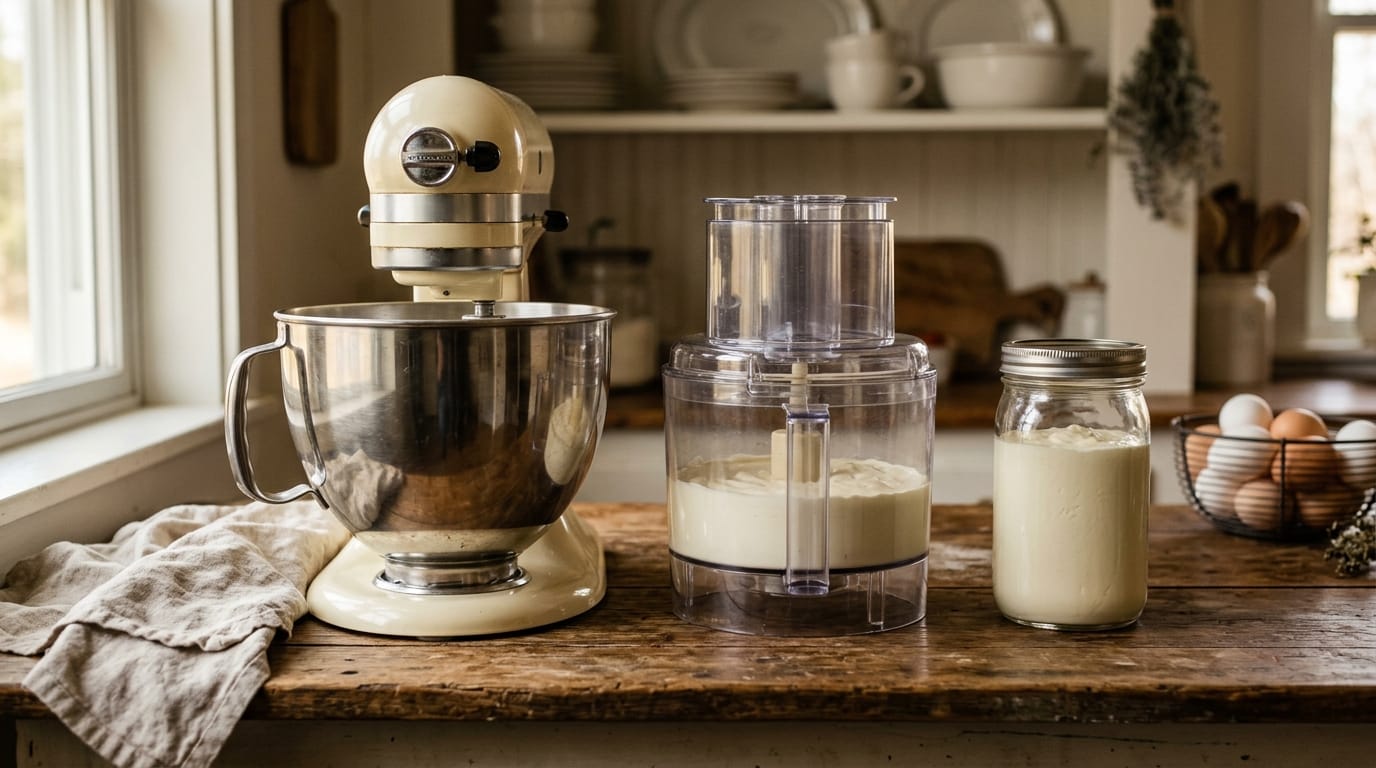
Choose Your Tool
| Method | Best For | Effort | Main Drawback |
|---|---|---|---|
| Stand mixer | Easiest hands-off batch | Low | Cream can splash when it separates |
| Food processor | Fast, compact method | Low | Easy to overfill or warm the butter |
| Jar | No-appliance method or activity with children | High | Requires steady shaking |
A hand mixer also works. Use a deep bowl because the liquid releases suddenly near the end.
How to Make Butter in a Stand Mixer
The stand mixer is the easiest method for a first batch because you can watch each stage without holding a tool.
- Take the chill off the cream. Pour 2 cups of cream into the mixer bowl and let it stand briefly. You want it cool, not warm. Penn State’s guidance uses cream at about 60 F.
- Cover the mixer. Fit the whisk attachment and drape a clean kitchen towel loosely around the bowl and mixer head. Leave enough air space for the machine to run safely.
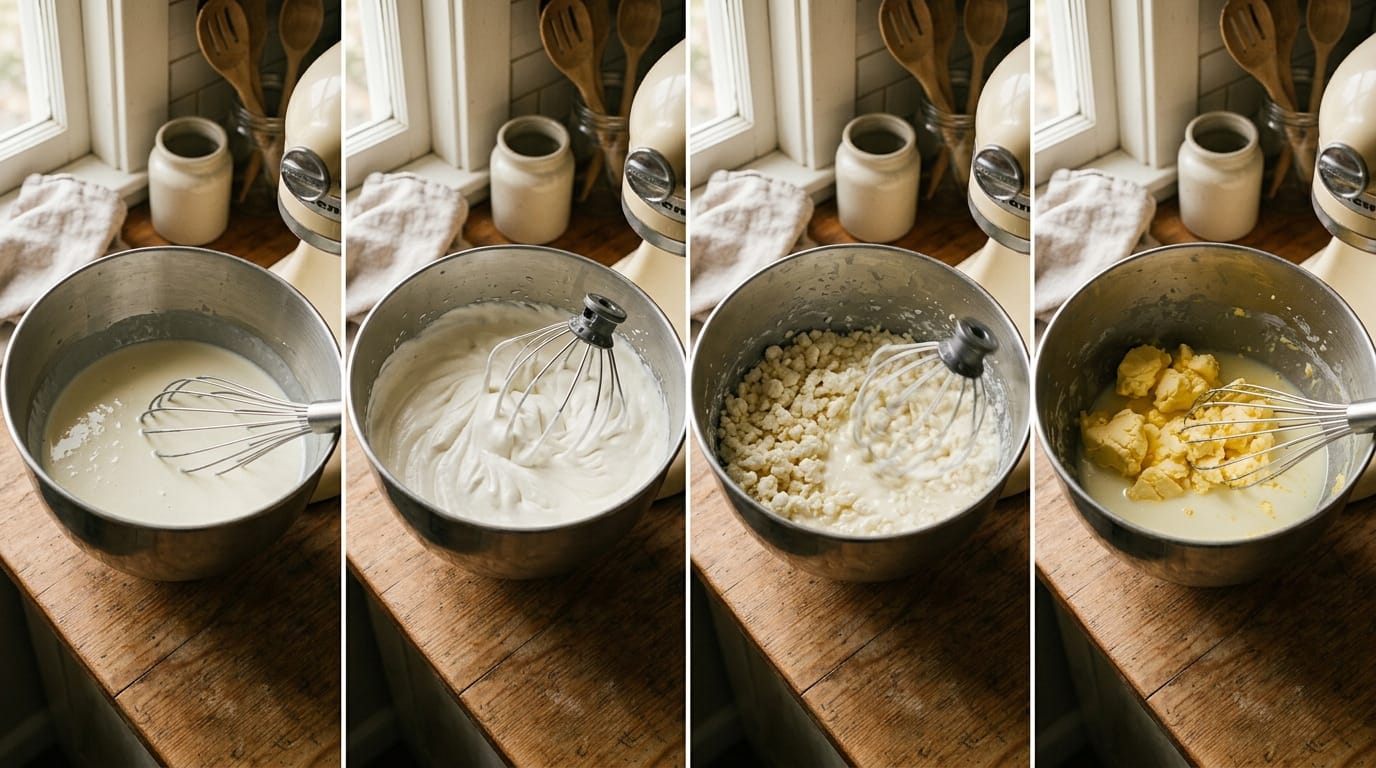
- Begin at medium speed. The cream will become foamy, then form soft and stiff whipped peaks.
- Keep mixing past whipped cream. The smooth cream will look rough and curdled. Pale yellow grains will appear, then gather into larger clumps.
- Slow down when liquid appears. Once the buttermilk begins sloshing around the bowl, reduce the speed to prevent splashing. Stop when the butter has collected into distinct yellow pieces.
- Drain the buttermilk. Pour the liquid through a fine mesh strainer into a clean container. Press gently, but do not force the soft butter through the mesh.
The process often takes roughly 8 to 15 minutes, but do not use the clock as your stopping cue. Cream temperature, fat content, batch size, and mixer speed all change the timing. Stop when you see yellow solids and separate liquid. This stage is exactly what my accidental first batch looked like, and it is the moment beginners mistake for failure.
Food Processor and Jar Methods
All three methods do the same job: they damage the membrane around tiny fat globules so the fat can join into a solid mass. The best method is simply the one that fits the tools and patience you have.
Food Processor Method
Pour the cream into the processor bowl without filling it more than halfway. Run the machine continuously. The cream will thicken, turn grainy, and separate.
Stop as soon as the butter clumps are clearly distinct from the buttermilk. A food processor works quickly and can warm a small batch, so move directly to the cold-water wash. Drain through a fine strainer and save the liquid.
Mason Jar Method
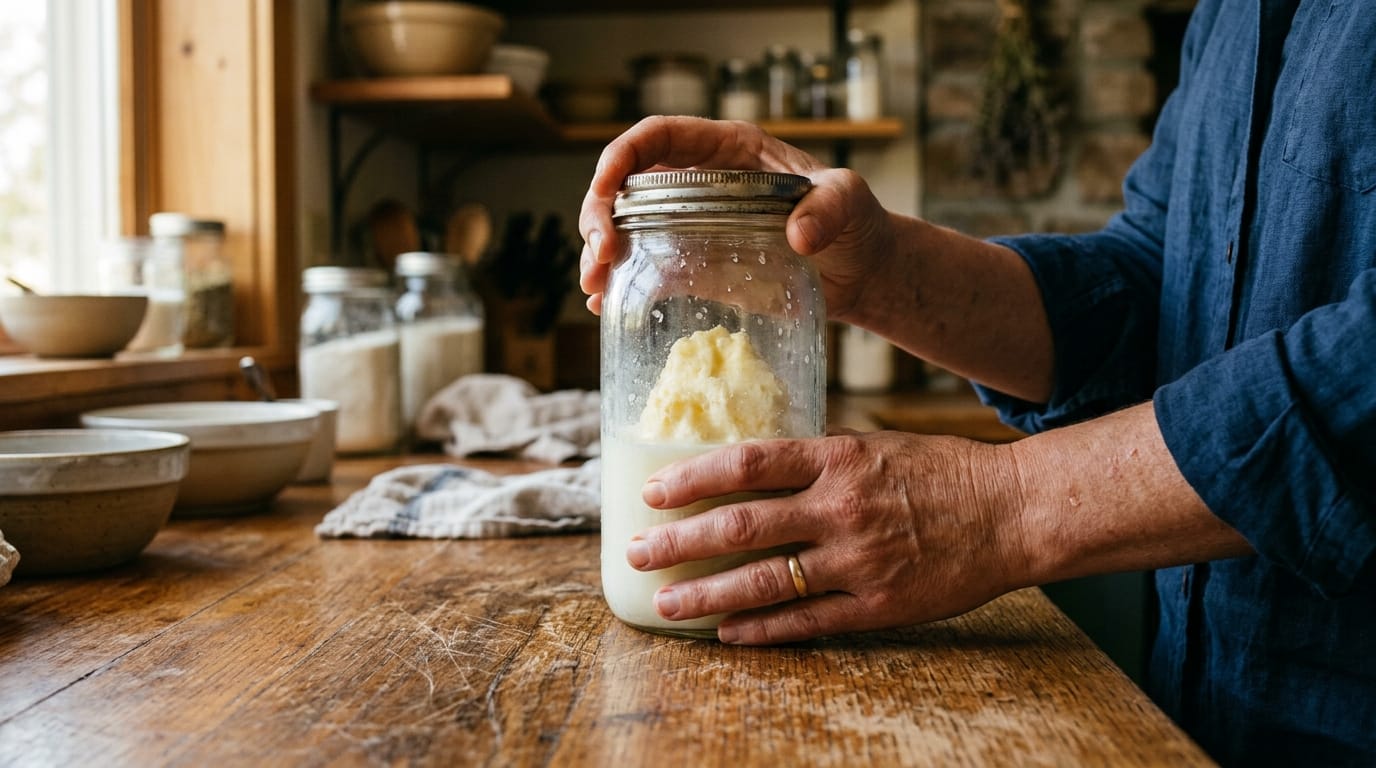
Fill a clean jar no more than halfway with cream and tighten the lid. The empty space is necessary because the cream needs room to move.
Shake steadily. First, the cream will slosh. Then it will become so thick that the jar seems almost silent. Keep going. A solid lump will eventually begin knocking against the glass as the buttermilk separates.
The jar method can take an estimated 10 to 20 minutes of active shaking. Switch hands or pass the jar between two people. Use a plastic container with a secure lid if young children are helping and broken glass is a concern.
Wash, Work, and Salt the Butter
Separating the fat is only the first half of the job. Butter straight from the mixer still holds small pockets of buttermilk. Leaving that liquid behind gives the butter a shorter useful life and can create a sour smell.
Wash Until the Water Runs Clear
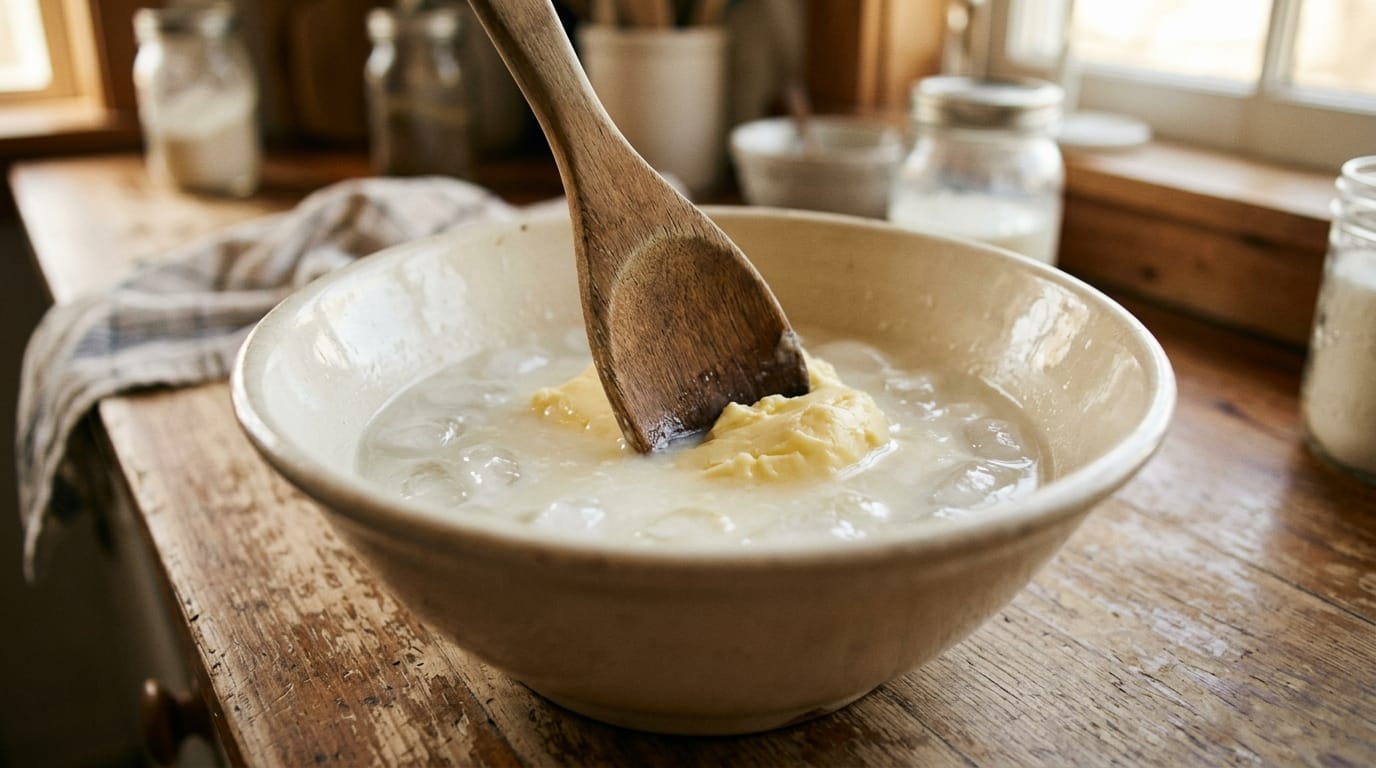
Put the drained butter in a bowl and cover it with ice-cold water. Press and fold it with a wooden spoon or flexible spatula. The water will turn cloudy as more buttermilk leaves the butter.
Pour off the cloudy water and repeat with fresh cold water. Penn State Extension recommends washing the butter three or four times, until the water is clear or only slightly cloudy.
Cold water keeps the fat firm enough to handle. If the butter becomes greasy or starts smearing around the bowl, add more ice to the next wash and let it firm for a minute.
Press Out the Water
Drain the final wash. Fold and press the butter against the side of the bowl to squeeze out visible beads of water. A wooden spoon works, as does a silicone spatula. Blot the outside with a clean towel if necessary.
You are not trying to whip the butter again. Work it only until no more water pools in the bowl and the texture looks smooth and cohesive.
Add Salt by Weight or Taste
Leave the batch plain for unsalted butter. For salted butter, begin with 1/4 teaspoon of fine salt for this 2-cup-cream batch, work it through evenly, then taste.
For repeatable batches, weigh the finished butter and add salt at 0.5 to 1 percent of its weight, the range given by Penn State Extension. That means 1 to 2 g of salt for 200 g of butter. Fine salt distributes more evenly than coarse crystals.
What to Do With the Fresh Buttermilk
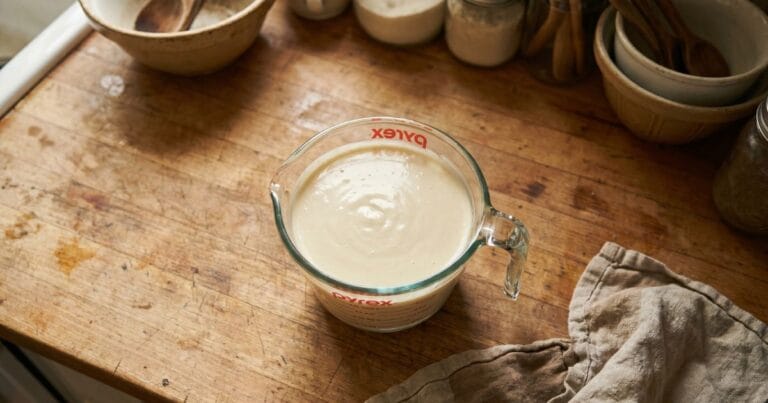
The liquid drained from homemade sweet-cream butter is real buttermilk, but it is not the thick, tangy cultured buttermilk sold in cartons. It is thinner, milder, and less acidic.
Refrigerate it promptly in a clean covered jar. You can use it in soups, pancakes, biscuits, or a batch of thin homemade crackers where a mild dairy flavor is welcome.
Be cautious with recipes that depend on cultured buttermilk’s acidity to react with baking soda. Fresh butter byproduct may not provide enough acid for the expected rise. In those recipes, use commercial cultured buttermilk or follow a tested substitution that adds an acid such as lemon juice or vinegar.
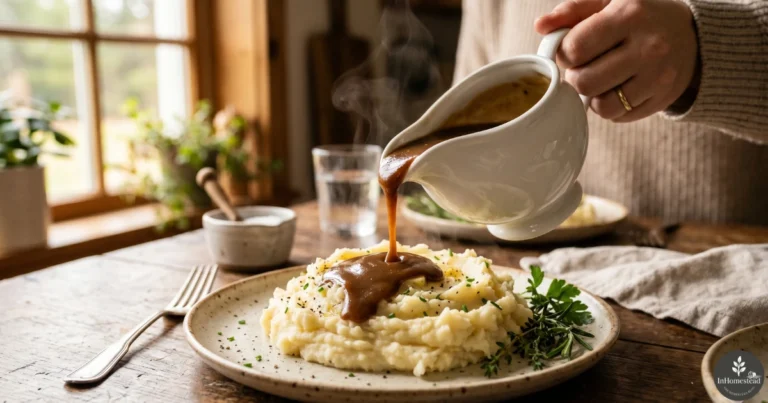
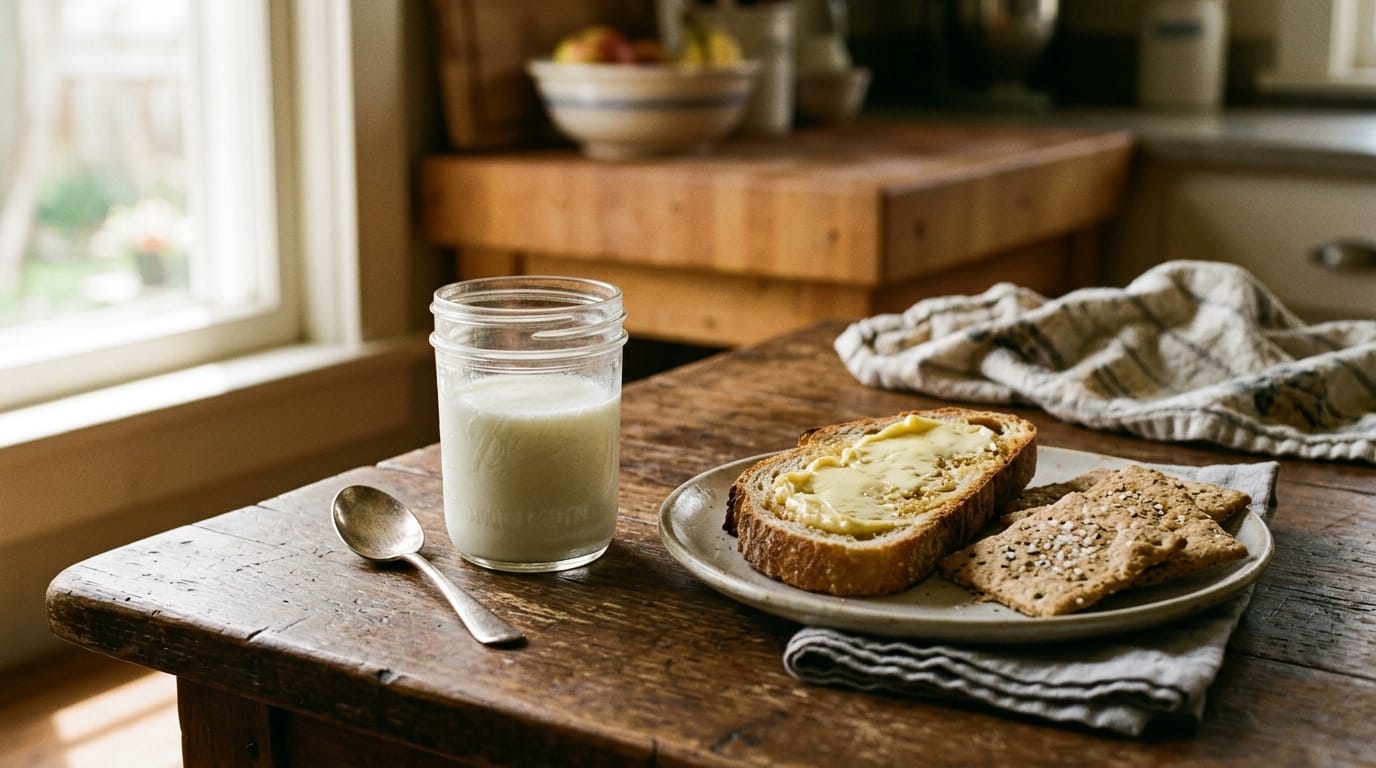
The finished butter has plenty of immediate uses too. Spread it over a warm slice from the beginner sourdough bread guide, melt it into vegetables, or use it in cooking where a small variation in water content will not matter.
Troubleshooting Homemade Butter
Butter gives you visible clues at every stage. Most failed batches are simply unfinished, too warm, or not washed thoroughly enough.
The Cream Will Not Turn Into Butter
Keep mixing if the cream is still at the whipped stage. The transformation looks wrong before it looks right.
If you have mixed for a long time with no separation, check the carton. Low-fat whipping cream, half-and-half, and products with unusual stabilizer blends may give a poor yield. Start again with fresh pasteurized heavy cream near 40 percent fat.
The Butter Is Soft and Greasy
The cream or room became too warm. Drain what you can, then wash the butter with ice water. Work quickly and chill it briefly if it continues to smear.
The Butter Leaks Cloudy Liquid
It needs more washing and pressing. Put it back into cold water, fold it several more times, and replace the water until it stays clear. Press out visible droplets before wrapping.
The Butter Tastes Sour or Smells Off
Fresh sweet-cream butter should taste clean and mildly sweet. A pronounced sour smell, mold, or an unpleasant rancid flavor means it should be discarded. Starting with clean equipment and pasteurized cream, then removing the buttermilk thoroughly, gives you the best result.
The Butter Does Not Behave Normally in Baking
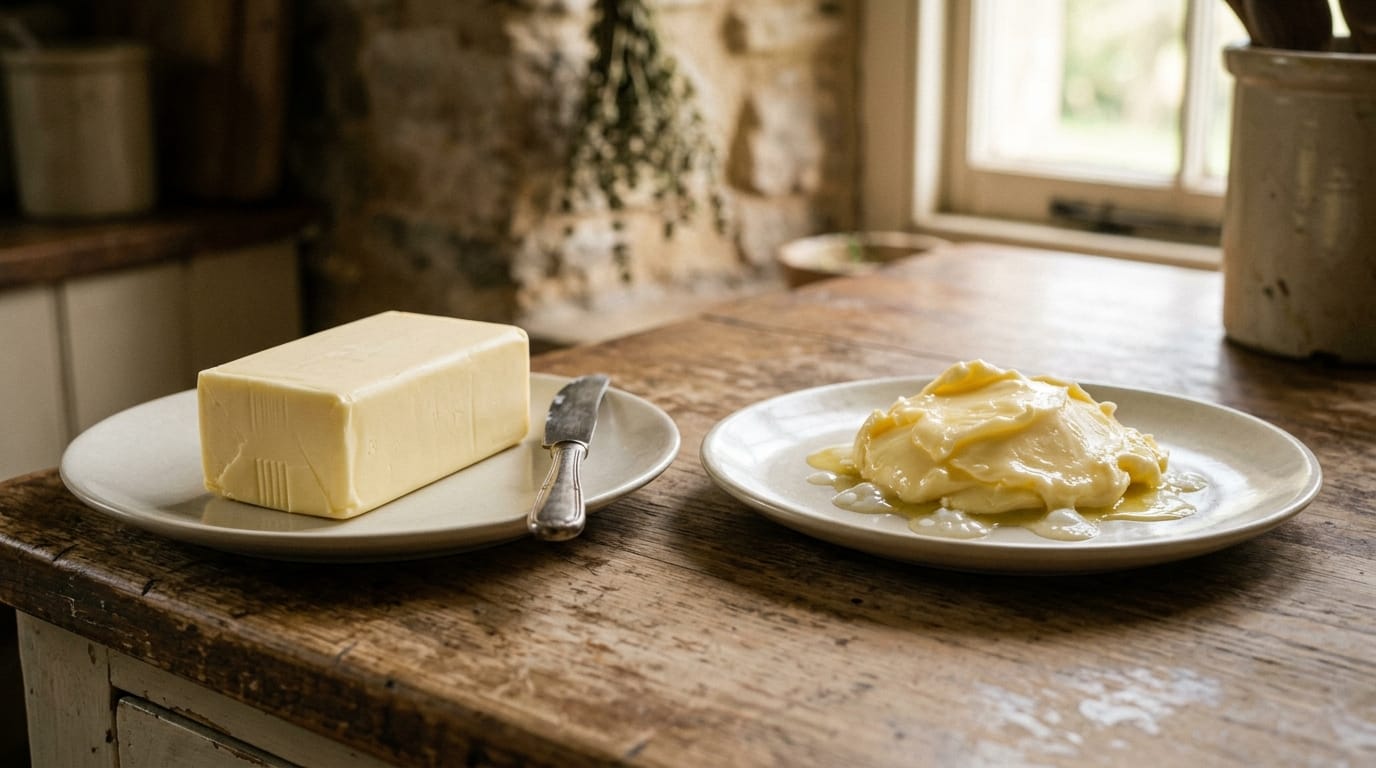
Homemade butter can contain more water and a less predictable percentage of fat than commercial butter. That difference matters in laminated pastry, buttercream, and other formulas that rely on precise fat and moisture levels.
Use homemade butter first as a spread, finishing fat, or cooking ingredient. It works well in a roux for a cream of mushroom soup substitute or a pan of homemade brown gravy. For precision baking, commercial butter gives more consistent results.
Storage and Food Safety
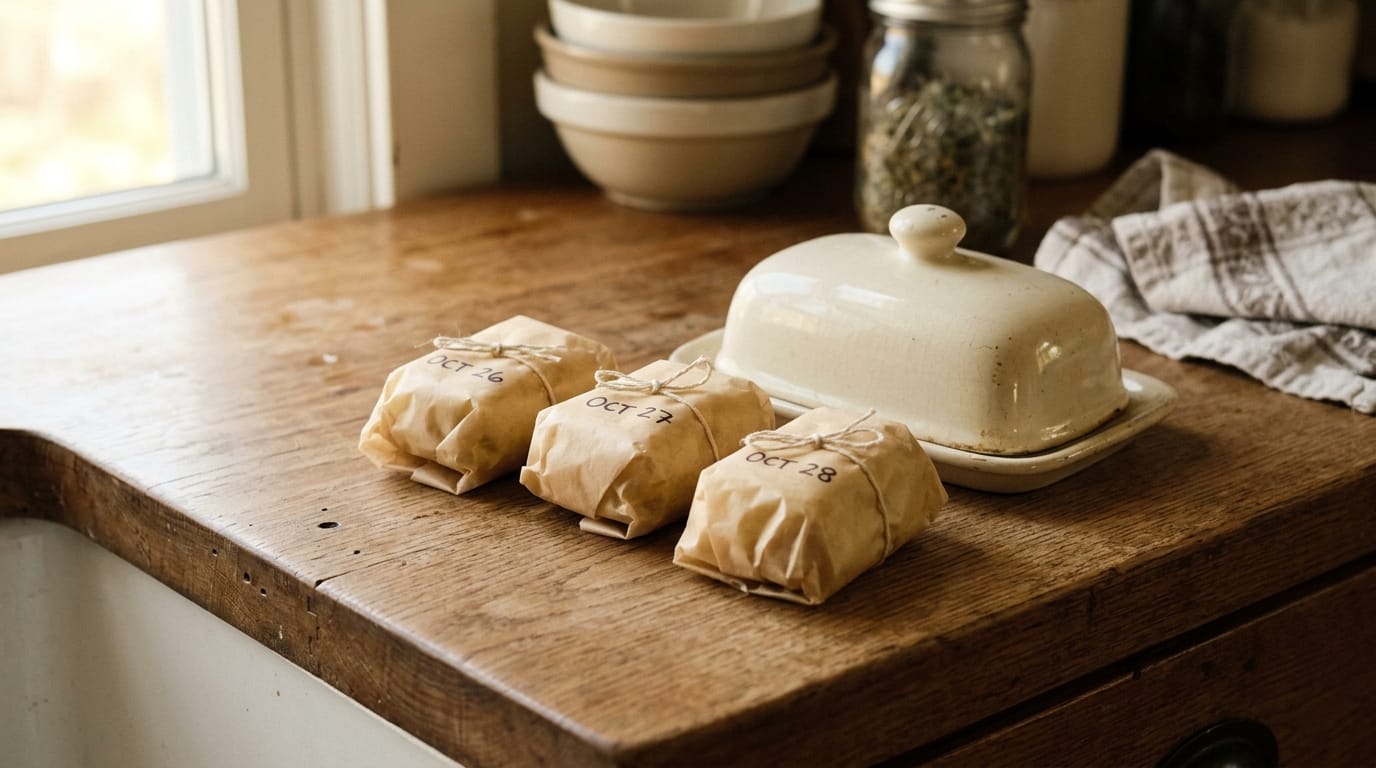
Wrap homemade butter tightly or pack it into a clean covered container and refrigerate it. Because a home batch varies in how much buttermilk and water remain, it should not be treated like a factory-sealed stick with a predictable shelf life.
Make small batches and use them while the flavor is fresh. If you will not finish a batch soon, divide it into small portions and freeze them. Date each package so older butter gets used first.
Do not attempt to make homemade butter shelf-stable by pouring it into jars, using an oven, or processing it in a water-bath canner. Penn State Extension states that there is no tested home-canning process for butter. Butter is a low-acid dairy food, and freezing is the safer long-term option.
Flavored butter needs the same refrigeration. Fresh garlic, herbs, or other moist additions do not make butter safe for pantry storage.
Is Making Butter Worth It?
Making butter is worth doing when you have extra cream, want control over salt and flavor, or want to understand a useful from-scratch kitchen skill. It is also a simple way to produce both butter and fresh buttermilk from one ingredient.
It is not automatically cheaper. Compare the price of enough cream for your expected yield with the price of the butter you normally buy. For a fair comparison, calculate cost per ounce rather than comparing one carton with one box.
The less obvious trade-off is consistency. Store-bought butter is standardized, compact, and ready for precise baking. Homemade butter gives you fresher flavor and control, but it takes active work and may hold more water. There is room for both in the same kitchen.
The Free Garden Starter Pack
Five printable pages that take the guesswork out of a first season, plus a short email every week or two when something is worth planting, picking, or putting up.
- A garden planning worksheet you can actually fill in
- A seed-starting and planting calendar
- A harvest log to track what really produced
No spam, ever. Unsubscribe in one click.
Thank you. You are on the list.
Your Garden Starter Pack is ready right now. Grab it here:
Download the pack (PDF)Keep an eye on your inbox. The next seasonal guide lands there first.
Frequently Asked Questions About Making Butter
What Is the Best Cream for Making Butter?
Pasteurized heavy cream or heavy whipping cream near 40 percent fat is the best choice. Higher-fat cream generally gives a larger yield and separates more reliably than ordinary whipping cream.
Can You Make Butter From Regular Milk?
You cannot make a practical batch of butter by shaking homogenized grocery-store milk. Use non-homogenized whole milk and skim its cream first, or begin with packaged heavy cream.
How Do You Make Butter From Cow’s Milk?
Let pasteurized, non-homogenized cow’s milk rest cold until the cream rises, skim that cream into a clean container, then churn it until butter separates. If the cow’s milk is raw, pasteurize the cream before making butter.
Can You Make Cream From Milk and Butter?
Yes, for cooking. Melt 1/4 cup of butter, whisk it into 3/4 cup of whole milk, and use the mixture in place of 1 cup of heavy cream in sauces, soups, and casseroles. It will not whip and it can separate under high heat, so treat it as a cooking substitute rather than true cream. It is the reverse of butter making, so it does not help you separate butter from milk.
How Long Does It Take to Make Butter?
A stand mixer often takes roughly 8 to 15 minutes, while a jar may require an estimated 10 to 20 minutes of shaking. Temperature, fat content, batch size, and tool speed matter more than the clock, so watch for yellow clumps and separate liquid.
How Much Butter Does 1 Quart of Cream Make?
One quart of heavy cream typically yields about 1 1/3 to 2 cups of butter, plus 2 cups or so of fresh buttermilk. The final amount depends on the cream’s fat percentage and how much liquid you press out of the finished butter.
Why Do You Wash Homemade Butter?
Washing removes buttermilk trapped between the butter grains. That leftover liquid can make the butter sour sooner, so continue washing with cold water until the water remains clear.
Is Homemade Buttermilk the Same as Store-Bought Buttermilk?
No. Liquid from sweet-cream butter is mild and thin, while most store-bought buttermilk is cultured and acidic. They can taste good in many of the same dishes, but they are not interchangeable in every baking recipe.
Can Homemade Butter Be Left on the Counter?
Keep homemade butter refrigerated. Its moisture and buttermilk content are less predictable than commercial butter, so cold storage is the safer default.
The First Batch
Start with a container of cream-top milk or 2 cups of heavy cream and the tool already in your kitchen. If you begin with milk, skim and save the cream first. Once that cream turns from smooth white peaks into yellow clumps and cloudy liquid, the hard part is finished. That is the moment I once mistook for a ruined pie topping.
Drain it, wash it colder and more thoroughly than seems necessary, then taste before adding salt. That first slice of bread with butter made minutes earlier is enough to explain why this old kitchen skill is still worth knowing.