Homemade Cracker Recipe (Ready in 30 Minutes)
Every week, most households toss a box of crackers into the grocery cart without a second thought. They sit in the pantry, disappear with cheese or soup, and get replaced on the next run. What catches most people off guard is that a homemade cracker, one that costs a fraction of the store version and tastes noticeably better, takes about the same amount of hands-on time as making a sandwich.
You do not need butter. You do not need eggs. You do not need a stand mixer or any special equipment. A bowl, a rolling pin, and a hot oven are all this cracker recipe requires.
A basic homemade cracker recipe uses flour, water, oil, and salt mixed into a stiff dough, rolled very thin, cut into pieces, and baked at 400 to 450 degrees F for 10 to 15 minutes until the edges turn golden. The thinner the dough, the crispier the result. Most beginner batches are ready in under 30 minutes of active work.
Quick Answer
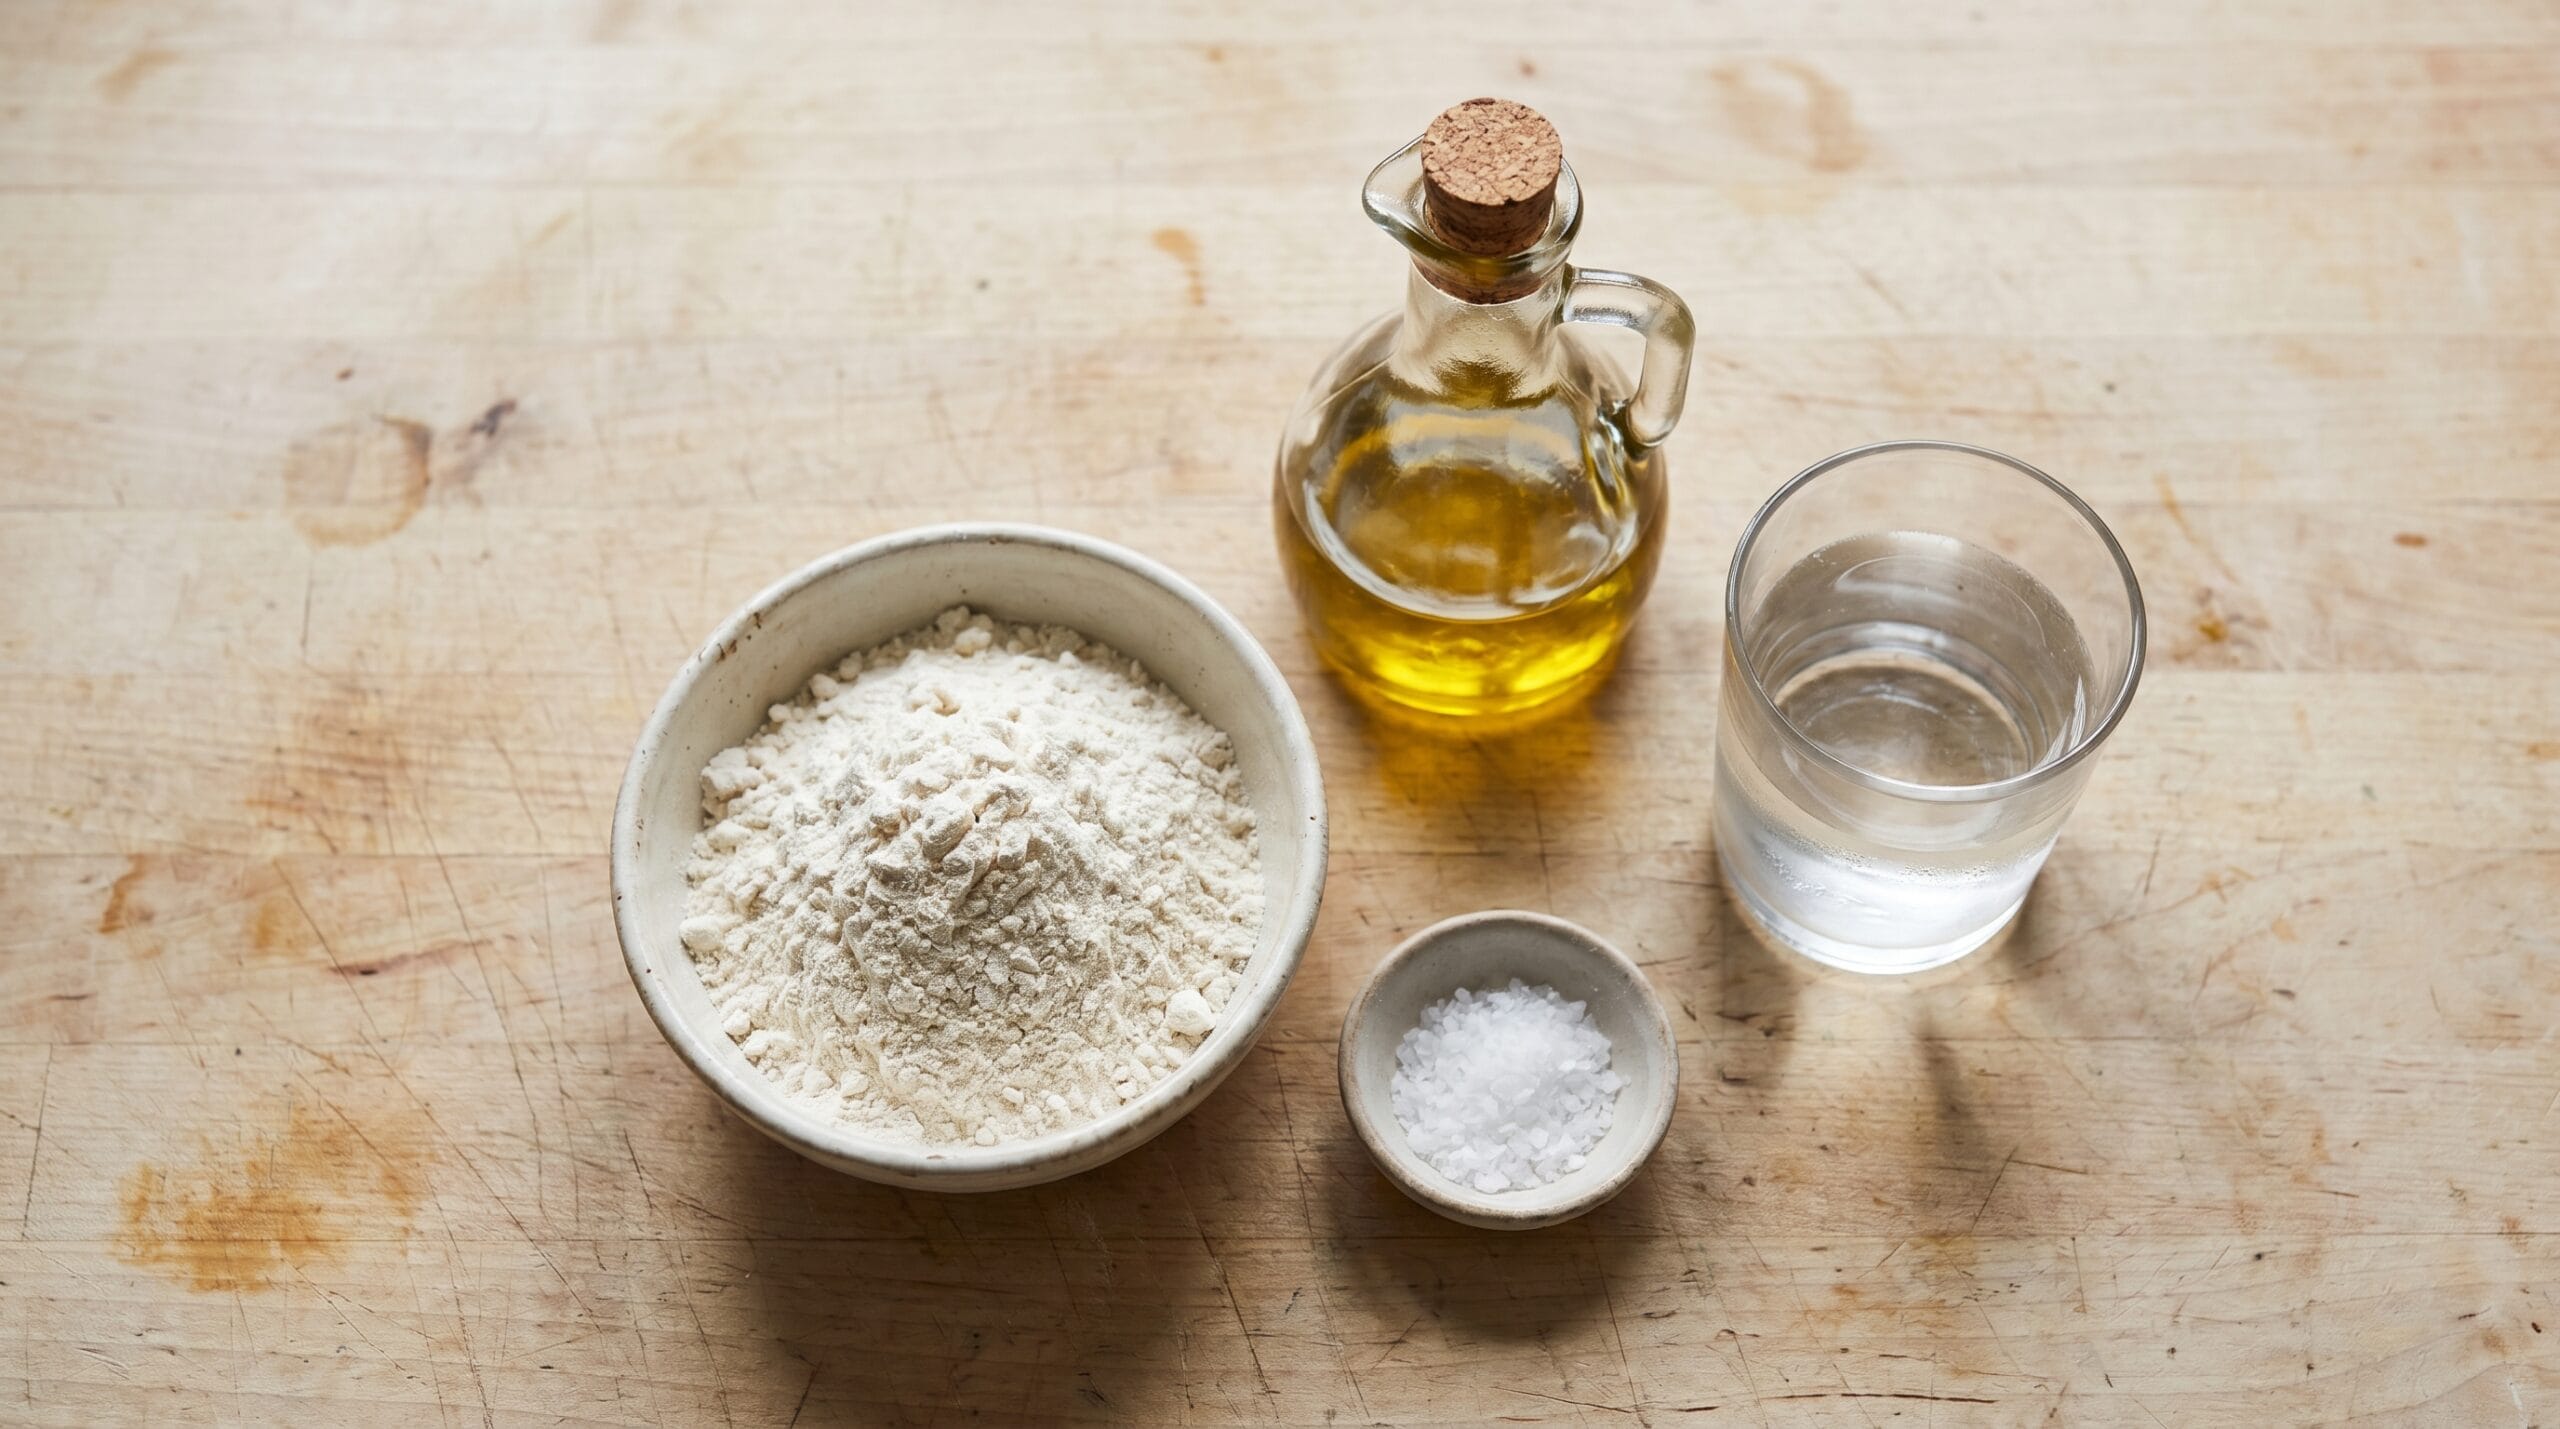
- Base ingredients: flour, water, olive oil, salt. That is it.
- Roll thin: target 1/16 inch. This is the most important step.
- Bake at 400 to 450 F for 10 to 15 minutes until pale gold.
- Cool completely before storing, or they will soften in the container.
- Shelf life: 1 to 2 weeks in an airtight container at room temperature.
- Cost per batch: roughly $0.40 to $0.60 for 40 to 50 crackers.
- Best served with: aged cheese, hummus, or alongside a bowl of soup.
What Goes Into a Basic Cracker Recipe
A cracker is not a cookie, and the ingredient list makes that clear. Cookies rely on butter, sugar, eggs, and leavening. A cracker uses almost none of those things, the goal is a low-fat, low-moisture dough that bakes bone-dry and stays crispy.
The Core Four
Flour is the structural base. All-purpose flour produces a neutral, light cracker. Whole wheat adds a nuttier flavor and a slightly denser bite, and both work well.
Water is the hydration, but just barely. You want the minimum amount needed to bring the dough together. Too much and the cracker turns soft. Aim for a texture that feels like stiff modeling clay rather than bread dough.
Oil keeps the cracker from being bland and hard. Olive oil adds mild richness and a faint savory note. Avocado or sunflower oil works if you want a more neutral flavor. Butter is not wrong, but it raises the cost and is not necessary.
Salt sharpens everything else. Even 1/2 teaspoon makes a significant difference in flavor. Flaky salt scattered on top right before baking adds both texture and visual appeal.
Optional Add-Ins
Once you have the base formula down, the variations are easy. Garlic powder, onion powder, and dried rosemary mix directly into the dough. Sesame seeds and everything bagel seasoning go on top. Nutritional yeast adds a faint cheesy quality without any dairy.
For something a little different, kale or spinach powder (or fresh leaves blended with the water) turns the dough a soft green and adds mild earthiness. Potato starch substituted for a small portion of flour tends to produce a slightly lighter, more delicate texture, though results vary depending on how much you substitute.
What you do not need: baking powder, baking soda, eggs, sugar, or any dairy. This is a simple pantry project, and baking with simple pantry ingredients is something most homestead kitchens already do naturally.
How to Make Simple Homemade Crackers (Step by Step)
This recipe makes roughly 40 to 50 small crackers. Scale it up once you have a feel for the dough.
Base recipe:
- 1 cup all-purpose flour (or whole wheat)
- 1/3 cup water
- 3 tablespoons olive oil
- 1/2 teaspoon salt
Step 1: Mix the Dry Ingredients
Combine the flour and salt in a medium bowl. Stir briefly to distribute the salt evenly. If you are adding dry seasonings like garlic powder or onion powder, they go in here.
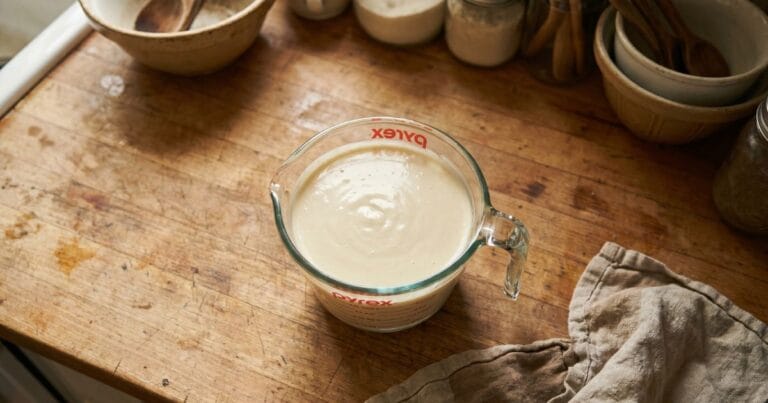
Step 2: Add Oil and Water
Pour in the olive oil, then the water. Mix with a fork or your hand until a shaggy dough forms. Keep working it until the dough comes together into a smooth, firm ball. It should not be sticky. If it is crumbling apart, add water one teaspoon at a time.
Step 3: Rest the Dough
Let the dough sit for 10 minutes. This short rest relaxes the gluten and makes rolling significantly easier. Skip it and you will fight the dough every time it springs back.
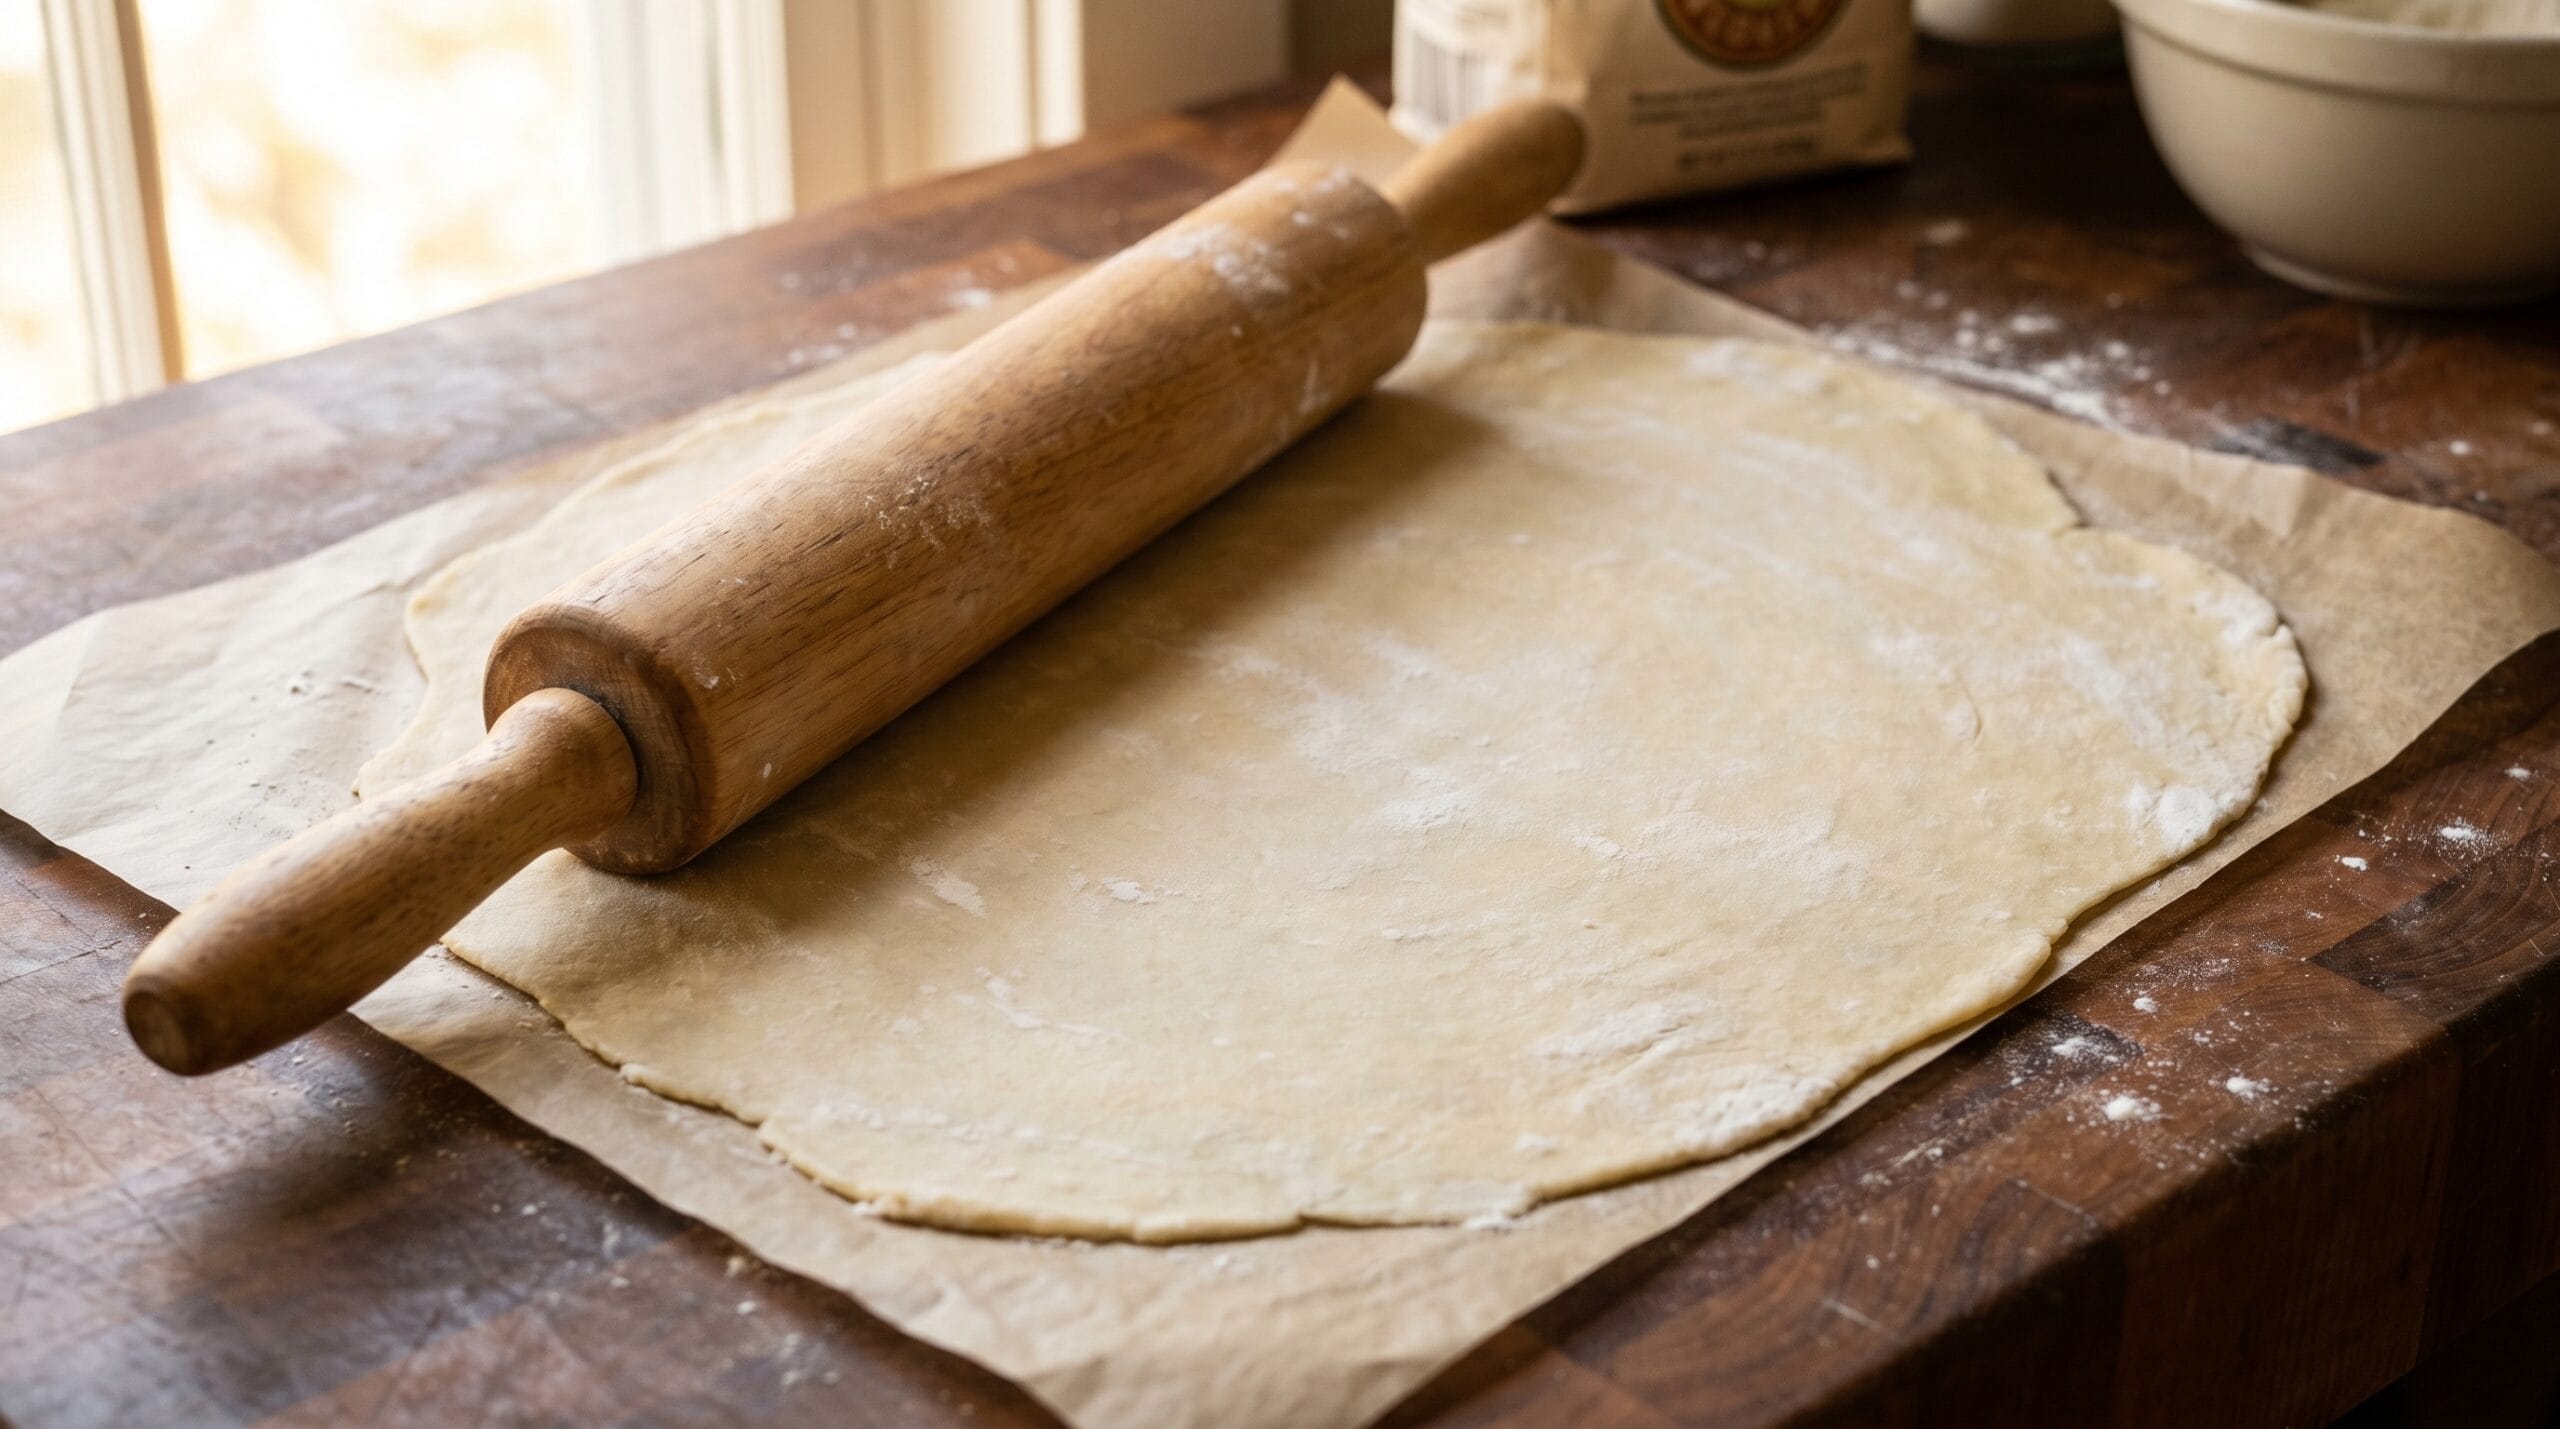
Step 4: Roll It Thin
This is the step that determines whether your crackers are crispy or soft. Divide the dough in half and roll each piece directly on a sheet of parchment paper. Target 1/16 inch thickness, about 1.5 mm. If you can faintly read a newspaper headline through the dough, you are close. Thicker than that and the center will not crisp properly.
Step 5: Cut and Dock
Use a knife, pizza cutter, or pastry wheel to cut the dough into rectangles, squares, or irregular snapping-size pieces. Poke each piece a few times with a fork (this is called “docking”) to prevent puffing in the oven. Slide the parchment with the cut dough directly onto a baking sheet.
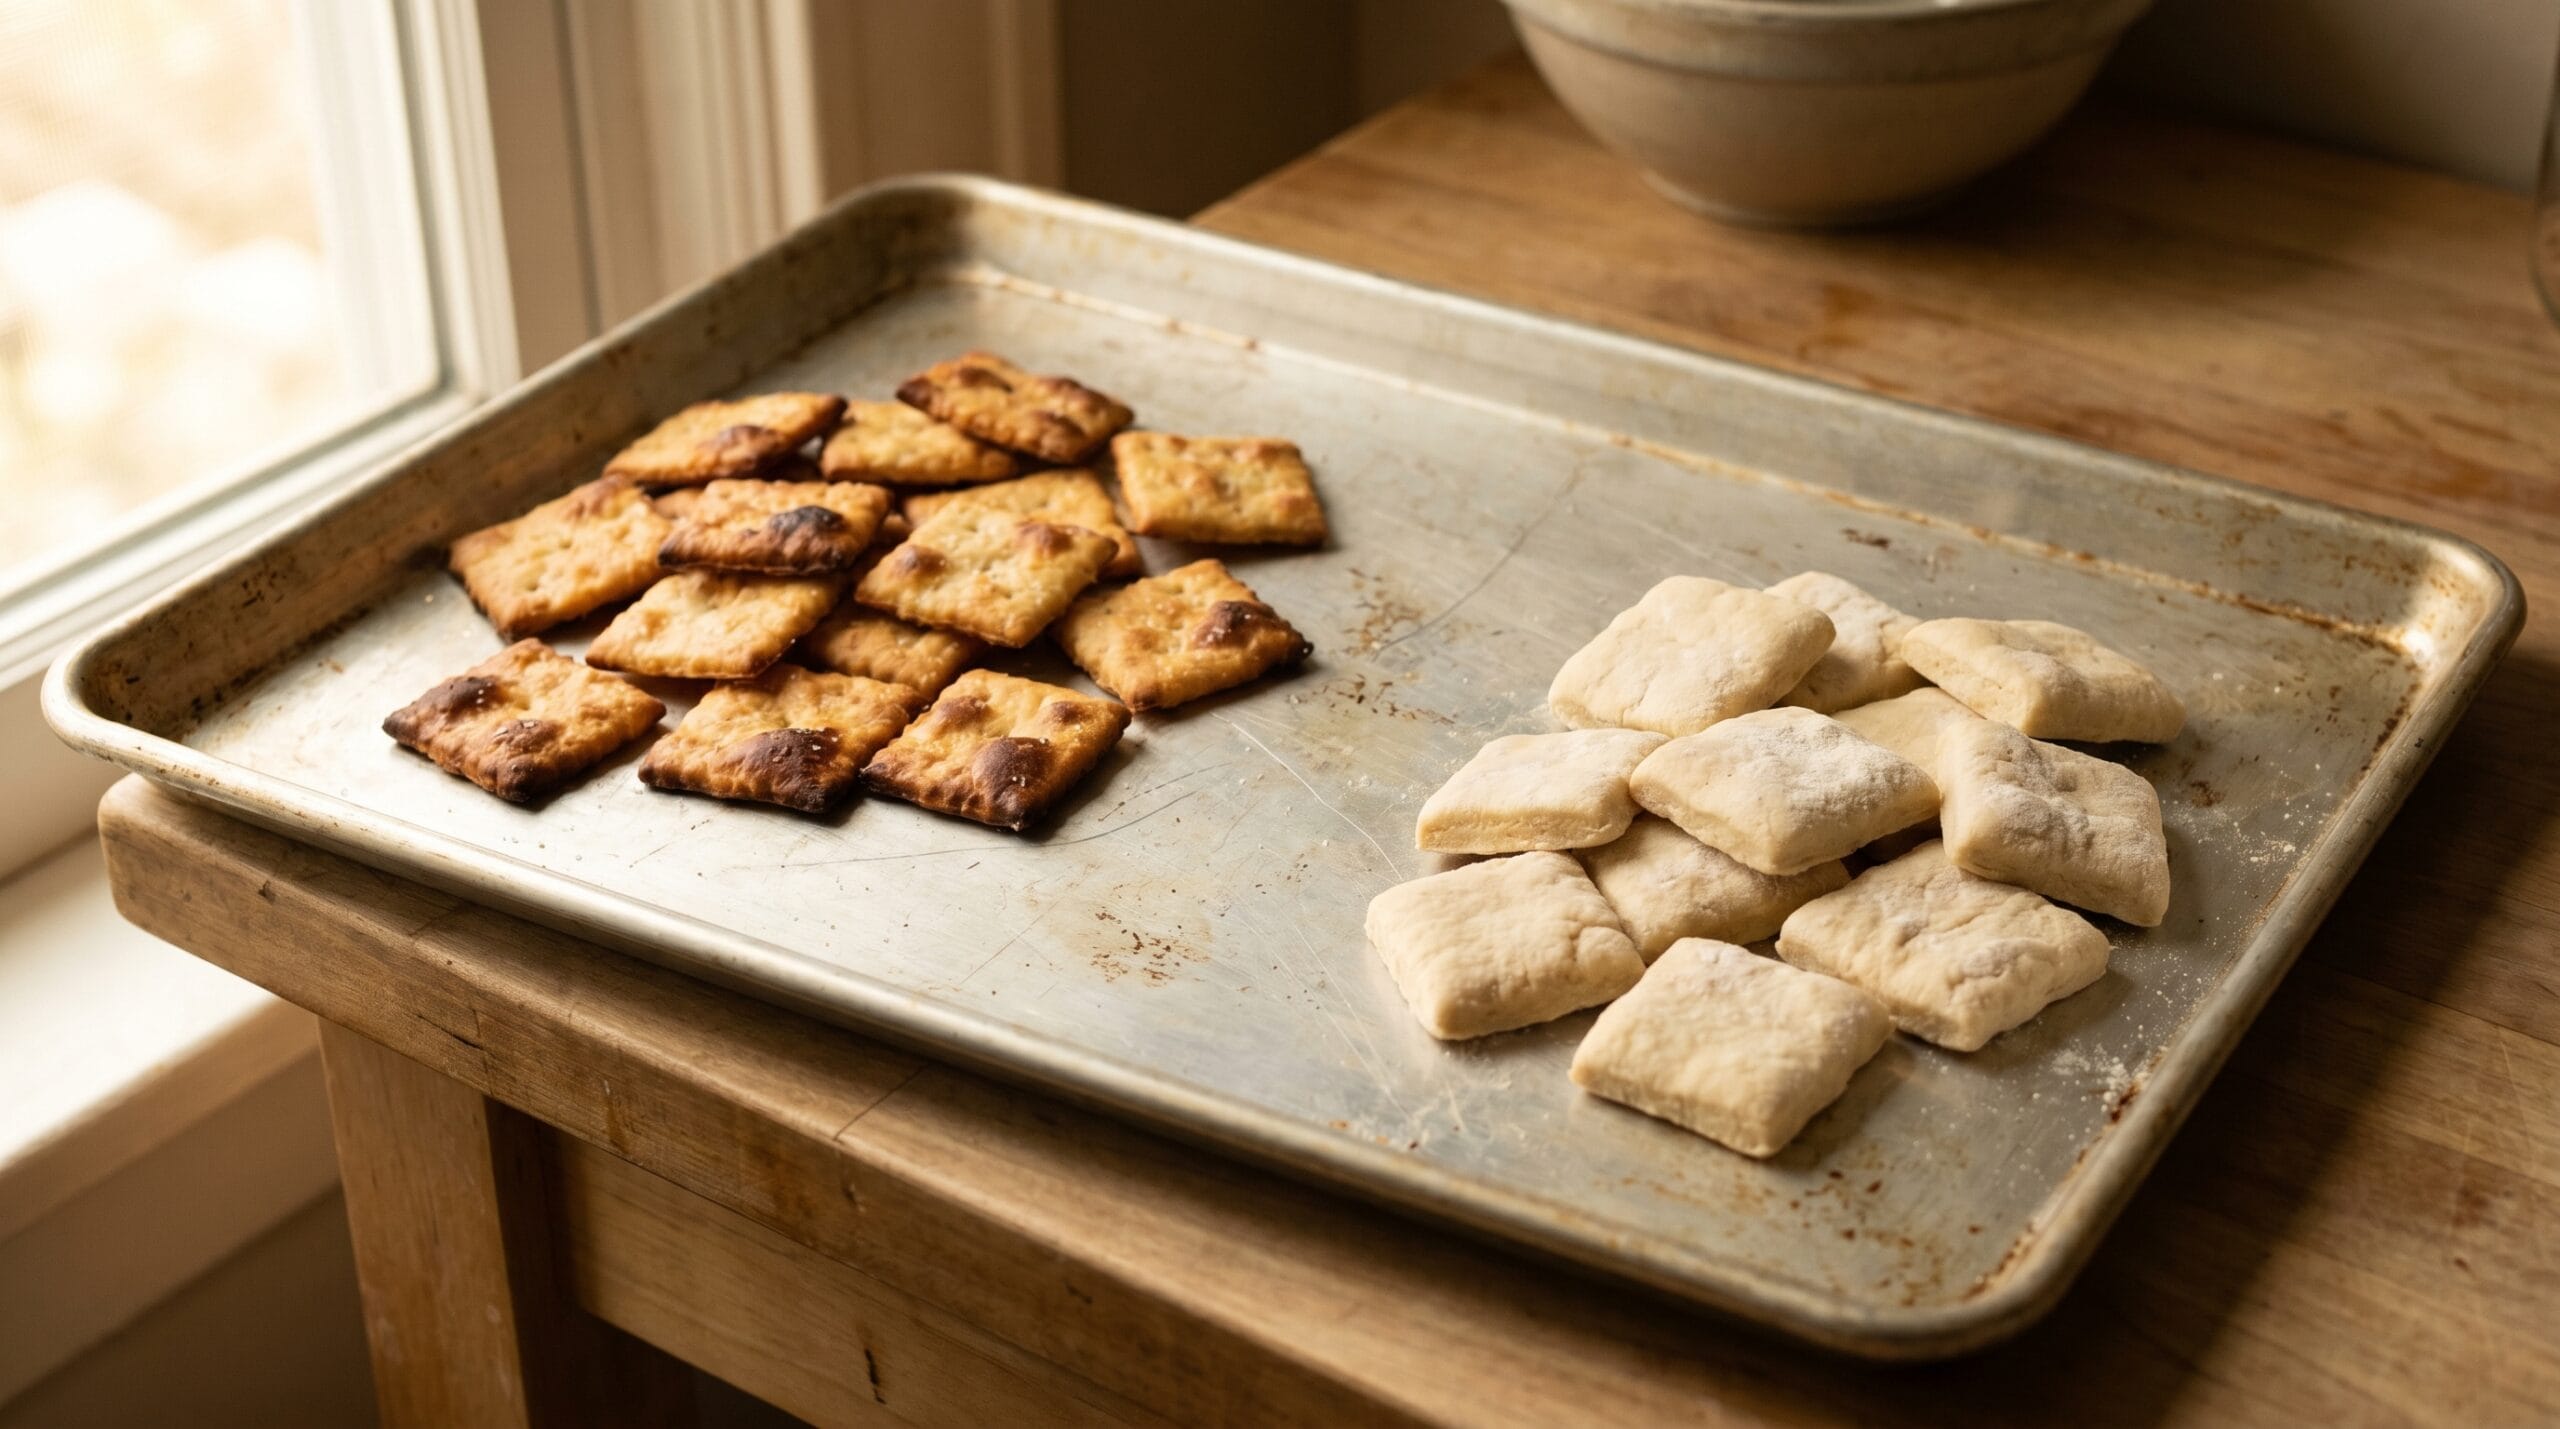
Step 6: Bake
Preheat your oven to 425 F. Bake for 10 to 15 minutes, rotating the tray halfway through. Watch the edges, they should turn pale gold. Home ovens vary, so treat the time range as a guide and use color as the real signal. If you are using a convection setting, check 2 to 3 minutes early. If some thinner pieces finish first, pull them out and let the rest continue.
Step 7: Cool Completely
Transfer crackers to a wire rack. Do not store them warm. The crackers continue crisping as they cool, and any steam trapped in a container will undo all of that work in a matter of hours.
4 Flavor Variations Worth Trying
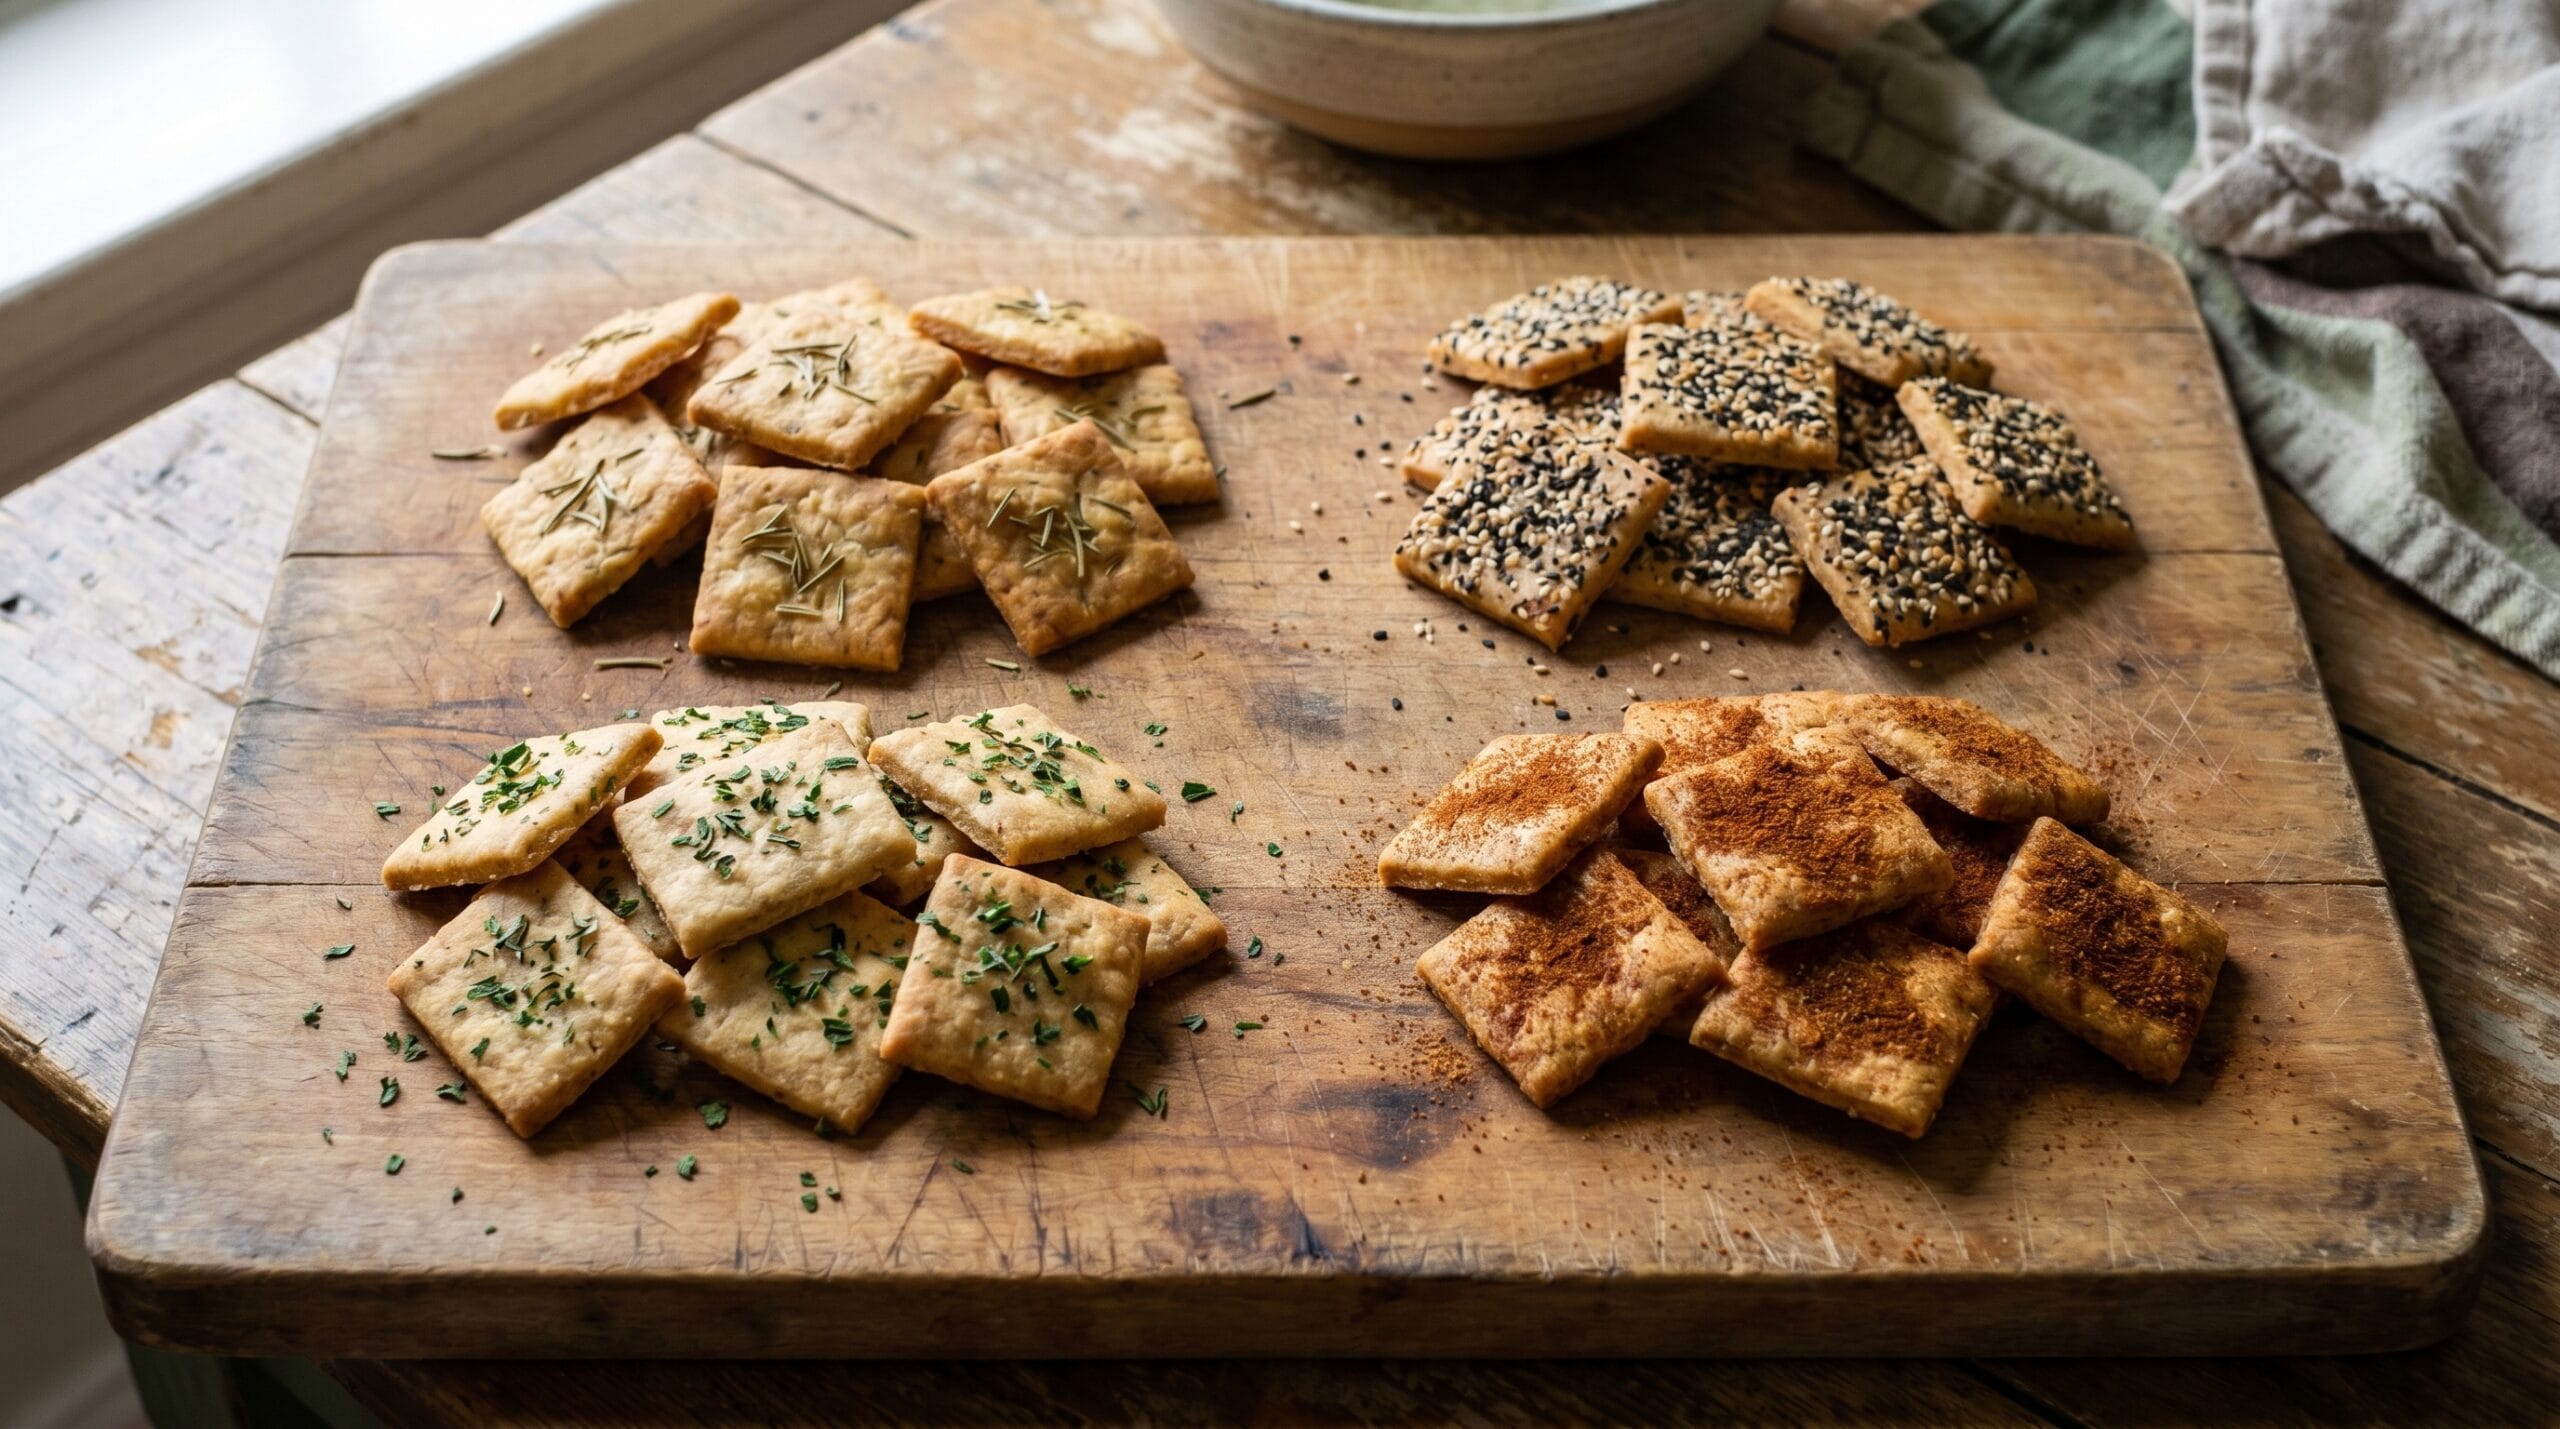
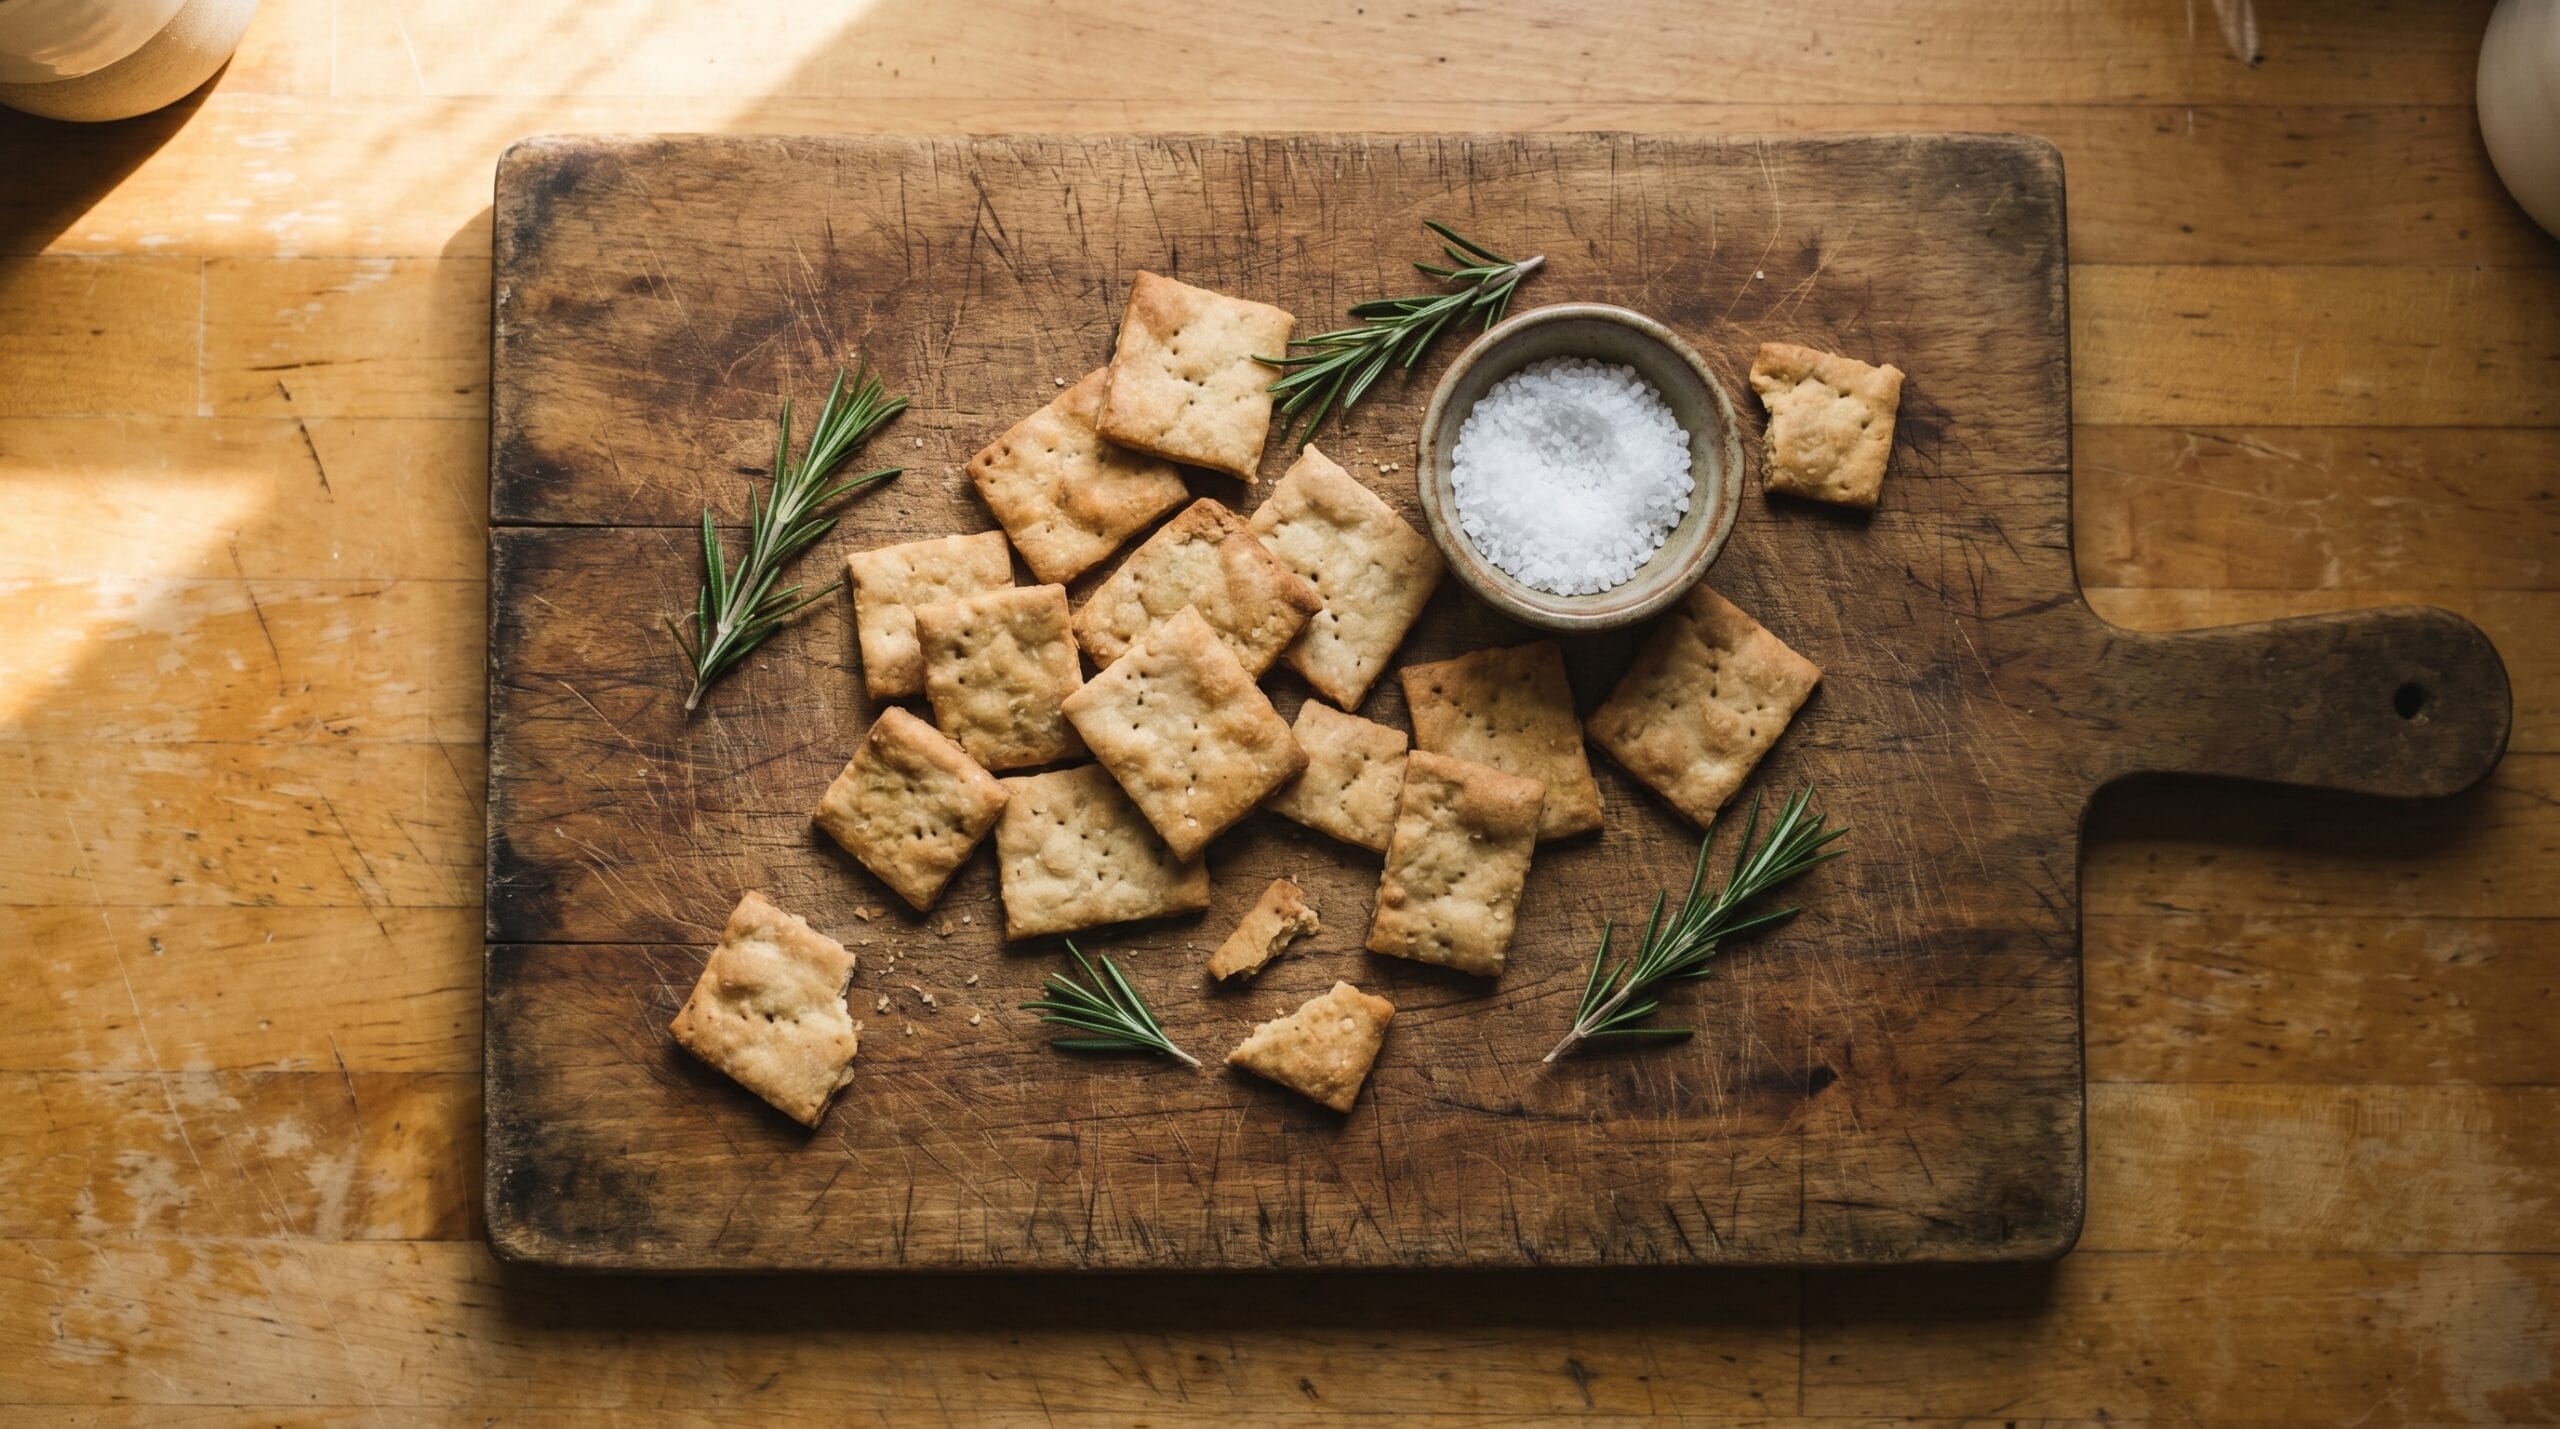
Rosemary Sea Salt
Add 1 tablespoon of finely chopped fresh rosemary directly to the dry ingredients. Before baking, brush the rolled dough lightly with water and scatter flaky sea salt across the surface. The salt crunches against the cracker in a way that is difficult to replicate with any store-bought version.
Garlic and Onion
Mix 1/2 teaspoon garlic powder and 1/4 teaspoon onion powder into the flour before adding the liquid. The result is a savory, slightly sharp cracker that pairs particularly well with soft cheeses and white bean dip. Both garlic and onion are inexpensive flavor workhorses that require no prep beyond measuring.
Everything Bagel
Brush the surface of the rolled dough with a light egg wash (one beaten egg thinned with a teaspoon of water), then sprinkle a generous layer of everything bagel seasoning across the top. The egg wash helps the seeds adhere and adds a faint sheen. Press lightly with your palm before cutting so the seeds do not fall off. Note that the added moisture from the egg wash can cause these crackers to soften a day or two sooner than plain batches, so store them in a well-sealed container and plan to finish them within a week.
Kale or Spinach
Blend 1/4 cup of fresh kale or spinach leaves with the water before mixing the dough. The bitterness that puts people off raw greens disappears entirely in the oven. What remains is a soft green color and a mild earthiness that makes these crackers look considerably more impressive than they are to make. This variation also works with spinach powder if fresh greens are not on hand.
The Most Common Beginner Mistakes That Make Crackers Soft Instead of Crispy
Soft crackers are almost always the result of one of five problems. Fixing any of them is straightforward once you know what to look for.
The Dough Is Too Thick
This is the most common culprit and the hardest to recognize until you have made a few batches. Most people stop rolling before the dough is actually thin enough. If you hold a piece up to a light source and it looks opaque and doughy, keep rolling. The target is nearly translucent at the thinnest points.
Underbaking
A cracker that looks dry is not necessarily done. The inside moisture needs to fully evaporate for the texture to set. According to food science guidance from land-grant extension programs, adequate heat exposure removes residual moisture that would otherwise lead to premature softening during storage. Pull crackers only when the edges are clearly golden, not just pale.
Opening the Oven Too Early
Every time you open the oven door in the first 8 minutes, you drop the interior temperature and disrupt the even heat the crackers need. Resist the urge to check until the minimum bake time has passed.
Storing Before Fully Cool
Crackers placed in a container while still warm trap steam. That steam condenses and rehydrates the surface, turning a crispy cracker soft within a few hours. Give them a full 15 to 20 minutes on the rack before sealing.
Too Much Water in the Dough
The dough should feel stiff, almost resistant, when you mix it. If it feels soft and pliable like bread dough, you have added too much water. Sprinkle in flour one tablespoon at a time and work it back to the right consistency before resting and rolling.
Is It Actually Cheaper to Make Crackers at Home? A Real Cost Breakdown
The honest answer is yes, with a caveat about your time.
Ingredient Cost Per Batch
Using mid-2026 US retail grocery prices as a reference point, USDA commodity price data puts all-purpose flour at roughly $0.10 to $0.15 per cup. Three tablespoons of olive oil runs approximately $0.20 to $0.30 depending on the brand. Salt and any dried seasonings contribute pennies. The total ingredient cost for one batch of 40 to 50 crackers lands at approximately $0.40 to $0.60.
A comparable box of mainstream crackers (Triscuits, Wheat Thins, and similar) typically runs roughly $3.50 to $5.00 at standard grocery shelf prices as of mid-2026, though this varies by retailer, format, and region.
The Time Trade-Off
Thirty minutes of active kitchen time is real. If you value your labor at $20 an hour, a single batch costs roughly $10 in time on top of the ingredient cost. That math makes a store box look reasonable.
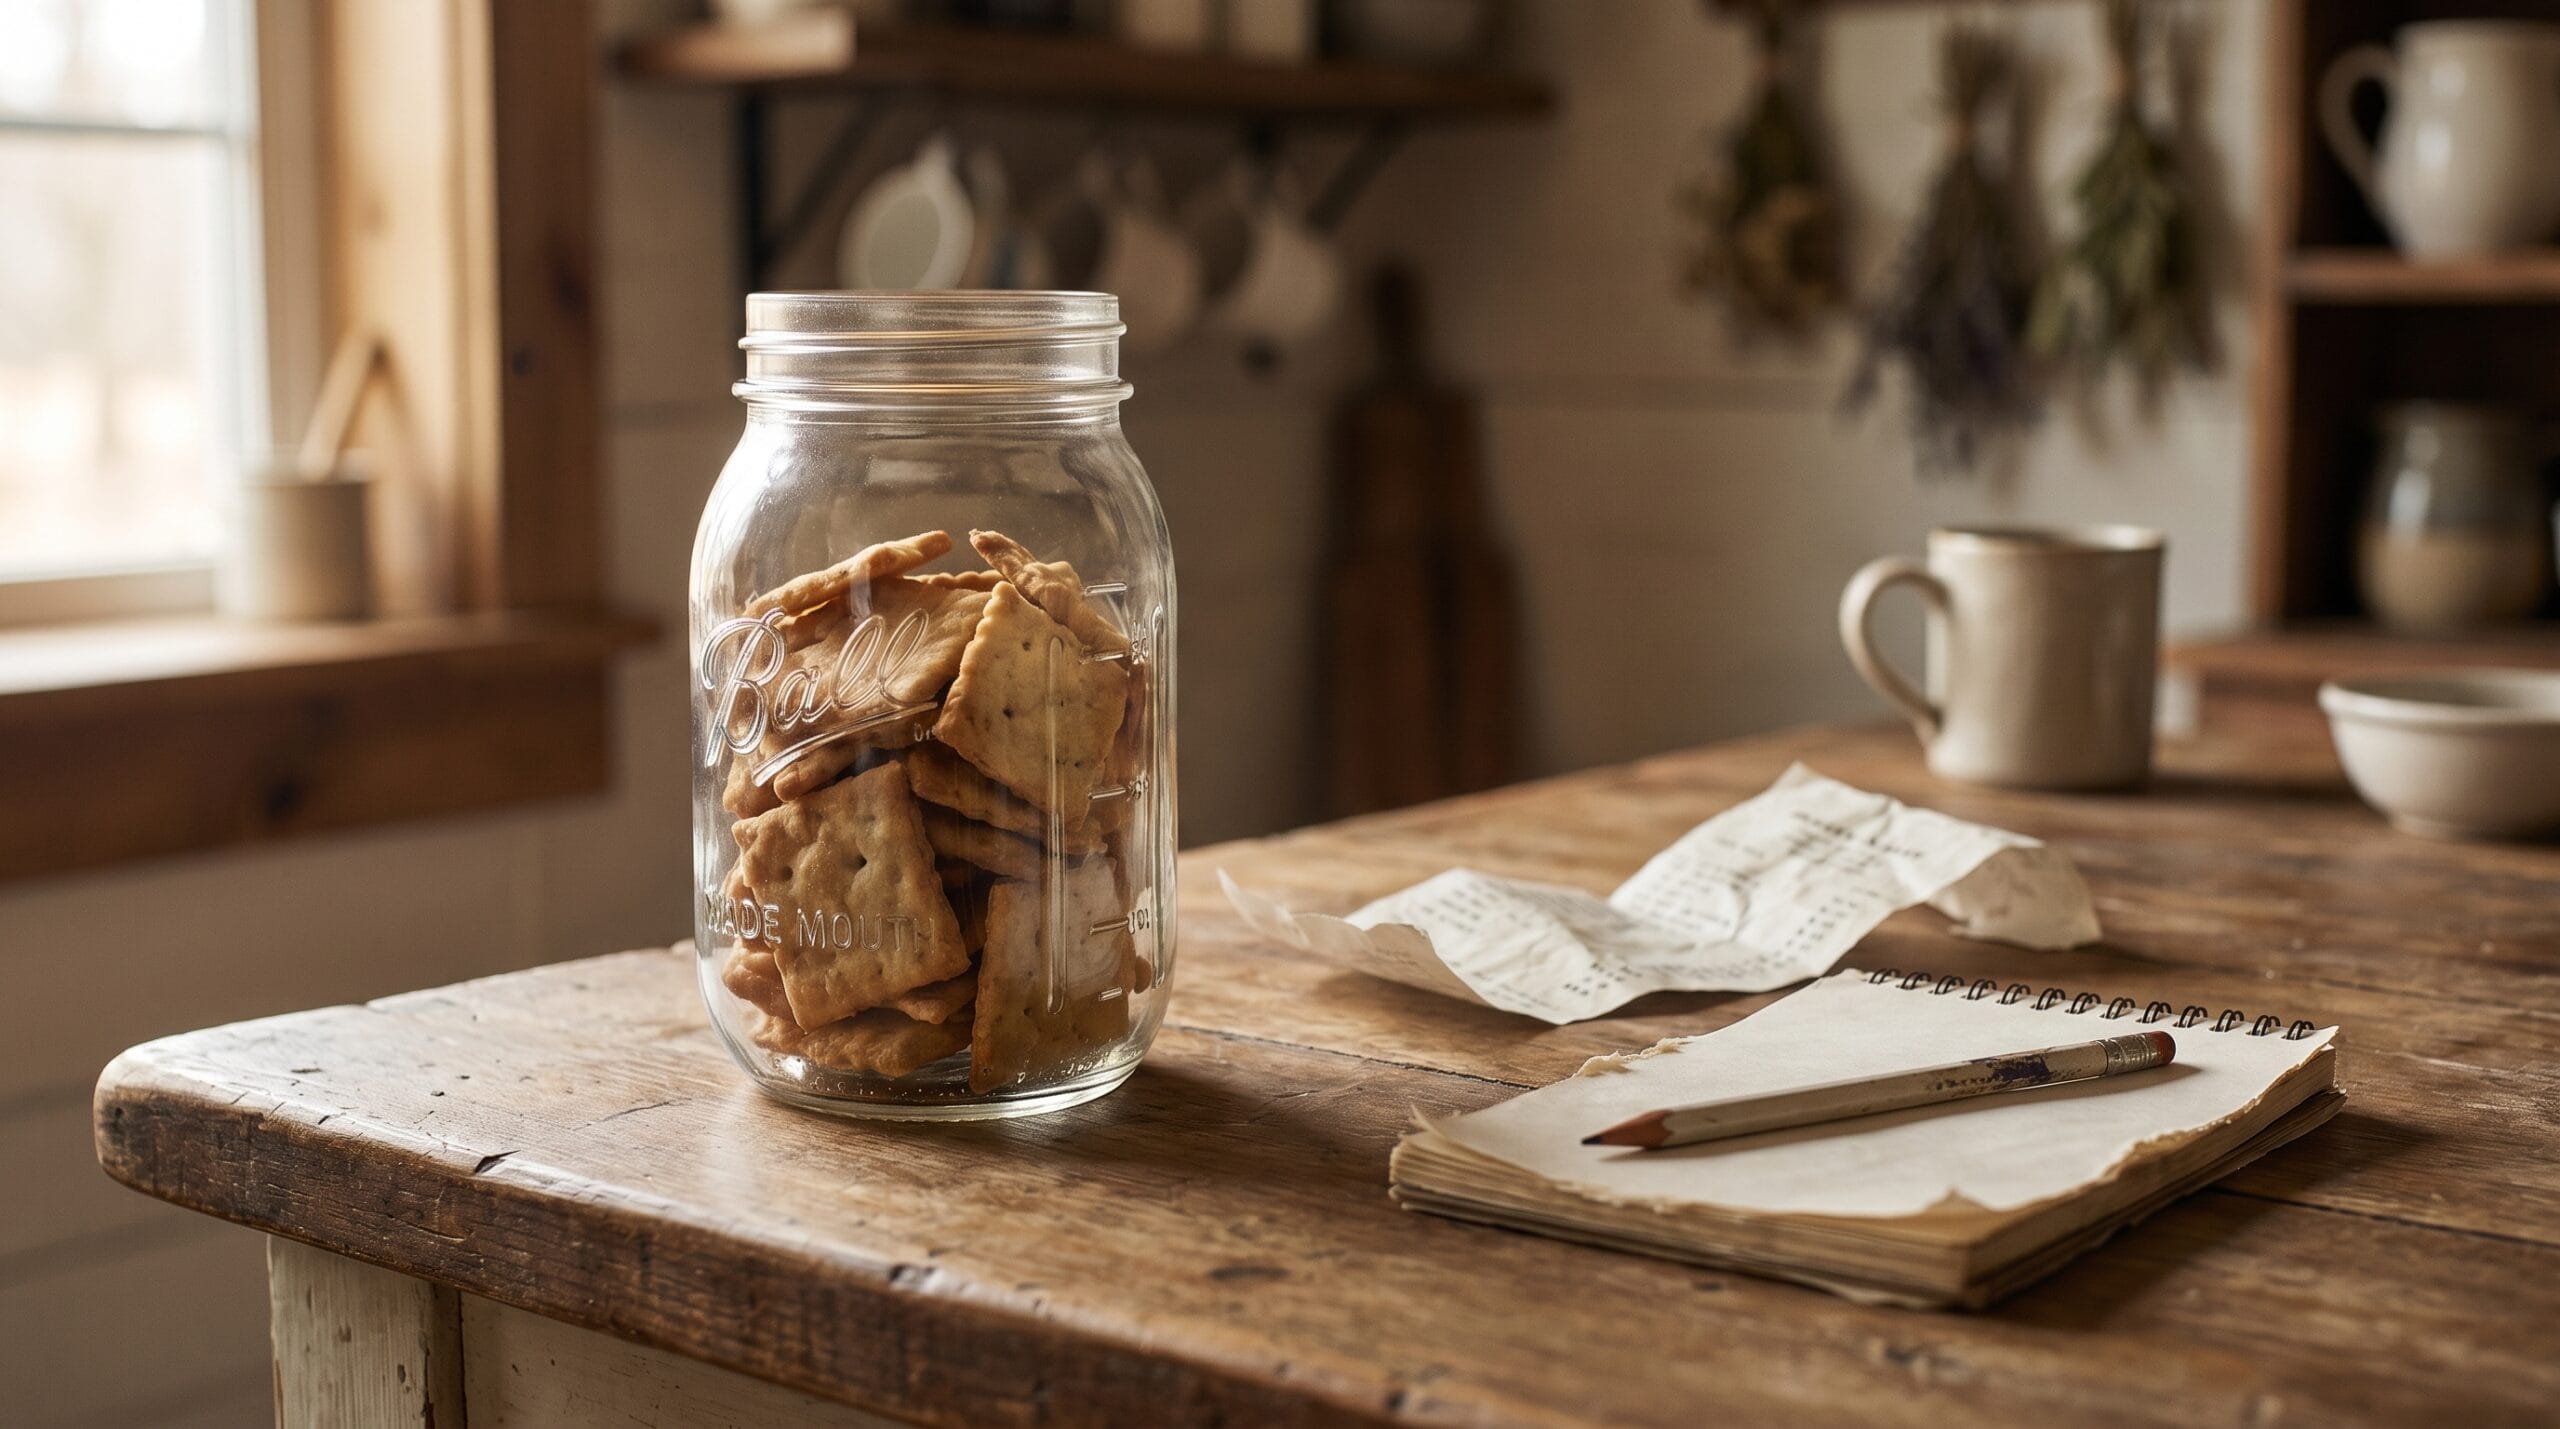
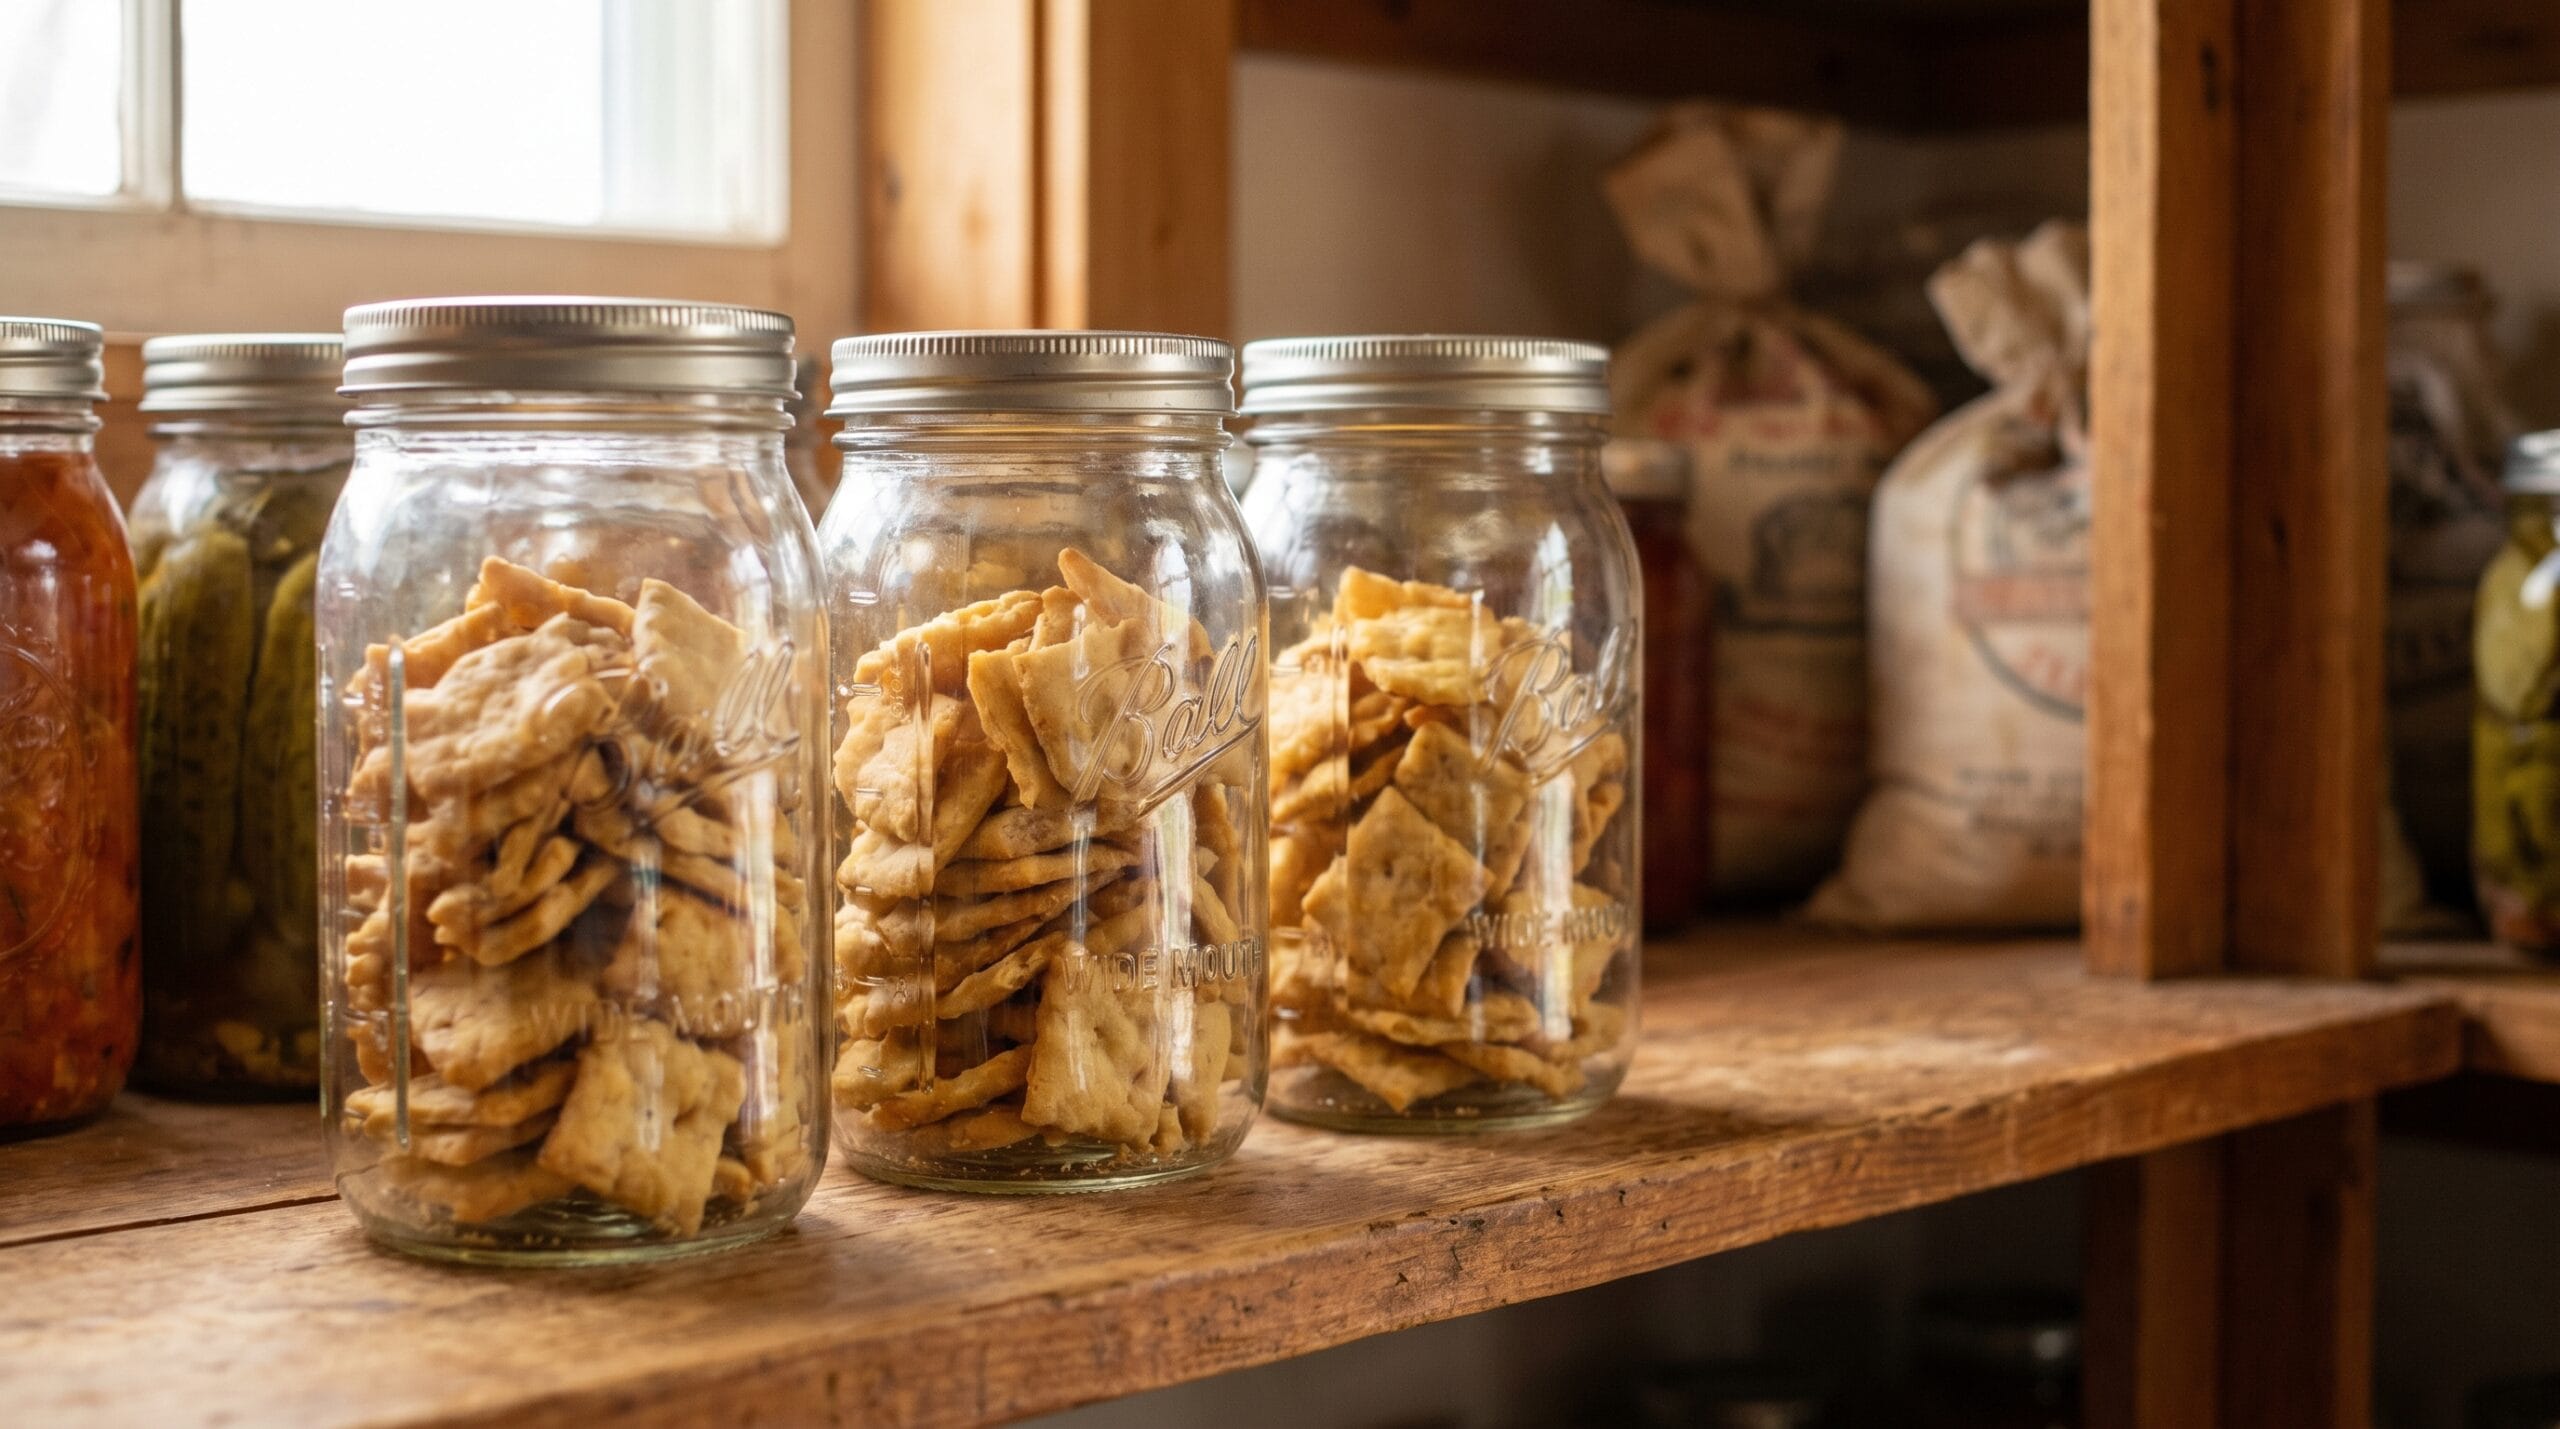
Where homemade wins the calculation: baking two or three batches in a single session drops the per-batch time cost significantly. Bulk baking on a weekend afternoon, cooling batches on racks while the next batch goes in, and filling a few mason jars for the week is a different proposition than treating each batch as a standalone project.
Where Homemade Has a Clear Advantage
You control the sodium. Based on typical nutrition label data for mainstream cracker brands, a standard serving can run approximately 150 to 300 mg of sodium. A homemade batch made with 1/2 teaspoon of salt across 40 to 50 crackers gives you considerably more flexibility. For households watching sodium intake, that is not a minor point.
You also use ingredients already in your pantry. There is no packaging waste, and a mason jar of crackers makes a genuinely good homemade gift.
How Long Do Homemade Crackers Stay Fresh (and How to Store Them)
Crackers that are fully baked and properly cooled keep well. The enemy is humidity, not time.
Room Temperature Storage
An airtight container, whether a lidded tin, a zip-lock bag, or a mason jar, extends shelf life to 1 to 2 weeks at room temperature. Adding a food-safe silica desiccant packet may push that somewhat further in humid climates by absorbing ambient moisture, though results depend on your storage conditions.
What Not to Do
Do not refrigerate crackers. The humidity inside most refrigerators is exactly what softens them. A cracker stored in the fridge for two days is often softer than one stored on the counter in a loose bag.
Freezing
Crackers freeze surprisingly well. Layer them between sheets of parchment in a freezer-safe bag and freeze for up to 2 months. To revive them, spread on a baking sheet and heat at 300 F for 5 minutes. They crisp back up almost entirely.
Signs a Cracker Is Past Its Prime
Stale smell. Soft texture that does not recover after re-crisping. Any visible moisture on the surface. These are the signals to compost the batch and start fresh. There is no food safety risk the way there is with, say, improperly stored canned goods. A stale cracker is a texture problem, not a health one.
What to Serve With Homemade Crackers
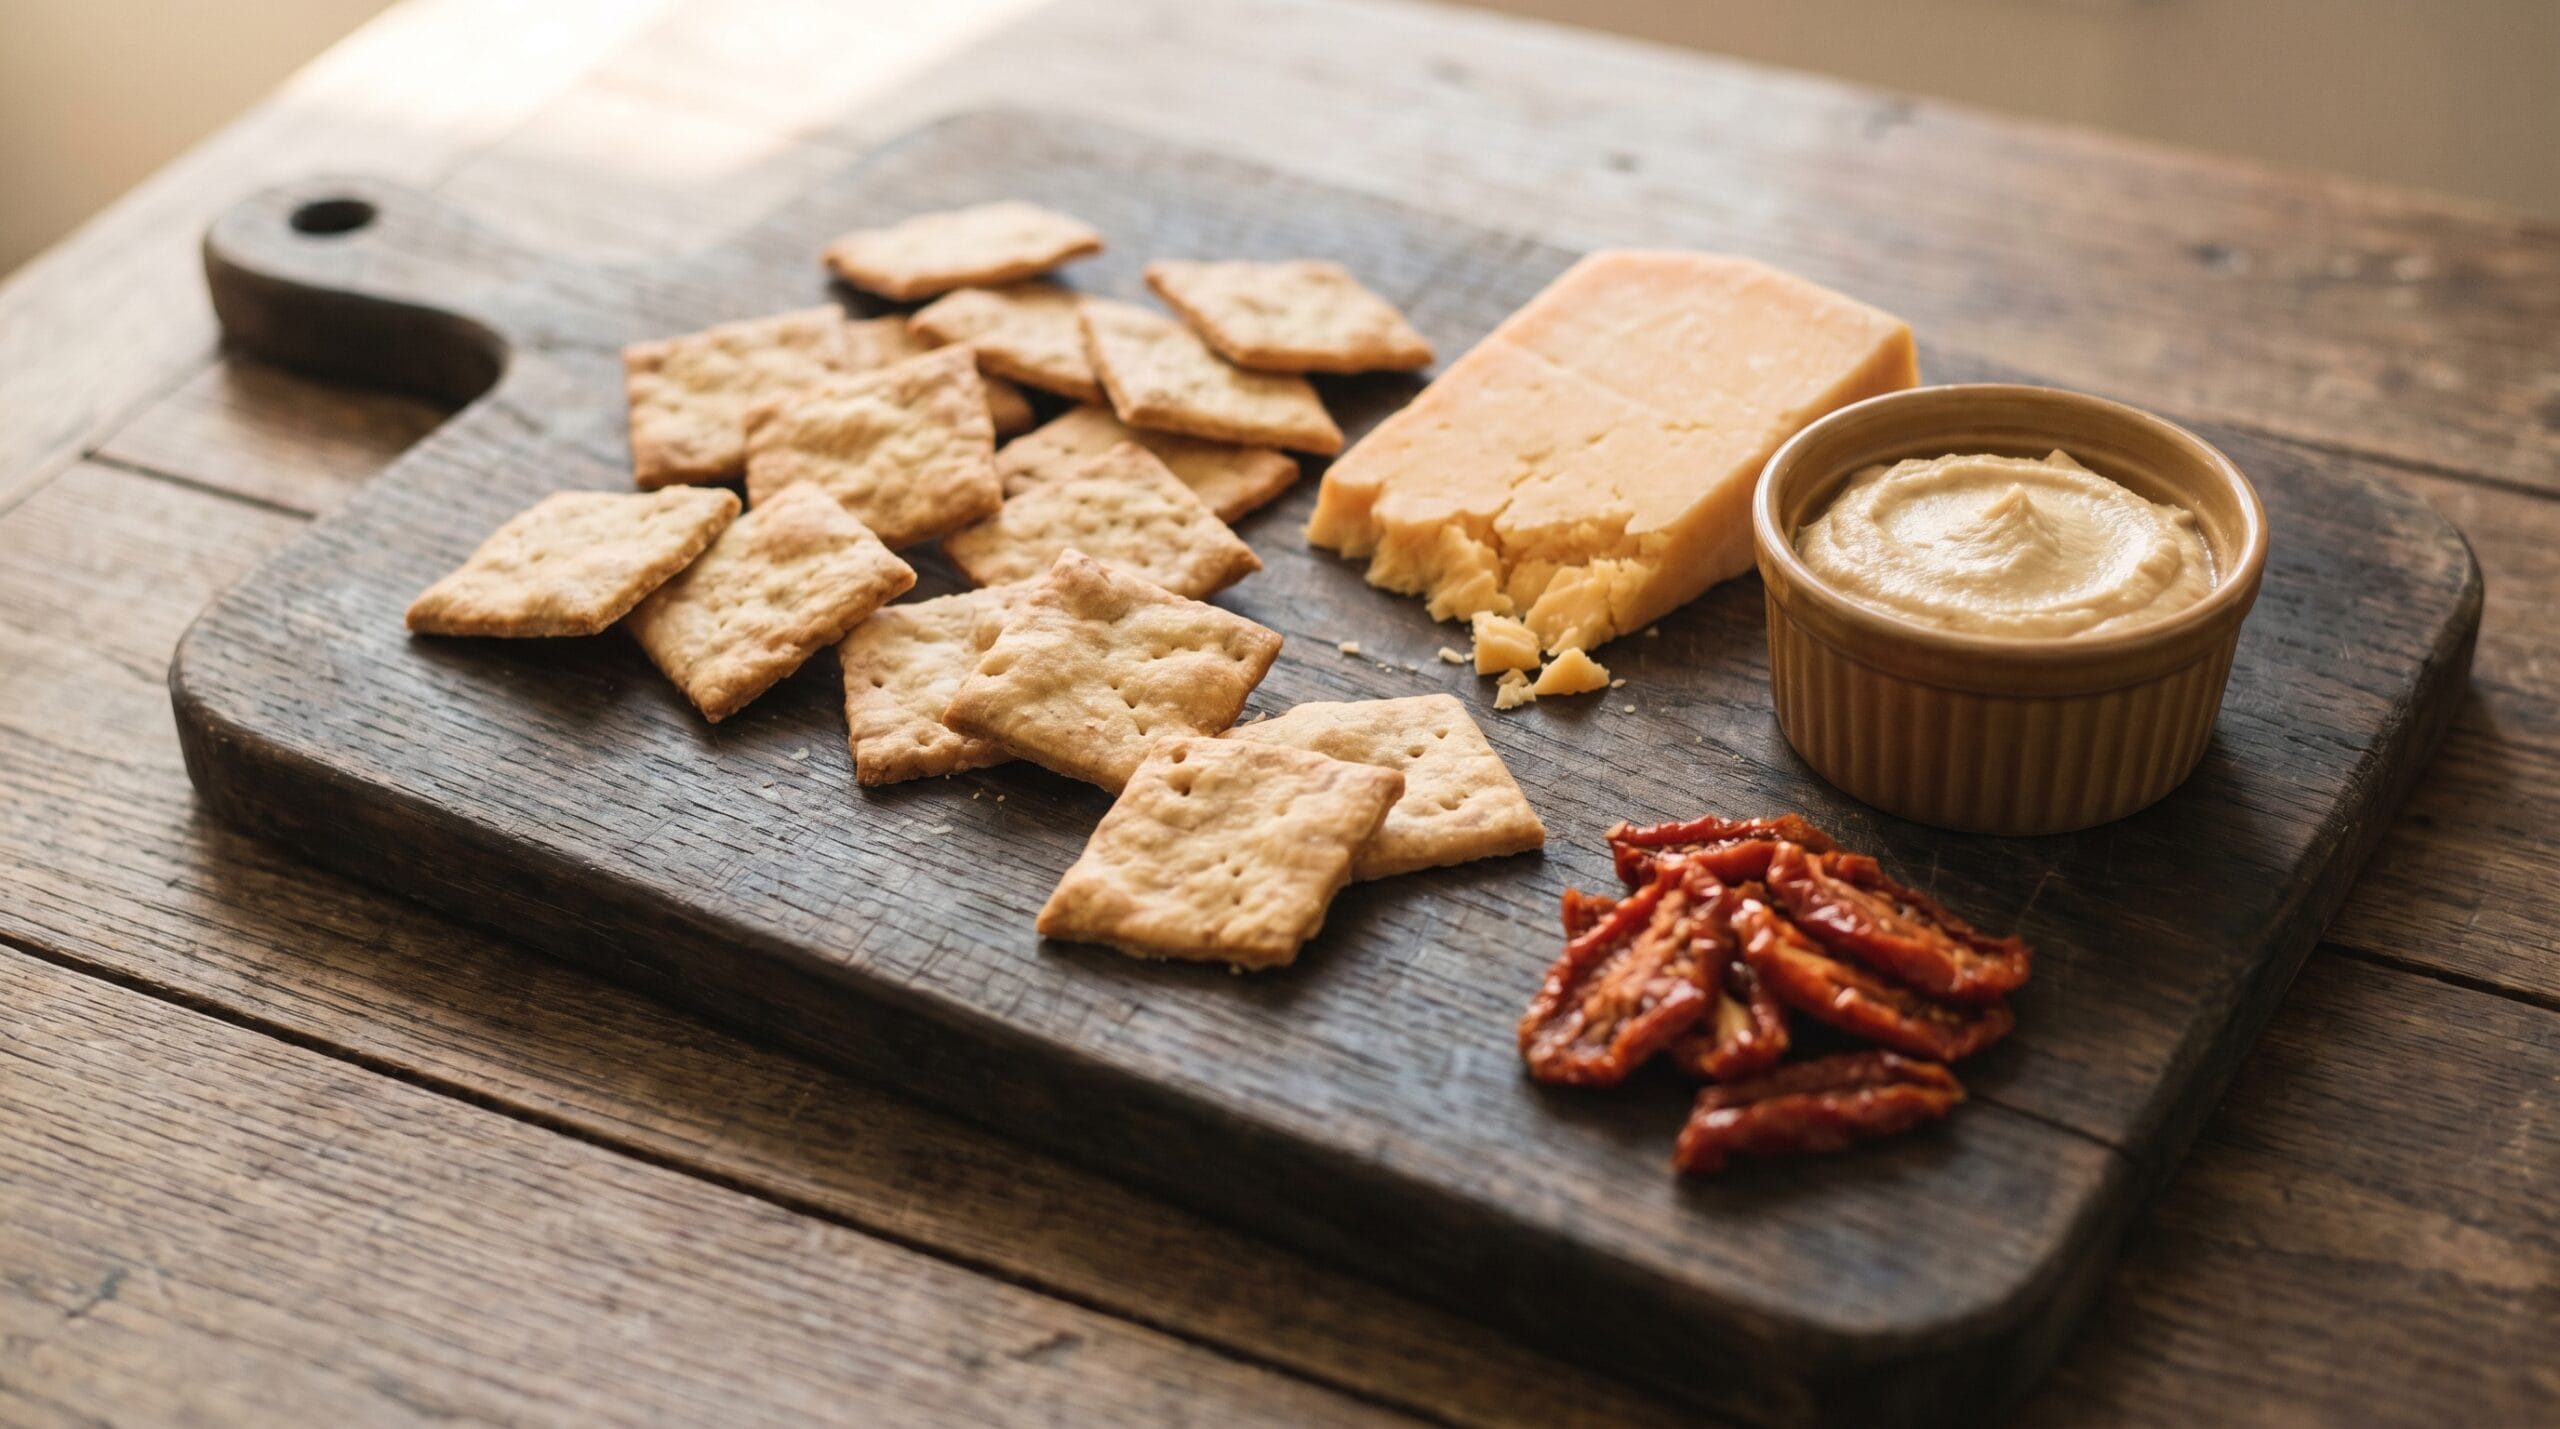
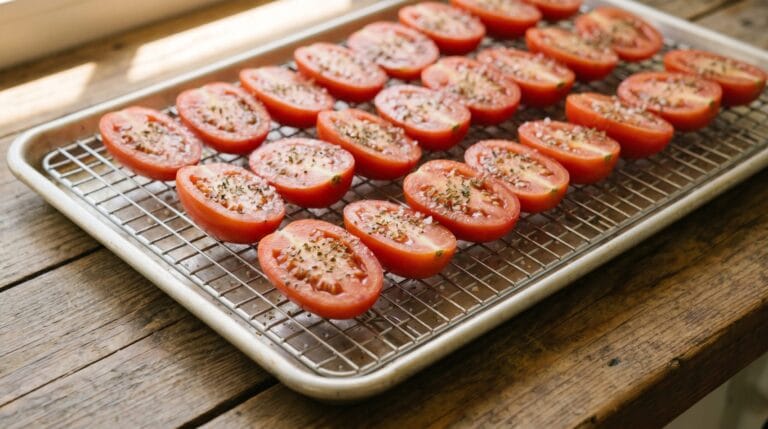
Homemade crackers work anywhere a store-bought cracker would, and they hold up better under weight because they are usually slightly thicker in the center than mass-produced versions. On a cheese board, they pair naturally with aged cheddar, soft goat cheese, or any firm, salty hard cheese. For dips, hummus, white bean spread, and tzatziki are all good choices. For a homestead pantry combination that feels a bit more composed, spread a small amount of home-canned tomato sauce across the top for a bruschetta-style bite. You can also lay sun-dried tomatoes on top with a pinch of flaky salt for something that takes almost no effort and looks considerably more intentional than it is. Floated in tomato soup or served alongside a broth-based bowl, they hold their shape longer than most store crackers do.
Frequently Asked Questions About Homemade Cracker Recipes
What Makes a Cracker Different From a Cookie?
A cracker contains no sugar, no leavening agents, and very little fat relative to its flour content, while a cookie depends on all three to achieve its texture. Crackers are also baked bone-dry to remove nearly all moisture, which is what gives them the snap and the long shelf life at room temperature.
Can I Use Whole Wheat Flour Instead of All-Purpose?
Yes, whole wheat flour works well in this cracker recipe and adds a pleasant nuttiness to the finished cracker. The dough may absorb water slightly differently, so you may need to add 1 to 2 extra teaspoons of water to reach the right stiff consistency.
How Thin Do I Actually Need to Roll the Dough?
Roll it as thin as you reasonably can, with 1/16 inch (about 1.5 mm) as the target. Most beginners stop too early. If the center of your cracker is soft after baking, the dough was almost certainly too thick, not the oven temperature or the bake time.
Can I Make Crackers Without Oil?
You can, but the texture changes noticeably. Oil contributes both tenderness and a slight richness that makes the cracker pleasant to eat on its own. Without it, the result is edible but bland and closer to a flatbread than a cracker. Even a tablespoon of oil per cup of flour makes a meaningful difference.
Is There a Gluten-Free Version?
Gluten-free crackers are possible using almond flour, oat flour, or a commercial 1:1 gluten-free blend, but the approach varies significantly by flour type. A 1:1 blend behaves closer to all-purpose flour and may need only minor adjustments. Almond flour and oat flour require a binding agent, typically flaxseed meal or a small amount of psyllium husk, to compensate for the structure that gluten provides. For a first batch, stick with wheat flour and get comfortable with the process before exploring alternative flours.
A Last Note Before You Start
The most common outcome of a first cracker batch is uneven thickness, some pieces crisp up properly while others stay soft in the center. That tells you exactly what to adjust next time: roll thinner and watch the edges rather than the clock. The ingredient ratios in this recipe are forgiving. What takes practice is the rolling, and that part clicks quickly.
One thing that does not get mentioned enough: crackers made from this base recipe are genuinely useful beyond snacking. They are solid enough to hold a smear of soft cheese without bending, thin enough to float in soup without turning to paste, and plain enough that toppings stay in the foreground. A store-bought box does some of that. A batch tuned to your preferred thickness and seasoning does it better.