How to Cook Brown Gravy From Scratch
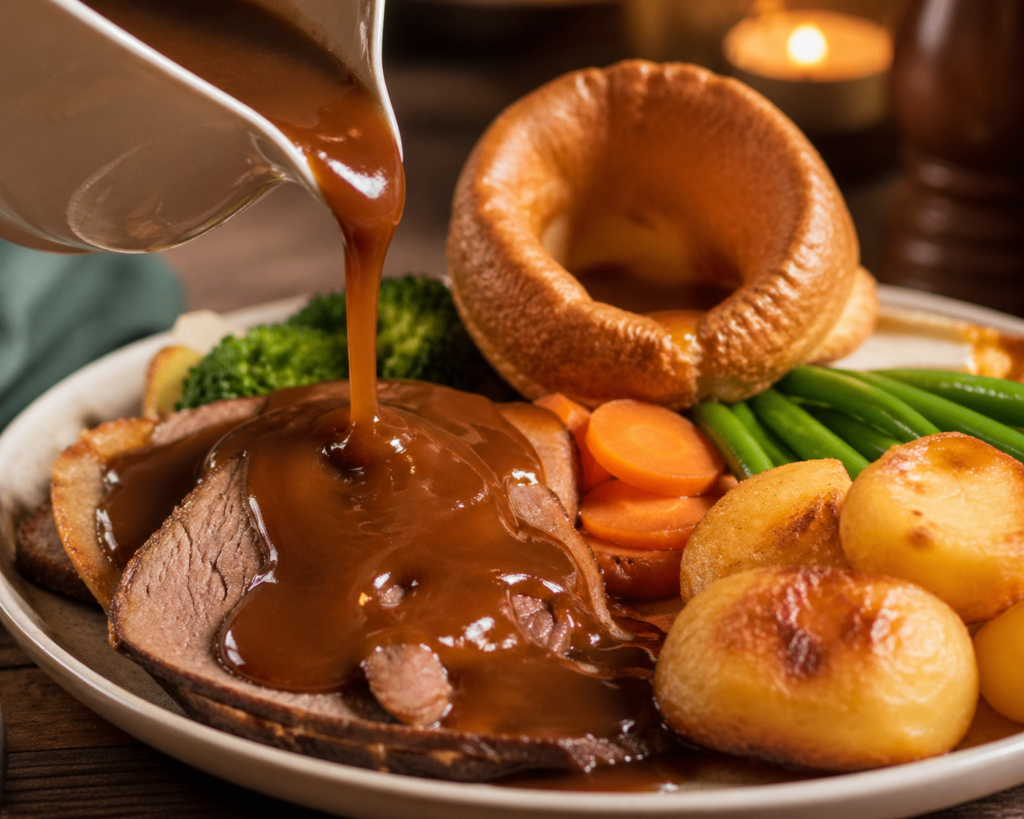
Learning how to cook brown gravy from scratch is one of those foundational kitchen skills that pays off every single time you use it. Whether you’re pouring it over a Sunday roast, smothering mashed potatoes, or finishing off a plate of biscuits, homemade brown gravy delivers a depth of flavor that no store-bought packet can match. The best part? You only need a handful of basic ingredients and about 15 minutes. This guide walks you through everything — from building a proper roux to fixing common mistakes — so you can make a smooth, savory brown gravy with confidence every time.
Table of Contents
What Is Brown Gravy?
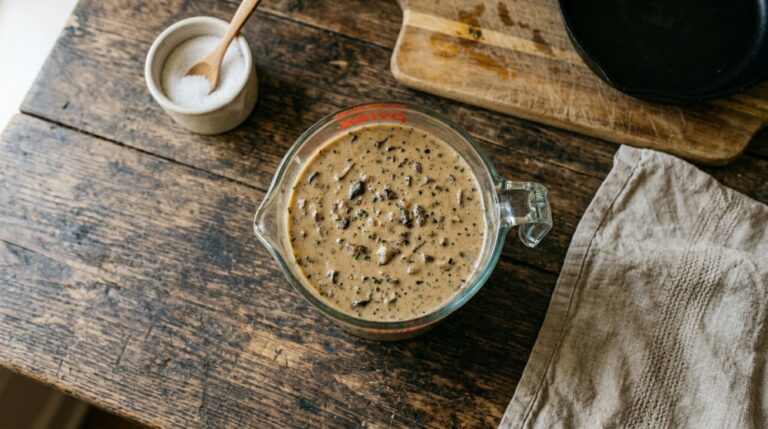
Brown gravy is a savory sauce made from a fat-and-flour base (called a roux) combined with beef broth or drippings and seasoned to taste. It gets its deep color from browning the flour in fat and from the rich, dark broth used as the liquid base. Unlike white or cream gravy, brown gravy has a more robust, meaty flavor profile that pairs beautifully with beef, pork, poultry, and hearty vegetables.
On the homestead, brown gravy is a practical way to stretch a meal and use up every last bit of flavor from roasted meats. Pan drippings — the browned bits and rendered fat left in the pan after cooking meat — are liquid gold for making gravy. But even without drippings, you can make an excellent brown gravy using butter and store-bought or homemade beef broth.
Ingredients You Need for Brown Gravy From Scratch
One of the best things about making brown gravy from scratch is how simple the ingredient list is. Here’s what you’ll need for about 2 cups of gravy:
- 2 tablespoons fat — butter, beef drippings, or a combination of both
- 2 tablespoons all-purpose flour
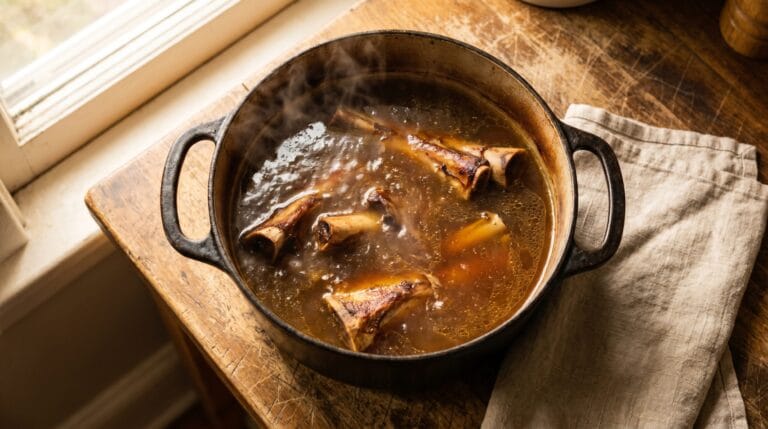
- 2 cups beef broth — homemade or low-sodium store-bought
- Salt and black pepper to taste
- Optional: garlic powder, onion powder, Worcestershire sauce, fresh thyme
If you have pan drippings from a roast or skillet steak, use those as your fat source. The browned bits (called fond) that cling to the pan carry enormous flavor and will make your gravy taste like it simmered for hours.
How to Cook Brown Gravy From Scratch: Step-by-Step
Follow these steps carefully and you’ll have a smooth, glossy brown gravy every time. The process is straightforward, but a few small details make a big difference.
Step 1: Gather Your Pan and Fat
Use the same skillet or roasting pan you cooked your meat in, if possible. Place it over medium heat. If you’re starting fresh without drippings, melt 2 tablespoons of butter in a medium saucepan over medium heat. The pan should be hot enough that the butter foams but doesn’t brown immediately.
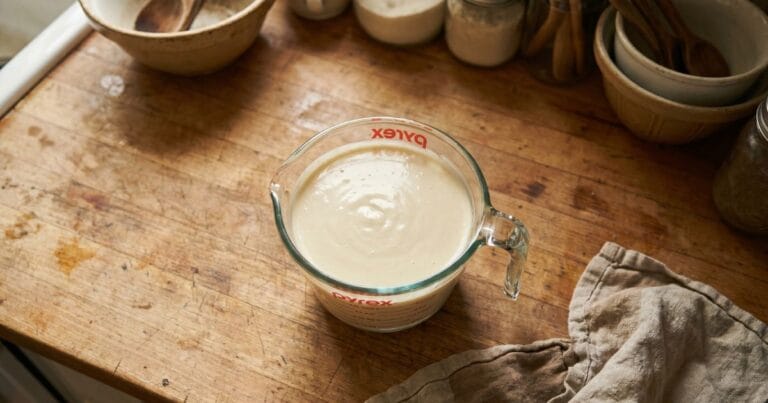
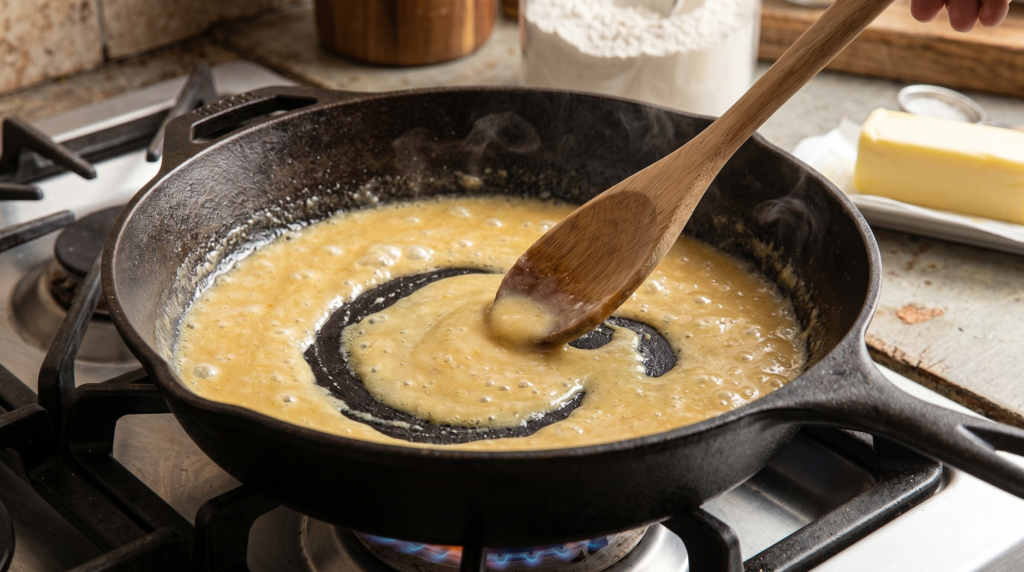
Step 2: Make the Roux
Sprinkle 2 tablespoons of all-purpose flour directly into the hot fat. Using a whisk or wooden spoon, stir constantly to combine the flour and fat into a smooth paste. This mixture is your roux — the thickening agent for your gravy. Cook the roux for 2 to 3 minutes, stirring the whole time, until it turns a light to medium brown color and smells nutty. This step is critical: cooking the flour removes the raw, starchy taste and develops the color that gives brown gravy its name. Don’t rush it, but don’t walk away either — it can burn quickly.
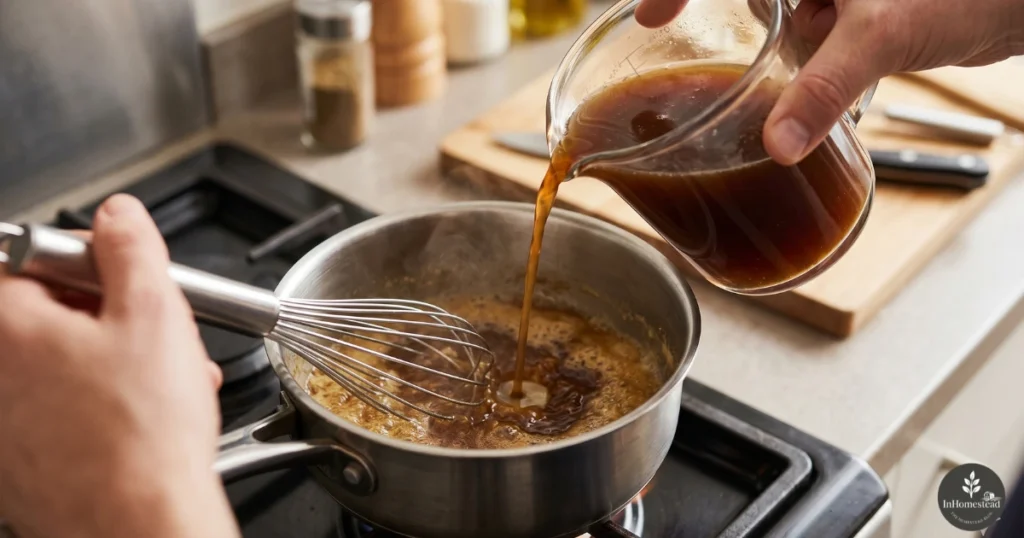
Step 3: Add the Broth Gradually
Remove the pan from the heat for just a moment, then slowly pour in about half a cup of beef broth while whisking vigorously. This prevents lumps from forming. Once the first addition is smooth, return the pan to medium heat and pour in the remaining broth in a steady stream, whisking constantly. Scrape up any browned bits from the bottom of the pan as you go — those bits are packed with flavor.
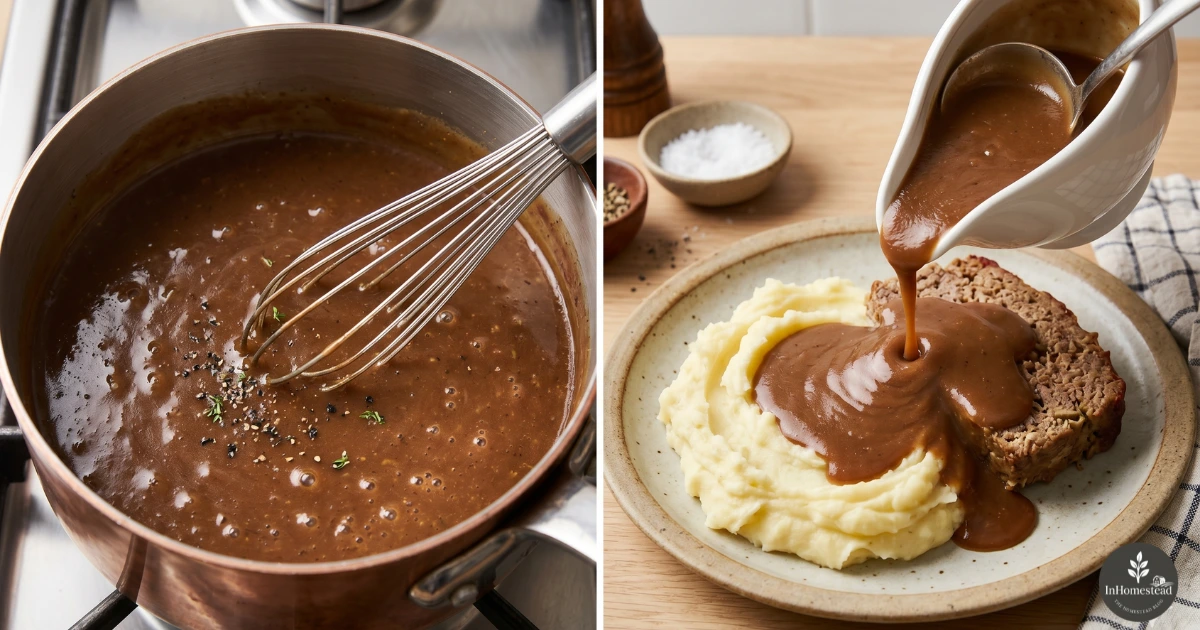
Step 4: Simmer and Thicken
Bring the gravy to a gentle simmer over medium heat, continuing to whisk or stir frequently. Within 3 to 5 minutes, you’ll see it begin to thicken. If it thickens too quickly or becomes too thick, simply whisk in a splash more broth. If it seems thin after 5 minutes, let it simmer a couple of minutes longer — it will continue to thicken as it cooks.
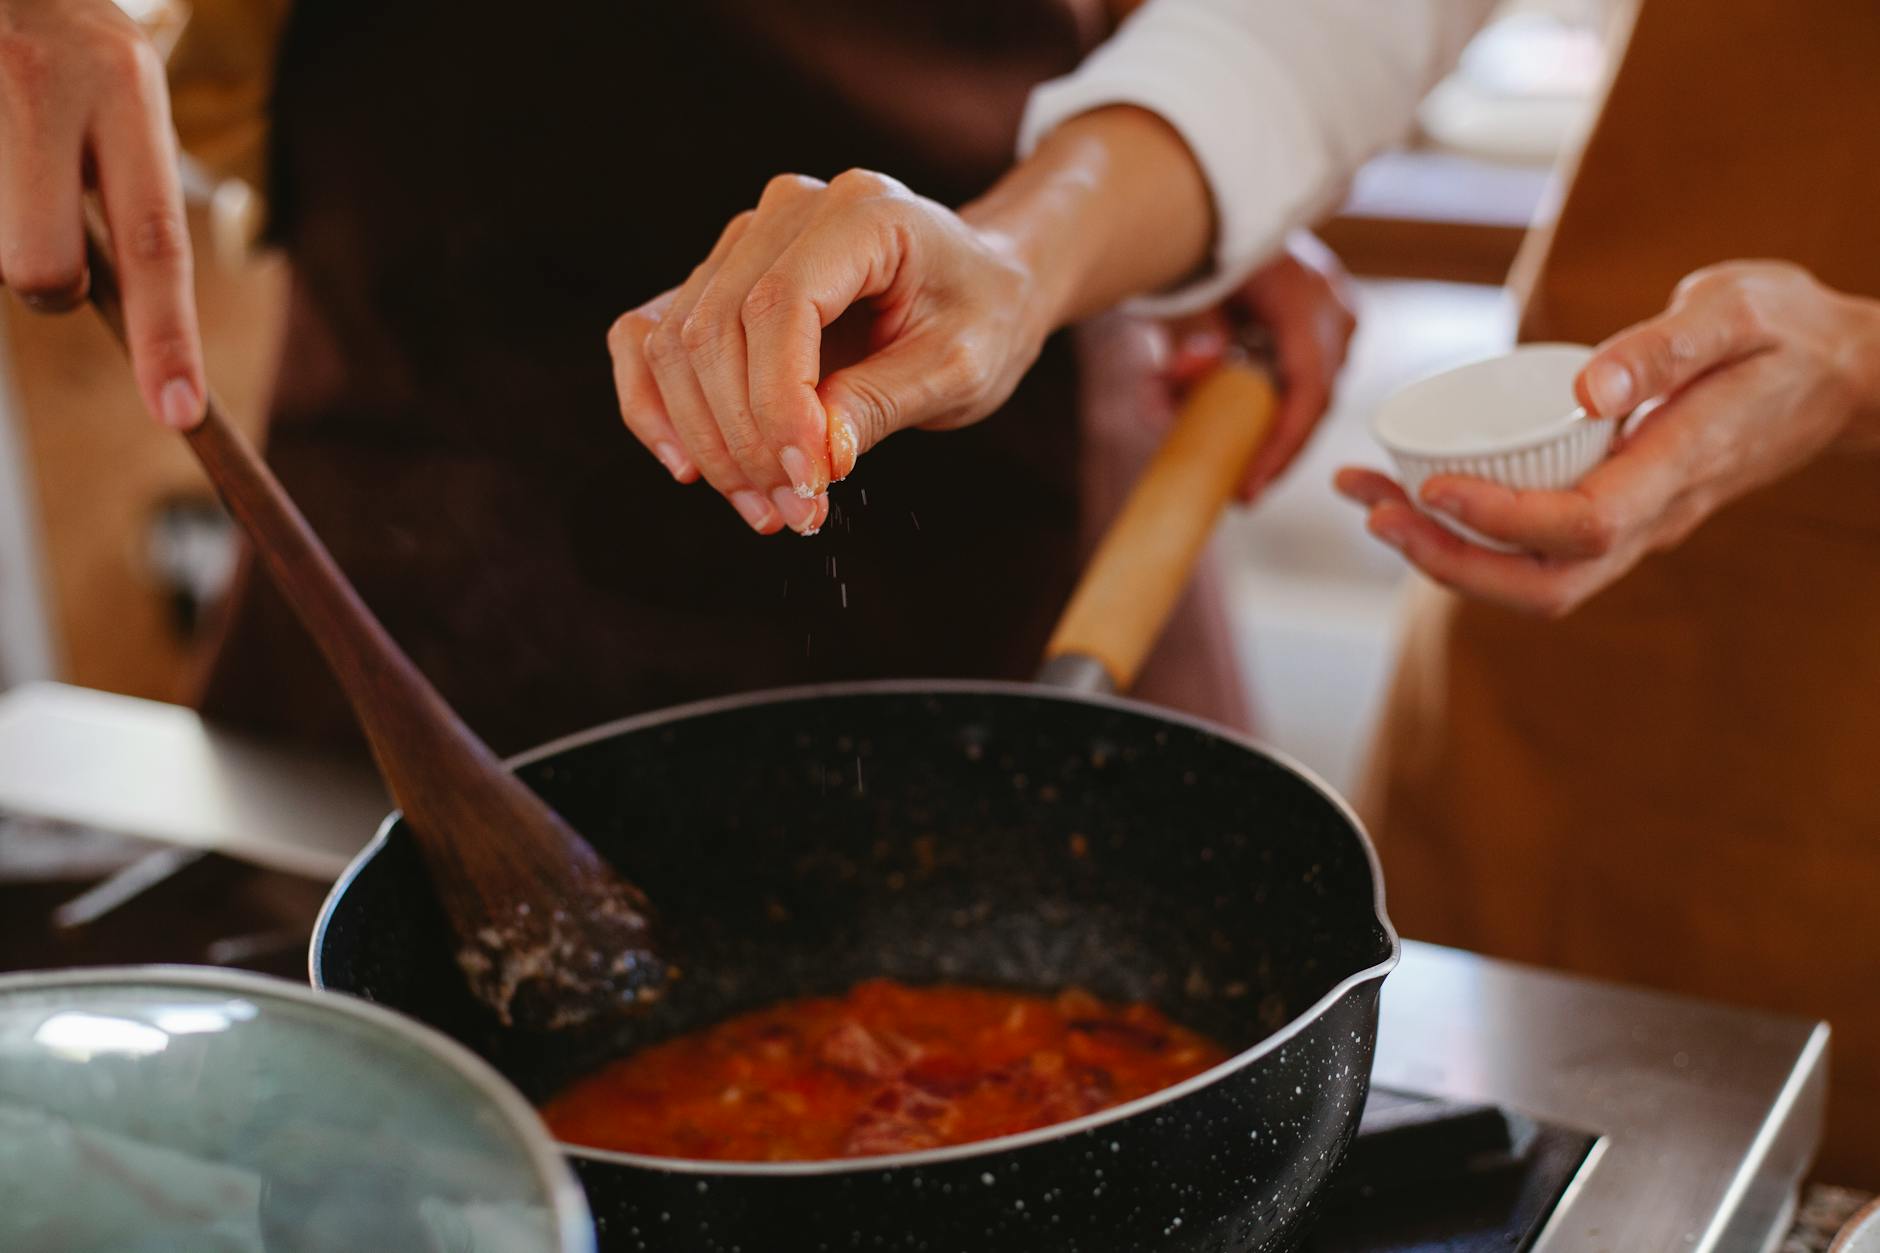
Step 5: Season and Serve
Taste your gravy and season with salt, black pepper, and any optional additions like a dash of Worcestershire sauce or a pinch of garlic powder. Pour it through a fine mesh strainer if you want an ultra-smooth result, or serve it as-is for a more rustic texture. Ladle generously over your dish and enjoy.
Tips for the Best Homemade Brown Gravy
Even a simple recipe benefits from a few pro tips. Keep these in mind every time you make brown gravy from scratch:
- Use warm broth: Cold broth added to a hot roux is more likely to cause lumps. Warming your broth slightly before adding it helps the mixture come together smoothly.
- Don’t stop whisking: Consistent whisking during the broth-addition stage is the single best way to prevent lumpy gravy.
- Brown your roux enough: A pale roux produces a lighter, less flavorful gravy. Aim for a color similar to peanut butter for a rich, deep result.
- Taste before salting: Beef broth — especially store-bought — can be quite salty. Always taste before adding salt so you don’t over-season.
- Save your drippings: After roasting any meat, pour the drippings into a jar and refrigerate. The fat rises to the top and can be skimmed off or used as-is for gravy.
How to Fix Common Brown Gravy Problems
Even experienced cooks run into gravy issues. Here’s how to troubleshoot the most common ones:
Lumpy Gravy
If your gravy has lumps, don’t panic. Pour it through a fine mesh strainer into a clean saucepan, pressing the lumps through with the back of a spoon. Alternatively, use an immersion blender directly in the pan for 20 to 30 seconds. Lumps usually happen when broth is added too fast or the roux wasn’t smooth — both easy fixes next time.
Gravy That’s Too Thin
If your brown gravy isn’t thickening, let it simmer uncovered for a few more minutes. If it’s still too thin, mix 1 teaspoon of cornstarch with 1 tablespoon of cold water to make a slurry, then whisk it into the simmering gravy and cook for another minute or two.
Gravy That’s Too Thick
Simply whisk in additional warm broth, a tablespoon at a time, until you reach your desired consistency. Gravy thickens as it cools, so it’s normal for it to seem thicker on the plate than in the pan.
Gravy That Tastes Flat
A splash of Worcestershire sauce, a small pat of cold butter stirred in at the end, or a pinch of onion powder can all lift the flavor significantly. Fresh thyme or a bay leaf simmered in the gravy for a few minutes also adds complexity.

Storing and Preserving Leftover Brown Gravy
Homemade brown gravy stores well, making it a great candidate for batch cooking. Let the gravy cool completely before storing. Transfer it to an airtight container and refrigerate for up to 4 days. To reheat, warm it gently in a saucepan over low heat, whisking in a splash of broth or water if it has thickened too much in the fridge.
For longer storage, brown gravy freezes beautifully. Pour cooled gravy into freezer-safe containers or ice cube trays. Once frozen solid, transfer the cubes to a zip-top freezer bag. Frozen gravy keeps well for up to 3 months. Thaw overnight in the refrigerator or reheat directly from frozen over low heat, stirring frequently.
Frequently Asked Questions
Can I make brown gravy without drippings?
Absolutely. Butter works perfectly as the fat base when you don’t have pan drippings. Use 2 tablespoons of unsalted butter and follow the same steps. A good-quality beef broth will carry most of the flavor, and a dash of Worcestershire sauce helps deepen the taste.
What’s the difference between brown gravy and beef gravy?
Brown gravy is a general term for any dark gravy made from a browned roux and savory broth. Beef gravy specifically uses beef drippings or beef broth as its base. All beef gravy is brown gravy, but not all brown gravy is strictly beef-based — you can make a similar sauce using chicken or vegetable broth with a well-browned roux.
How do I make brown gravy gluten-free?
Substitute the all-purpose flour with a 1:1 gluten-free flour blend or use cornstarch instead. If using cornstarch, skip the roux step and instead whisk 2 tablespoons of cornstarch into a small amount of cold broth to make a slurry, then stir it into your hot broth and simmer until thickened.
Why does my gravy taste like raw flour?
This happens when the roux isn’t cooked long enough before the broth is added. Make sure you cook the flour and fat together for a full 2 to 3 minutes over medium heat, stirring constantly, until the mixture smells nutty and turns a light golden-brown color. That cooking time is what eliminates the raw flour flavor.
Can I use chicken broth instead of beef broth?
Yes, though the result will be lighter in color and milder in flavor. It’s still delicious and works well over chicken, turkey, or mashed potatoes. To deepen the color when using chicken broth, cook your roux a little longer until it’s a deeper brown before adding the liquid.
How do I keep brown gravy warm without it getting a skin?
Place the gravy in a heatproof bowl or saucepan set over a pot of barely simmering water (a double boiler setup). Stir it occasionally. You can also press a piece of plastic wrap directly onto the surface of the gravy to prevent a skin from forming while it sits.
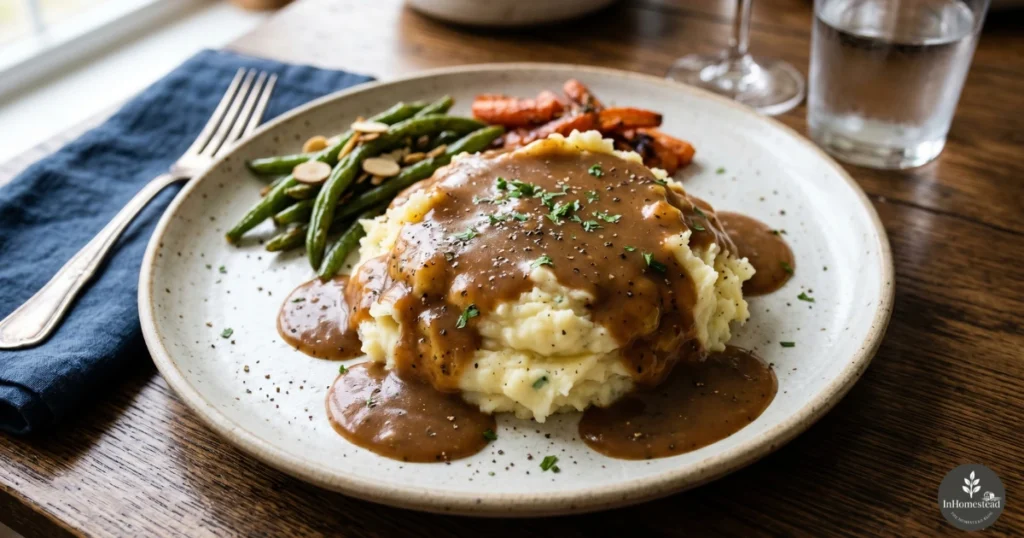
Conclusion
Now that you know how to cook brown gravy from scratch, you’ll never need to reach for a packet again. With just fat, flour, broth, and a few minutes of your time, you can make a rich, velvety brown gravy that elevates any meal on the homestead table. Master the roux, whisk in your broth slowly, and season to taste — it really is that simple. Once you’ve made it a few times, it becomes second nature, and you’ll find yourself making a batch every time you roast meat just to capture those precious drippings. Give it a try this week and taste the difference that homemade makes.