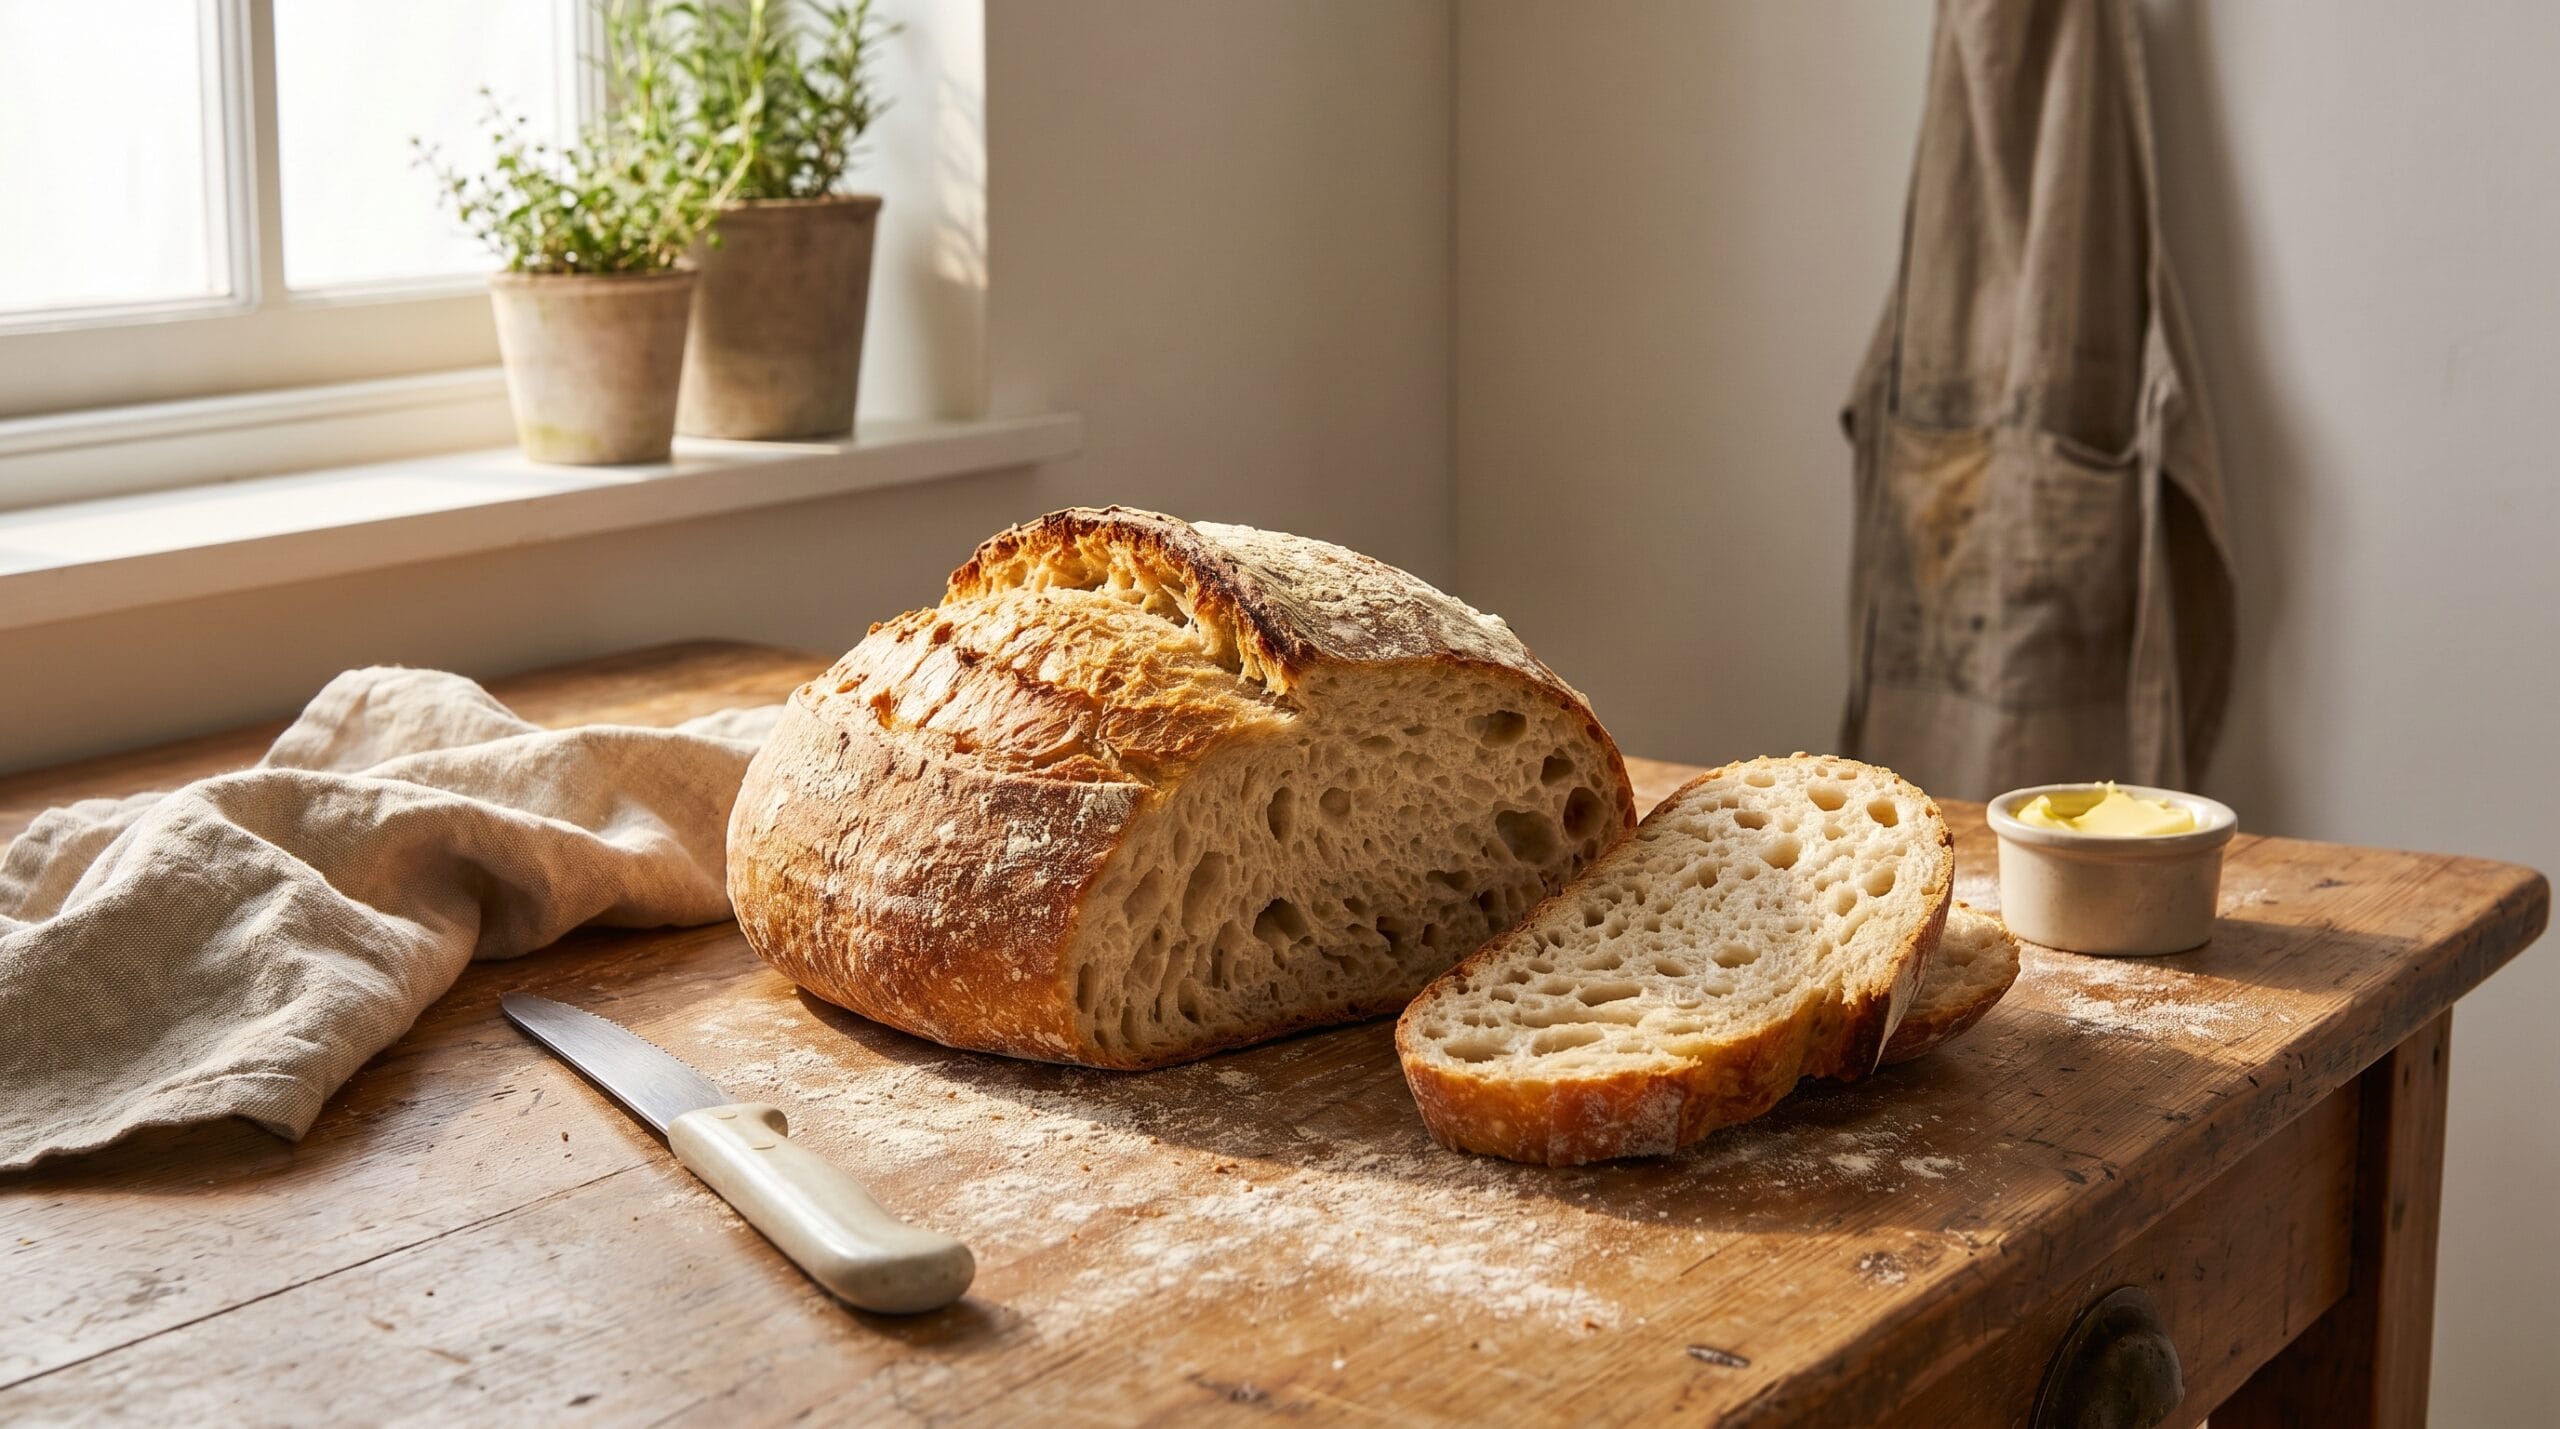
Sourdough Bread: A Beginner’s Guide to Baking at Home
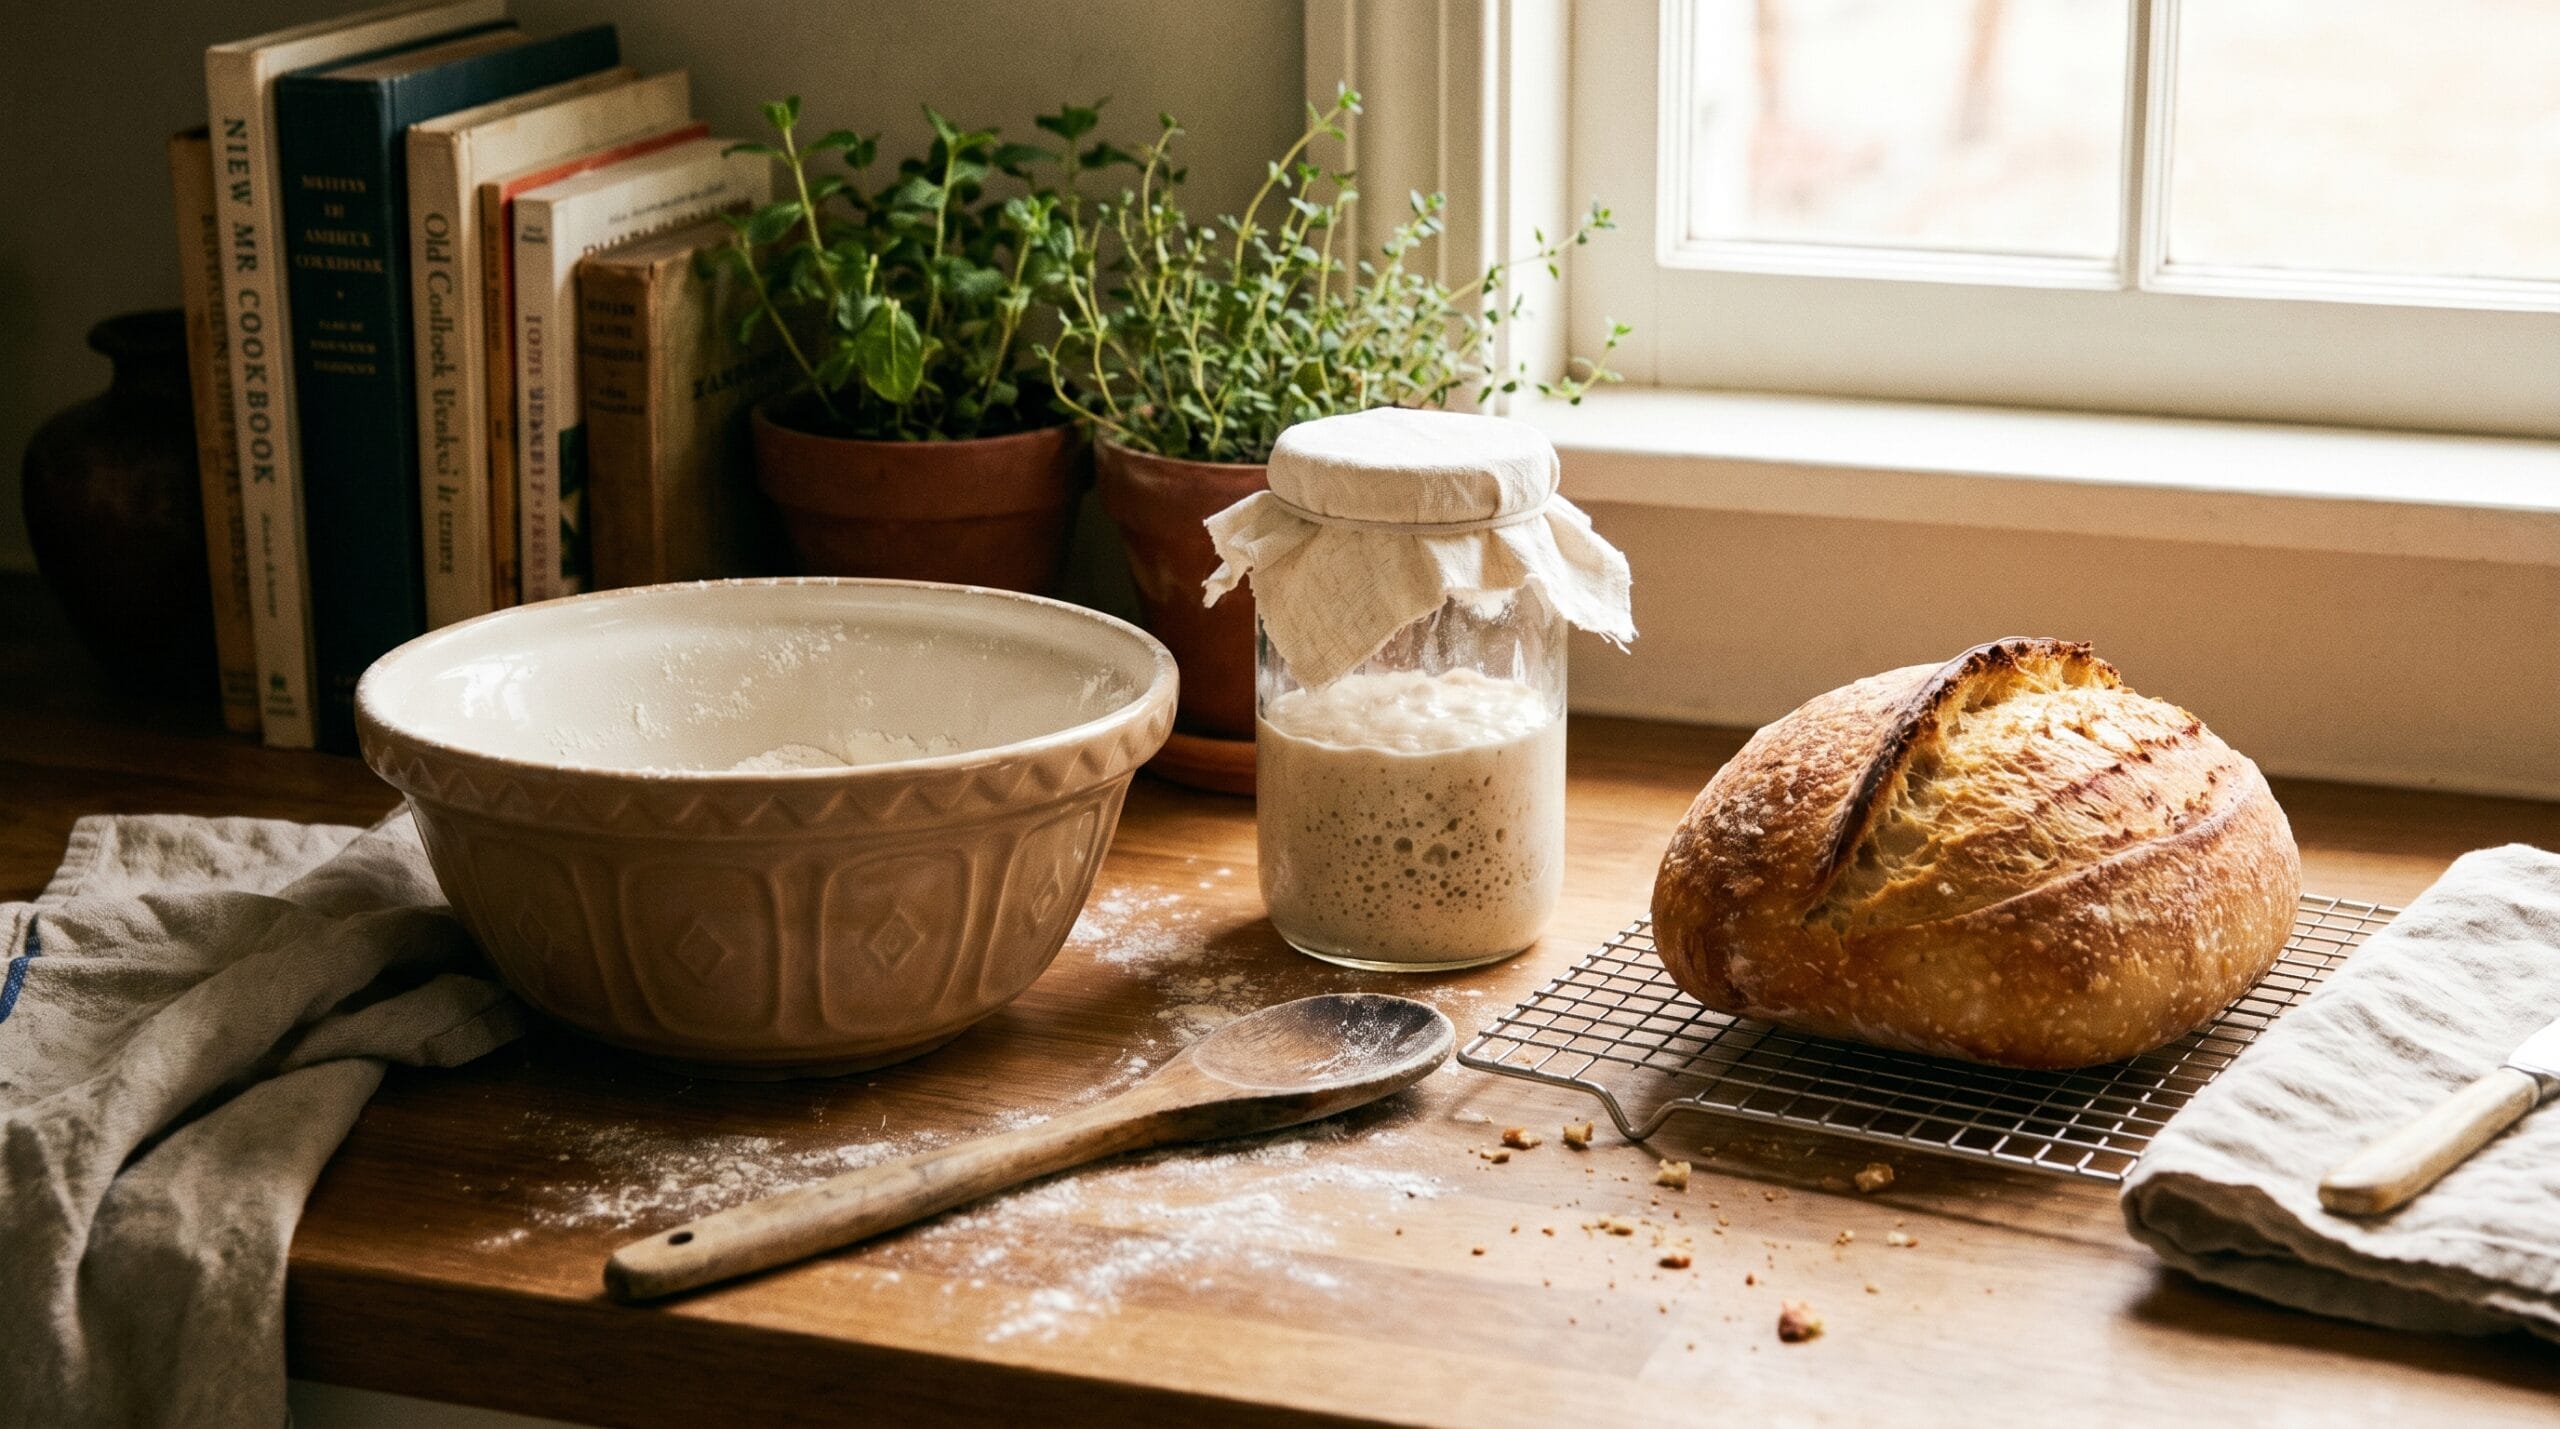
There is something special about baking your first loaf of sourdough bread at home. It is not just the bread itself. It is the quiet process of mixing flour and water, watching the dough slowly rise, smelling the crust as it bakes, and hearing that soft crackle when the loaf cools on the counter.
At first, sourdough can feel intimidating. You may hear words like starter, discard, bulk fermentation, hydration, scoring, proofing, and oven spring. It can sound like you need to understand a new language before you even touch the dough.
But you do not need to be a professional baker to make homemade sourdough bread. You only need a few basic ingredients, a healthy sourdough starter, patience, and a simple process you can follow one step at a time.
This beginner’s guide will show you what sourdough bread is, what ingredients you need, how sourdough starter works, and how to bake your first loaf at home. By the end, you will understand not only what to do, but why each step matters.
Table of Contents
What Is Sourdough Bread?
Sourdough bread is a naturally leavened bread made with flour, water, salt, and sourdough starter. Unlike regular bread that often uses commercial yeast, sourdough relies on a fermented starter filled with wild yeast and lactic acid bacteria.
That starter is what makes sourdough unique. It helps the dough rise, gives the bread its slightly tangy flavor, and contributes to its chewy texture and crisp crust. Scientific reviews describe sourdough as a mixture of flour and water fermented by lactic acid bacteria and yeasts, which create both acidification and leavening in baked goods.
Why Sourdough Bread Is Different from Regular Bread
Regular yeast bread usually rises quickly because commercial yeast is strong and predictable. Sourdough bread moves more slowly. The starter takes time to ferment the flour, build flavor, and create structure.
Here are the main differences:
- Sourdough uses starter, not just packaged yeast.
- The flavor is deeper because fermentation takes longer.
- The crust is often thicker and crispier when baked with steam.
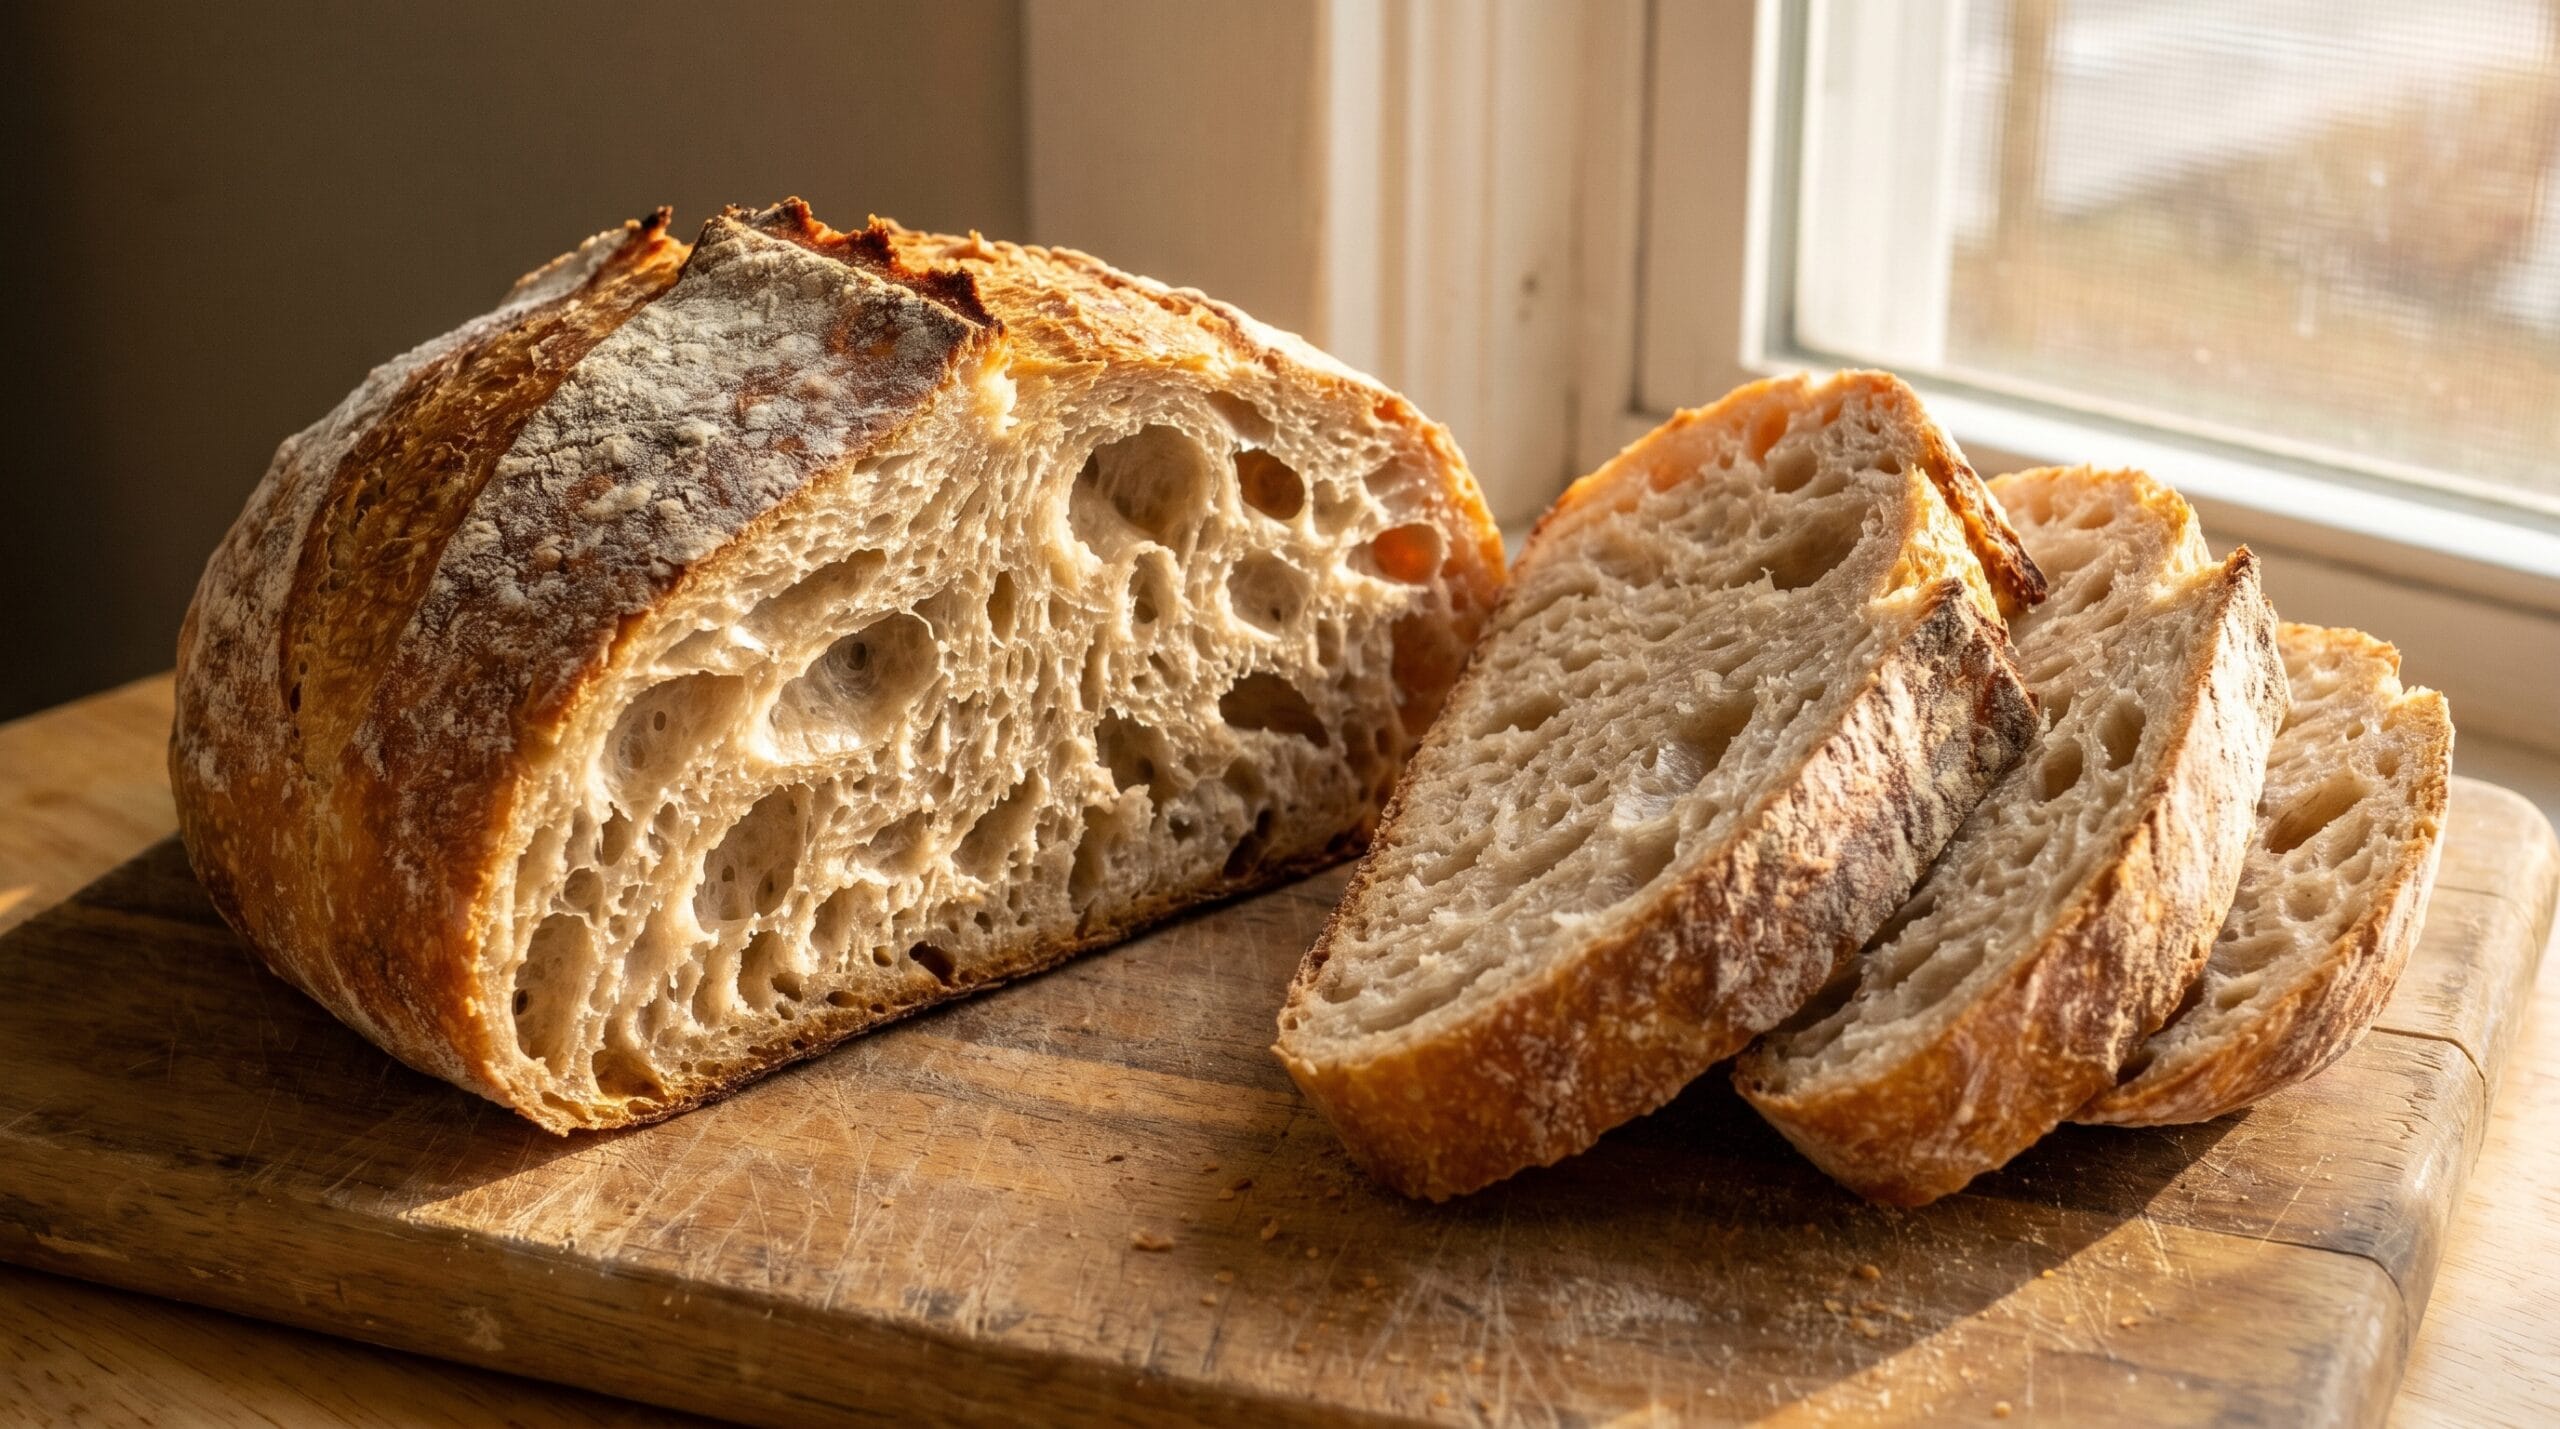
- The crumb can be chewy and open, depending on hydration and fermentation.
- The process is slower, but much of the time is hands-off.
That slower rhythm is part of the charm. Sourdough is not fast food. It is a simple, old-fashioned skill that rewards attention and patience.
Why Make Sourdough Bread at Home?
Making sourdough bread at home gives you more control over what goes into your loaf. You choose the flour, the salt, the fermentation time, and the final texture. You can bake a mild loaf, a tangier loaf, a crustier loaf, or a softer sandwich-style sourdough once you understand the basics.
Homemade sourdough also turns baking into a routine you can enjoy. Feeding your starter, checking the dough, shaping the loaf, and pulling fresh bread from the oven can become a satisfying part of your week.
Benefits of Homemade Sourdough Bread
When you bake sourdough bread yourself, you can:
- Use simple ingredients.
- Avoid unnecessary additives.
- Adjust the flavor to your liking.
- Learn a practical home-baking skill.
- Make bread that feels fresh, rustic, and personal.
- Use sourdough discard in other recipes.
- Build confidence with each loaf.
Your first loaf may not look perfect, and that is completely normal. Sourdough baking improves with repetition. Every loaf teaches you something about your starter, your kitchen temperature, your flour, and your timing.
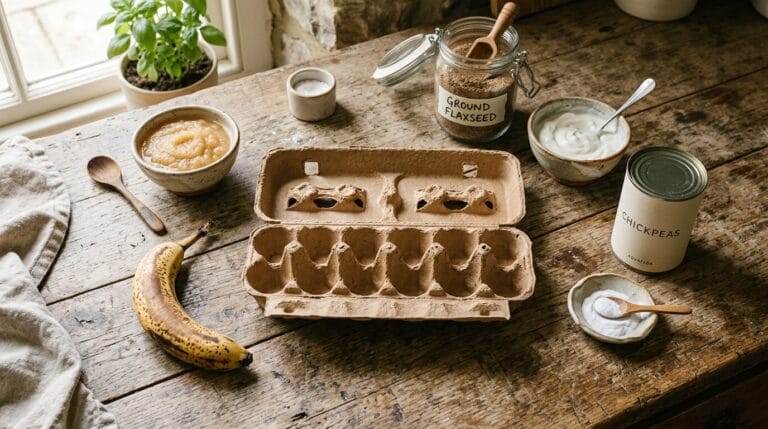
Basic Sourdough Bread Ingredients
One of the best things about sourdough bread is how simple the ingredient list is. You do not need a long shopping list or complicated additives.
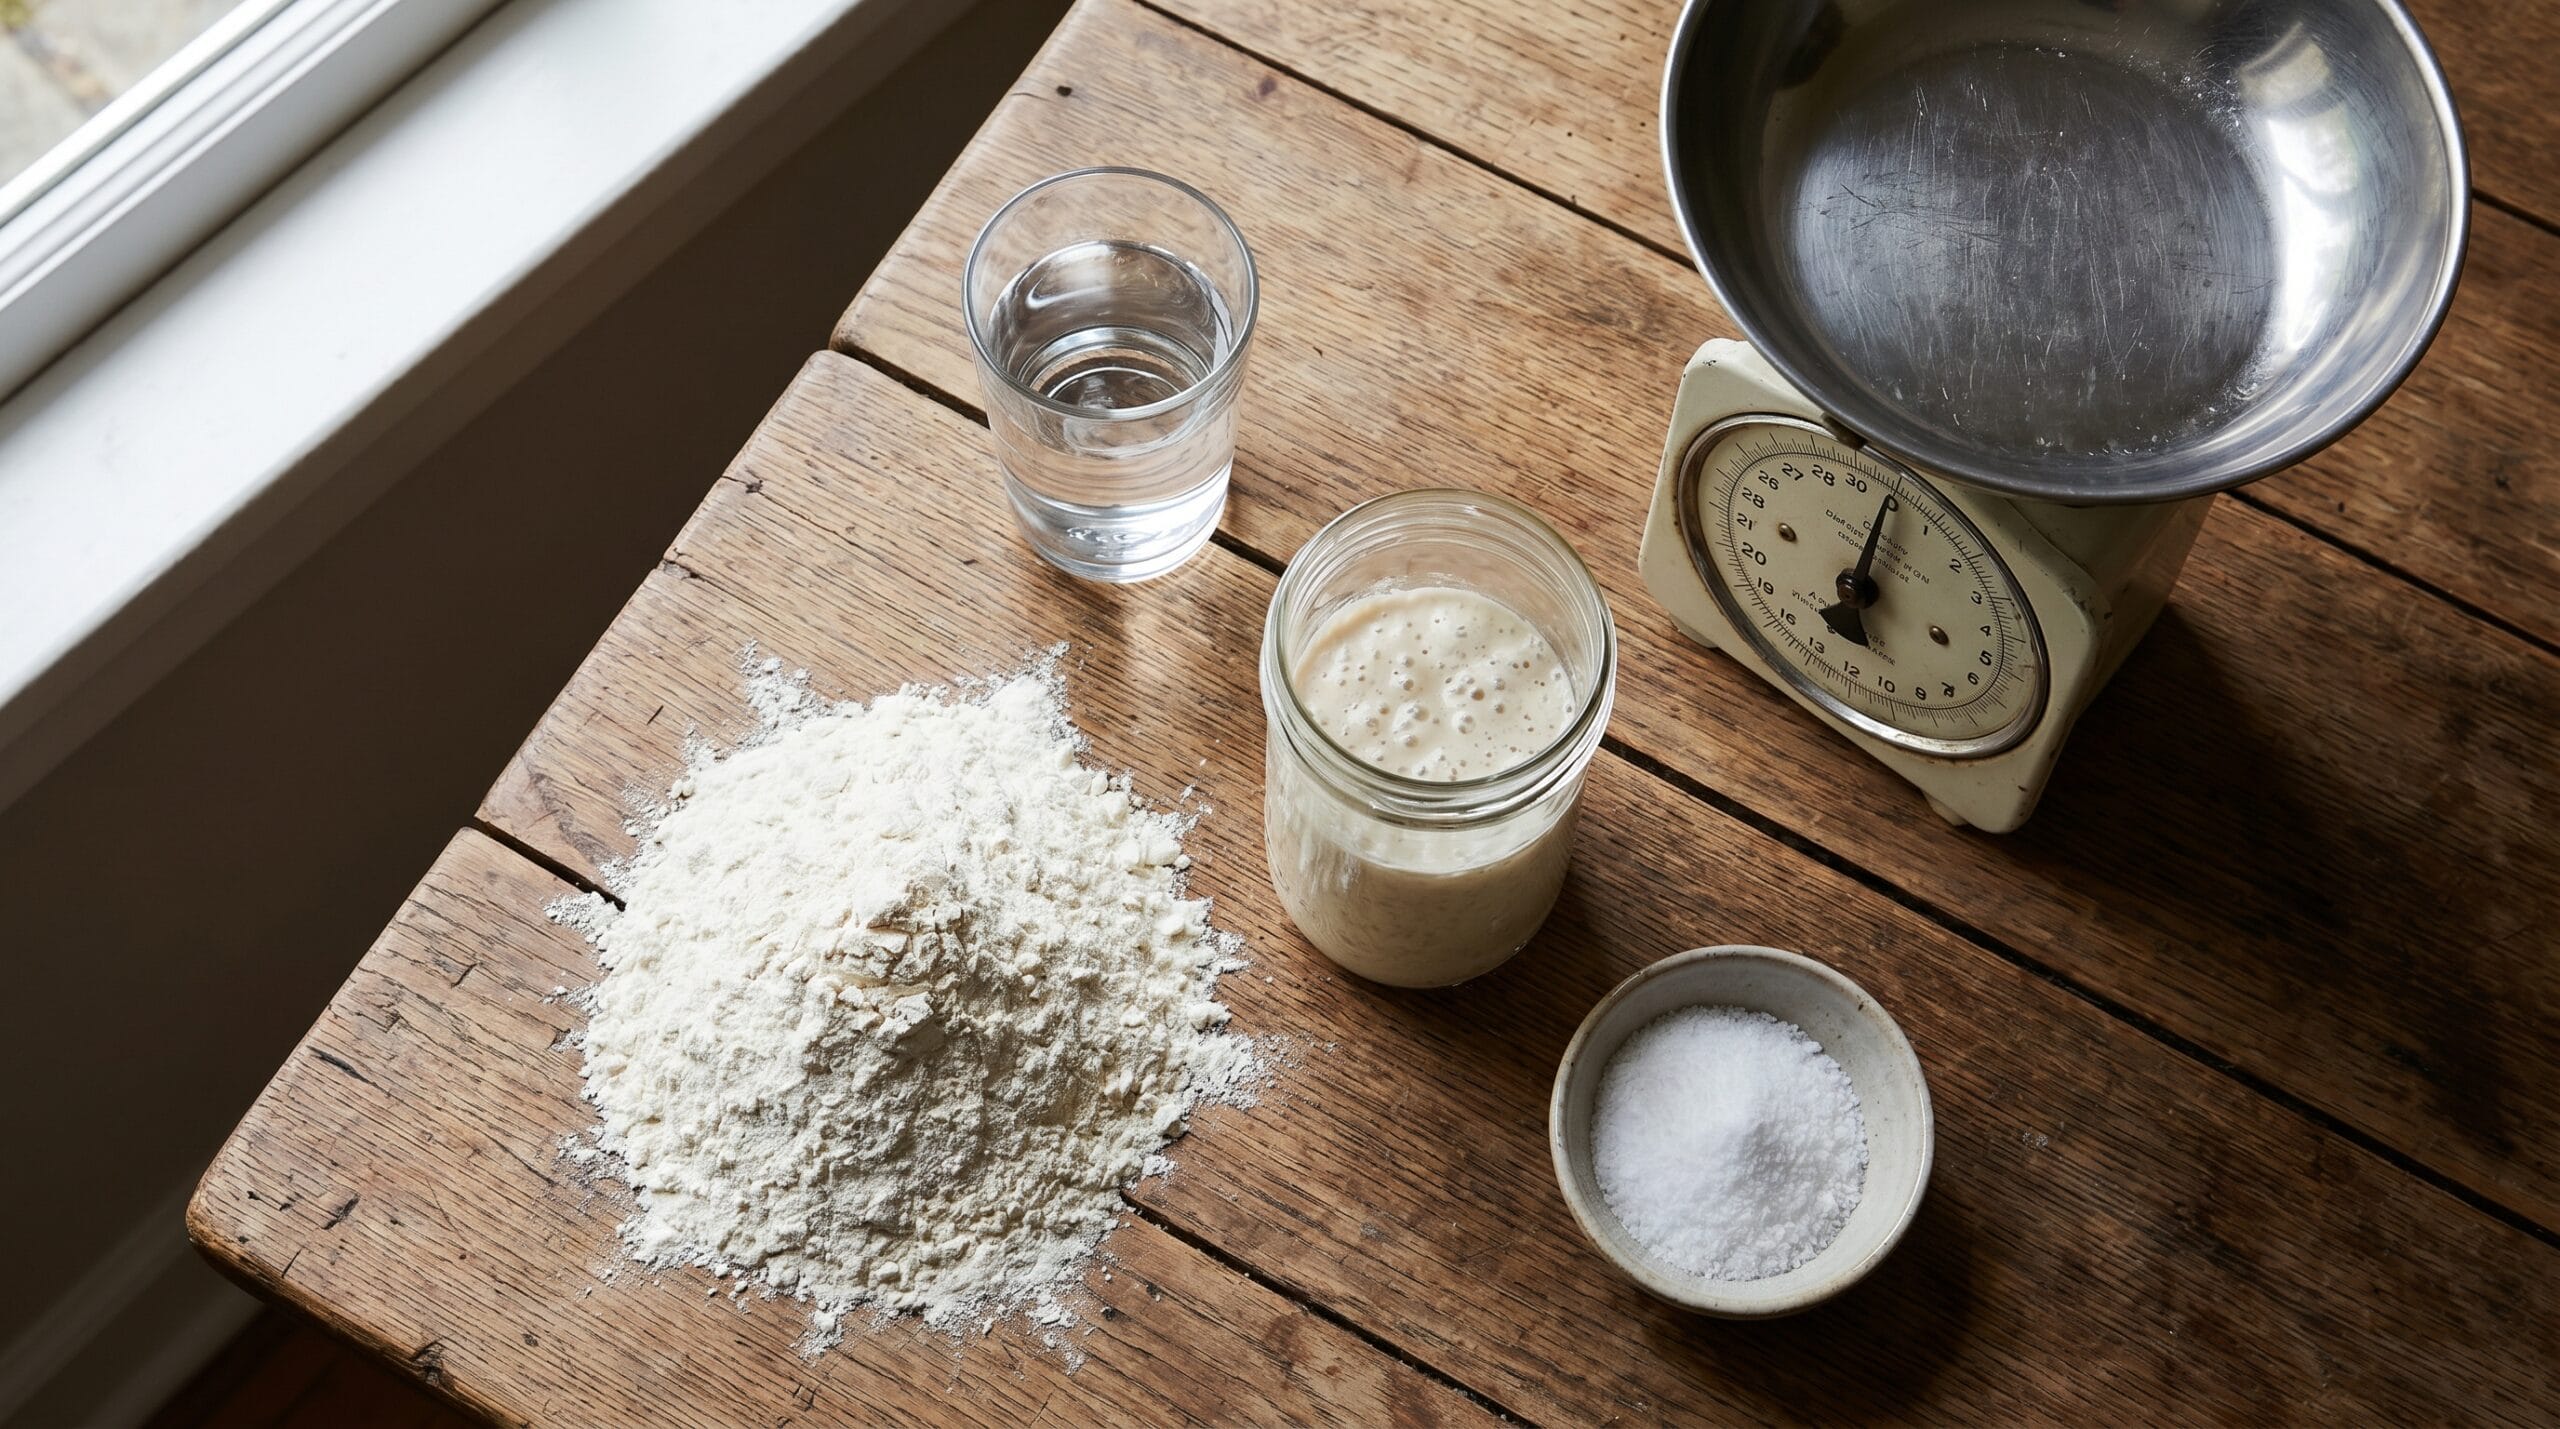
At its core, sourdough bread needs only four ingredients.
| Ingredient | Purpose in Sourdough Bread | Beginner Tip |
|---|---|---|
| Bread flour | Builds gluten and structure | Best choice for a strong first loaf |
| Water | Hydrates the flour and supports fermentation | Use room-temperature water |
| Active sourdough starter | Helps the dough rise naturally | Use it when bubbly and active |
| Salt | Adds flavor and helps control fermentation | Do not skip it |
Simple Beginner Sourdough Bread Formula
Here is a beginner-friendly formula you can use for your first loaf.
| Ingredient | Amount |
|---|---|
| Bread flour | 500 g |
| Water | 350 g |
| Active sourdough starter | 100 g |
| Fine sea salt | 10 g |
This gives you a dough with about 70% hydration, which means the water equals 70% of the flour weight. It is moist enough to make a good loaf, but not so wet that it becomes too difficult for beginners to handle.
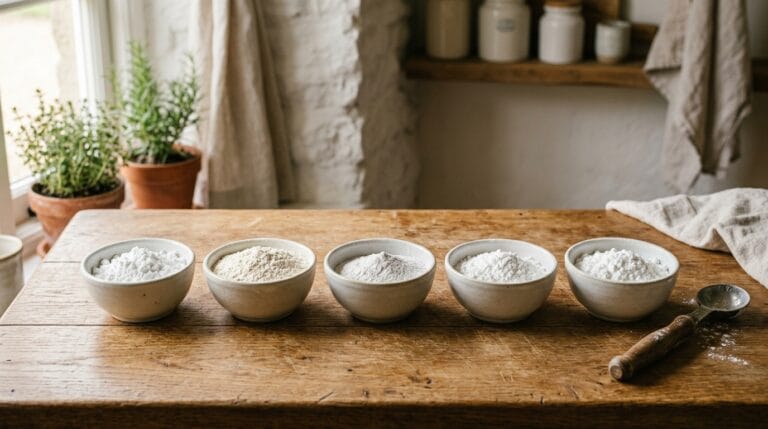
Why Measuring by Weight Matters
For sourdough bread, a digital kitchen scale is one of the most useful tools you can own. Cups can be inconsistent because flour packs differently depending on how you scoop it. Weight gives you better accuracy and more repeatable results.
If you want your sourdough bread recipe to work the same way each time, measure in grams.
What Is a Sourdough Starter?
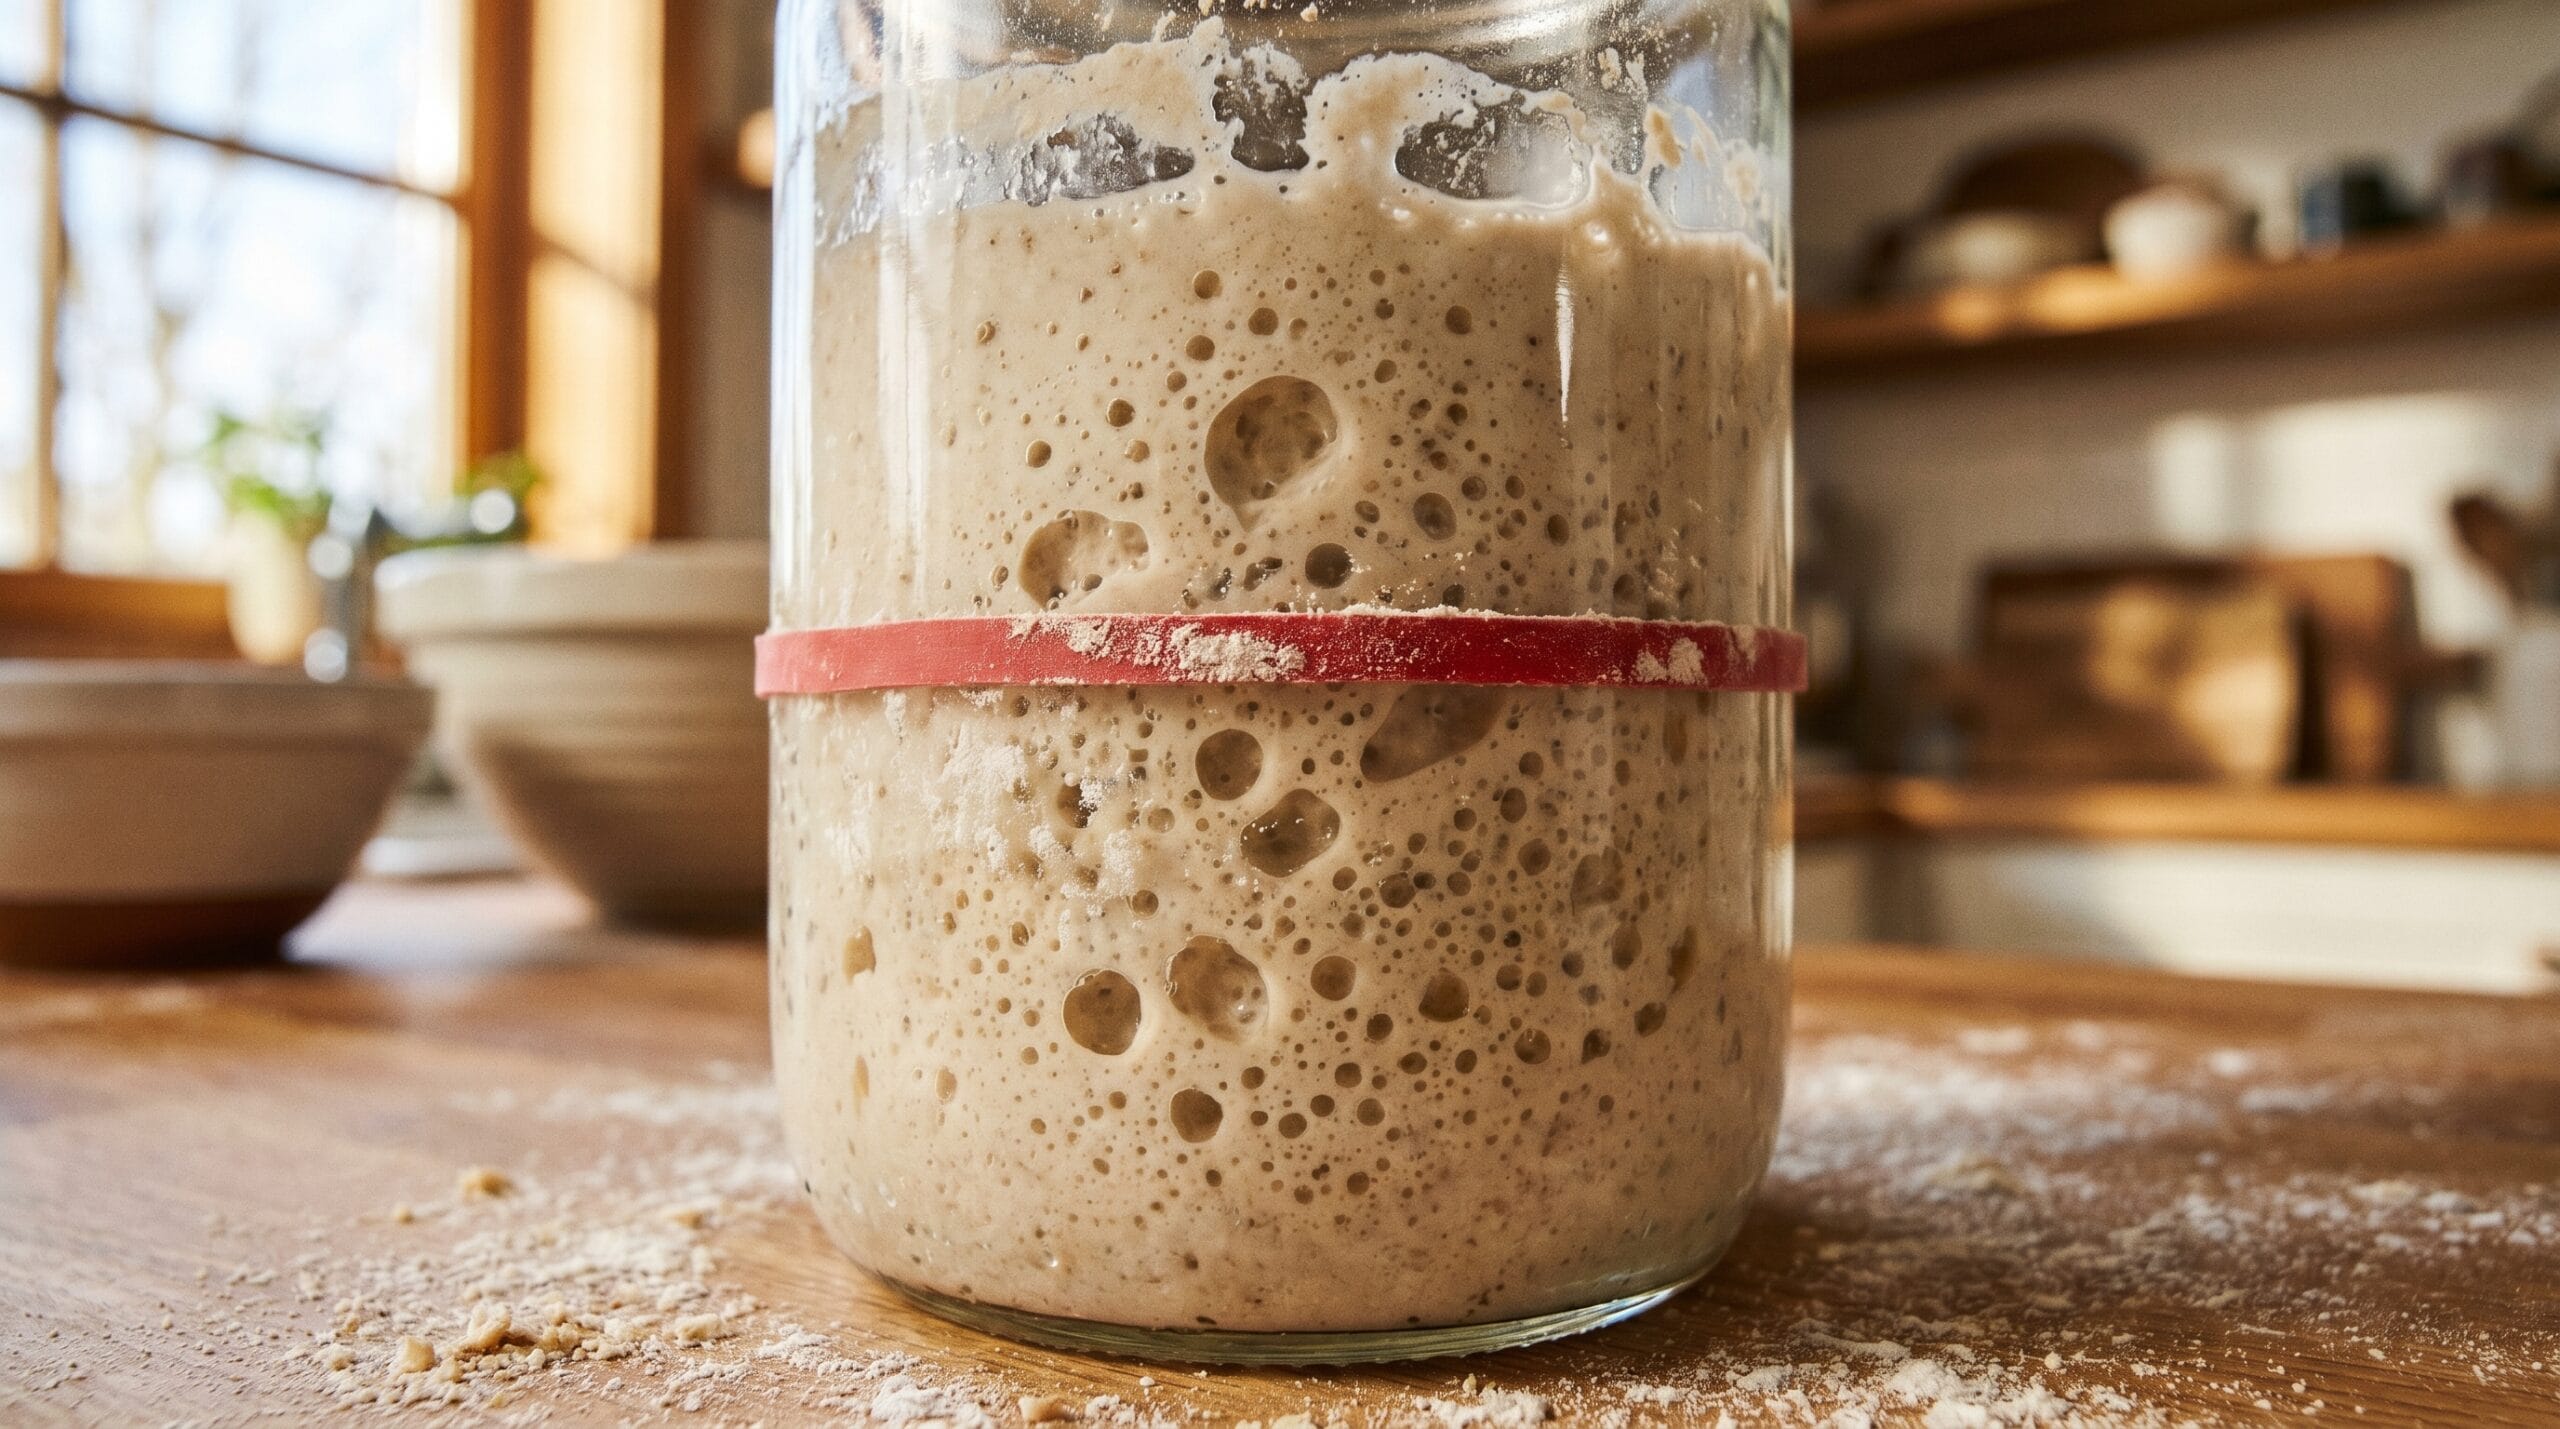
A sourdough starter is a living mixture of flour and water. Over time, it ferments and becomes home to wild yeast and beneficial bacteria. When it is strong and active, it can raise bread dough without commercial yeast.
King Arthur Baking describes a mature starter as active, bubbly, and able to raise and flavor bread dough without manufactured yeast. It also notes that a starter is generally ready to bake with when it reliably becomes very bubbly and doubles within 6 to 8 hours after feeding.
How to Tell If Your Sourdough Starter Is Ready
If you are still learning how your starter should look and behave, King Arthur Baking’s guide to sourdough starter basics is a useful resource.
How Sourdough Starter Works
When you feed your starter fresh flour and water, the wild yeast and bacteria consume the carbohydrates in the flour. As they ferment, they produce gases and acids. The gases help the dough rise, while the acids create flavor and strengthen the character of the bread.
A healthy sourdough starter usually smells:
- Mildly tangy
- Slightly fruity
- Yeasty
- Fresh
- A little acidic, but not rotten
If your starter smells unpleasant, grows mold, or turns strange colors, it may need attention or replacement.
How to Tell If Your Starter Is Ready
Before baking sourdough bread, your starter should be active and strong.
Look for these signs:
- It doubles in size after feeding.
- It has bubbles throughout.
- It smells fresh, tangy, or fruity.
- It has a light, airy texture.
- It rises predictably within several hours.
- It has not fully collapsed before you use it.
The best time to use starter is usually near its peak, when it has risen fully and is still bubbly.
What Is Sourdough Discard?
Sourdough discard is the portion of starter you remove before feeding. You discard some starter so the mixture stays manageable and does not grow endlessly larger.
You do not always have to throw it away. Sourdough discard can be used in many recipes, especially when the recipe does not rely on it as the only rising agent.
You can use sourdough discard in:
- Pancakes
- Waffles
- Crackers
- Muffins
- Flatbreads
- Biscuits
- Quick breads
- Pizza dough
For your main sourdough bread loaf, though, use active starter rather than old discard. Active starter gives your dough the strength it needs to rise properly.
Tools You Need to Make Sourdough Bread
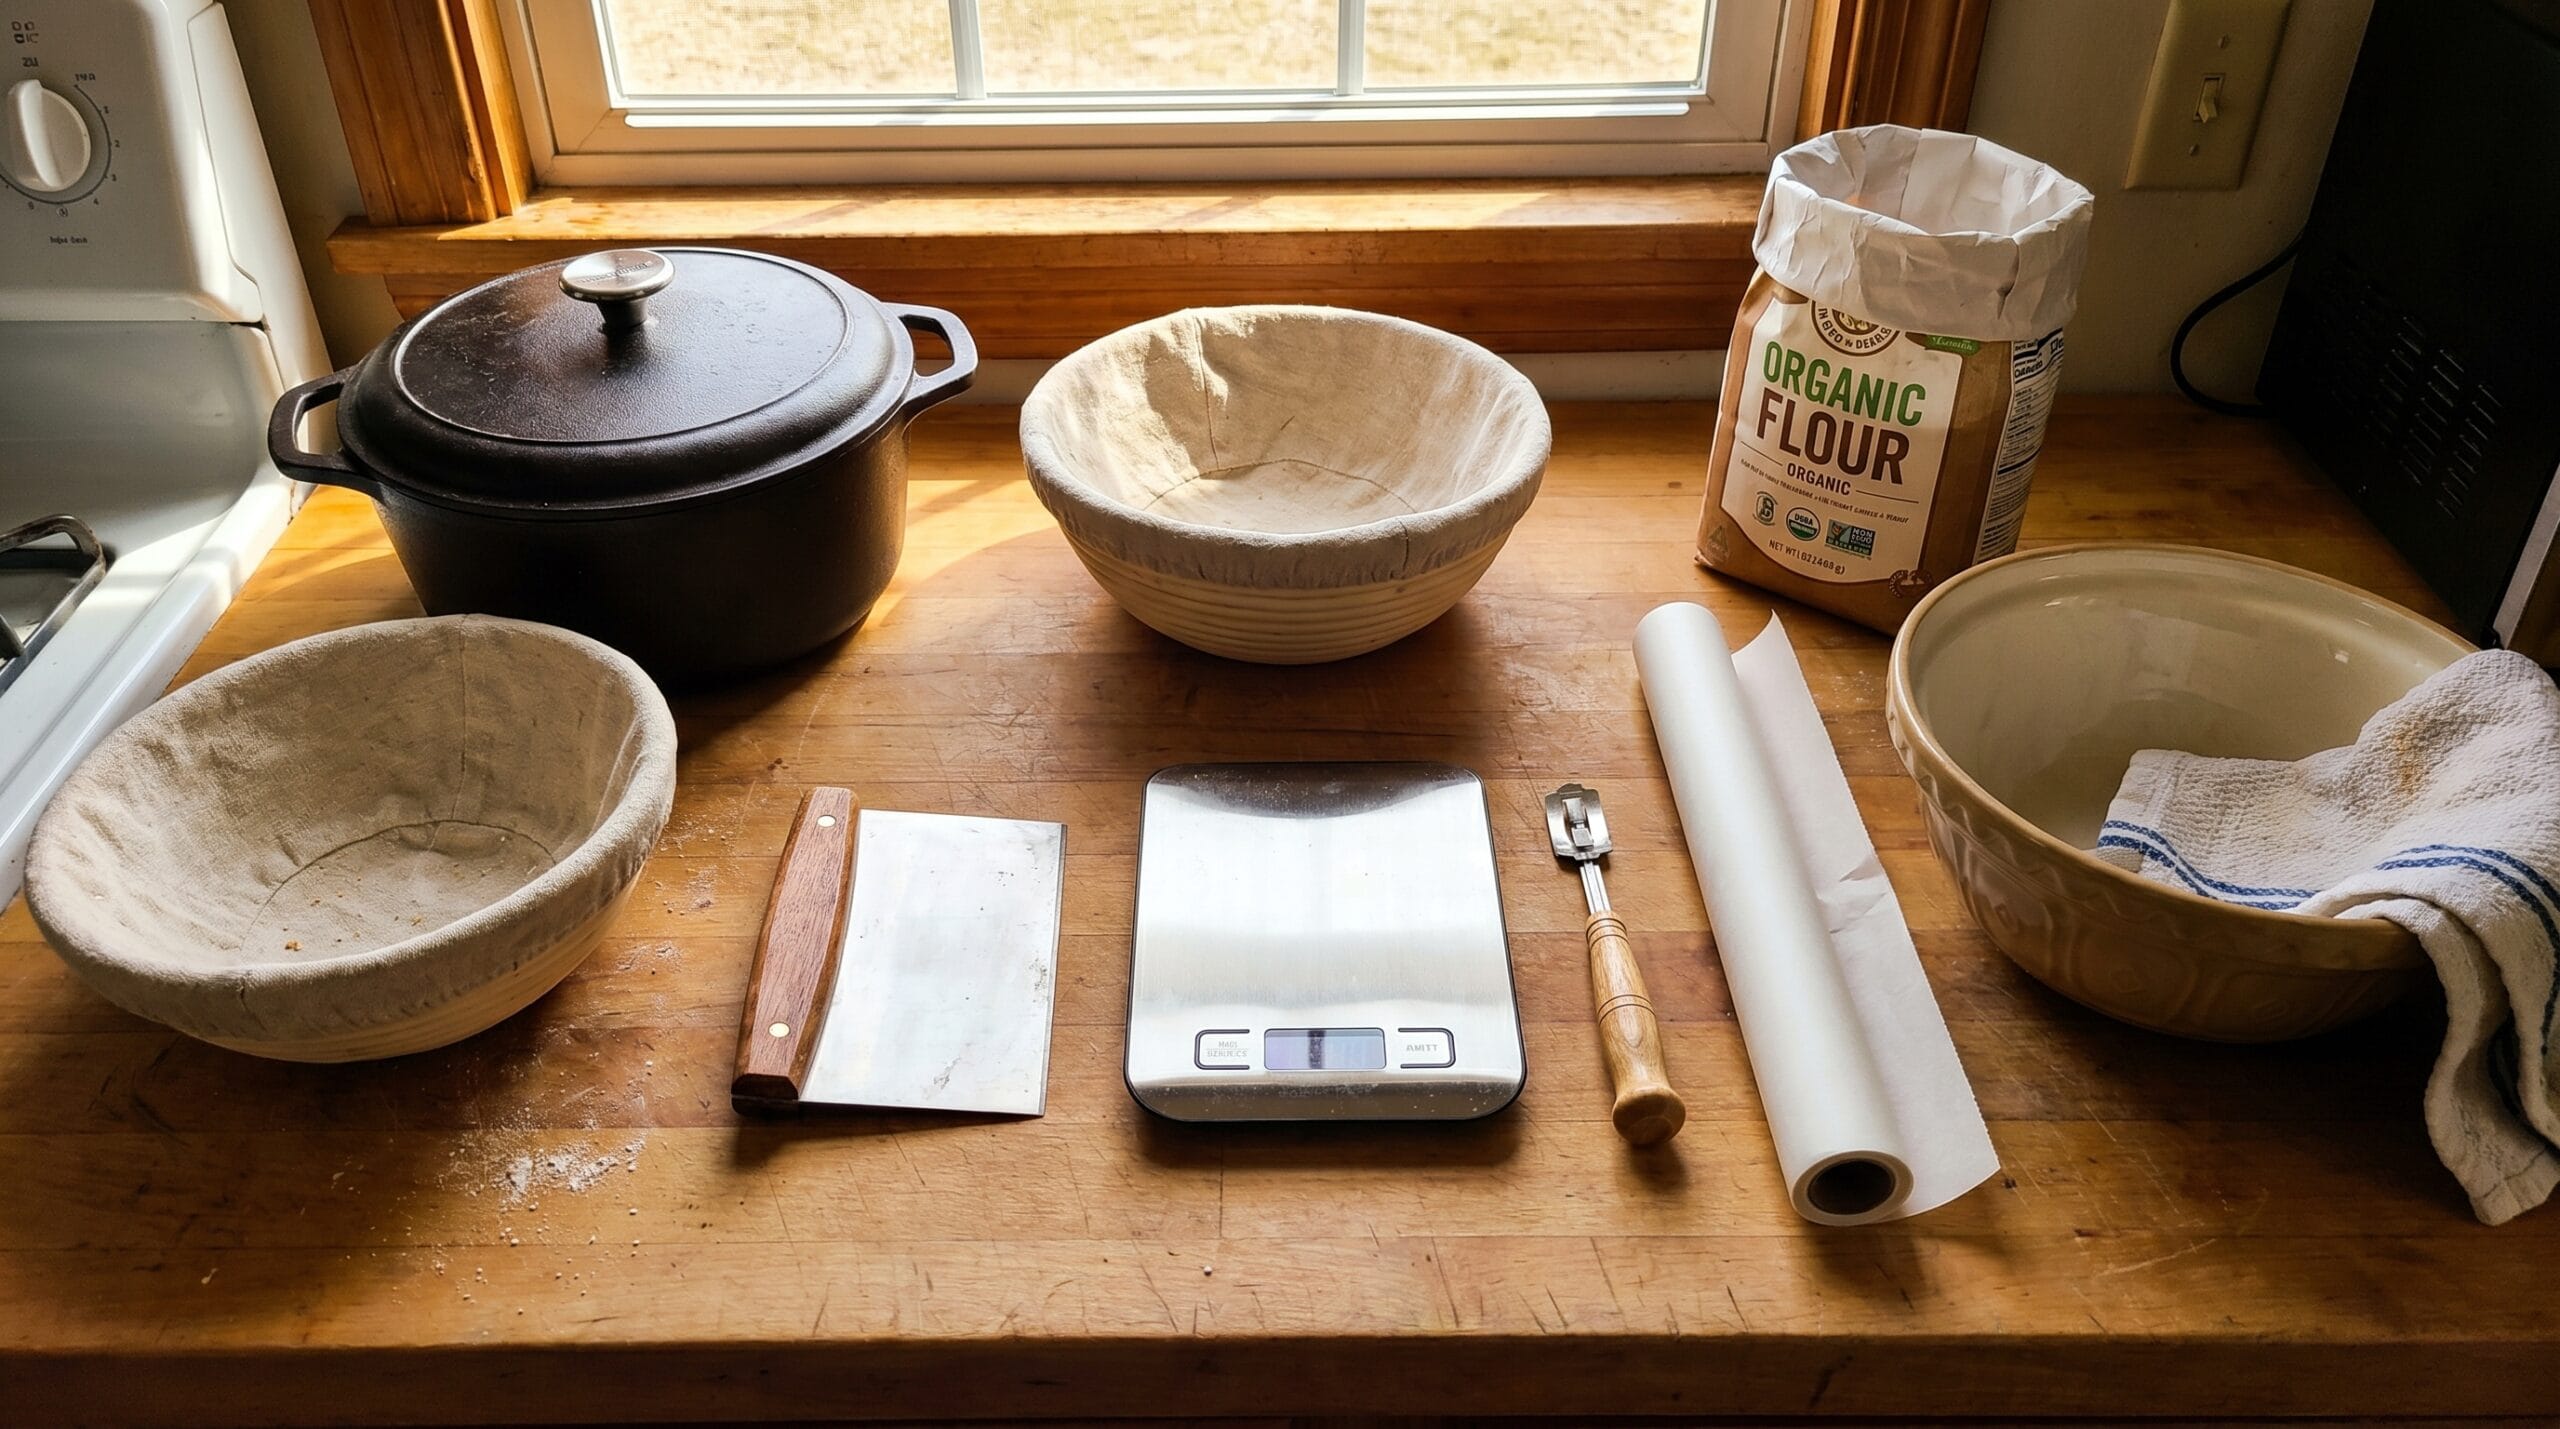
You can make sourdough with simple tools, but a few items make the process much easier.
| Tool | Why You Need It | Beginner Alternative |
|---|---|---|
| Digital kitchen scale | Gives accurate measurements | Strongly recommended |
| Large mixing bowl | Holds the dough during mixing and fermentation | Any large bowl |
| Dough scraper | Helps move and shape sticky dough | Spatula |
| Banneton | Supports shaped dough | Towel-lined bowl |
| Dutch oven | Traps steam for better crust | Covered oven-safe pot |
| Bread lame | Scores the dough | Sharp knife or razor |
| Parchment paper | Helps transfer dough safely | Optional but useful |
Do You Need a Dutch Oven?
A Dutch oven is not absolutely required, but it is very helpful. Sourdough bread benefits from steam during the first part of baking. Steam helps the loaf expand before the crust fully hardens, which improves oven spring and crust texture.
You can also use:
- A covered roasting pan
- A baking stone with a steam tray
- An oven-safe pot with a lid
- A combo cooker
For beginners, a Dutch oven is one of the easiest ways to create a strong crust at home.
How to Make Sourdough Bread Step by Step
Once you understand the process, sourdough bread becomes much less confusing. Think of it as a series of simple stages: feed, mix, rest, fold, ferment, shape, proof, score, and bake.
Step 1: Feed Your Sourdough Starter
Feed your starter several hours before you plan to mix your dough. The exact timing depends on your room temperature and starter strength, but many starters peak around 4 to 8 hours after feeding.
You want to use your starter when it is:
- Bubbly
- Expanded
- Light and airy
- Near its highest point
- Not collapsed and runny
A weak or sleepy starter is one of the most common reasons sourdough bread turns out dense.
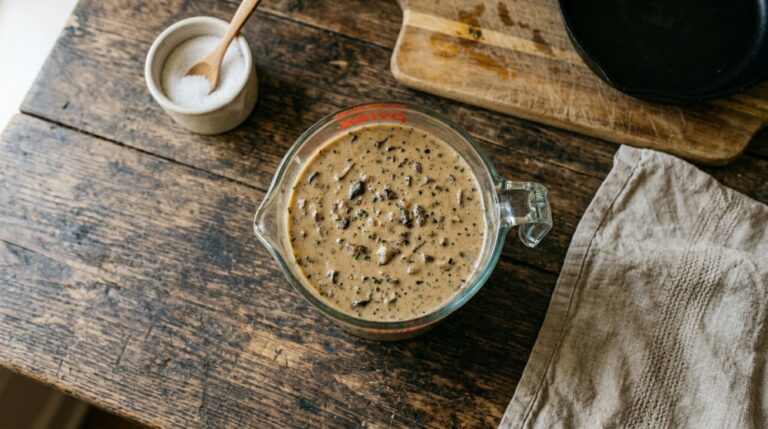
Step 2: Mix the Dough
In a large bowl, combine your flour, water, active starter, and salt. Mix until no dry flour remains.
At first, the dough may look shaggy and rough. That is fine. Sourdough dough becomes smoother as it rests and as you build gluten through stretch and folds.
Step 3: Let the Dough Rest
After mixing, let the dough rest for about 30 minutes. This gives the flour time to hydrate and makes the dough easier to handle.
This resting period can improve texture and make the dough less sticky.
Step 4: Stretch and Fold
Stretch and folds help build dough strength without heavy kneading.
Here is how to do it:
- Wet your hands to reduce sticking.
- Grab one side of the dough.
- Stretch it gently upward.
- Fold it over the center.
- Turn the bowl.
- Repeat on all sides.
- Cover and rest before the next round.
Do 3 to 4 rounds during the first 2 hours of fermentation.
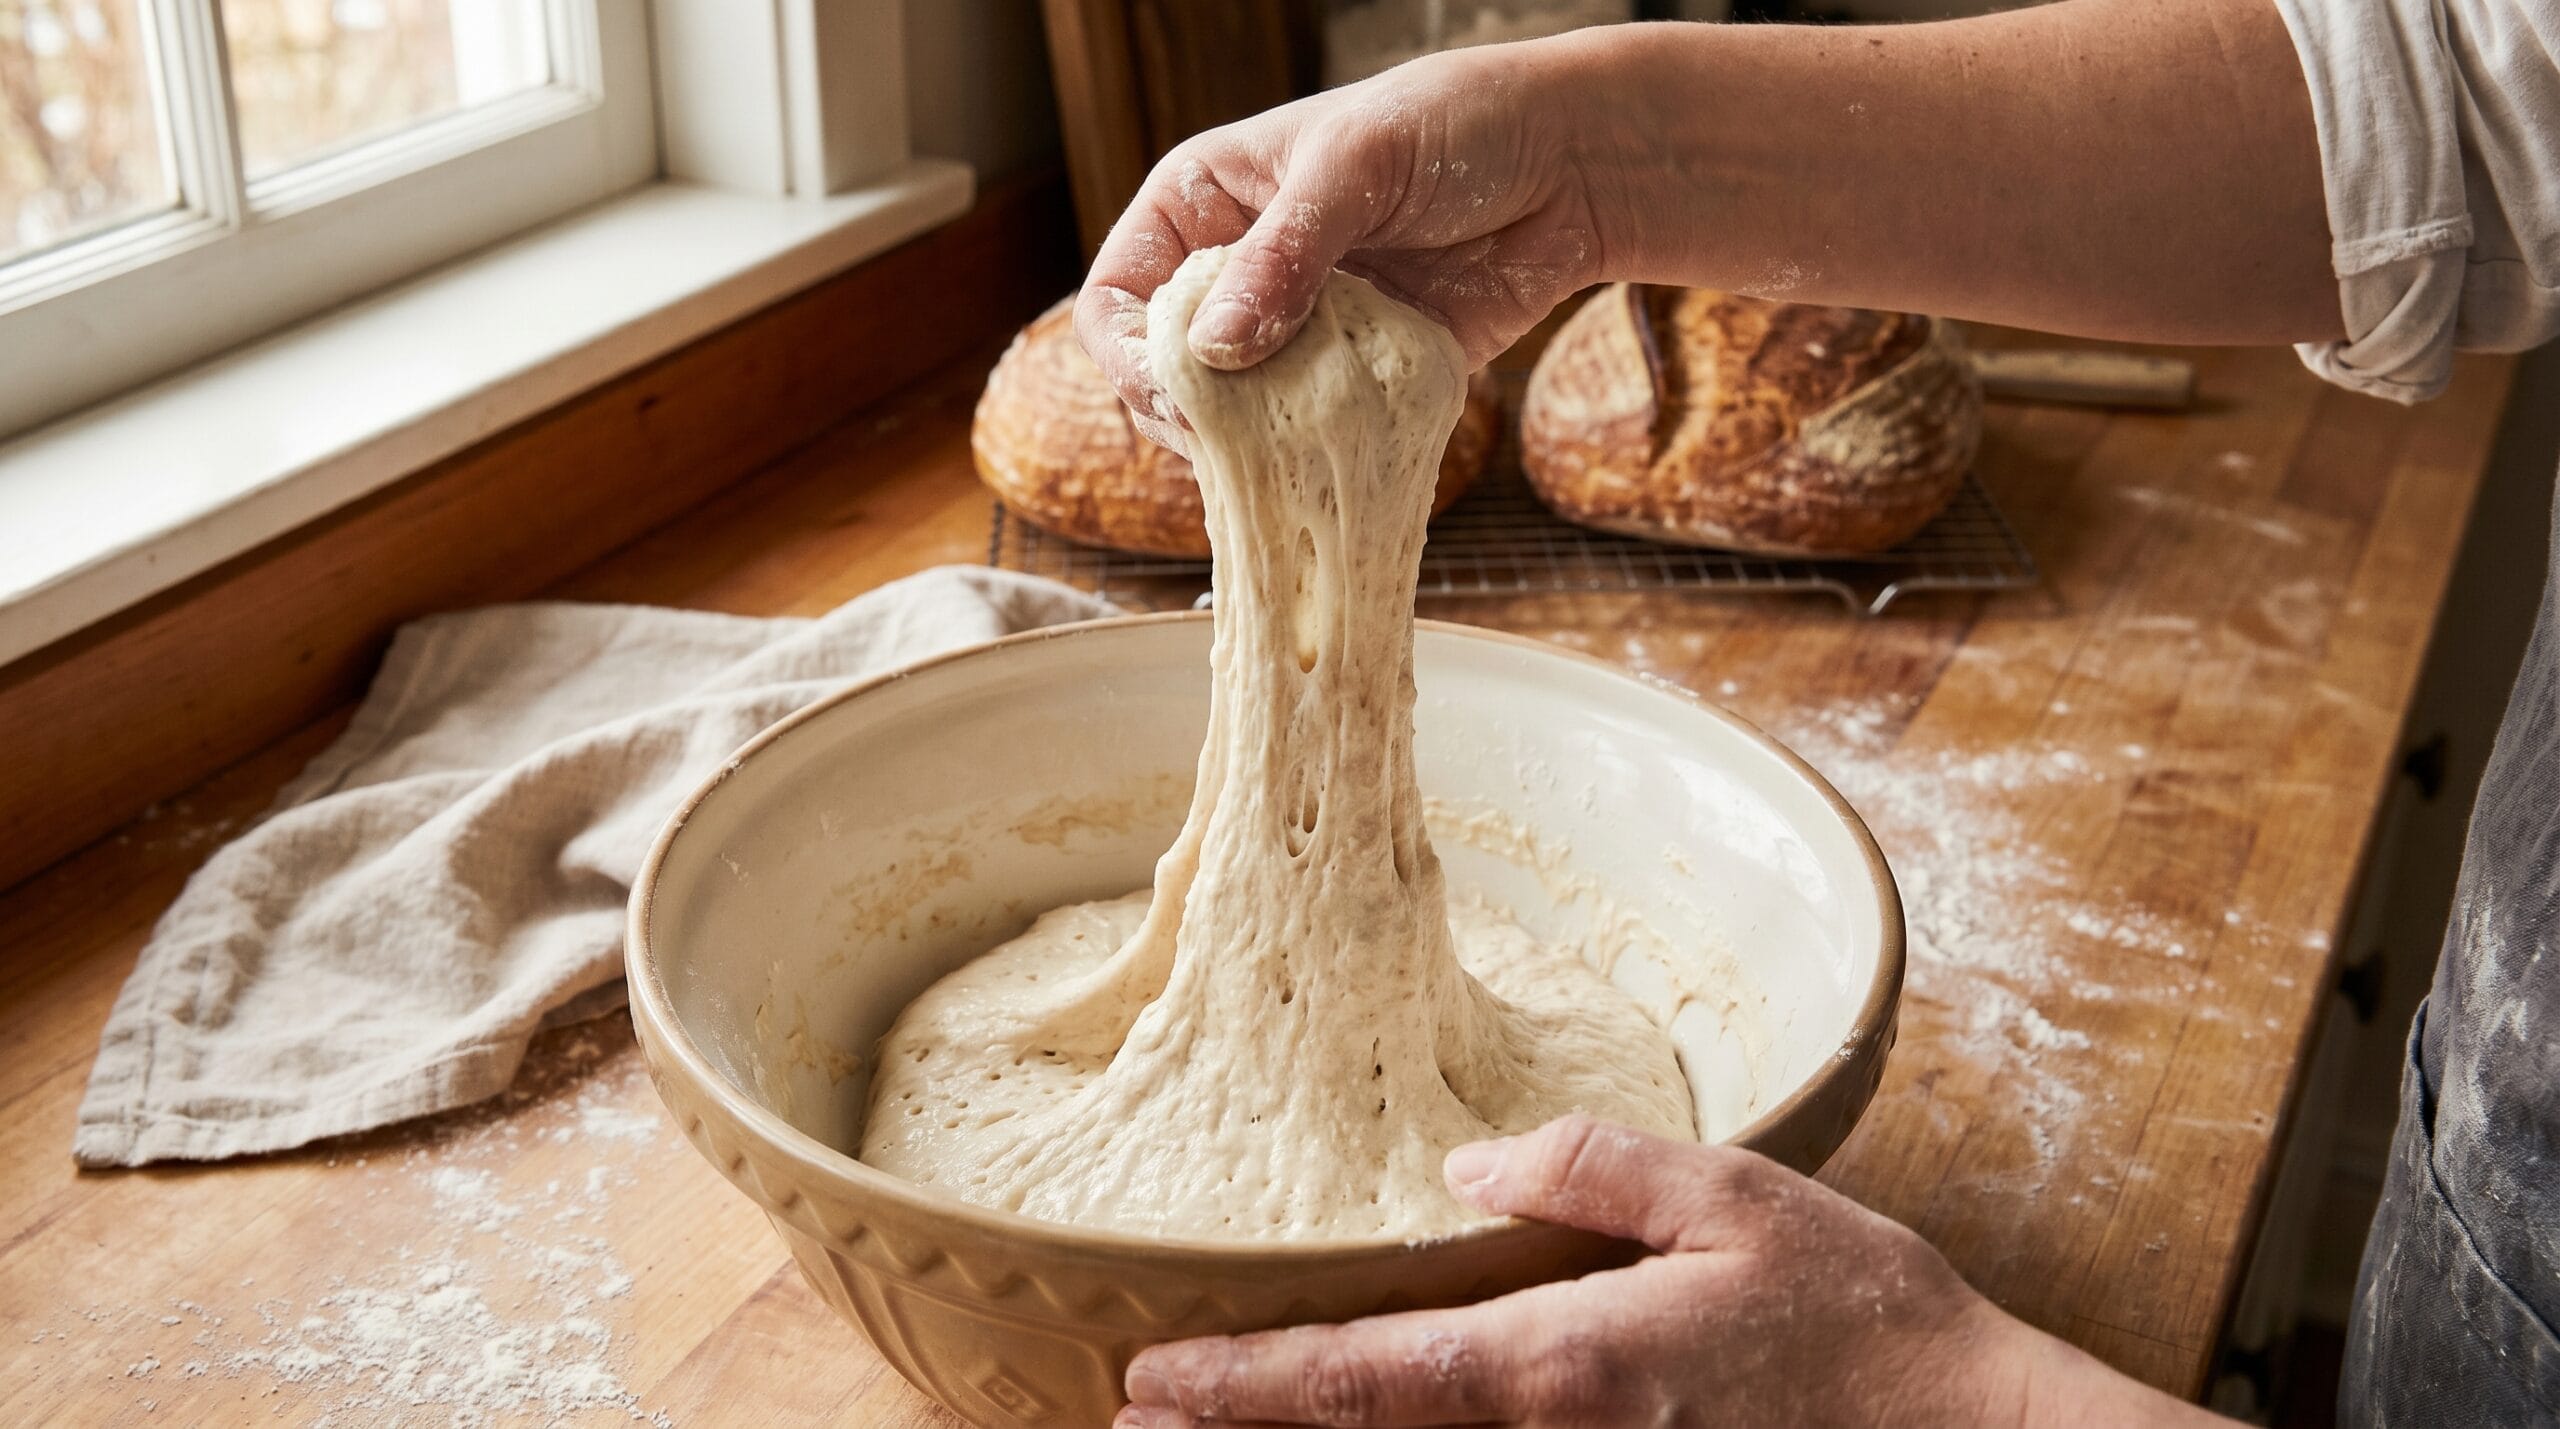
Step 5: Bulk Fermentation
Bulk fermentation is the main rise. This is when the dough gains volume, strength, and flavor. The Perfect Loaf explains that successful bulk fermentation creates dough that is smooth, strong, easier to handle, well-risen, and supported by active yeast and bacteria populations.
During bulk fermentation, your dough should become:
- Puffier
- Smoother
- Slightly domed
- Airier
- More elastic
- Bubbly around the edges
Do not rely only on the clock. A cold kitchen slows fermentation. A warm kitchen speeds it up. Watch the dough itself.
Step 6: Shape the Dough
Once bulk fermentation is complete, turn the dough onto a lightly floured surface. Shape it into a round or oval loaf.
Your goal is to create surface tension without tearing the dough. This helps the loaf hold its shape and rise upward during baking.
After shaping, place the dough seam-side up in a floured banneton or towel-lined bowl.
Step 7: Final Proof
The final proof happens after shaping. You can proof the loaf at room temperature or place it in the refrigerator overnight.
Many beginners like overnight cold proofing because it:
- Improves flavor
- Makes timing easier
- Firms the dough for scoring
- Helps create a more developed crust
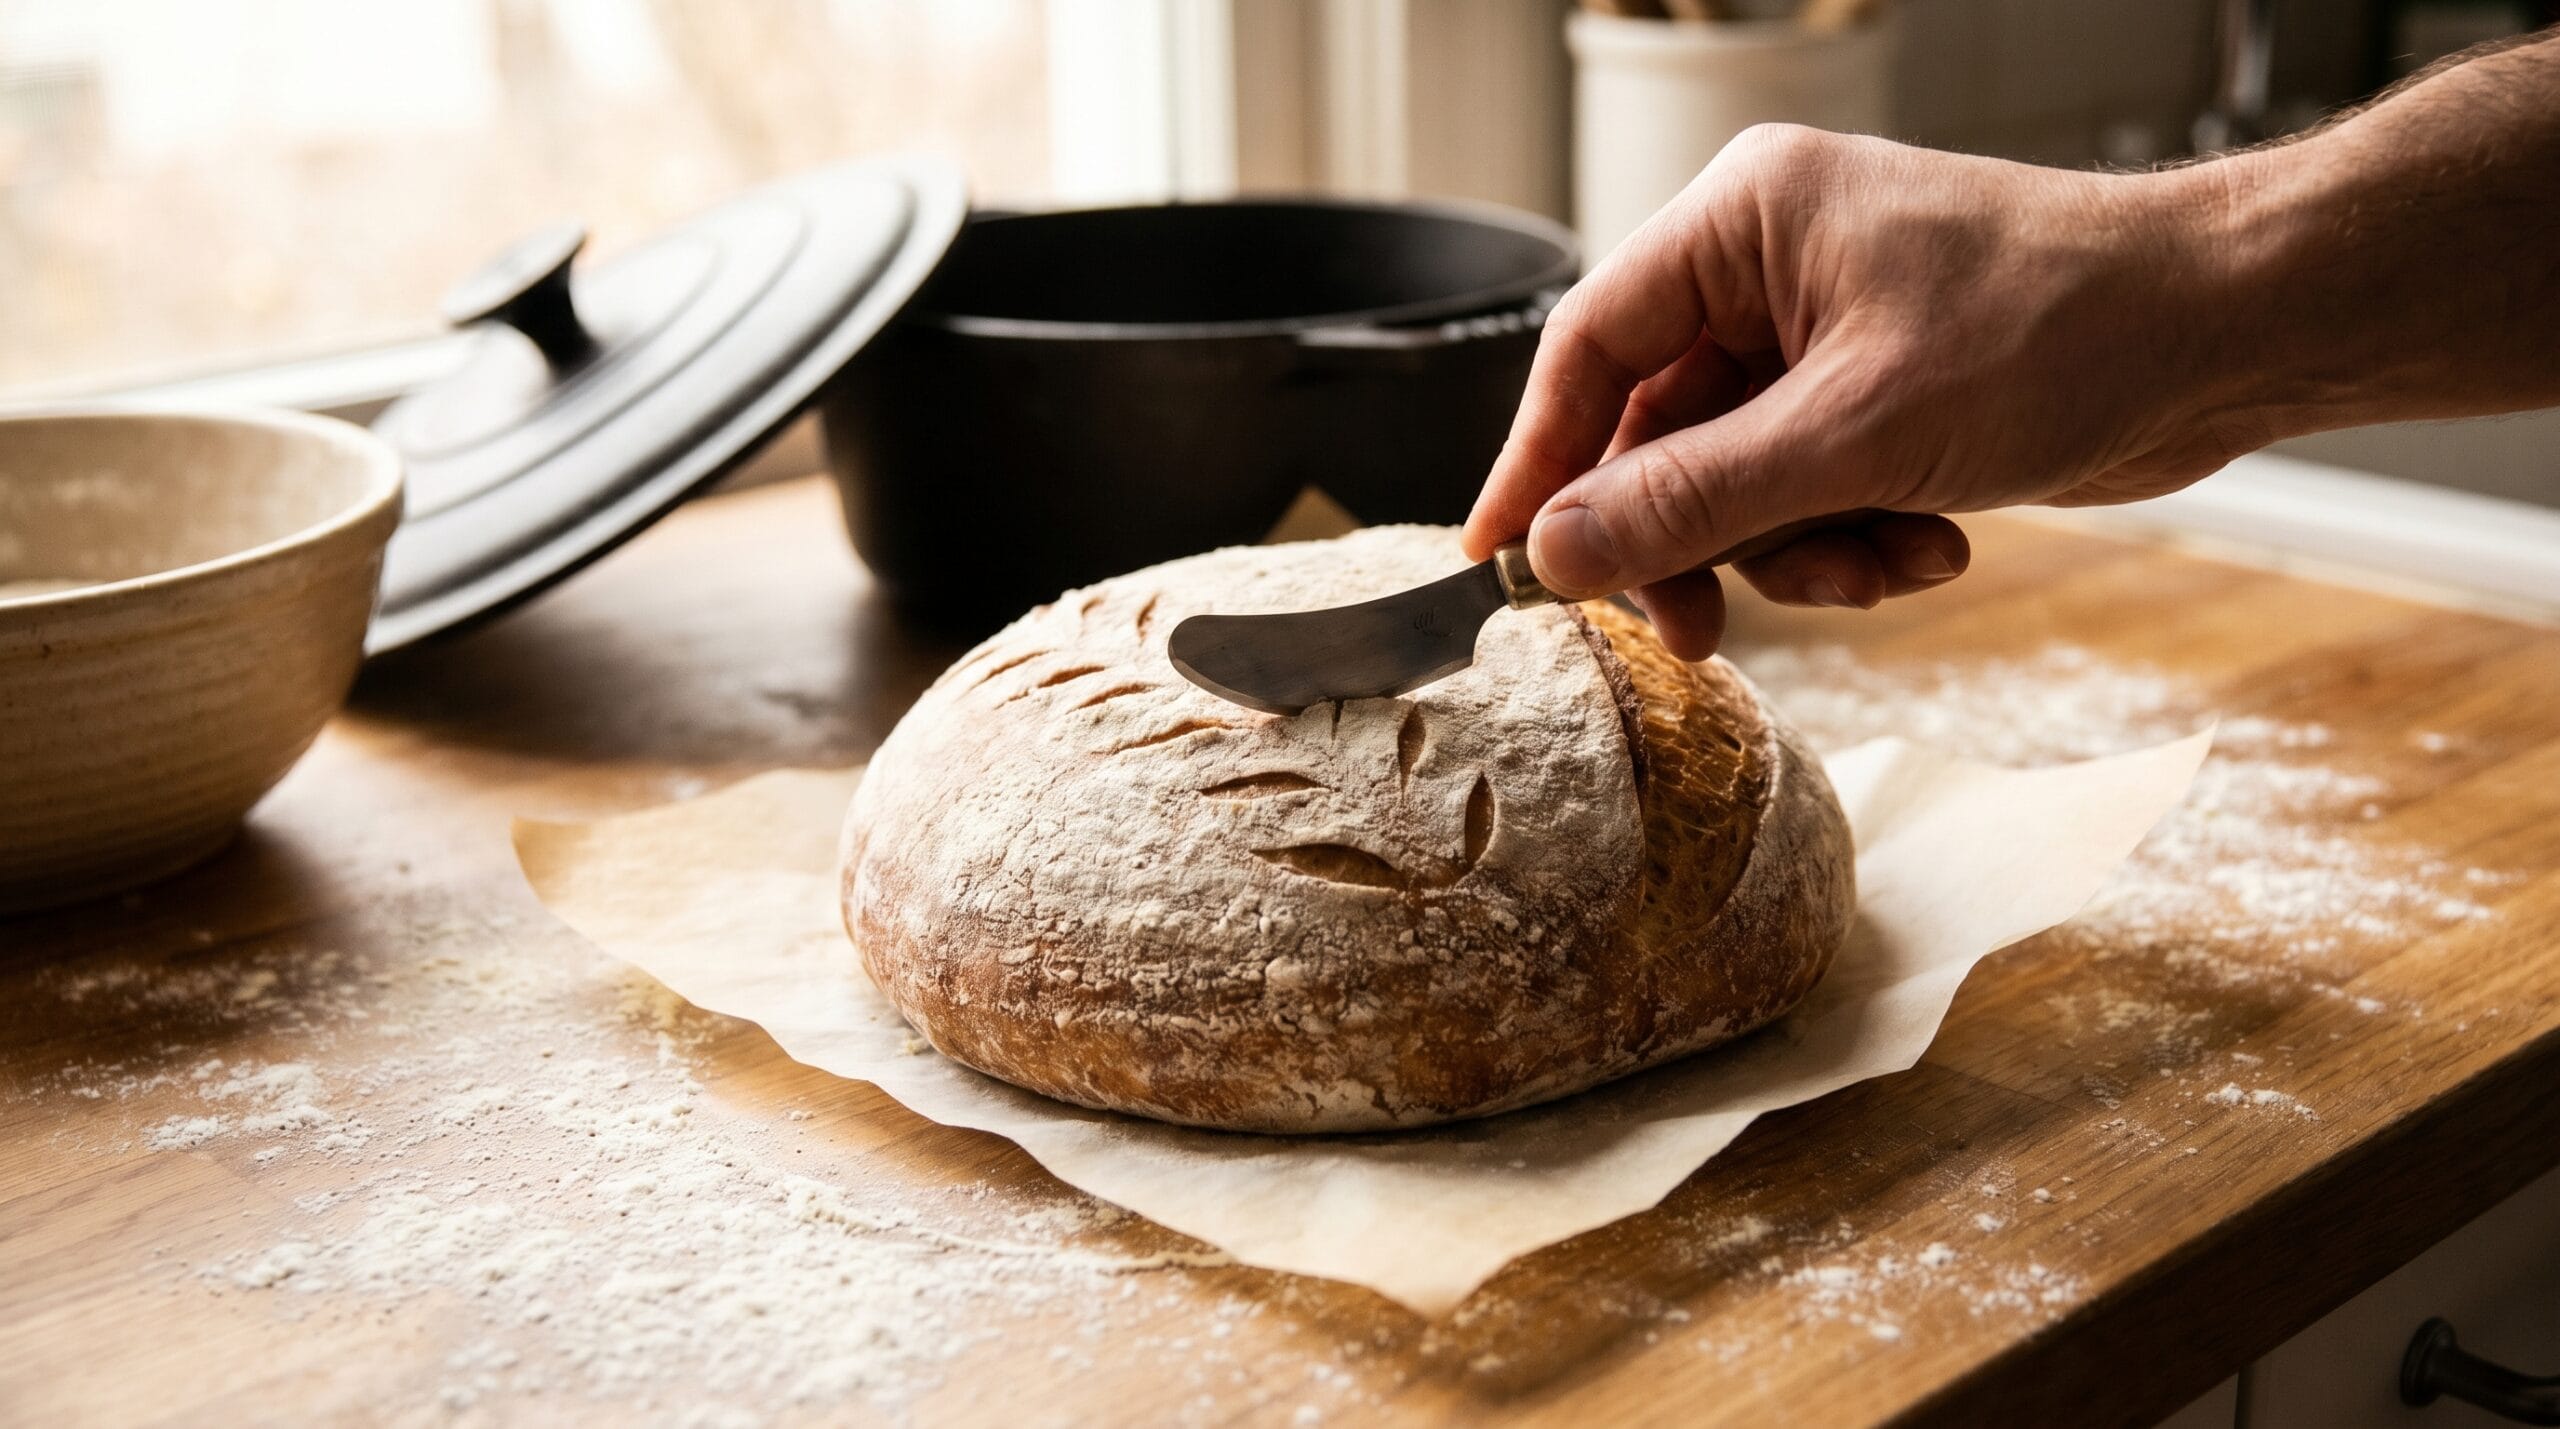
Step 8: Score and Bake
Before baking, preheat your Dutch oven. Sourdough needs strong heat at the start.
When ready, turn the dough onto parchment paper, score the top with a sharp blade, and transfer it into the hot Dutch oven.
A simple beginner bake schedule is:
| Baking Stage | Temperature | Time |
|---|---|---|
| Covered bake | 450°F / 232°C | 20 minutes |
| Uncovered bake | 425°F / 218°C | 20–25 minutes |
| Cooling time | Room temperature | 1–2 hours |
Let the bread cool before slicing. This is hard, but important. Cutting too soon can make the crumb gummy.
Beginner Sourdough Bread Recipe
This simple sourdough bread recipe is a good starting point for home bakers.
Ingredients
| Ingredient | Amount |
|---|---|
| Bread flour | 500 g |
| Water | 350 g |
| Active sourdough starter | 100 g |
| Fine sea salt | 10 g |
| Rice flour or flour for dusting | As needed |
Instructions
- Feed your sourdough starter and wait until it is bubbly and active.
- In a large bowl, mix bread flour, water, starter, and salt.
- Rest the dough for 30 minutes.
- Perform 3 to 4 rounds of stretch and folds during the first 2 hours.
- Let the dough bulk ferment until it looks puffy and slightly domed.
- Shape the dough into a round or oval loaf.
- Place it in a floured banneton or towel-lined bowl.
- Cover and refrigerate overnight.
- Preheat your Dutch oven to 450°F / 232°C.
- Turn out the dough, score the top, and bake covered for 20 minutes.
- Remove the lid and bake for another 20 to 25 minutes.
- Cool for at least 1 hour before slicing.
Beginner Baking Schedule
| Time | Step |
|---|---|
| 8:00 AM | Feed starter |
| 1:00 PM | Mix dough |
| 1:30 PM | First stretch and fold |
| 2:00 PM | Second stretch and fold |
| 2:30 PM | Third stretch and fold |
| 3:00–7:00 PM | Bulk fermentation |
| 7:00 PM | Shape dough |
| Overnight | Cold proof in fridge |
| Next morning | Score and bake |
This schedule is only a guide. Your dough may need more or less time depending on your kitchen temperature and starter activity.
Common Sourdough Bread Mistakes Beginners Make
Sourdough baking has a learning curve. Most beginner problems come from starter strength, fermentation timing, or dough handling.
Using Weak Starter
If your starter is not active enough, your dough will not rise well. Use your starter when it is bubbly, expanded, and near its peak.
Ending Bulk Fermentation Too Early
Under-fermented dough often creates dense, gummy bread. If your dough has barely risen and still looks heavy, it likely needs more time.
Overproofing the Dough
Overproofed dough may spread out, collapse, or bake into a flat loaf. If your dough feels very loose and fragile, it may have gone too far.
Adding Too Much Flour During Shaping
A little flour prevents sticking. Too much flour can make shaping harder and create dry streaks in the loaf.
Slicing Too Soon
Fresh sourdough smells amazing, but wait before cutting. The inside of the loaf continues to set as it cools. Slice too early, and you may get a gummy texture.
Troubleshooting Sourdough Bread Problems
Even experienced bakers have imperfect loaves. Use each problem as a clue.
| Problem | Likely Cause | Quick Fix |
|---|---|---|
| Dense loaf | Weak starter or short fermentation | Use starter at peak and extend bulk rise |
| Gummy crumb | Underbaked, under-fermented, or sliced too soon | Bake longer and cool fully |
| Flat loaf | Overproofing or weak shaping | Shorten proof and improve shaping |
| Pale crust | Low oven heat or short bake | Preheat longer and bake uncovered |
| Too sour | Long fermentation or long cold proof | Shorten proofing time |
Why Is My Sourdough Bread Dense?
Dense sourdough bread usually means the dough did not trap enough gas.
Possible causes include:
- Weak starter
- Short bulk fermentation
- Cold dough
- Not enough gluten development
- Too much whole grain flour for a beginner loaf
Why Is My Sourdough Bread Gummy?
A gummy crumb can happen when bread is underbaked or sliced too soon. It can also happen when the dough is under-fermented.
Let the bread cool fully before judging the texture.
Why Did My Sourdough Bread Not Rise?
Your starter may not have been strong enough, or your kitchen may have been too cold. Use an active starter and allow more time for fermentation when temperatures are low.
Why Is My Sourdough Bread Too Sour?
Sourdough becomes more sour with longer fermentation, long cold proofing, and certain starter feeding habits. If you prefer a milder loaf, shorten the cold proof and use your starter when it is fresh and active.
How to Store Sourdough Bread
Sourdough bread is best the day it is baked, but you can store it well with a few simple habits.
For short-term storage, keep the loaf cut-side down on a cutting board or store it in a bread bag. Avoid refrigerating bread when possible because refrigeration can make bread stale faster.
For longer storage, freezing is a good option. USDA’s food safety guidance notes that foods kept continuously frozen at 0°F / -18°C remain safe, although quality can change over time.
How to Freeze Sourdough Bread
- Let the loaf cool completely.
- Slice the bread.
- Place parchment between slices if desired.
- Store slices in a freezer-safe bag.
- Toast slices directly from frozen.
Freezing sliced sourdough makes it easy to enjoy homemade bread throughout the week.
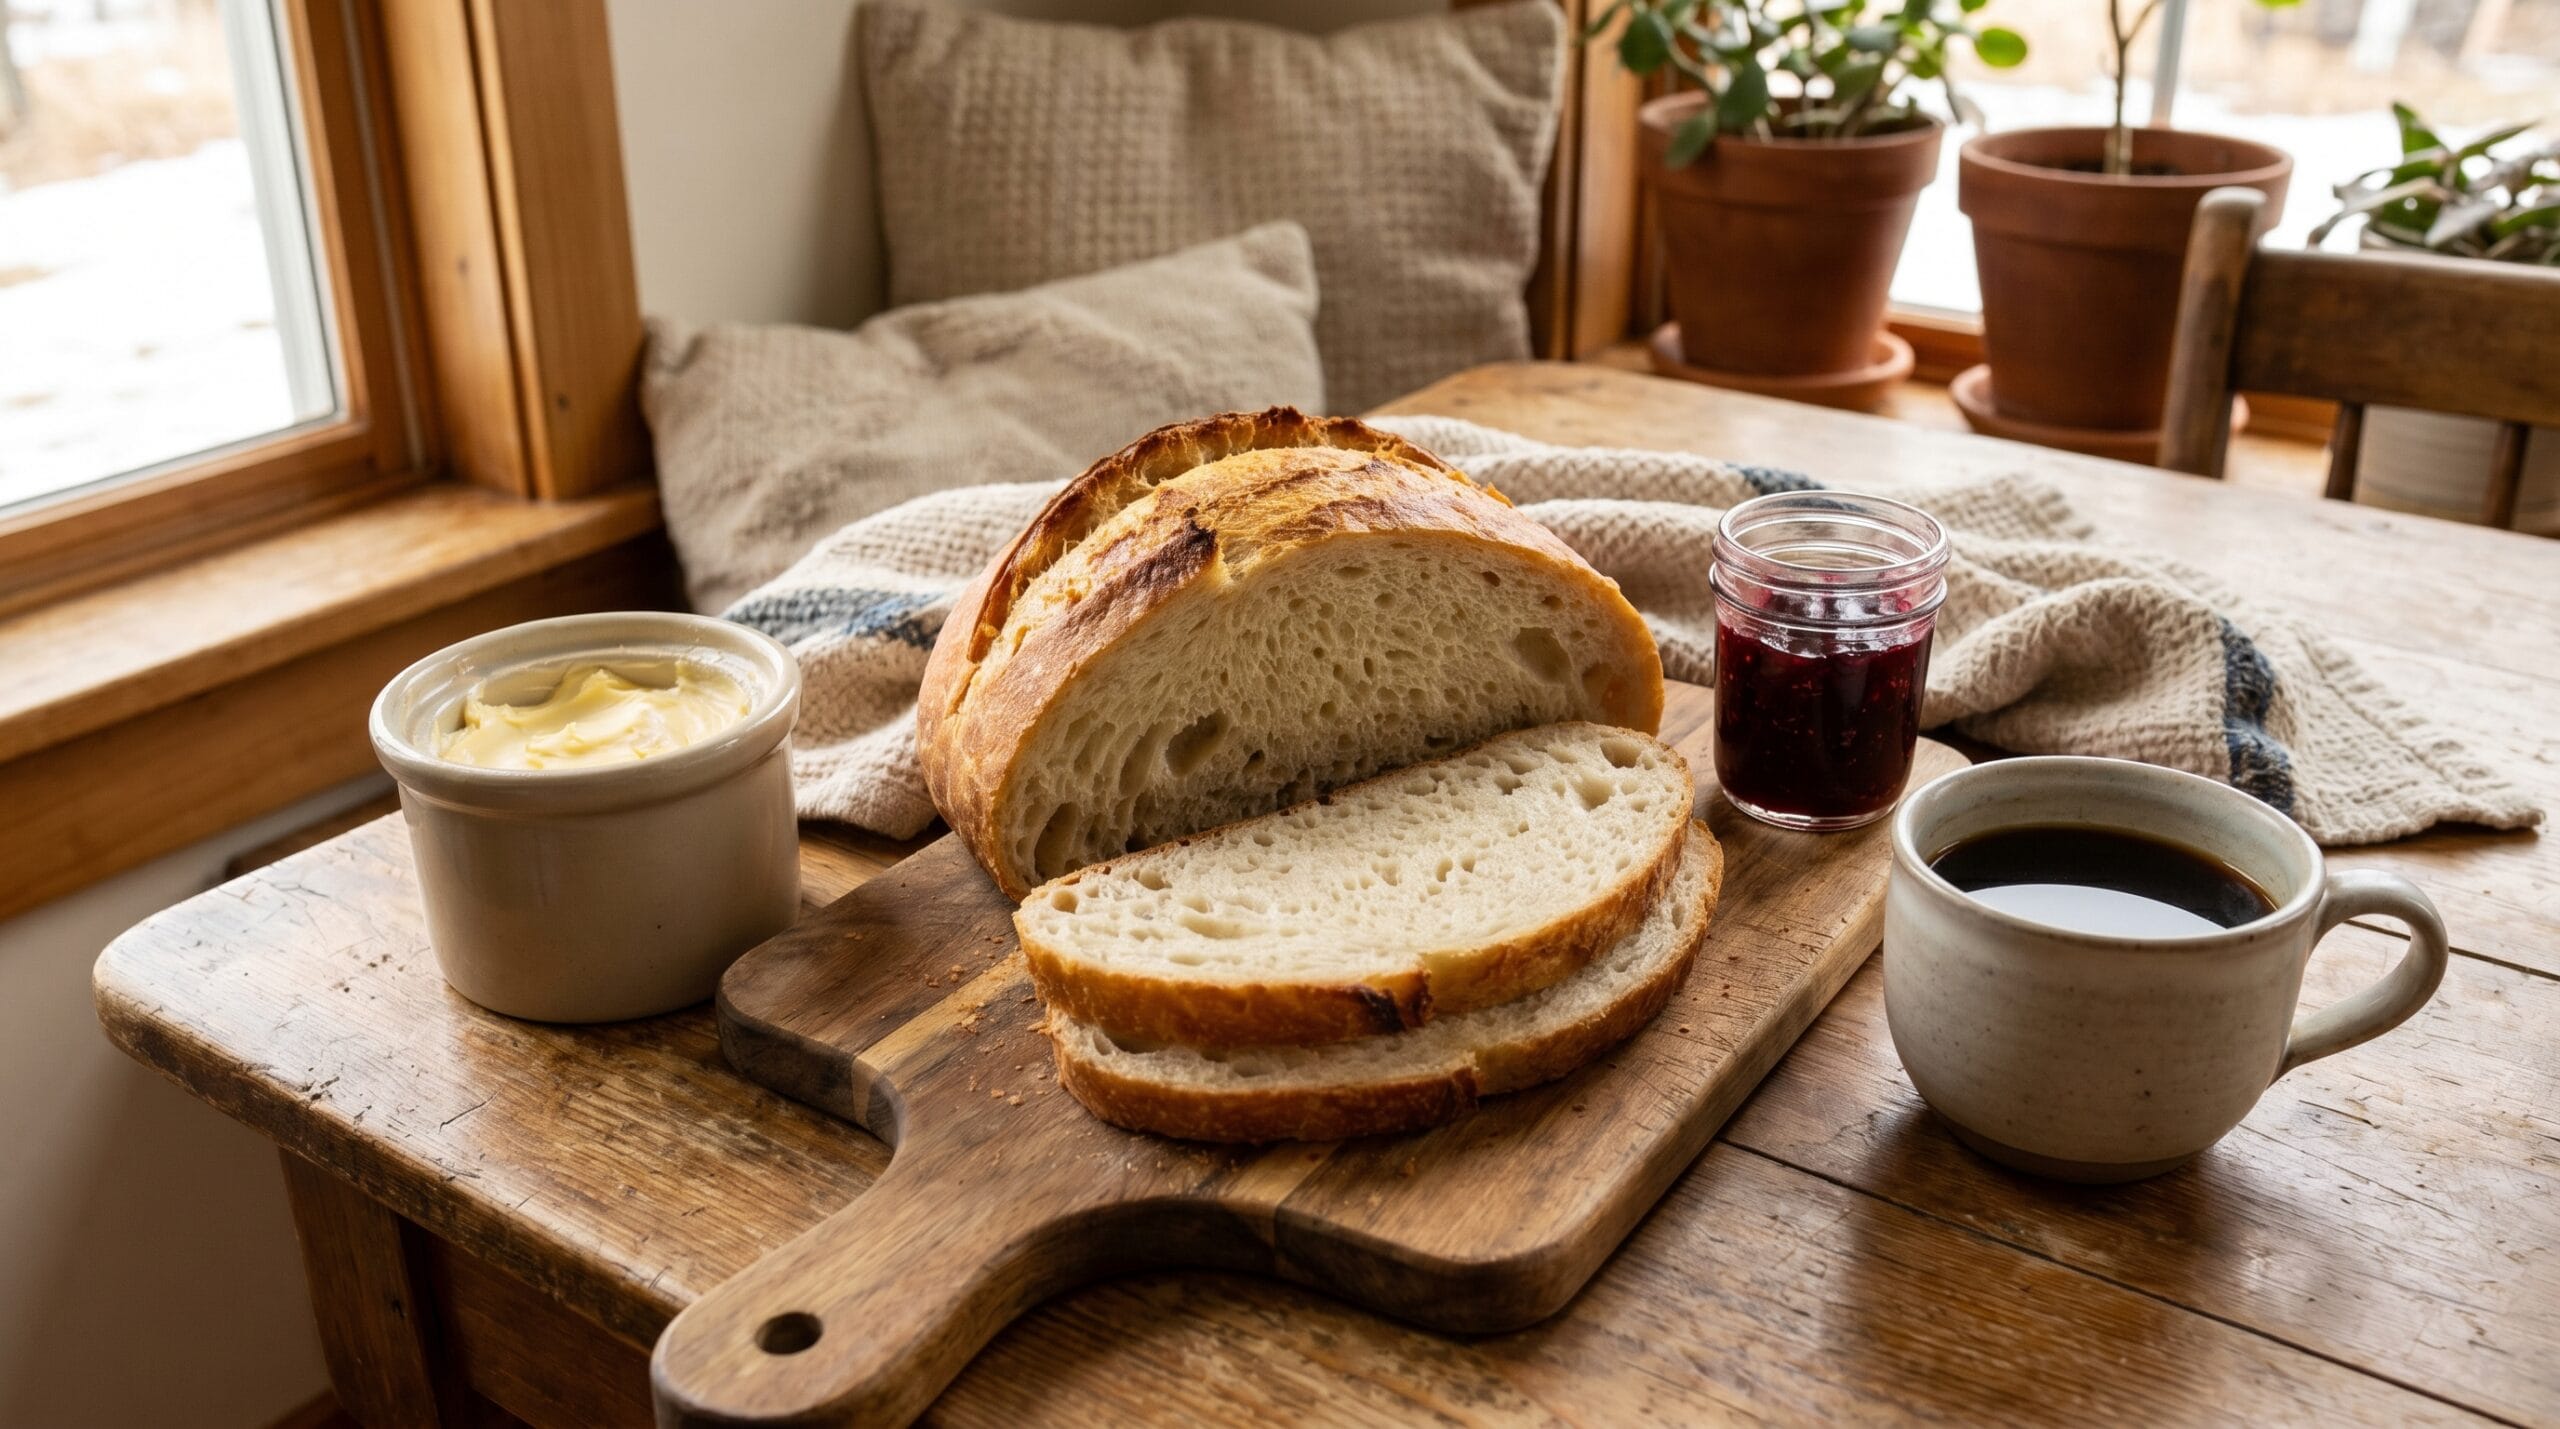
What to Serve with Sourdough Bread
Sourdough bread works with almost anything. Its crisp crust and tangy flavor make it especially good with simple meals.
Try sourdough bread:
- Toasted with butter
- With jam or honey
- With avocado and eggs
- As grilled cheese
- With soup or stew
- As garlic bread
- For sandwiches
- With olive oil and herbs
- As breakfast toast
- With roasted vegetables
Easy Sourdough Bread Pairings
| Meal | Pairing Idea |
|---|---|
| Breakfast | Toasted sourdough with eggs |
| Lunch | Sourdough sandwich with vegetables |
| Dinner | Sourdough with soup or stew |
| Snack | Sourdough toast with nut butter |
| Appetizer | Sourdough with olive oil dip |
Helpful Internal Links for More Reading
To support your sourdough bread article and improve internal linking, you can naturally include these related posts:
- What Is Sourdough Bread?
- How to Make Sourdough Bread
- How to Make Sourdough Bread Starter
- Easy Recipe for Sourdough Starter
- Basic Sourdough Bread Ingredients
These links fit naturally in sections about sourdough basics, starter preparation, ingredients, and the step-by-step baking process.
As you feed your starter, you will build up sourdough discard, and it does not have to go to waste. It bakes into quick, crisp snacks like our homemade crackers, a good way to use the extra while you wait for your next loaf.
FAQ About Sourdough Bread
What is sourdough bread?
Sourdough bread is naturally leavened bread made with flour, water, salt, and sourdough starter. The starter contains wild yeast and lactic acid bacteria, which help the dough rise and give the bread its tangy flavor.
Is sourdough bread hard to make at home?
Sourdough bread can feel difficult at first, but it becomes easier once you understand the process. Start with a simple recipe, use an active starter, and focus on learning fermentation rather than making a perfect loaf.
What ingredients do you need for sourdough bread?
The basic sourdough bread ingredients are flour, water, sourdough starter, and salt. You can also add whole wheat flour, rye flour, seeds, herbs, or other flavorings once you are comfortable with the basic recipe.
How long does sourdough bread take to make?
Most sourdough bread takes 1 to 2 days from start to finish. The process includes feeding the starter, mixing the dough, bulk fermentation, shaping, proofing, baking, and cooling. Much of that time is hands-off.
How do you know when sourdough starter is ready?
Your starter is ready when it becomes bubbly, rises predictably after feeding, and doubles in size within several hours. King Arthur Baking notes that a starter is ready to bake with when it reliably becomes very bubbly and doubles within 6 to 8 hours of feeding.
Why did my sourdough bread turn out dense?
Dense sourdough bread is usually caused by weak starter, under-fermentation, cold dough, or not enough gluten development. Use your starter at peak activity and allow the dough enough time to rise.
Can you make sourdough bread without a Dutch oven?
Yes, you can make sourdough bread without a Dutch oven. A Dutch oven helps trap steam, but you can also use a covered roasting pan, an oven-safe pot with a lid, or a baking stone with added steam.
How do you know when sourdough bread is done baking?
Sourdough bread is usually done when the crust is deeply golden, the loaf sounds hollow when tapped, and the inside reaches about 205°F to 210°F. Let it cool before slicing.
Can sourdough bread be frozen?
Yes. Let the bread cool completely, slice it, and freeze the slices in a freezer-safe bag. You can toast slices directly from frozen.
Conclusion: Your First Sourdough Bread Loaf Is the Beginning
Your first loaf of sourdough bread does not need to look like it came from a bakery. It only needs to help you begin. Maybe the crust is lighter than you wanted. Maybe the crumb is tighter than expected. Maybe your shaping feels clumsy. That is all part of learning.
Sourdough baking is a skill built through practice. Each loaf teaches you how your starter behaves, how your dough feels when it is ready, and how your kitchen temperature affects fermentation. The more you bake, the more confident you become.
Start with simple ingredients. Use an active starter. Watch the dough more than the clock. Give the loaf time to cool. Then slice it, taste it, and take notes for next time.
Now it is your turn: feed your starter, choose a baking day, and make your first loaf of homemade sourdough bread. After you bake it, share your results, your questions, or your biggest sourdough challenge in the comments so other beginner bakers can learn with you.