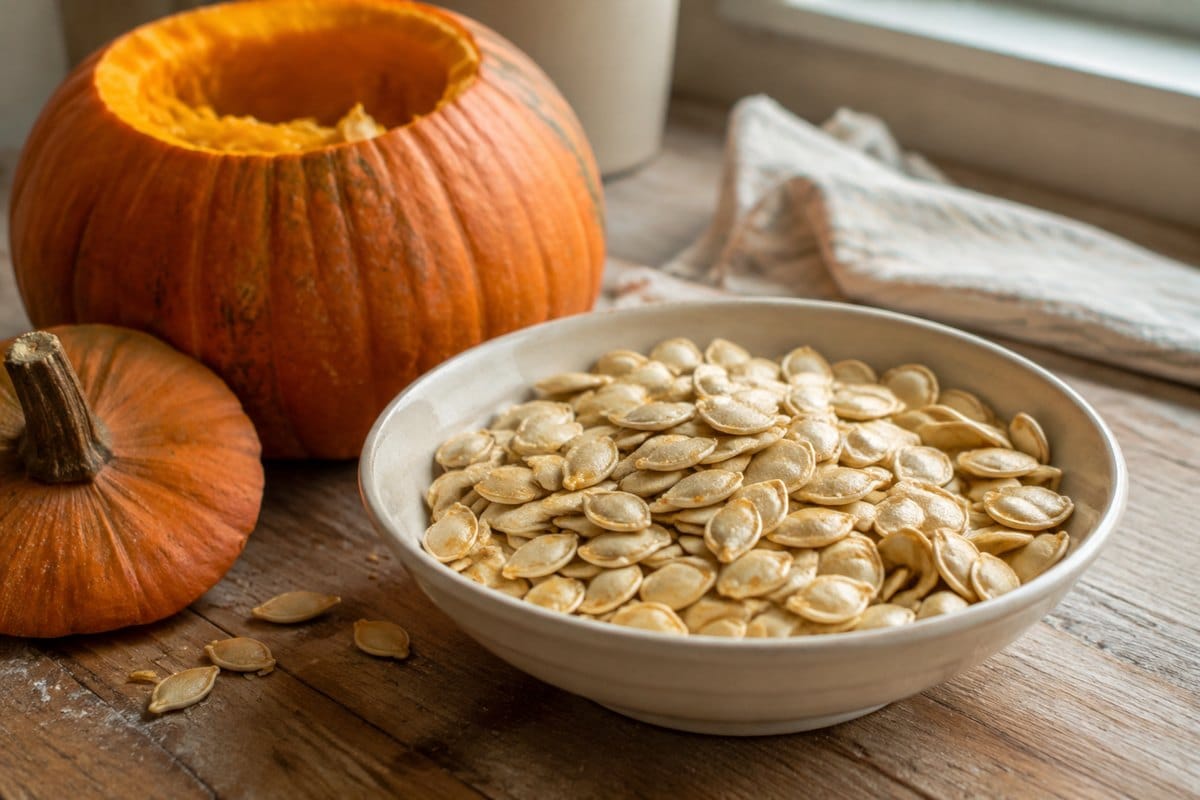
How to Roast Pumpkin Seeds So They Are Actually Crisp
There is a bowl on the counter every autumn that nobody quite knows what to do with. Seeds, orange strings, a wet spoon, and the vague sense that throwing it away is wasteful when people clearly make something out of it.
Our first few attempts were not encouraging. The seeds came out of the oven looking right and then turned out to be chewy in the middle, slightly leathery, and not what anyone means when they talk about roasted pumpkin seeds. We assumed we had the temperature wrong and went hotter, which made them chewy and burnt at the same time.
The problem was a missing step. Almost every recipe online sends wet seeds straight into a hot oven, and the tested method does something else first. This guide covers the actual procedure the extension services publish, the drying stage that fixes the texture, what to do about seeds from a carved jack-o-lantern, and which pumpkins are worth saving seed from in the first place.
Table of Contents
The Short Answer
- Dry the seeds before you roast them. This is the step that decides whether they come out crisp or chewy, and it is missing from most recipes.
- Wash carefully to get the fibrous pumpkin tissue off, then dry in a dehydrator at 115 to 120 F for 1 to 2 hours, or in an oven on its lowest setting for 3 to 4 hours, stirring often.
- Then roast at 250 F for only 10 to 15 minutes, tossed with oil and salt. That is much cooler and much shorter than the 350 F for 45 minutes you will read elsewhere.
- Boiling the seeds in salt water first is popular and is not part of the tested method.
- Seeds from a pumpkin you cut open today are fine. Seeds from a jack-o-lantern that has been lit on the porch for a week are not.
Why Your Pumpkin Seeds Come Out Chewy
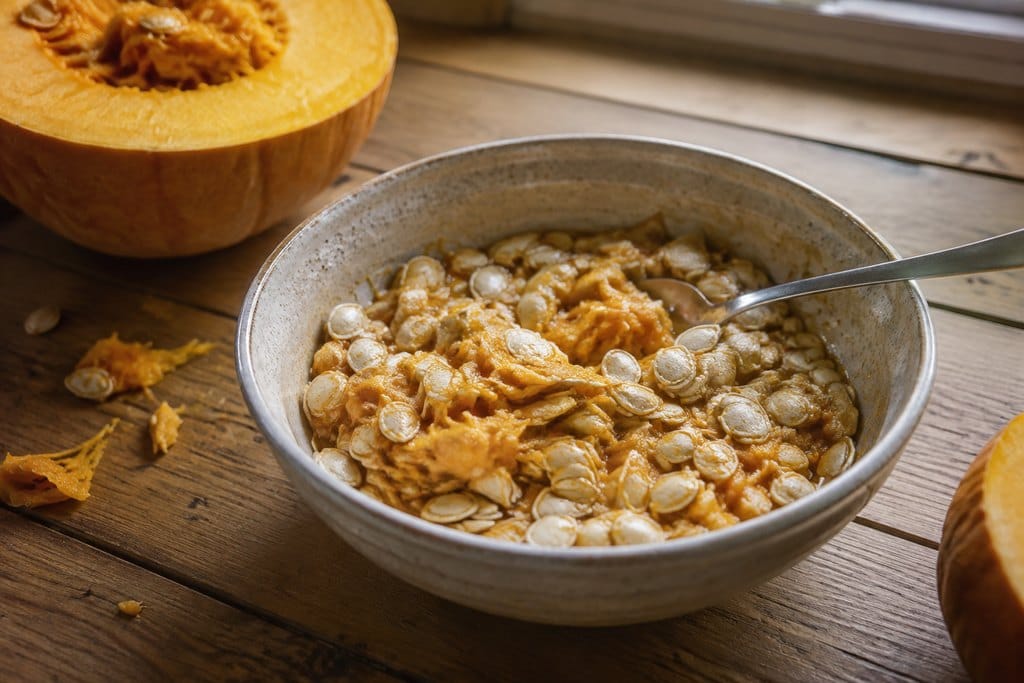
A pumpkin seed straight out of a pumpkin is wet, and it is wet in two places: on the outside, where the pulp is, and inside the hull, which has absorbed moisture from the fruit around it.
Put that seed into a hot oven and the outside browns long before the inside has given up its water. You get color, you get a roasted smell, and you get a seed that is still faintly damp under the shell. That is the chewiness. Turning the oven up makes it worse, because the outside now burns while the inside is still catching up.
The tested procedure separates the two jobs. First you dry the seed slowly at a low temperature until the water is actually gone. Then you roast it briefly, for flavor and color rather than for drying. Two stages, and the first one is the one nobody mentions.
Cleaning the Seeds
Both NCHFP and Nebraska Extension open with the same instruction: carefully wash the pumpkin seeds to remove the clinging fibrous pumpkin tissue.
The word doing the work there is clinging. Pumpkin pulp does not rinse off, it hangs on in threads, and any of it left attached will scorch during roasting and taste bitter. It is worth being thorough here in a way that feels excessive at the time.
- Scoop everything into a large bowl and pull the biggest strings off with your fingers.
- Cover the seeds with cold water. Most of the seeds float and much of the pulp sinks, which does a surprising amount of the separating for you.
- Work the seeds between your hands under the water to release the last of the fibers, then lift the seeds out rather than pouring the whole bowl into a colander.
- Rinse in a colander until the seeds no longer feel slippery. Slippery means pulp.
- Spread them on a clean towel and pat dry.
The pulp itself is worth putting on the compost heap rather than in the bin. It is wet nitrogen-rich material and it breaks down fast, which is the same reason a compost pile likes it.
Drying: The Step Almost Every Recipe Skips
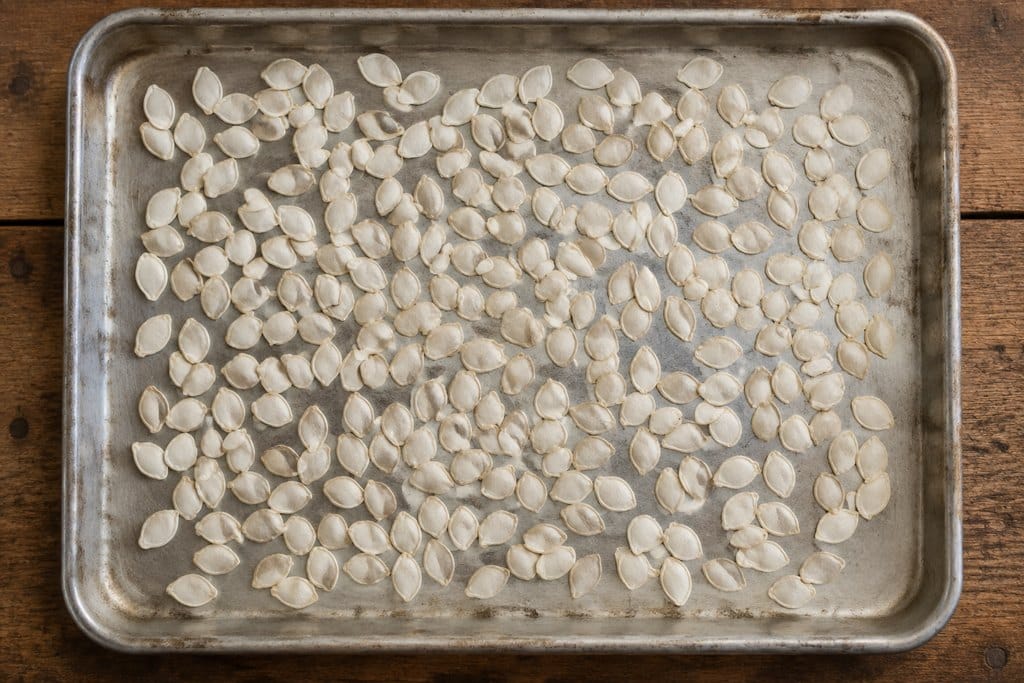
This is the part that makes the difference, and it is why this article exists.
| Method | Temperature | Time |
|---|---|---|
| Dehydrator | 115 to 120 F | 1 to 2 hours |
| Oven, lowest setting | Warm, around 150 F | 3 to 4 hours |
| Sun | Outdoors | Until fully dry |
Those figures are from NCHFP’s pumpkin seed procedure, with the oven temperature as Nebraska Extension states it. Both add the same instruction: stir them frequently to avoid scorching. Seeds in a single layer dry at different rates depending on where they sit, and the ones at the edges will color first if you leave them alone.
Spread them in a single layer, not a heap. A heap dries on top and stays damp underneath, which reproduces exactly the problem you are trying to solve.
You will know they are dry when they feel light and papery and rattle slightly against the tray. A seed that still feels dense and cool has water in it.
Roasting
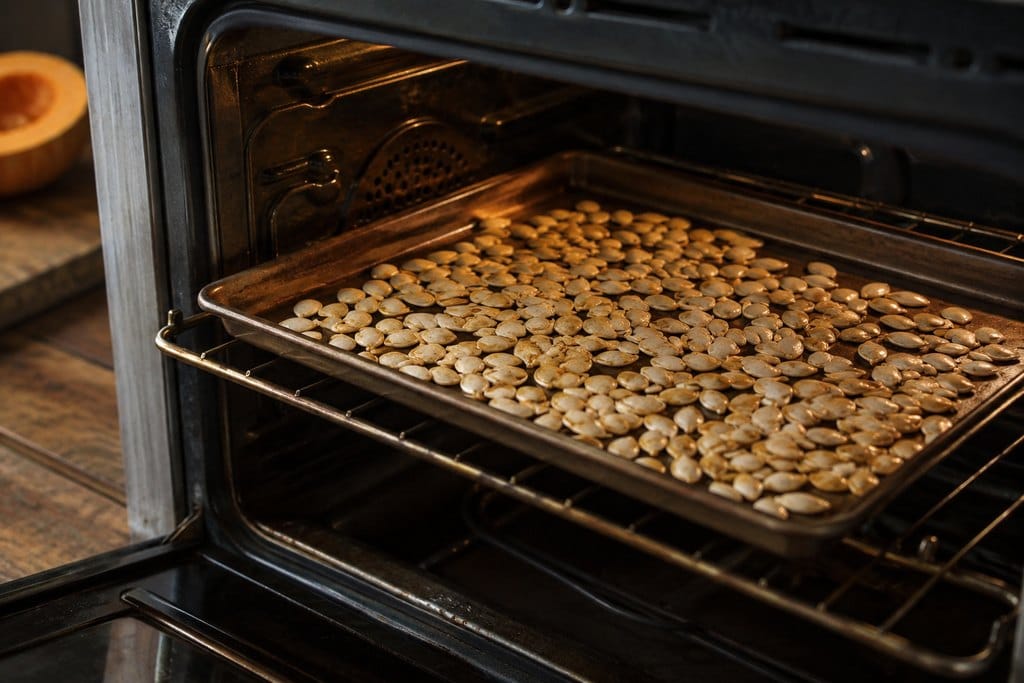
After drying
Roasting Dried Pumpkin Seeds
- Dried pumpkin seeds
- Oil, enough to coat lightly
- Salt, and any seasonings you like
- Preheated oven at 250 F
- 10 to 15 minutes
Method from NCHFP: take dried pumpkin seeds, toss with oil and salt, and roast in a preheated oven at 250 F for 10 to 15 minutes.
Compare that with what most recipes tell you, which is somewhere around 350 F for 30 to 45 minutes on undried seeds. The hot-and-long approach is trying to do the drying and the roasting in one pass, and it is why so many batches end up simultaneously dark and soft.
Because 10 to 15 minutes is short, stay in the kitchen. The gap between properly roasted and faintly burnt is a couple of minutes at this temperature, and pumpkin seeds carry on cooking on a hot tray after you take them out. Pull them when they smell nutty and look barely golden rather than deeply browned.
Spread them in a single layer again, and stir once halfway through.
Seasoning Them
Nebraska Extension suggests tossing the dried seeds with oil and your favorite seasonings, naming salt, pepper, garlic and cumin. That is the right shape for it: the oil is there to carry the seasoning and help it stick as much as anything else.
- Salt alone is the version most people are actually after, and it is hard to improve on.
- Garlic and cumin, per the extension suggestion, which lands somewhere near a savory snack mix.
- Smoked paprika and a little cayenne if you want them to disappear faster.
- Cinnamon and sugar, added after roasting rather than before. Adding it afterward helps keep the sugar from scorching.
Go lighter on seasoning than feels right. A dried seed is small and the surface area is all there is, so flavors land harder than they do on something with an interior.
The Salt Water Boil, and Other Habits Without Backing
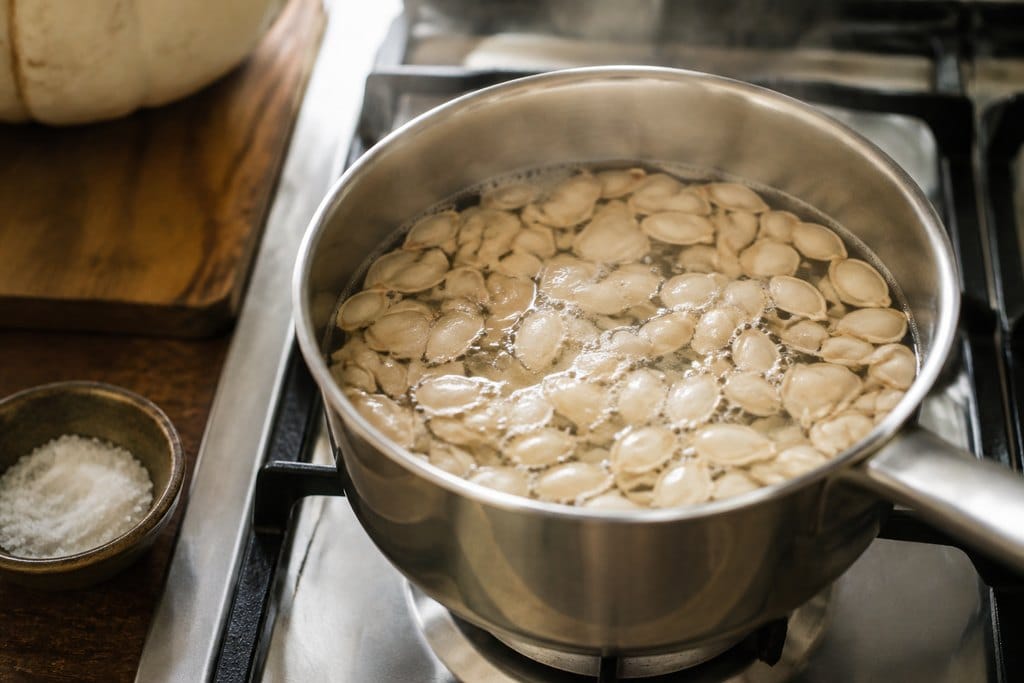
Search for roasted pumpkin seeds and you will be told, more often than not, to boil them in salted water for ten minutes first. The reasoning offered is that it seasons the seed from the inside and softens the hull.
It is not part of either tested procedure. NCHFP and Nebraska both go straight from washing to drying, with no boiling step at all. That does not make boiling harmful, and plenty of people swear by it, but be clear about what you are choosing: you are adding water to a seed immediately before a process whose entire purpose is removing water.
If you want to try it, dry the seeds properly afterwards and expect the drying stage to take longer.
Two other common instructions worth flagging. Roasting straight from wet is the default in most recipes and is the cause of the texture problem this whole article is about. And higher is faster is wrong in a specific way here: the tested temperature is low precisely because a pumpkin seed hull browns long before the kernel is done.
Can You Eat Seeds From a Carved Jack-o-Lantern?
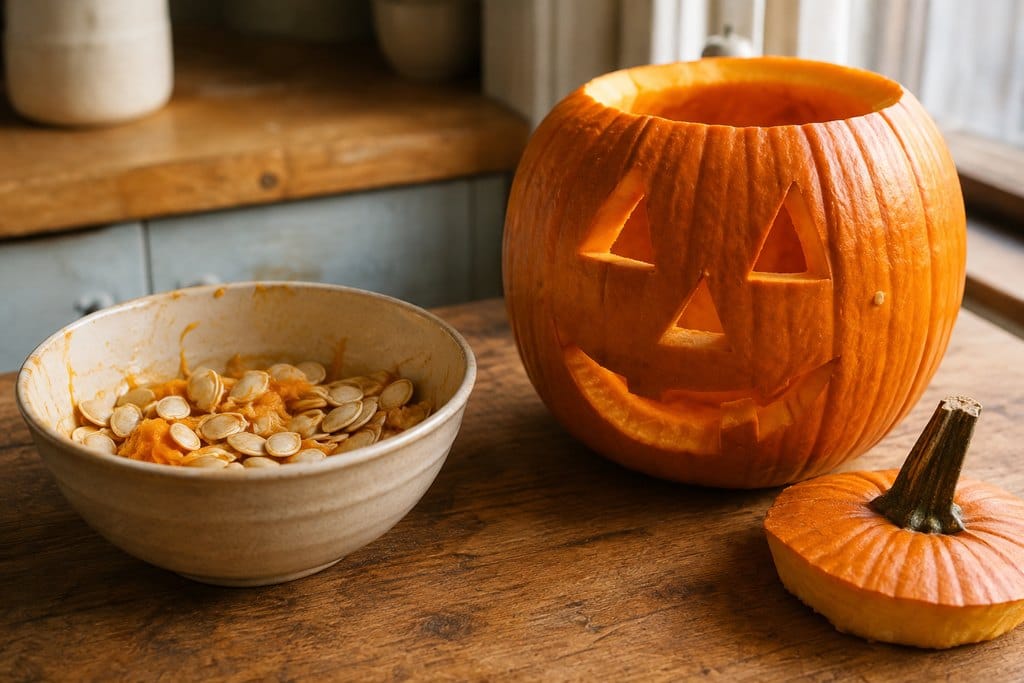
Yes, if you take them out on carving day. That is the honest boundary.
Purdue Extension’s guidance on eating pumpkins applies to fruit in good condition and not yet carved. Once a pumpkin is cut open and set outside, it stops being food and starts being a decoration: it is at room temperature or warmer, exposed to air, insects and whatever else finds it, sometimes for a week or more.
So the rule that follows is simple. Scoop the seeds when you cut the lid off, clean them that day, and treat the carved shell as the decoration it now is. Seeds retrieved from a jack-o-lantern that has been sitting lit on a porch are not worth the risk, and they will not taste good either.
This is the same reasoning that runs through our guide to keeping a carved pumpkin from rotting, where the whole problem is how quickly a cut pumpkin stops being fresh.
Which Pumpkins Give the Best Seeds
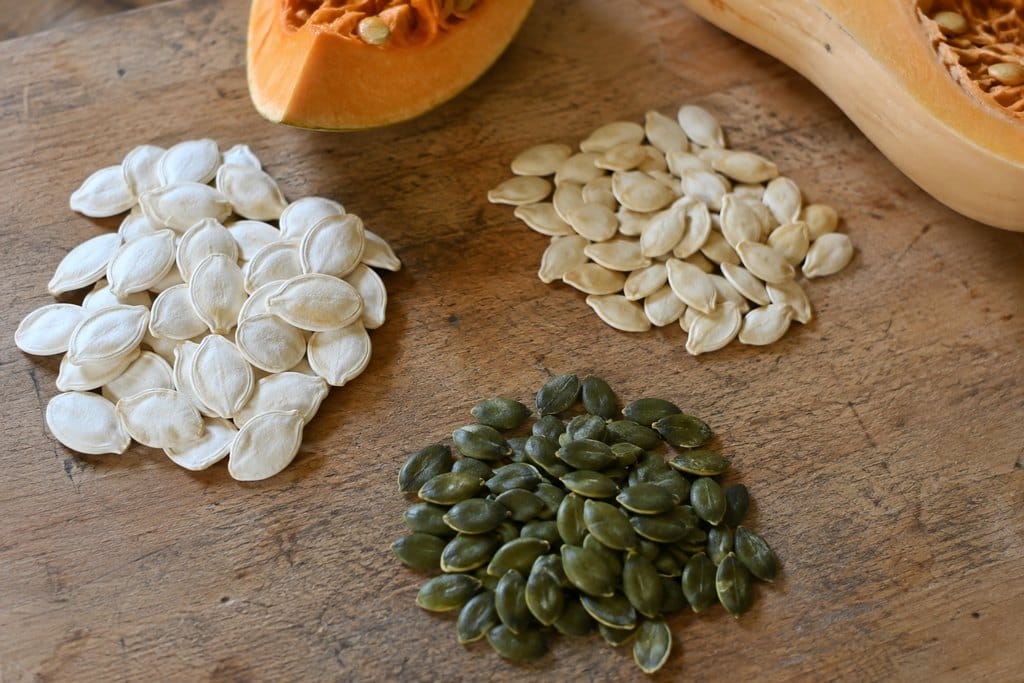
Any pumpkin’s seeds can be dried and roasted, so there is no wrong answer here. There are better ones.
| Type | Seeds | Worth it for seeds? |
|---|---|---|
| Large carving pumpkins | Plenty of them, and large | Yes. The seed is the best thing about a carving pumpkin, since the flesh is watery. |
| Sugar or pie pumpkins | Fewer and smaller | Sometimes. You are usually cooking the flesh, and the seeds are a bonus. |
| Winter squash generally | Varies by type | Yes. Butternut, acorn and kabocha seeds all roast the same way. |
| Hulless or naked-seeded varieties | No tough hull at all | Best of all, if you grow your own. Bred specifically for eating the seed. |
The last row is the one worth knowing about if you plan next year’s garden. Hulless varieties, sometimes sold as naked-seeded or styrian, produce seeds with no fibrous hull, so you eat the green kernel rather than cracking a shell. They exist precisely because someone wanted the seed rather than the pumpkin, and the flesh is usually mediocre as a result.
For everyone else, the practical answer is that the big cheap carving pumpkin already on your step is a perfectly good seed source, and it is the one you were going to open anyway. If you are choosing what to plant for next autumn, our guide to planning a fall garden covers how to work backwards from your frost date.
Storage
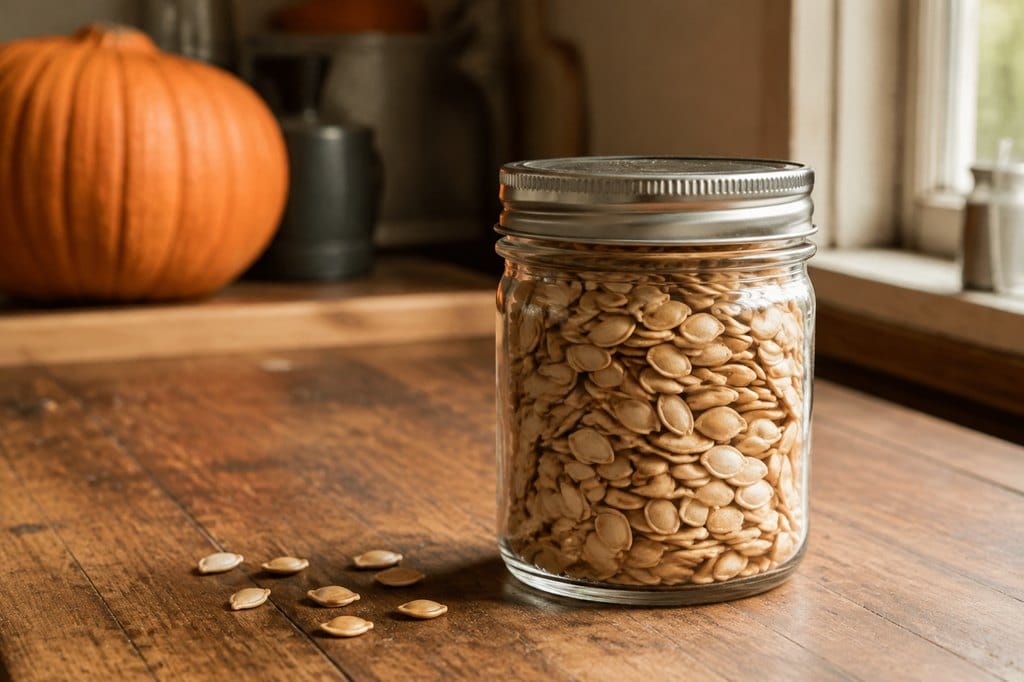
Once the roasted seeds have cooled completely, Nebraska Extension’s instruction is to place them in a sealed container and store at room temperature.
Cool completely is not a throwaway phrase. Warm seeds in a sealed jar release steam, the steam condenses, and you undo the drying you just spent four hours on. Leave them on the tray until they are properly cold.
They are best in the first week or two. Seeds are oily, and oil eventually goes stale, so a jar that has been open on the counter since October will taste flat by December. If you have made a large batch, the refrigerator or freezer will hold them longer than the cupboard will.
The Free Garden Starter Pack
Five printable pages that take the guesswork out of a first season, plus a short email every week or two when something is worth planting, picking, or putting up.
- A garden planning worksheet you can actually fill in
- A seed-starting and planting calendar
- A harvest log to track what really produced
No spam, ever. Unsubscribe in one click.
Thank you. You are on the list.
Your Garden Starter Pack is ready right now. Grab it here:
Download the pack (PDF)Keep an eye on your inbox. The next seasonal guide lands there first.
Frequently Asked Questions About Roasting Pumpkin Seeds
What temperature do you roast pumpkin seeds at?
250 F for 10 to 15 minutes, after the seeds have been dried. That is much lower and shorter than most recipes suggest, because the drying stage has already removed the water and the roast is only doing flavor and color.
Do you have to dry pumpkin seeds before roasting?
If you want them crisp, yes. It is the step the tested procedures include and most recipes leave out. Dry in a dehydrator at 115 to 120 F for 1 to 2 hours, or in an oven on its lowest setting for 3 to 4 hours, stirring often.
Should you boil pumpkin seeds in salt water first?
It is a popular step and it is not in the tested method. NCHFP and Nebraska Extension both go from washing straight to drying. If you do boil them, dry them thoroughly afterwards, and expect that to take longer.
How do you get the stringy pulp off pumpkin seeds?
Cover them with cold water in a big bowl and work them between your hands. Most seeds float and much of the pulp sinks. Then rinse in a colander until the seeds stop feeling slippery, because slippery means there is still pulp attached, and leftover pulp scorches and turns bitter in the oven.
Can you eat pumpkin seeds from a jack-o-lantern?
Only if you take them out on the day you carve it. A displayed jack-o-lantern has been at room temperature and open to the air for days, and Purdue Extension’s eating guidance applies to pumpkins in good condition that have not been carved.
Why are my roasted pumpkin seeds chewy?
They still had water in them. Either the drying step was skipped entirely, or the seeds were piled up rather than spread in a single layer so the ones underneath never dried. Raising the oven temperature does not fix it and usually burns the outsides instead.
Before You Throw the Bowl Out
The seeds from one large carving pumpkin make a decent-sized bowl of snack for the price of some oil and salt and a bit of patience, and the patience is the only real ingredient. Clean them properly, dry them slowly, then roast them briefly.
The two-stage version takes an afternoon, most of it unattended, and it produces the thing you were picturing when you decided not to throw the bowl away.