How to Keep a Carved Pumpkin From Rotting (What Works)
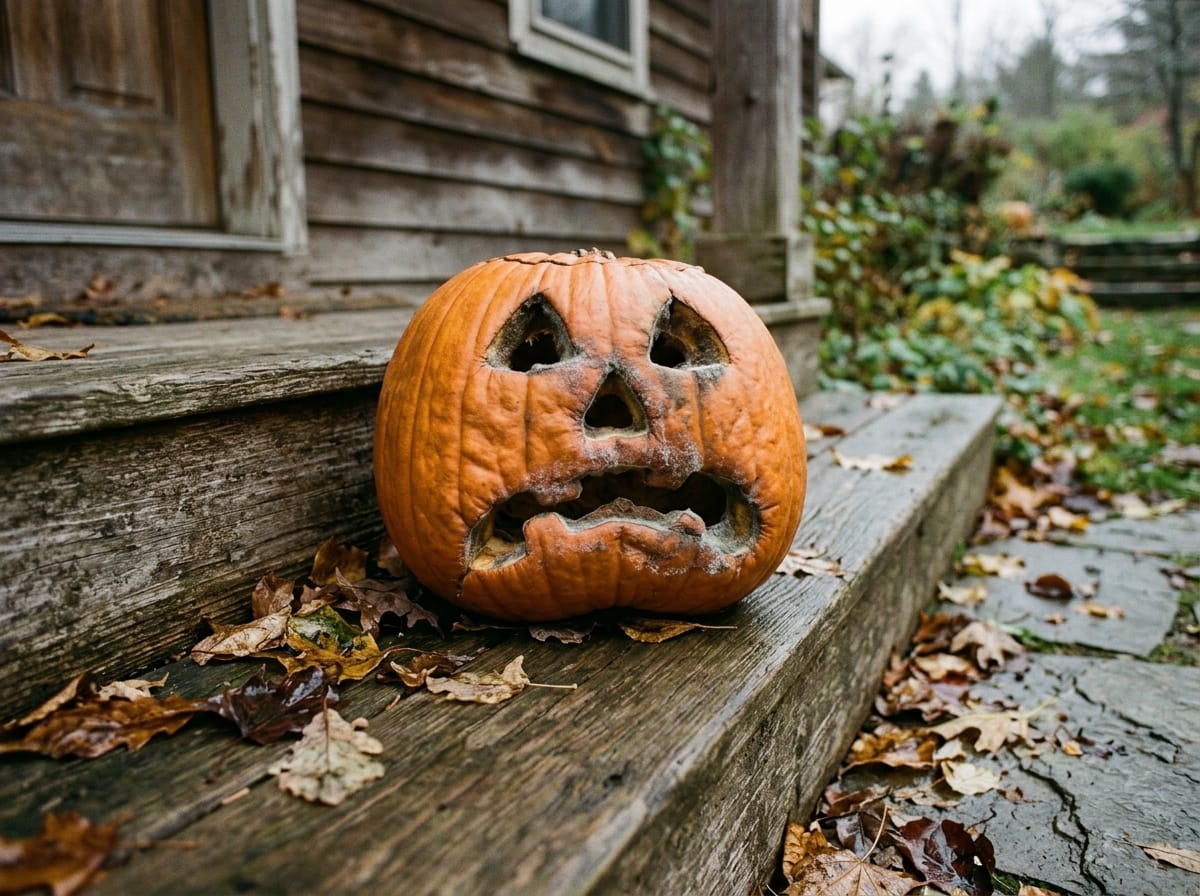
The pumpkin on our step last year was carved on the twentieth of October, which felt responsibly early at the time. By Halloween it had folded in on itself. The triangle eyes had gone soft and oval, the grin had closed like a mouth going to sleep, and there was a white bloom of mold along every cut edge.
The children did not mind. I did, a little, because we had grown it ourselves and it had taken up most of a bed since June.
What kills a jack-o-lantern is not time. It is the cut. An uncarved pumpkin is a sealed thing with a waxy skin that keeps water in and rot organisms out, and the moment you take a knife to it you have opened a wet, sugary wound and set it outside. Everything that actually works comes down to closing that wound back up. This guide covers how long you can realistically expect a carved pumpkin to hold, the two treatments that have university extension research behind them, the popular tricks that do not, and the one trade-off that matters on a homestead but never gets mentioned anywhere else.
Table of Contents
The Short Answer
- Carve late. Illinois Extension recommends carving only a few days before you need it. Nothing you apply afterwards beats simply starting the clock later.
- Wash the cut surfaces with a 20% bleach solution to slow rot organisms, then coat every cut with petroleum jelly to hold moisture in.
- Never carry a pumpkin by the stem. A snapped stem is another wound.
- Use a battery light, not a candle. A flame cooks the pumpkin from the inside and speeds up the collapse.
- If you keep chickens or compost, skip the bleach. Bleach-washed gourds should not be fed to farm animals. Use a white vinegar wash instead, and use it before anything starts to mold.
- Uncarved and painted pumpkins last dramatically longer than carved ones. If you want it to survive all of October, do not cut it.
How Long Does a Carved Pumpkin Last?
Here is the honest version, because this is the question everyone actually types and most answers to it are invented.
No land-grant extension I could find publishes a hard number of days, and the reason is that there is not one. A carved pumpkin in a damp 70 F October in Georgia and a carved pumpkin in a dry 45 F October in Montana are not the same experiment. What Illinois Extension does say is the practical answer: carving should only be done a few days before Halloween, because once carved, pumpkins start losing moisture and rot organisms move in.
Read that as the real guidance. If the people who study this recommend a few days of lead time, then a few days is the window you should plan around, and anything beyond it is a bonus you earn with treatment and cool weather.
You will see claims online that bleach buys you two weeks. I could not source that to any university, so treat it as someone’s porch anecdote rather than a number to plan a party around. What follows genuinely slows the decline. None of it stops it.
| What you are looking at | What it means |
|---|---|
| Cut edges softening and rounding over | Moisture loss. The pumpkin is drying and shrinking, and the face will keep closing. |
| White or grey fuzz on the cuts | Mold has taken the exposed flesh. Bleach will not undo it at this stage. |
| A wet, sagging base and a sour smell | Soft rot from the inside. This one is finished. Take it to the compost pile. |
| The lid sitting lower each day | Normal. It is the cut rim collapsing under its own weight, not a disease. |
Why a Carved Pumpkin Goes Down So Fast
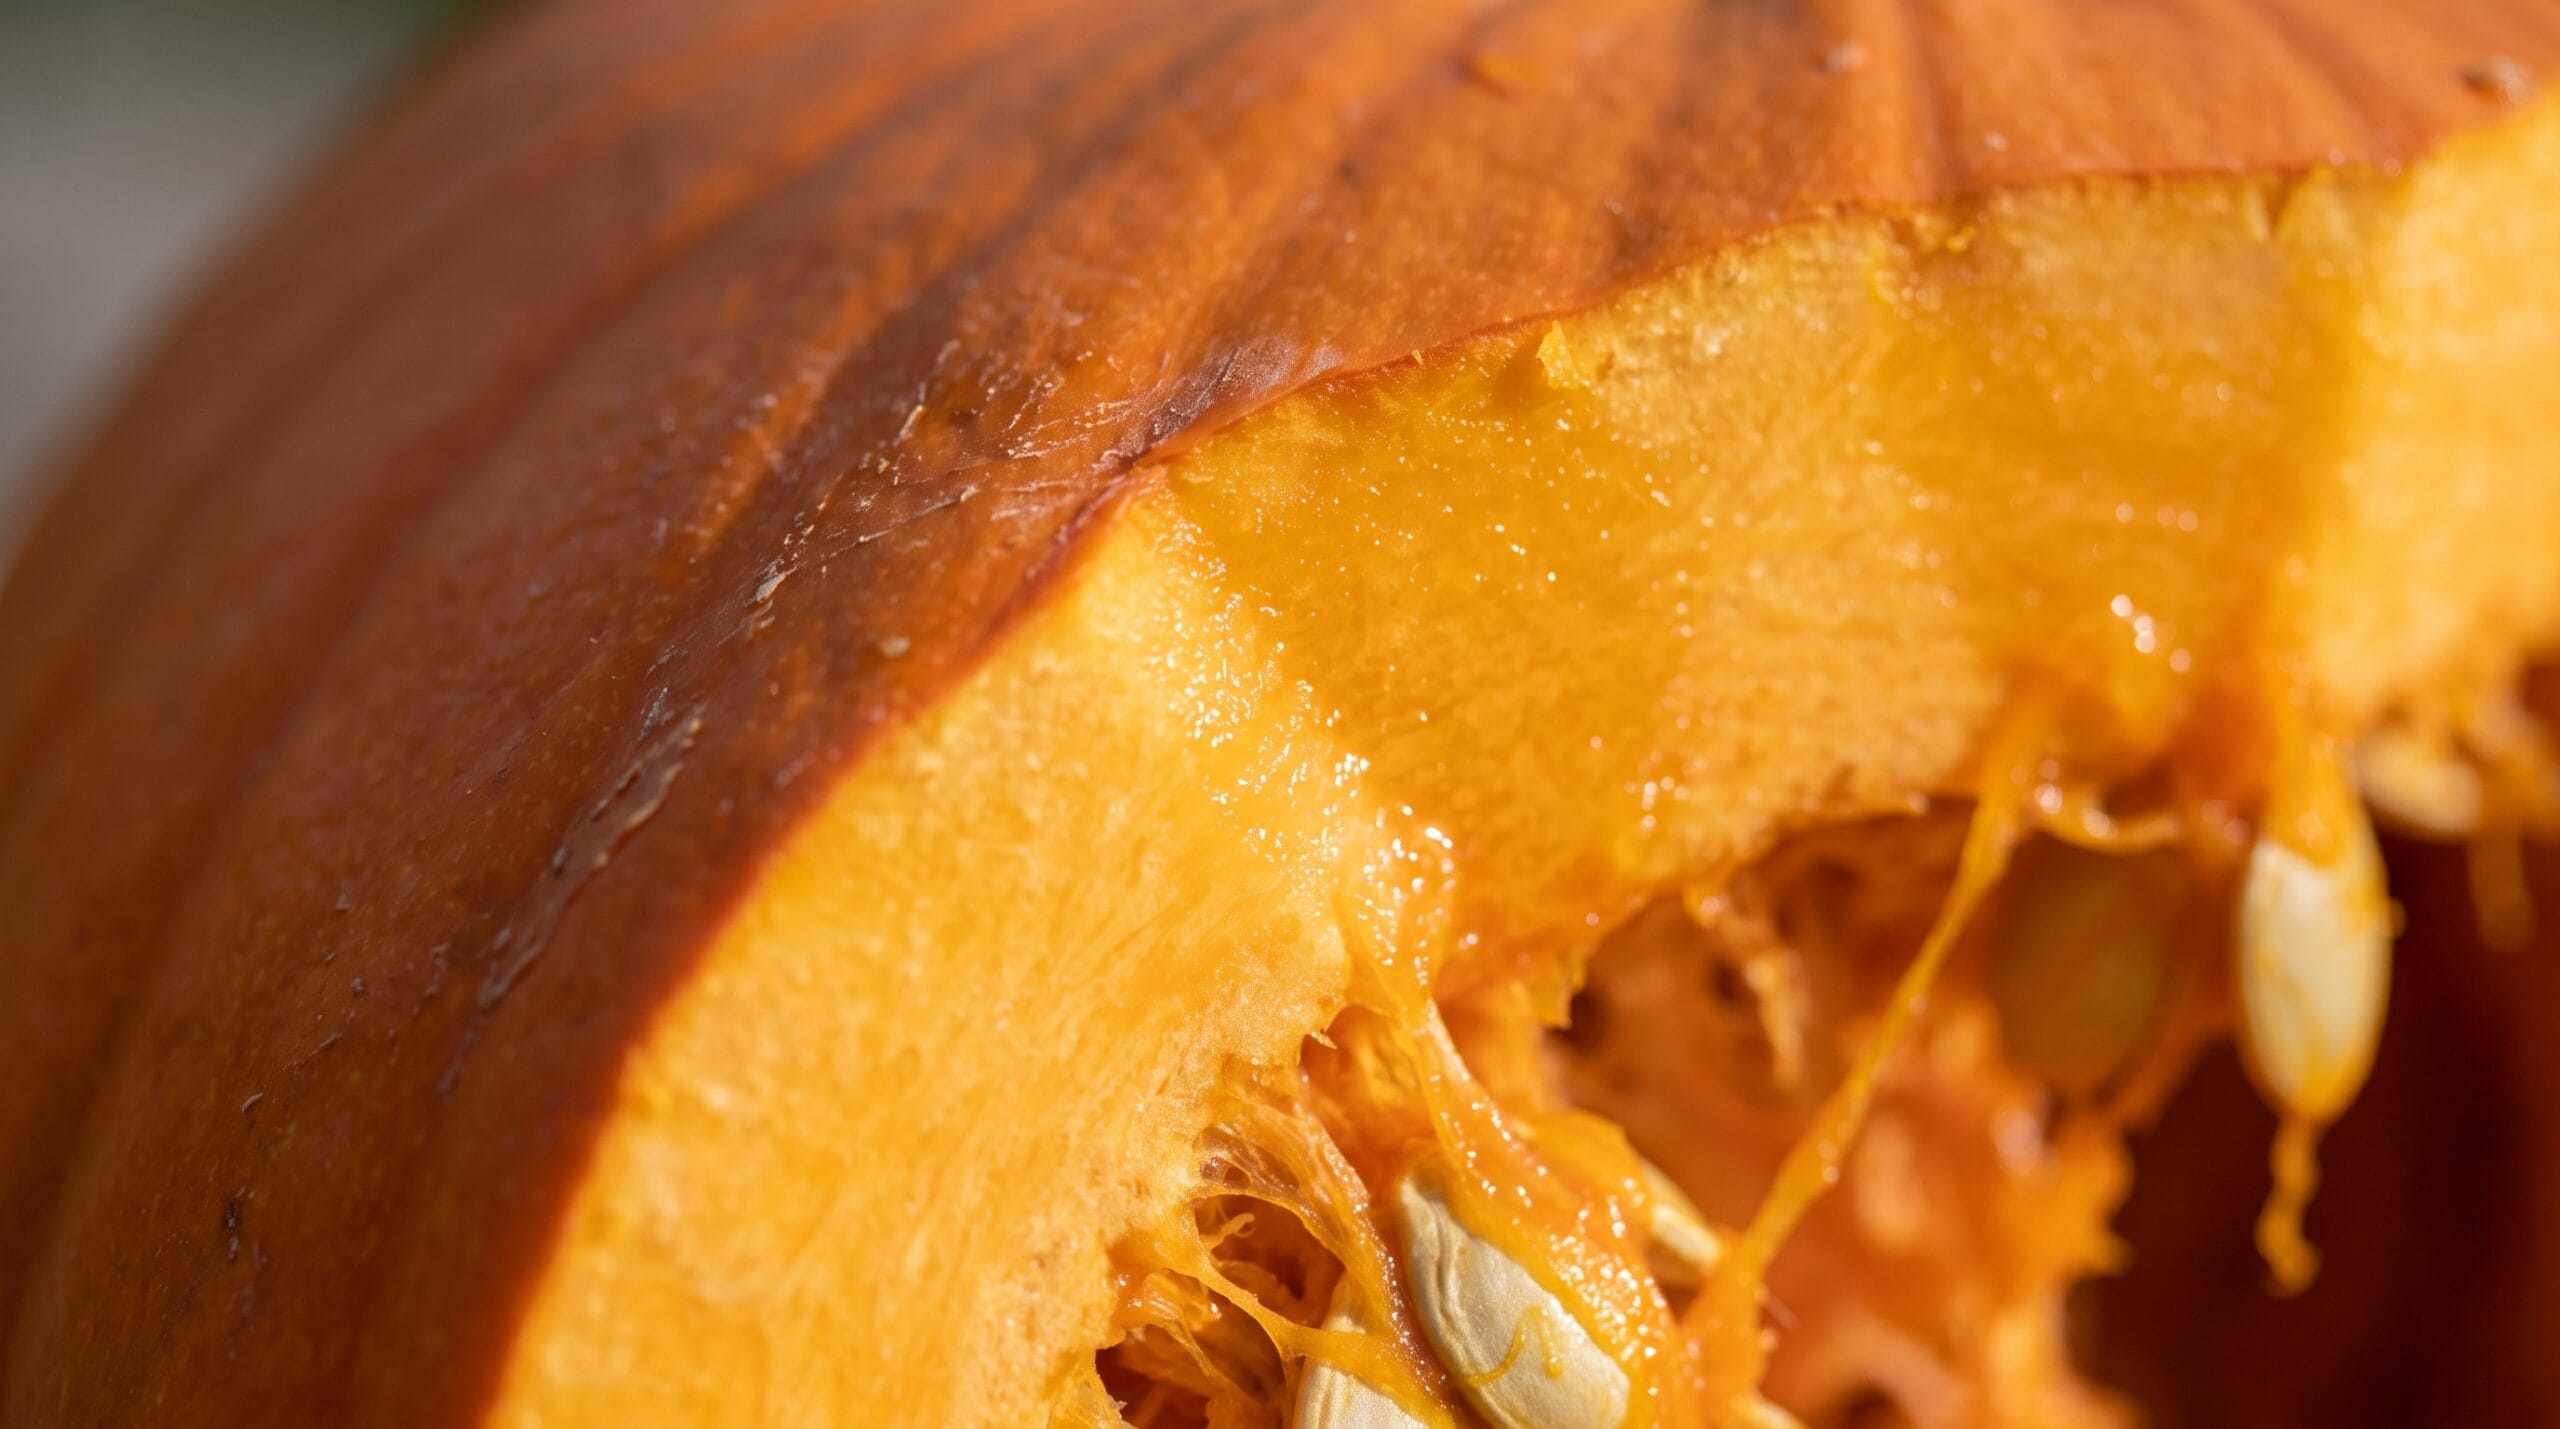
A pumpkin’s skin is a barrier. It is waxy, it is unbroken, and it is the reason a whole pumpkin sitting in a cool garage can go months without complaint. Curing hardens that skin further, which is why field-grown pumpkins get left to cure before storage.
Carving removes the barrier at exactly the worst moment. You expose a large area of wet flesh, you scrape the inside raw, and then you set it outside where mold spores are abundant and free. Two separate processes then race each other: the pumpkin dries out and shrinks, and microbes eat the cut surfaces. The shriveled face is the first one. The white fuzz is the second.
Everything below is aimed at one or the other. Petroleum jelly targets the drying. Bleach or vinegar targets the microbes. That is why the two are used together and why neither one alone does much.
It Starts With the Pumpkin You Pick Up
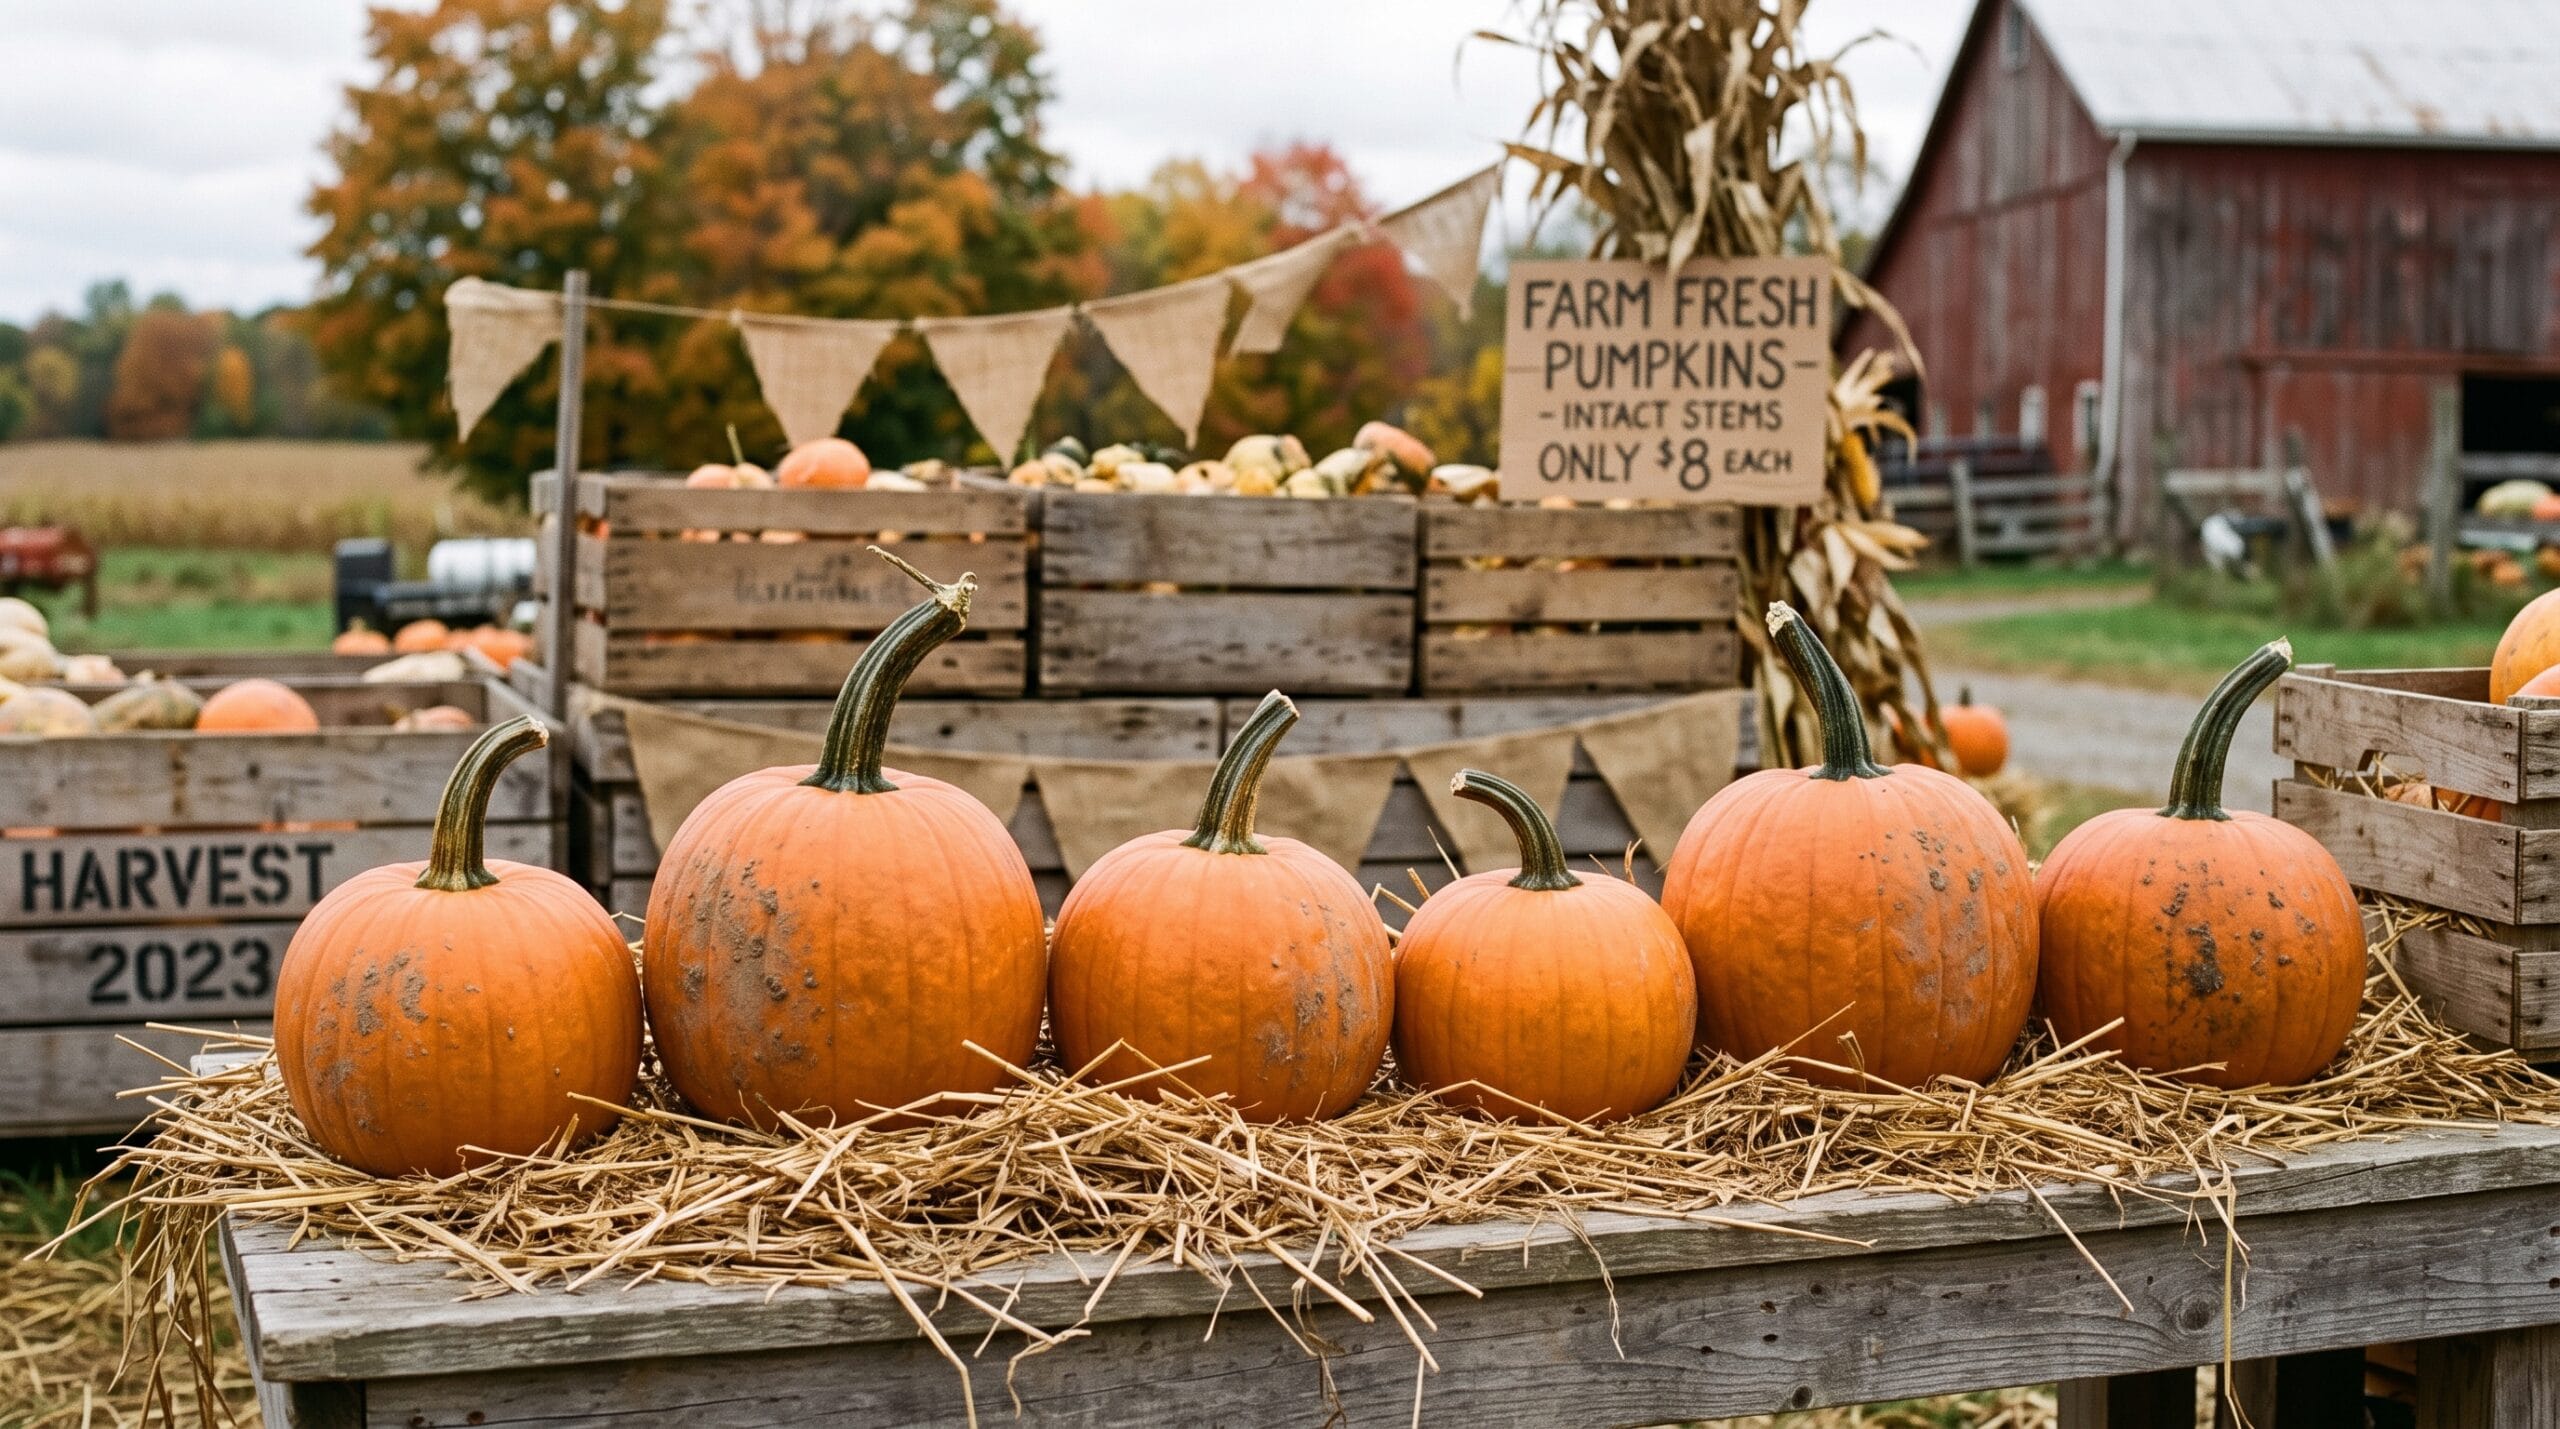
Mississippi State Extension’s advice for buying is blunt and worth following: find pumpkins with no surface damage, and pass on anything with bruises or signs of rotting. A bruise is a head start you are handing to the mold.
Then there is the one habit almost everyone has and nobody thinks about. Illinois Extension: never carry your pumpkin by the stem. If the stem breaks off it creates a wound that can lead to rot. A pumpkin carried home by the handle has already been damaged before it reaches your step. Carry it from underneath with both hands, the way you would carry something heavy and slightly wet, because that is what it is.
Keep it somewhere cool until you are ready to carve. Not the sunny porch. The garage, the north side of the house, a basement step. Cool storage before carving is free time added to the end.
If you grew them yourself, the same handling rules apply from the moment you cut them off the vine. Pumpkins are one of the more demanding things to grow well, which is worth knowing before you plant a bed of them next to your easier beginner crops.
The Two Treatments With Extension Backing
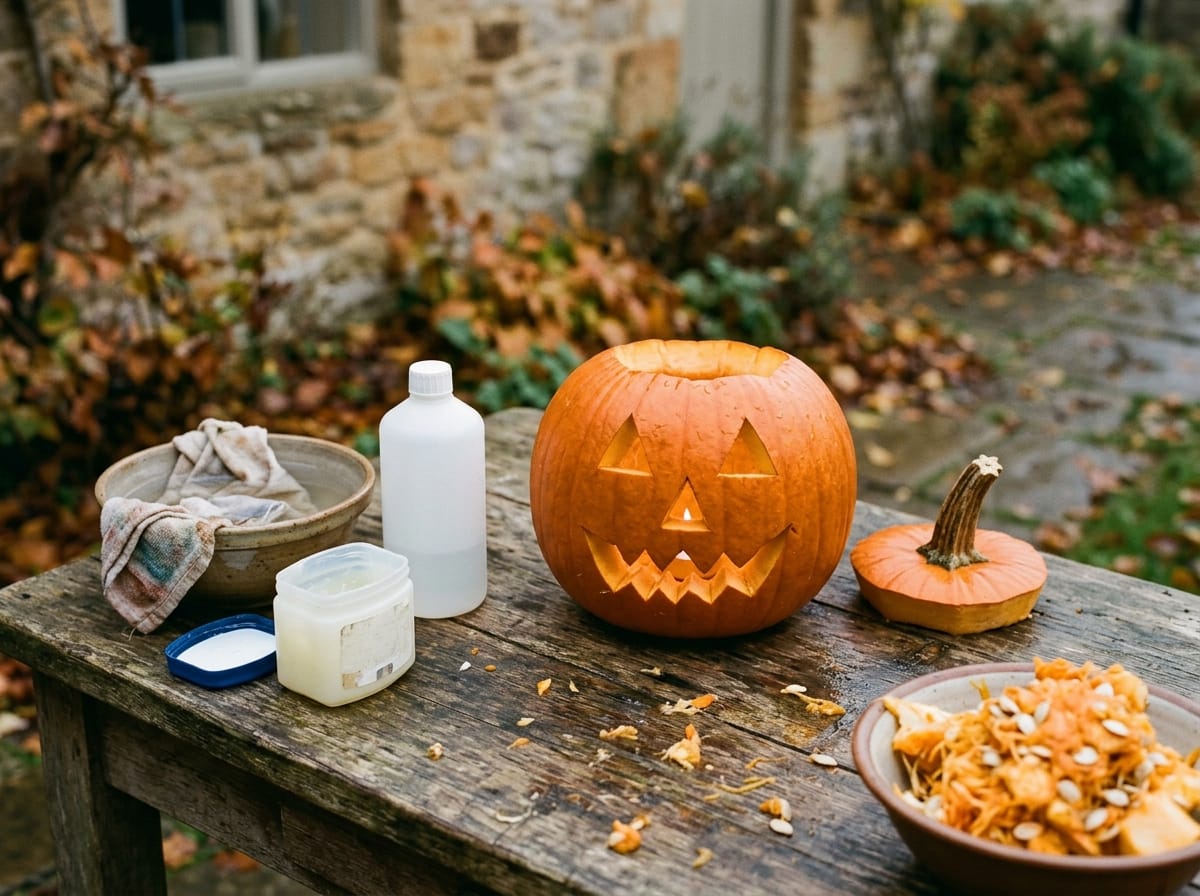
Almost every method circulating online is somebody’s kitchen experiment. These two are the ones I can point at a university for.
A Bleach Wash on the Cut Surfaces
Illinois Extension recommends washing the cut surfaces with a 20% bleach solution to help prevent rot. Mississippi State takes a different angle and suggests wiping the pumpkin down with a 1-part bleach to 10-parts water solution to kill bacteria before setting it outside.
Those are two different recommendations for two different jobs, and it is worth not blending them into one. The weaker 1:10 wipe is for the whole outside of the pumpkin before display. The stronger wash is aimed at the freshly cut faces, where the actual vulnerability is. If you only do one, do the cut surfaces.
Timing is the part people get wrong. A bleach wash is a preventive measure applied to clean cuts on carving day. It does not rescue a pumpkin that has already started to bloom with mold.
Petroleum Jelly on Every Cut
This is the step that visibly changes how the face ages. Illinois recommends coating the cuts with petroleum jelly to help prevent moisture loss. Mississippi State goes further on coverage: use it to seal the exposed flesh, and coat any exposed surfaces, including the inside and the cut-out sections.
The inside matters more than people expect. You scraped that cavity down to wet flesh, and it is a larger exposed area than the face itself. Let the bleach wash dry first, then work the jelly in with your fingers or a paper towel until the cut edges look wet rather than greasy. Do the underside of the lid too.
- Carve, and scrape the cavity as clean as you have patience for. Loose pulp is the first thing to go slimy.
- Wash the cut surfaces with the bleach solution.
- Let it dry completely. Sealing moisture and bleach under a layer of jelly helps nothing.
- Coat every cut surface with petroleum jelly: the face, the rim, the underside of the lid and the inside of the cavity.
- Wipe the outside skin clean and dry before it goes out.
The Bleach Problem: Your Chickens and Your Compost Pile
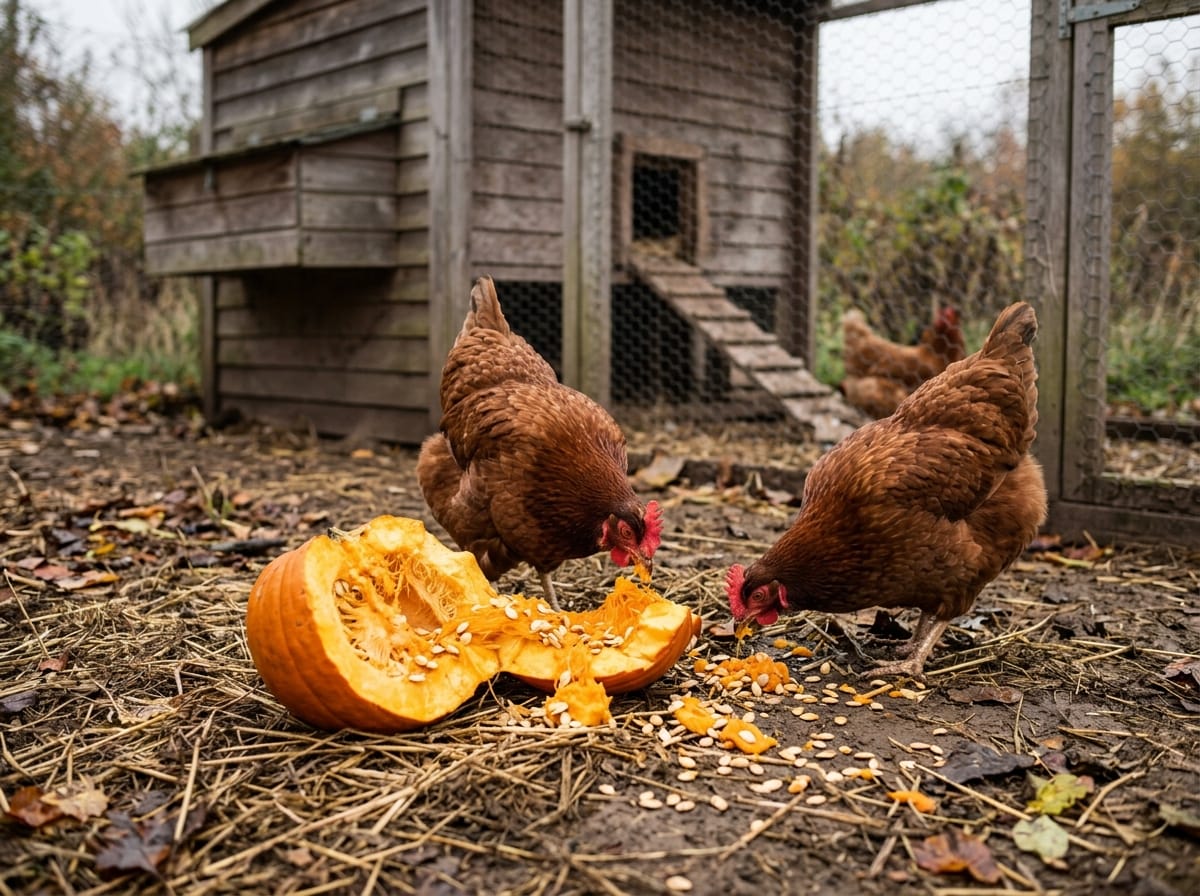
This is the part that no decorating blog will tell you, and on a homestead it is the decision that matters most.
Illinois Extension, writing about what to do with pumpkins afterwards, is direct: do not give gourds washed with bleach to farm animals since it is toxic. They offer a white vinegar solution as a safe alternative, with an honest caveat attached: it will not be effective if the pumpkin is already showing signs of molding.
So the choice is made on carving day, not on November 1. If that pumpkin is going to the hens, or into the pile that eventually feeds your beds, bleach takes both of those options off the table. Your flock is a real consideration here, since pumpkin is a genuine supplement rather than a treat and a useful thing to have around when you are already thinking about what goes into your chicken feed.
| What you want afterwards | What to wash it with | What you give up |
|---|---|---|
| Longest possible display life | 20% bleach on the cuts | You cannot feed it to livestock afterwards. Compost it instead of feeding it. |
| Feed it to the flock or the pigs | White vinegar solution, applied on carving day | Less protection. Vinegar does nothing once mold has started. |
| Compost it and nothing else | Either one | Nothing. Remove candles, paint and glitter first. |
I would rather have three good days and a pumpkin the hens can demolish than ten days and a pumpkin I have to keep away from them. That is a preference, not a rule, and yours may run the other way if the display is the whole point.
Where You Put It Matters as Much as What You Put on It
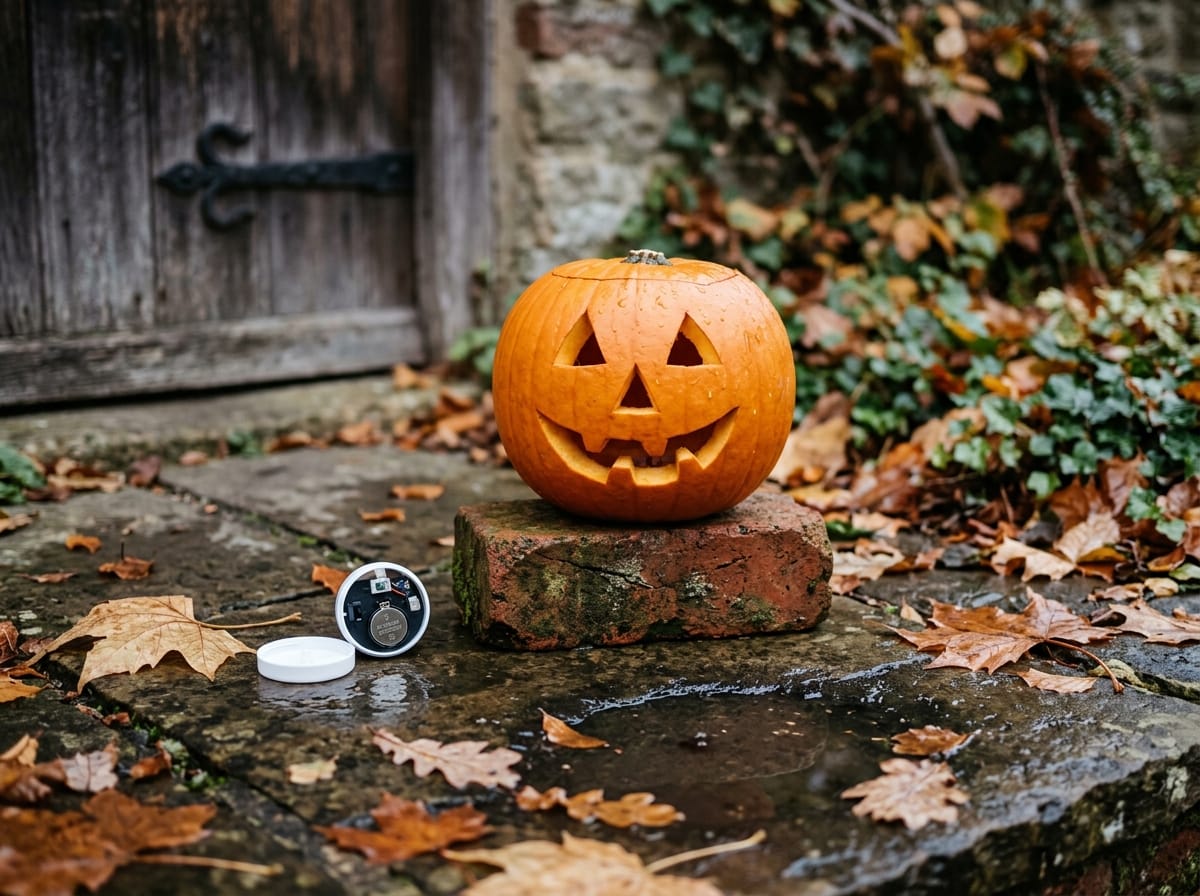
Treatment buys you a little. Placement buys you more, and it is free.
- Use a battery light instead of a candle. Illinois is explicit that a candle speeds up deterioration. A flame in a sealed cavity slowly cooks the flesh above it and pushes moisture out through the cuts. An LED tea light is not a compromise here, it is the better tool.
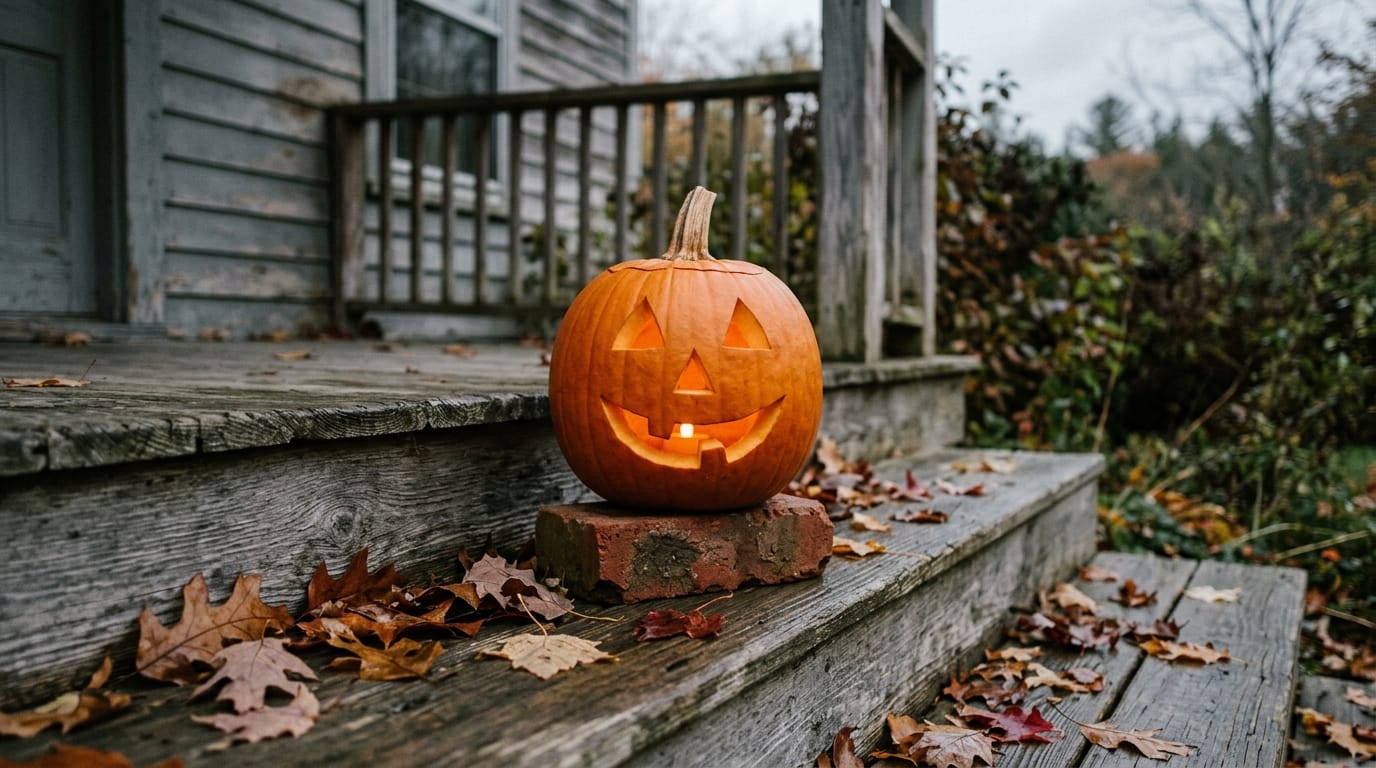
- Get it off wet ground. Mississippi State recommends a well-drained spot to avoid decomposition. A pumpkin sitting in a puddle on a flagstone rots from the base up. A brick, a board, or a step with a slope on it all work.
- Out of afternoon sun. Heat drives the drying, and the sunny side of a porch in late October still gets warm enough to matter.
- Bring it in on warm nights, not cold ones. Cool air is the pumpkin’s ally. A hard freeze is not: frozen flesh turns to mush on thawing.
The refrigerator trick, bagging the pumpkin and chilling it overnight, gets repeated constantly and I have used it myself with what felt like good results. I could not find an extension source that tests it, so I am flagging it as a plausible thing that fits what we know about cool storage rather than presenting it as researched advice.
The Tricks I Could Not Find Any Evidence For
A search for pumpkin preservation returns a lot of confident advice. In the interest of not wasting your afternoon, here is what I went looking for a land-grant source on and came back empty-handed:
- Overnight water soaks. Widely recommended for rehydrating a shriveling pumpkin. It plausibly does put water back into the flesh for a while. It also soaks a cut-open, mold-friendly object in water, which is not obviously a good trade.
- Hairspray, WD-40 and floor wax. All appear regularly. None appear in extension guidance, and all end up on something you may want to compost or feed out.
- Cinnamon, cayenne and peppermint soap. Usually recommended to deter squirrels rather than rot, which is a separate problem with separate evidence.
- Commercial pumpkin sprays. Possibly effective, but the ingredient lists are usually vague and none of the ones I looked at published a trial.
I am not claiming these do nothing. I am saying that when the tested advice is this cheap and simple, reaching past it for aerosol lubricant is a strange move.
The Longest-Lasting Option Is Not Carving It
Mississippi State makes the point plainly: choosing to paint your pumpkins instead of puncturing them ensures that they stay fresh longer. An intact skin is the whole defense, and painting leaves it in place.
On a practical level this is how you get a display that survives the entire month. Paint or decorate the pumpkins that go out at the start of October, and carve one or two a few days before Halloween for the part the children actually care about. You get the long display and the lit face, and you only take the loss on the ones you cut.
If you do paint them, remember what you have committed to. Paint has to come off before composting, and a painted pumpkin is not going to the flock.
What to Do With It on November 1
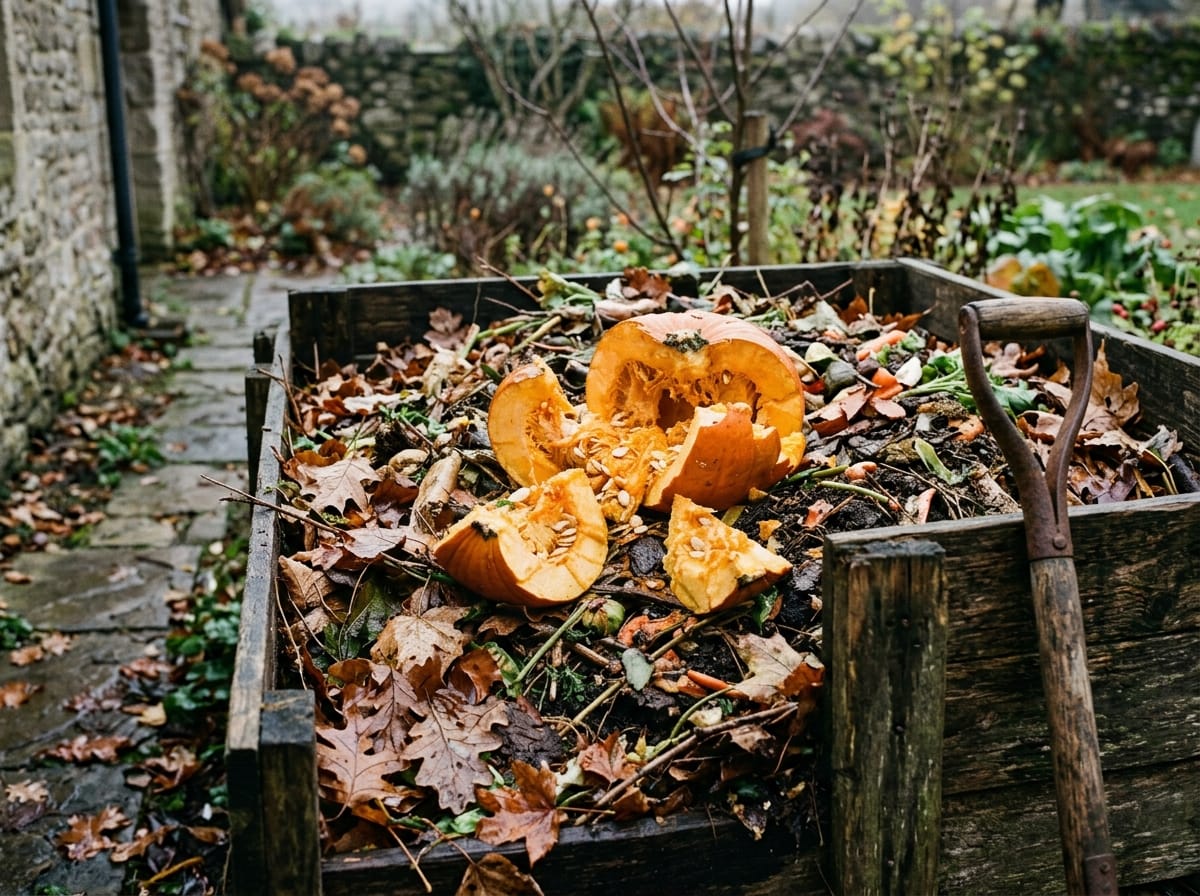
A spent jack-o-lantern is several pounds of high-moisture green material, which makes it genuinely useful rather than just garbage.
Compost it. Illinois Extension recommends smashing pumpkins to encourage breakdown before adding them to a compost pile, which is both good advice and the most fun anyone has with compost all year. Pull the candle, the light, and any paint or glitter off first. A whole pumpkin sits in a pile for months. A smashed one is gone in weeks, especially against dry browns like autumn leaves. If you are starting one from scratch, our guide to starting a compost pile at home covers the balance, and if you have no yard for a pile, indoor composting handles the same material at a smaller scale.
Two warnings from the same Illinois article are worth repeating. Do not leave pumpkins in forest preserves or ditches, which is littering and can be illegal. And the Illinois Department of Natural Resources does not recommend feeding pumpkins to wildlife, because it can lead to damage complaints and to spreading disease. Your own animals in your own run are a different matter from a pile dumped at the treeline for the deer.
The seeds are worth a minute of your time as well. Rinse and roast the ones from a pumpkin you cut open that day. Do not bother with seeds from a pumpkin that has been sitting out lit for a week.
Whatever it becomes, it ends up back in the soil, which is the shortest possible version of why compost is worth the trouble. Our guide to using compost in the garden covers how much to put down and when.

Growing your own pumpkins next year?
The Complete Garden Planner is a 30-page printable set with frost-date and spacing charts, a square-foot planting guide, bed maps and a harvest log. Pumpkins need about four months and a lot of room, so they are a crop worth planning on paper before you plant.
The Free Garden Starter Pack
Five printable pages that take the guesswork out of a first season, plus a short email every week or two when something is worth planting, picking, or putting up.
- A garden planning worksheet you can actually fill in
- A seed-starting and planting calendar
- A harvest log to track what really produced
No spam, ever. Unsubscribe in one click.
Thank you. You are on the list.
Your Garden Starter Pack is ready right now. Grab it here:
Download the pack (PDF)Keep an eye on your inbox. The next seasonal guide lands there first.
Frequently Asked Questions About Keeping Carved Pumpkins
How long will a carved pumpkin last outside?
Plan for a few days, which is the lead time Illinois Extension recommends between carving and Halloween. Cool, dry, shaded conditions stretch it. Warm damp weather cuts it short. No extension source publishes a fixed number because the weather does most of the deciding.
Does the bleach and petroleum jelly method actually work?
It is the one combination with university guidance behind it, and the two parts do different jobs: bleach slows the rot organisms on the cut surfaces, petroleum jelly slows the moisture loss that shrivels the face. Both are preventive. Applied to a pumpkin that is already molding, neither does much.
Can I feed the pumpkin to my chickens afterwards?
Only if you did not wash it in bleach. Illinois Extension says bleach-washed gourds should not be given to farm animals because it is toxic, and suggests white vinegar as the safe alternative. Decide which you want on carving day, because you cannot wash the bleach back out later.
Can you eat a jack-o-lantern?
Not one that has been carved and displayed. Purdue Extension’s guidance on eating pumpkins applies to fruit in good condition and not yet carved. They also note that jack-o-lantern varieties are larger, stringier and more watery, while smaller sugar or pie pumpkins are sweeter and less stringy. Carve the big one, cook a small one.
Why did my pumpkin collapse from the bottom instead of the face?
It was most likely sitting on something that stayed wet. Mississippi State recommends a well-drained spot for exactly this reason. Lift it onto a brick or a board and the base gets a chance to dry between rains.
Should I carve early to get more days out of the decoration?
The opposite. Carving early is the single most common mistake, and it is the one thing no treatment can undo. Put uncarved or painted pumpkins out for the long display and carve a few days before you want the lit face.
Before You Pick Up the Knife
Decide two things first. When you actually need the face lit, and where the pumpkin goes afterwards. The first tells you what day to carve, which matters more than any product. The second tells you whether to reach for the bleach or the vinegar.
Ours goes to the hens now. It gets carved on the twenty-eighth, washed with vinegar, greased with petroleum jelly, lit with a battery tea light, and by the first week of November it is in pieces in the run with a small crowd standing on it. The face lasts three or four days. That turns out to be exactly as long as anyone was looking at it.