Strawberry Rhubarb Jam (No Pectin Needed)
Rhubarb has a way of arriving all at once. Someone hands you a bundle from their garden, or you cut the last stalks before the summer heat turns them hollow, and suddenly you have more than you can use in a week. Strawberry rhubarb jam is one of the most practical things you can do with that pile, and the first batch you make will likely be simpler than you expected.
The two fruits are a natural pair. Rhubarb brings tartness and a surprising amount of natural structure. Strawberries bring sweetness and color. Together, with sugar and a splash of lemon juice, they produce a jam that sets without commercial pectin, keeps on the shelf for a year, and costs very little to make. This is also a genuinely forgiving project. A slightly runny batch is still delicious. A batch that sets firm is pantry gold.
Strawberry rhubarb jam is made by combining roughly equal parts hulled strawberries and chopped rhubarb with sugar and lemon juice, then cooking the mixture until it reaches 220 degrees F and passes the cold-plate test. Pectin is optional; rhubarb contains enough natural pectin to help a jam set if you cook it long enough, though commercial pectin shortens the process.
Quick Answer
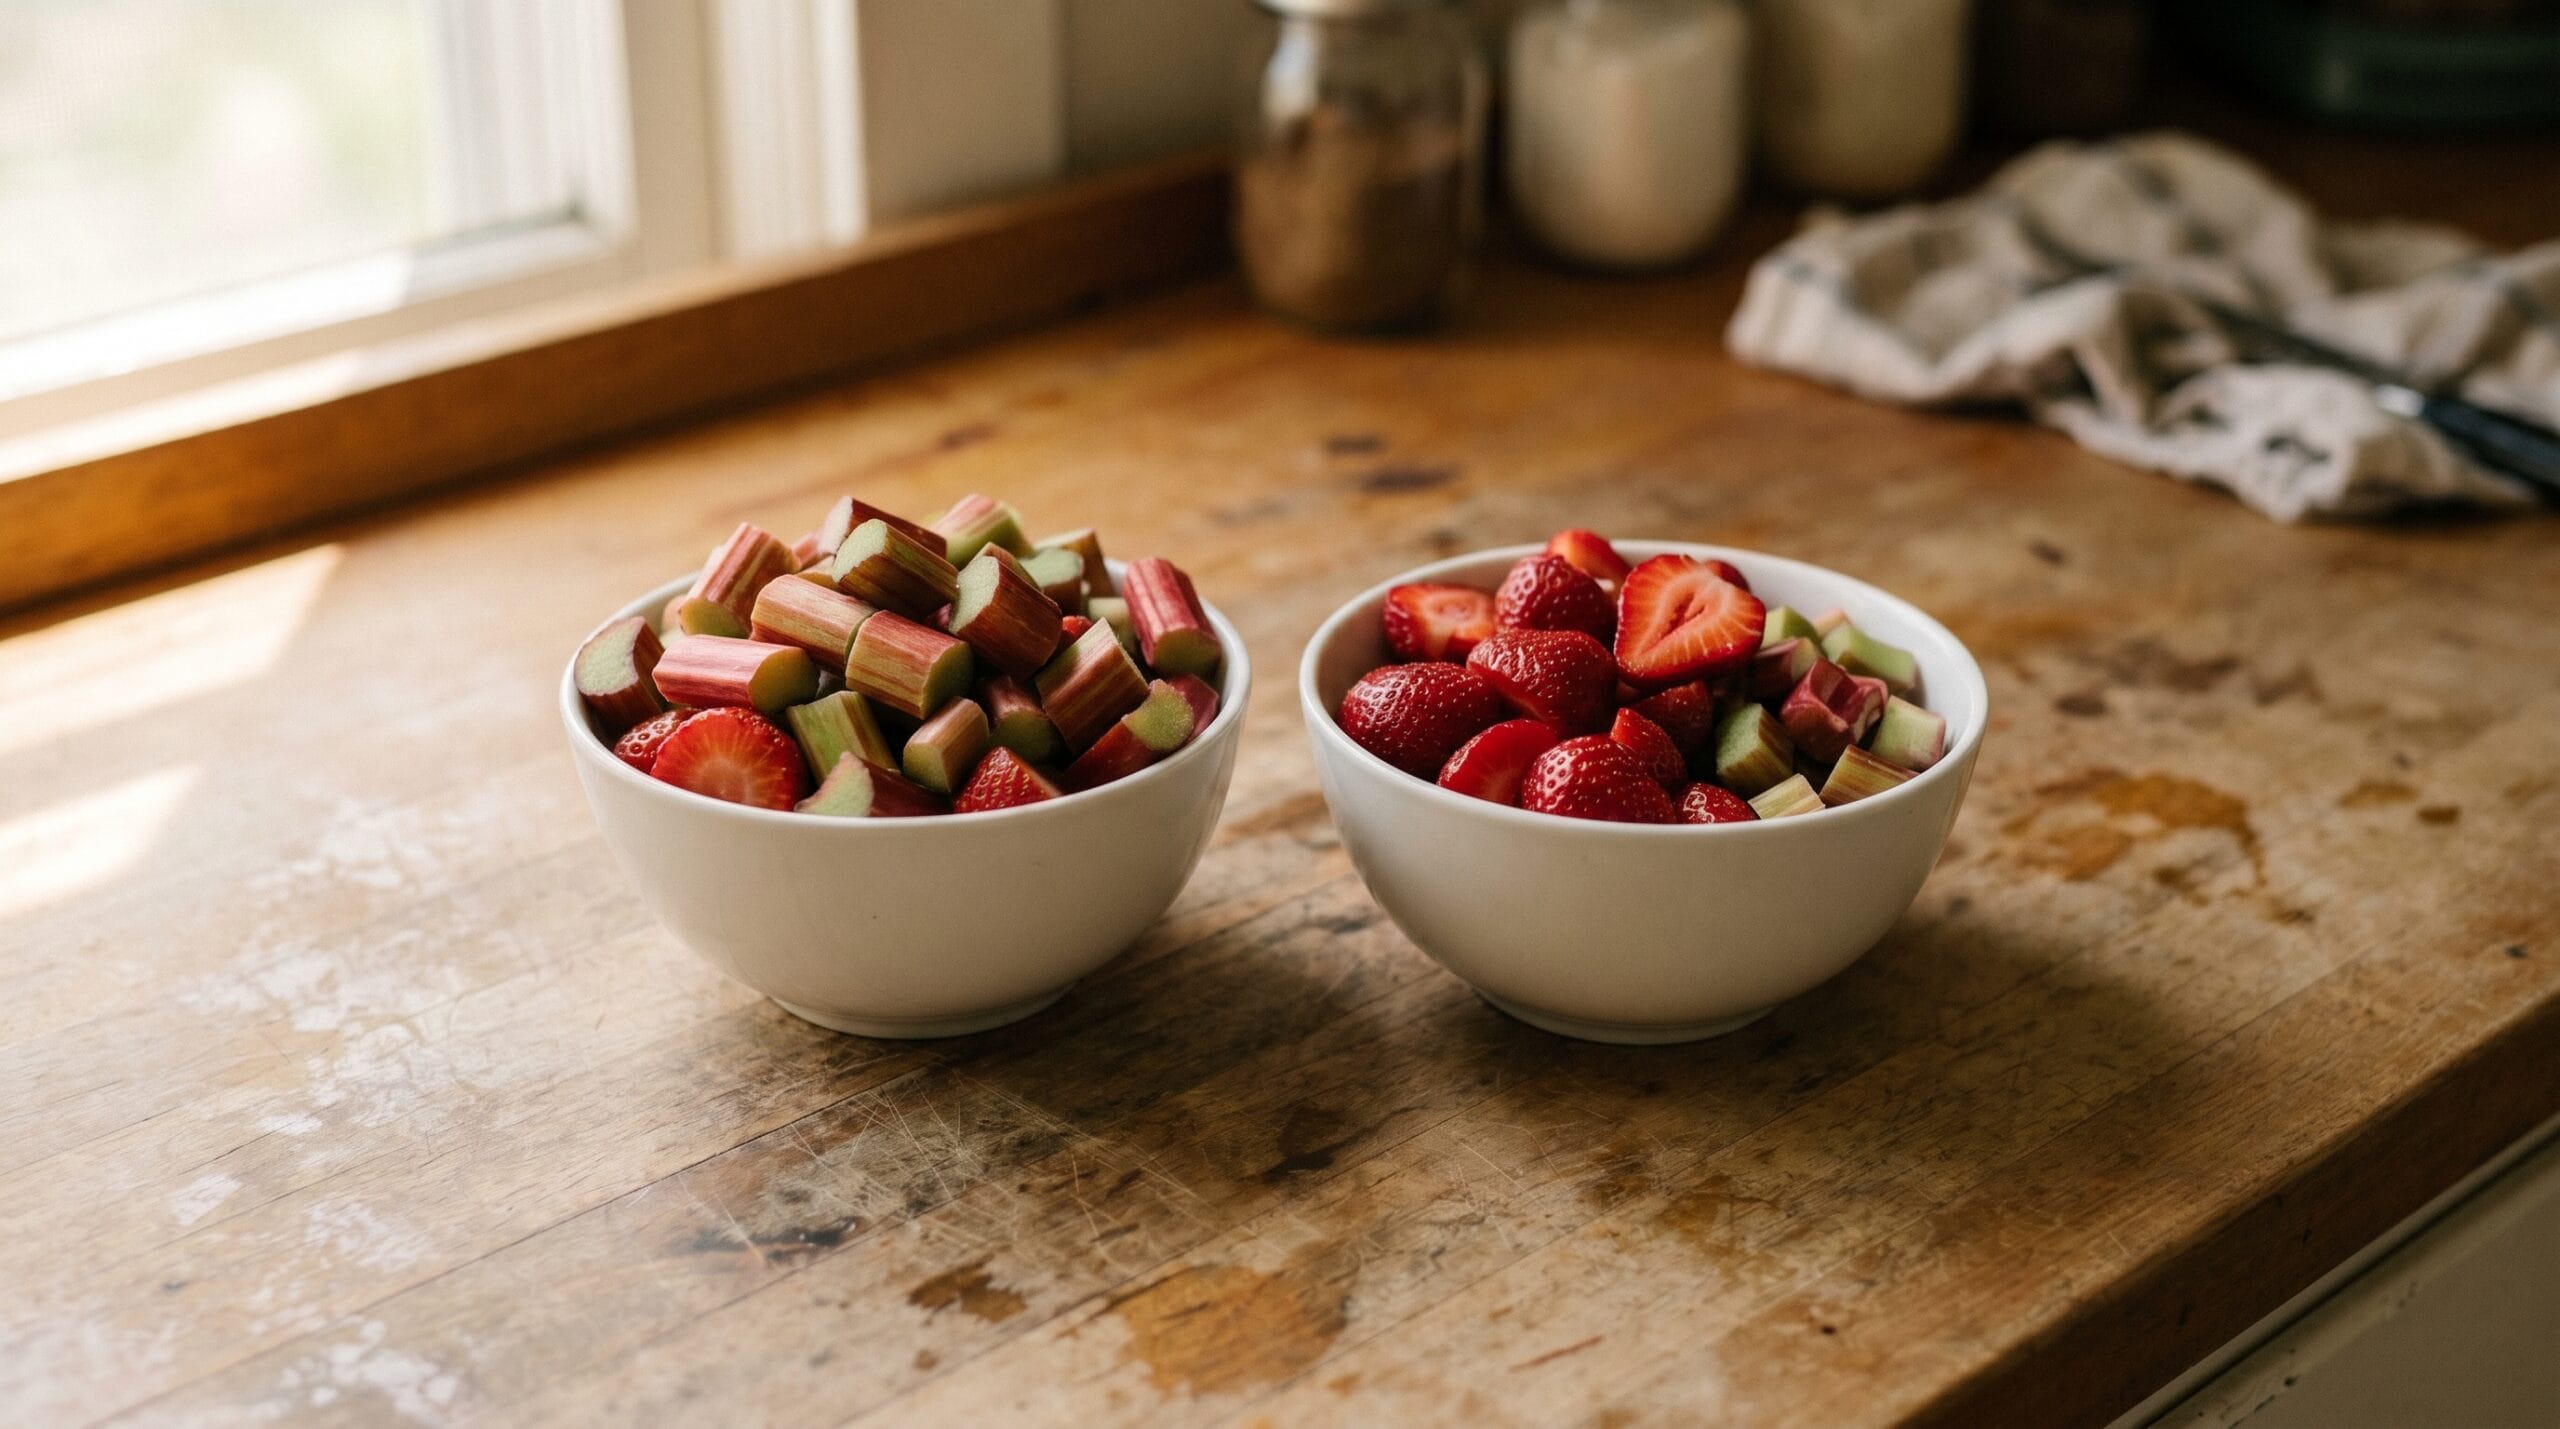
- Use roughly equal parts strawberries and rhubarb (2 cups each) with 2 cups of sugar and 2 tablespoons of lemon juice.
- No pressure canner needed. Water-bath canning is one of the oldest methods of preserving food at home and works perfectly for high-acid foods like this jam.
- Pectin is optional. Rhubarb has enough natural pectin to set the jam with a longer cook time.
- Target temperature is 220 degrees F at sea level. Lower if you are above 1,000 feet in elevation.
- Use the cold-plate test to confirm the set before you fill jars.
- Process jars in a water bath canner for 10 minutes (adjusted for altitude). Leave 1/4 inch headspace.
- Sealed jars keep for up to 1 year in a cool, dark pantry. Use within 3 weeks after opening.
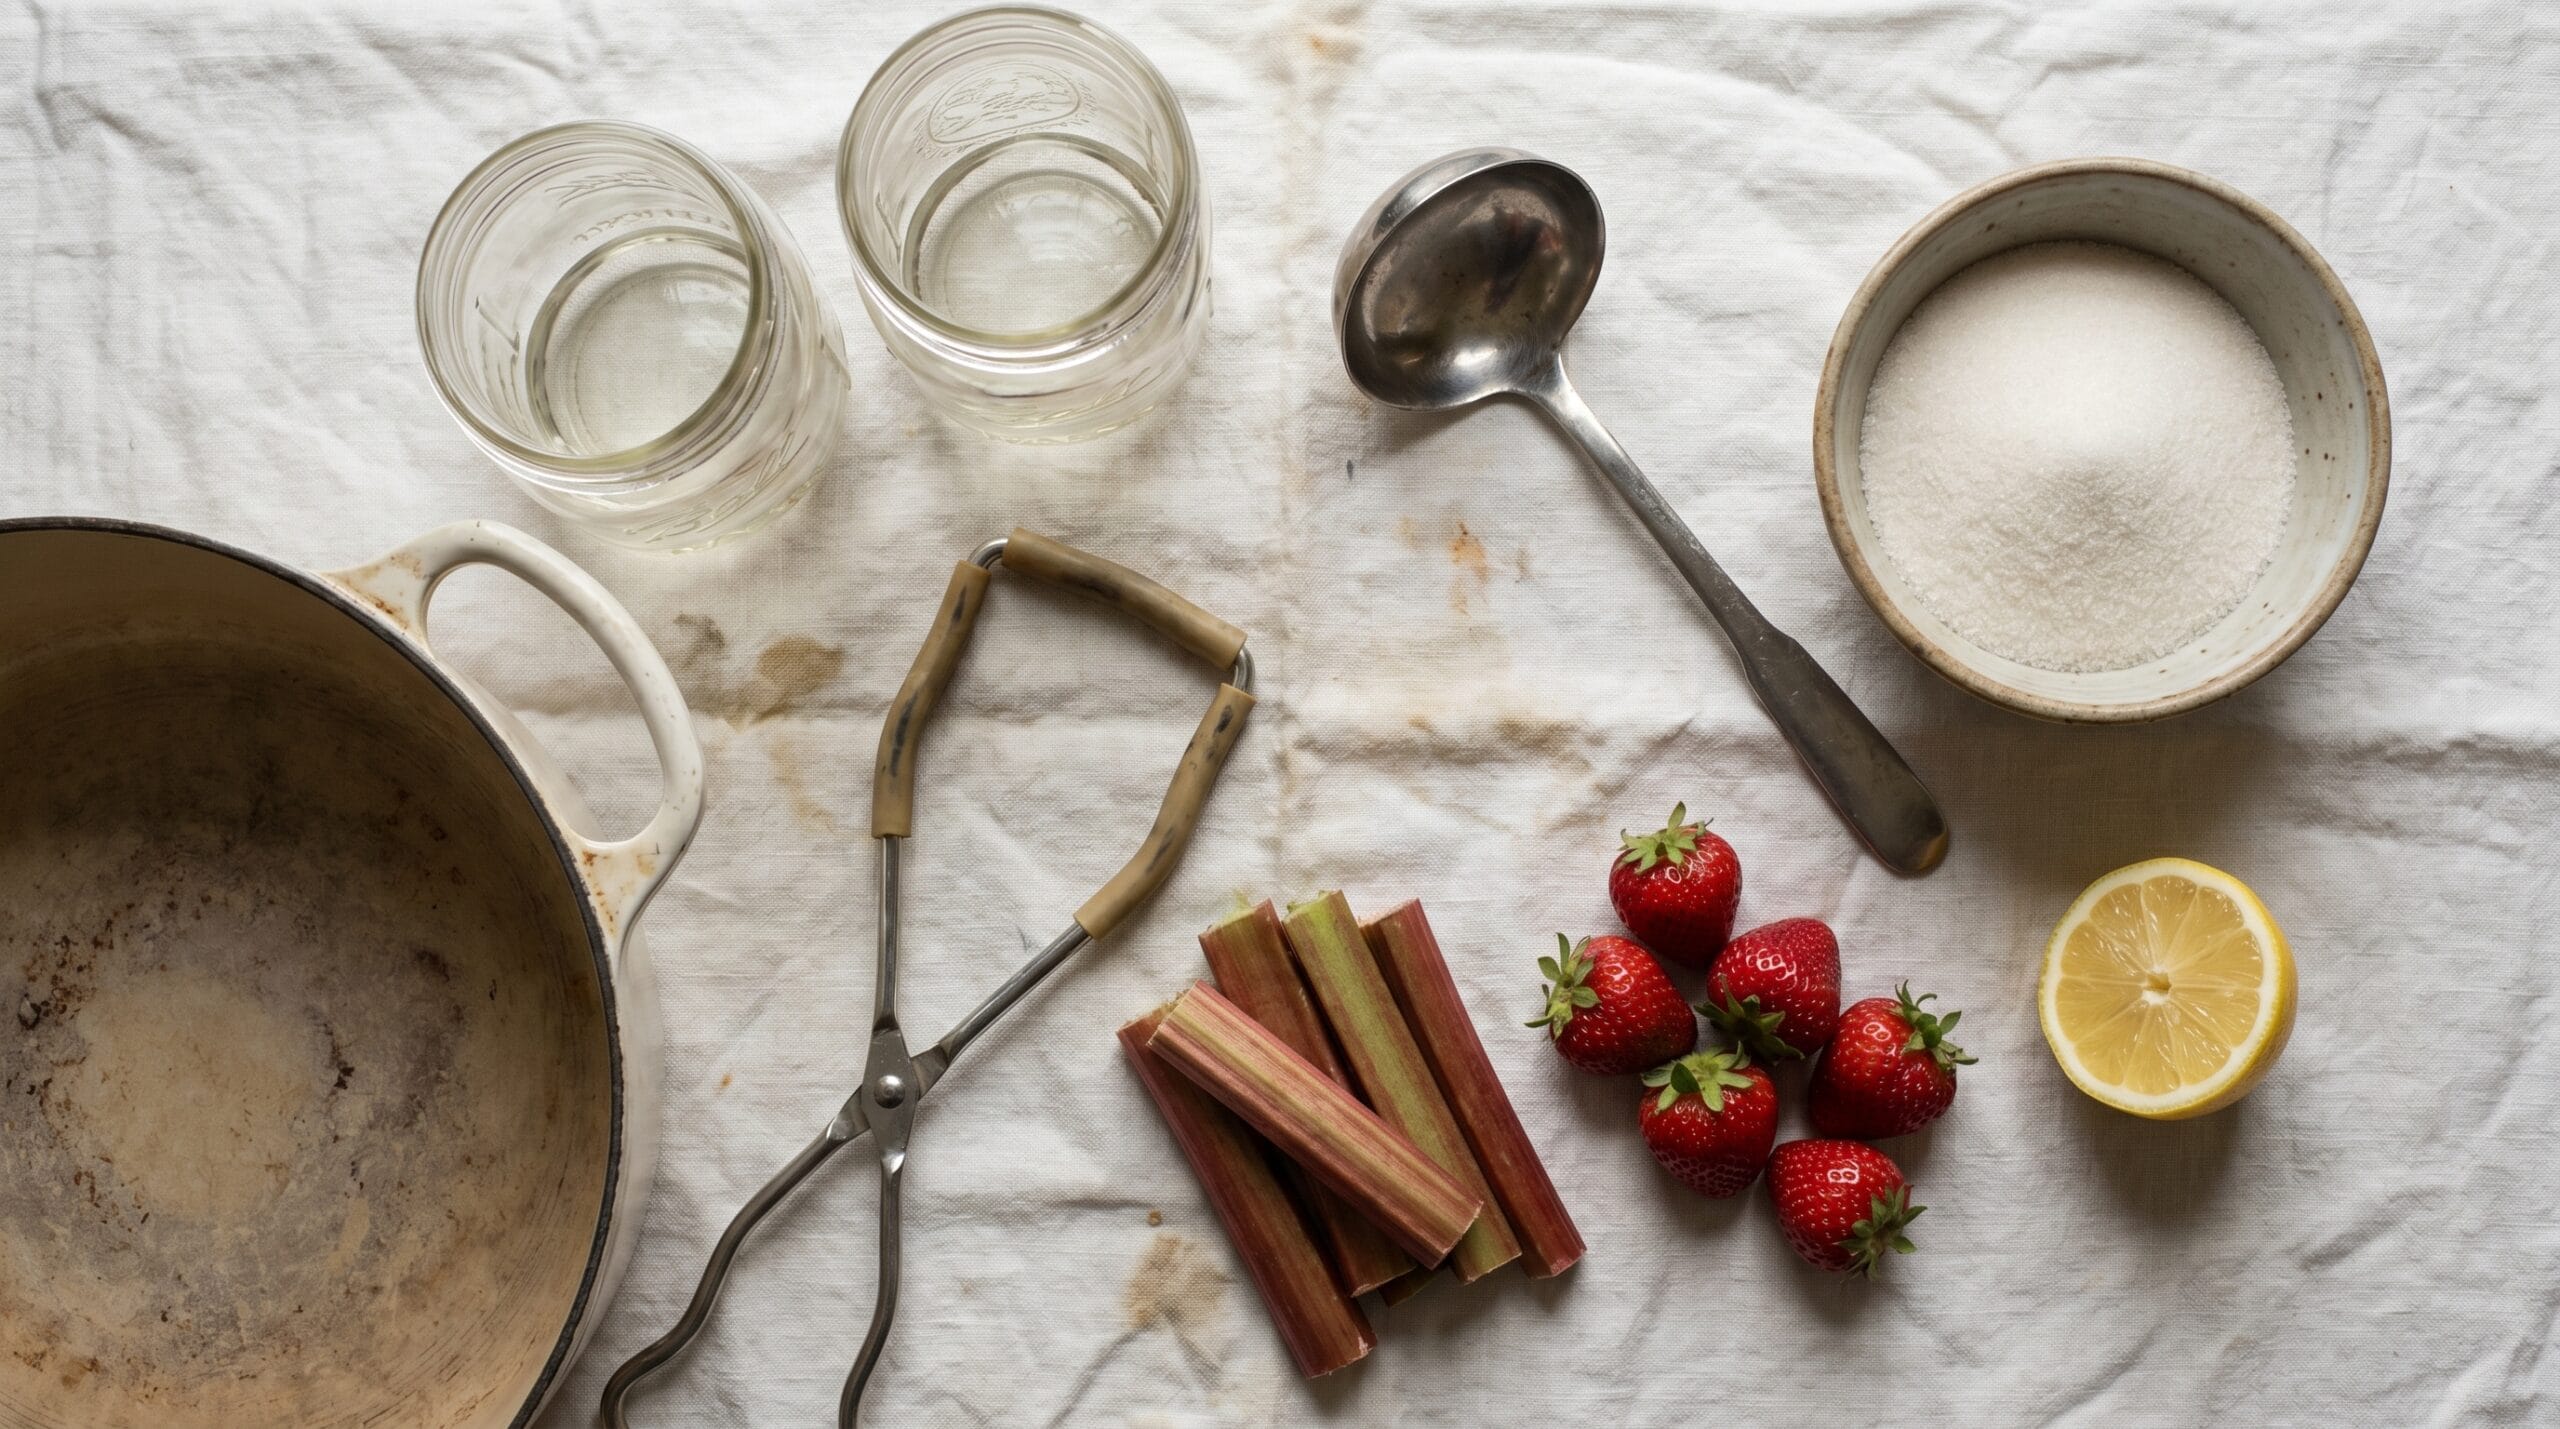
Ingredients and Equipment You Actually Need
Beginner jam recipes often list the ingredients and stop there. That leaves you halfway through cooking and suddenly wondering whether you own the right pot or whether you need to run to the hardware store for special jars. So here is everything, in one place, before you start.
The Core Ingredients
- Hulled strawberries: 2 cups, roughly chopped. Fresh or frozen both work. If using frozen, thaw completely and drain off the excess liquid before measuring, or your jam will take longer to reach the gel point.
- Chopped rhubarb: 2 cups, cut into 1/2-inch pieces. No peeling needed. The skin softens completely during cooking.
- Granulated sugar: 2 cups. This is not a place to cut corners. Sugar is part of the preservation chemistry, not just sweetness.
- Lemon juice: 2 tablespoons, fresh or bottled. It adjusts the pH for safe canning and activates natural pectin.
- Commercial pectin (optional): 1 packet, if you want a firmer, faster set. Liquid or powdered both work, but follow the directions on the packet for quantities.
Equipment
- Dutch oven or heavy-bottomed pot: wide enough to let the jam reduce, thick enough to prevent scorching. A 4- to 6-quart pot works well for a batch this size.
- Mason jars with new lids: four 8-ounce (half-pint) jars is the right estimate for this recipe. Always use new lids. Bands can be reused if they are rust-free.
- Water bath canner or large stockpot with a rack: the jars need to sit on a rack, not directly on the bottom. A folded dish towel works in a pinch if you do not have a proper rack.
- Jar lifter: this is the one tool worth buying. Pulling hot jars from boiling water without one is a reliable way to burn yourself.
- Ladle: standard kitchen ladle, nothing special.
- Thermometer: an instant-read or candy thermometer for confirming the gel point.
What you do not need: a pressure canner, a specialty jam pot, or a wide-mouth funnel (helpful for cleaner filling, but optional).
The headspace requirement for jam is 1/4 inch. That is the small gap between the surface of the jam and the top of the jar. Too little headspace and the lid may not seal correctly. Too much and you may end up with excess air in the jar.
Why Your Rhubarb-to-Strawberry Ratio Actually Matters
Most jam recipes just hand you a ratio without explaining why it exists. With strawberry rhubarb jam, the ratio does real work on two levels: flavor and food safety.
Pectin and Gel Strength
Rhubarb is relatively high in natural pectin. Strawberries are not. When you use a 1:1 ratio, the rhubarb contributes enough pectin to give the jam a reasonable chance of setting without commercial pectin. If you push the ratio toward mostly strawberries, maybe 3 parts strawberry to 1 part rhubarb, you will likely end up with a very soft set or a syrupy result no matter how long you cook it.
The reverse problem exists too. Heavy on the rhubarb and the jam can turn stringy and extremely tart, which may require more sugar to balance. More sugar affects texture and cook time. Beginners often discover that sticking to the 1:1 ratio is the most predictable path through a first batch.
Acidity and Safe Canning
The National Center for Home Food Preservation notes that water-bath canning is safe for high-acid foods with a pH below 4.6. Rhubarb is naturally very acidic (food science references generally cite a pH somewhere around 3.1). Strawberries are moderately acidic (commonly listed around 3.5 to 3.9). Together, with the added lemon juice, this combination stays well within the safe range for water-bath canning.
The problem comes when beginners freely substitute lower-acid fruits, like sweet cherries or peaches, without adjusting the recipe. With this particular combination, the standard ratio is already tested. Stick to it, include the lemon juice, and you are within safe territory.
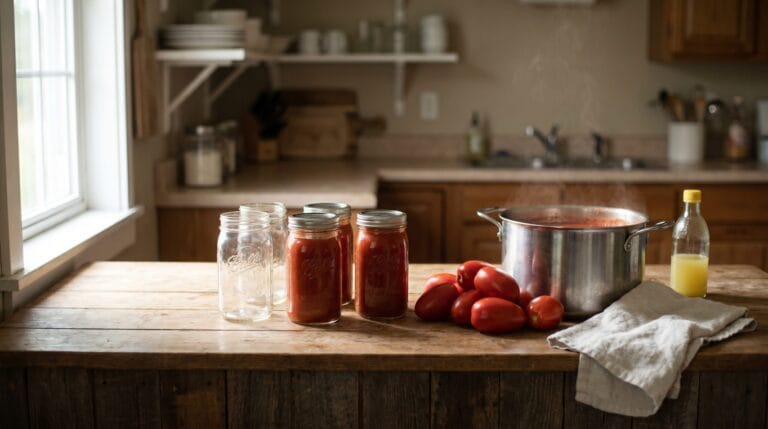
Two other fruits worth understanding before you branch out: tomatoes are borderline-acid and require added lemon juice or citric acid to be safe for water-bath canning — a plain tomato sauce without that addition is not a safe swap. Hot peppers fall into low-acid territory entirely and require a tested recipe with the correct acidity adjustments before any water-bath canning. Both have their own separate recipes for good reason.
How to Tell If Your Jam Set Correctly (and What to Do If It Didn’t)
Most beginner guides tell you to cook the jam until it is thick and then call it done. That is not quite enough information.
The Gel Point and the 220 F Target
Jam sets when enough water has cooked off and the natural pectin (or added pectin) has activated. At sea level, that happens at 220 degrees F, which is 8 degrees above the boiling point of water. According to University of Minnesota Extension, altitude lowers the boiling point of water, which means you need to lower your target temperature by 2 degrees F for every 1,000 feet above sea level. At 5,000 feet, for example, your target drops to 210 degrees F.
A candy or instant-read thermometer takes the guesswork out of this. Clip it to the pot so it sits in the jam but does not touch the bottom.
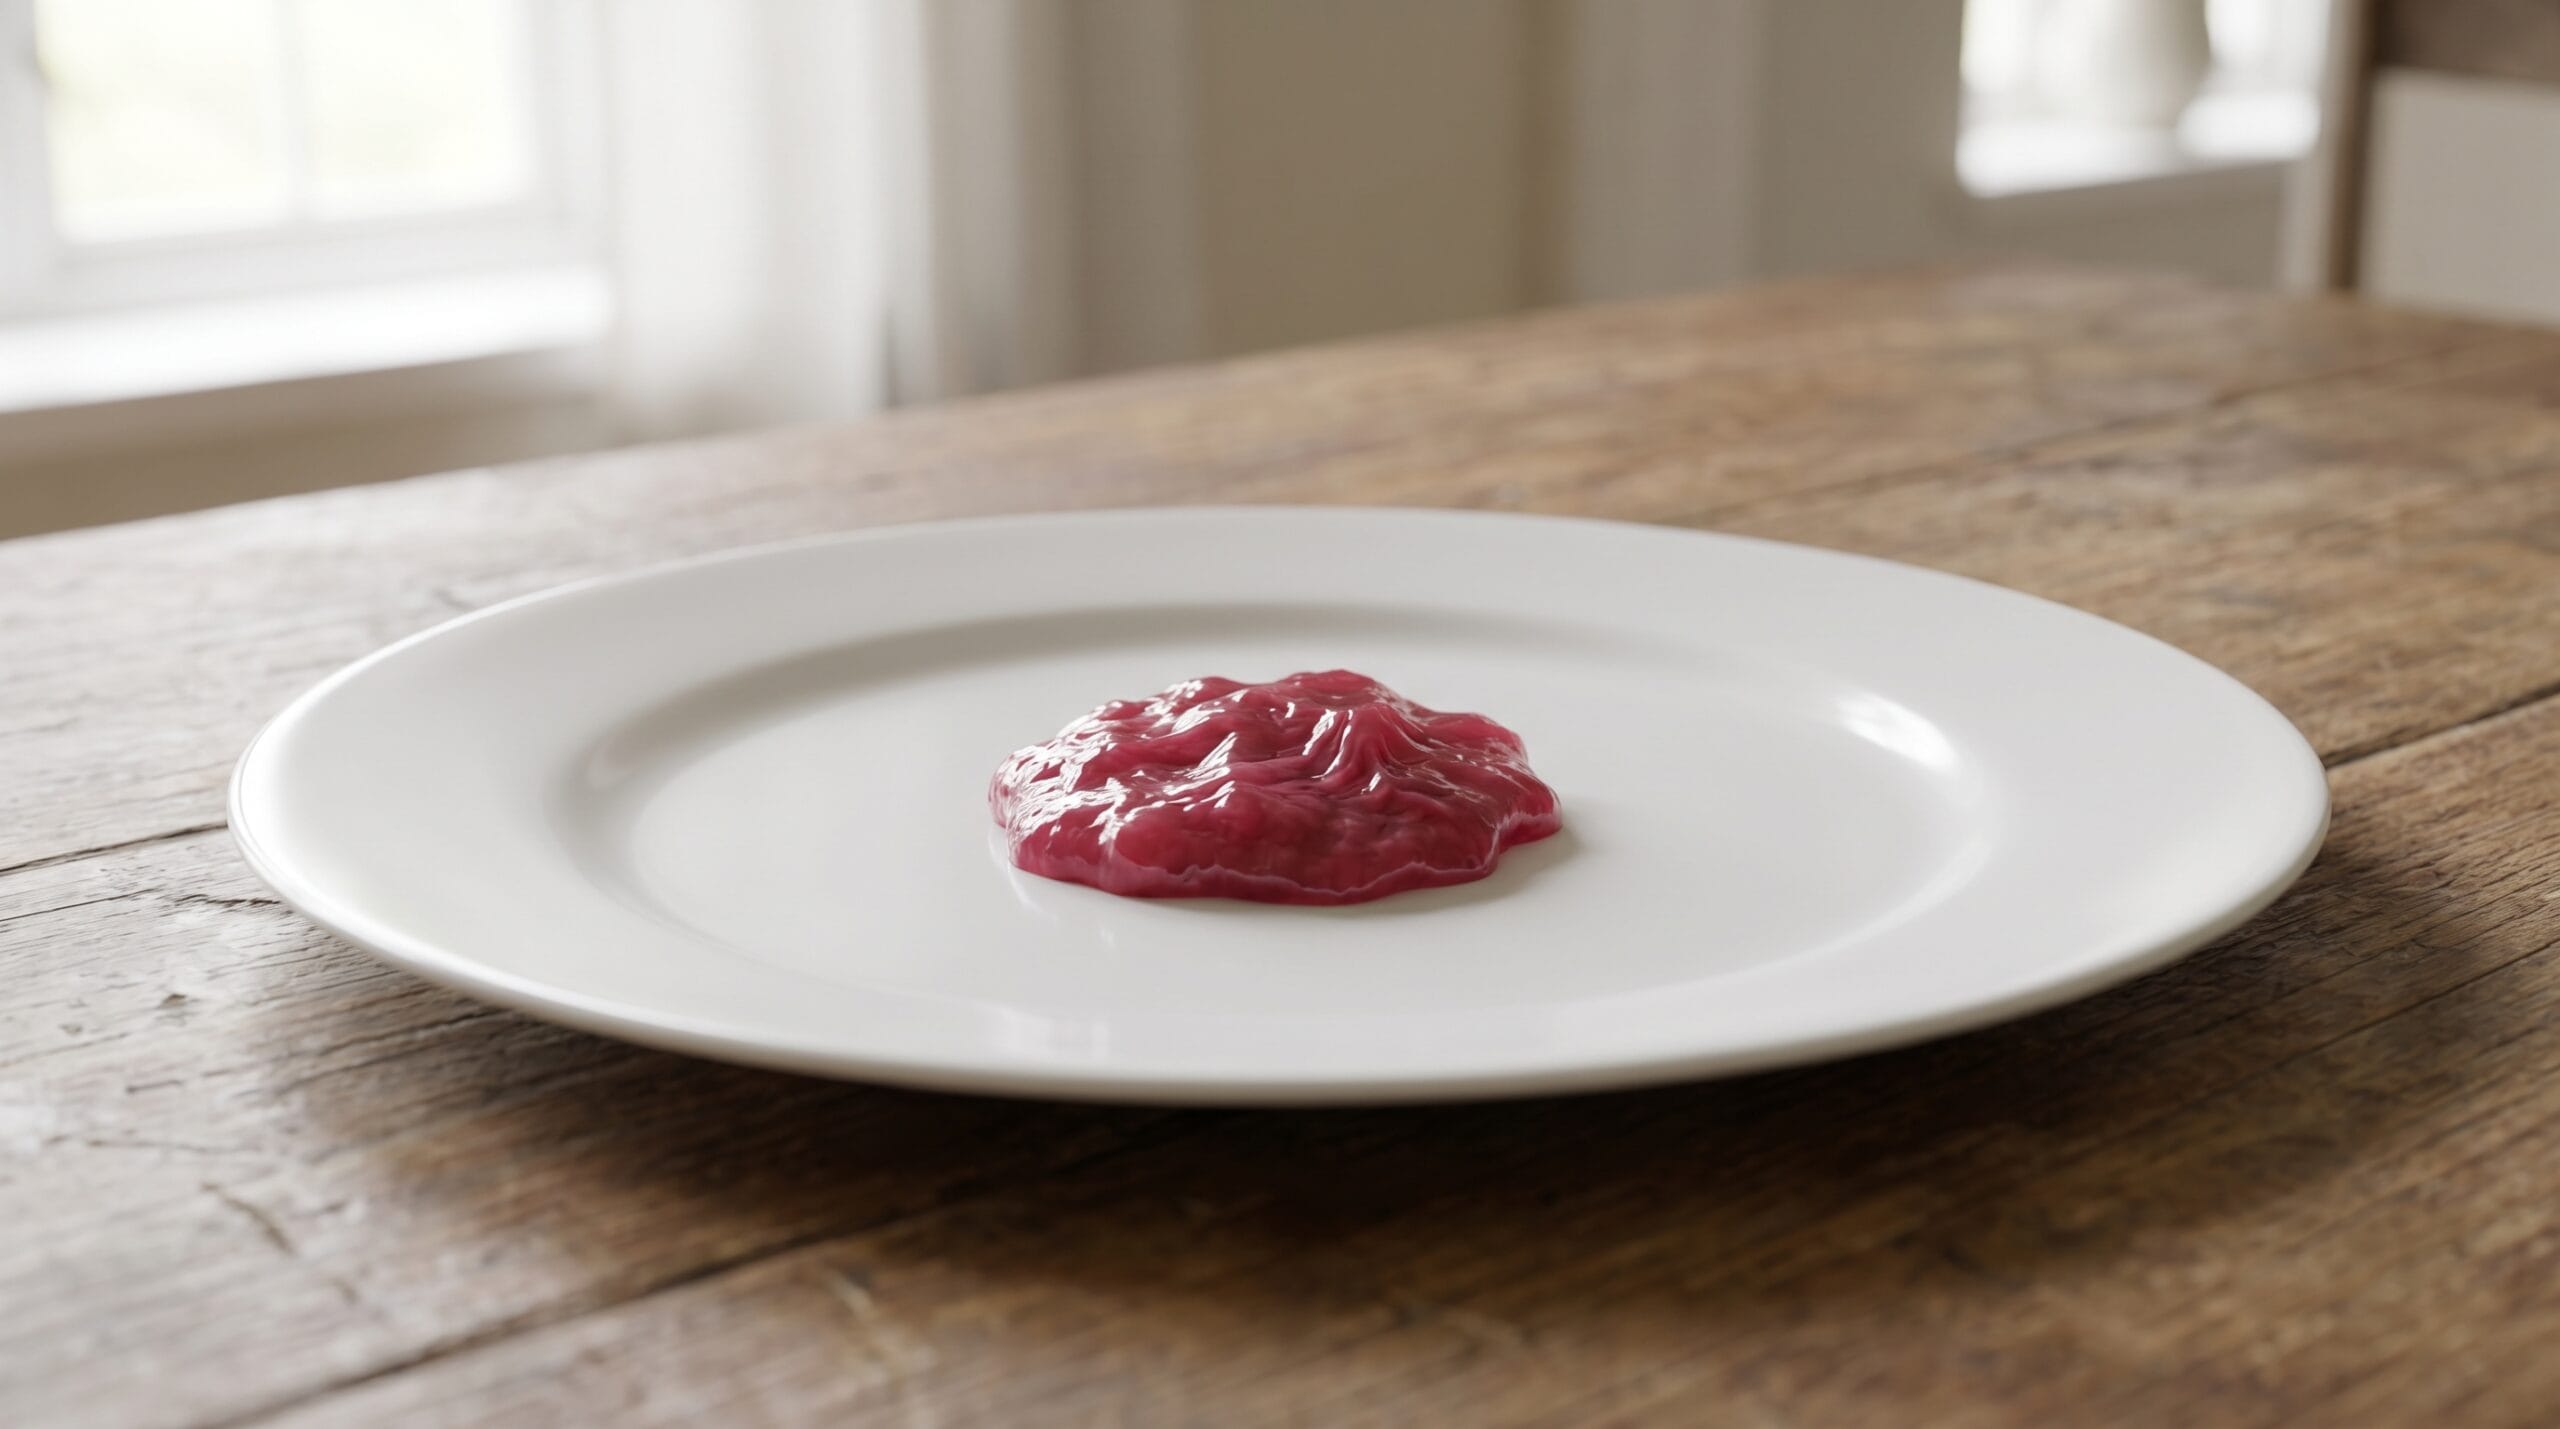
The Cold-Plate Test
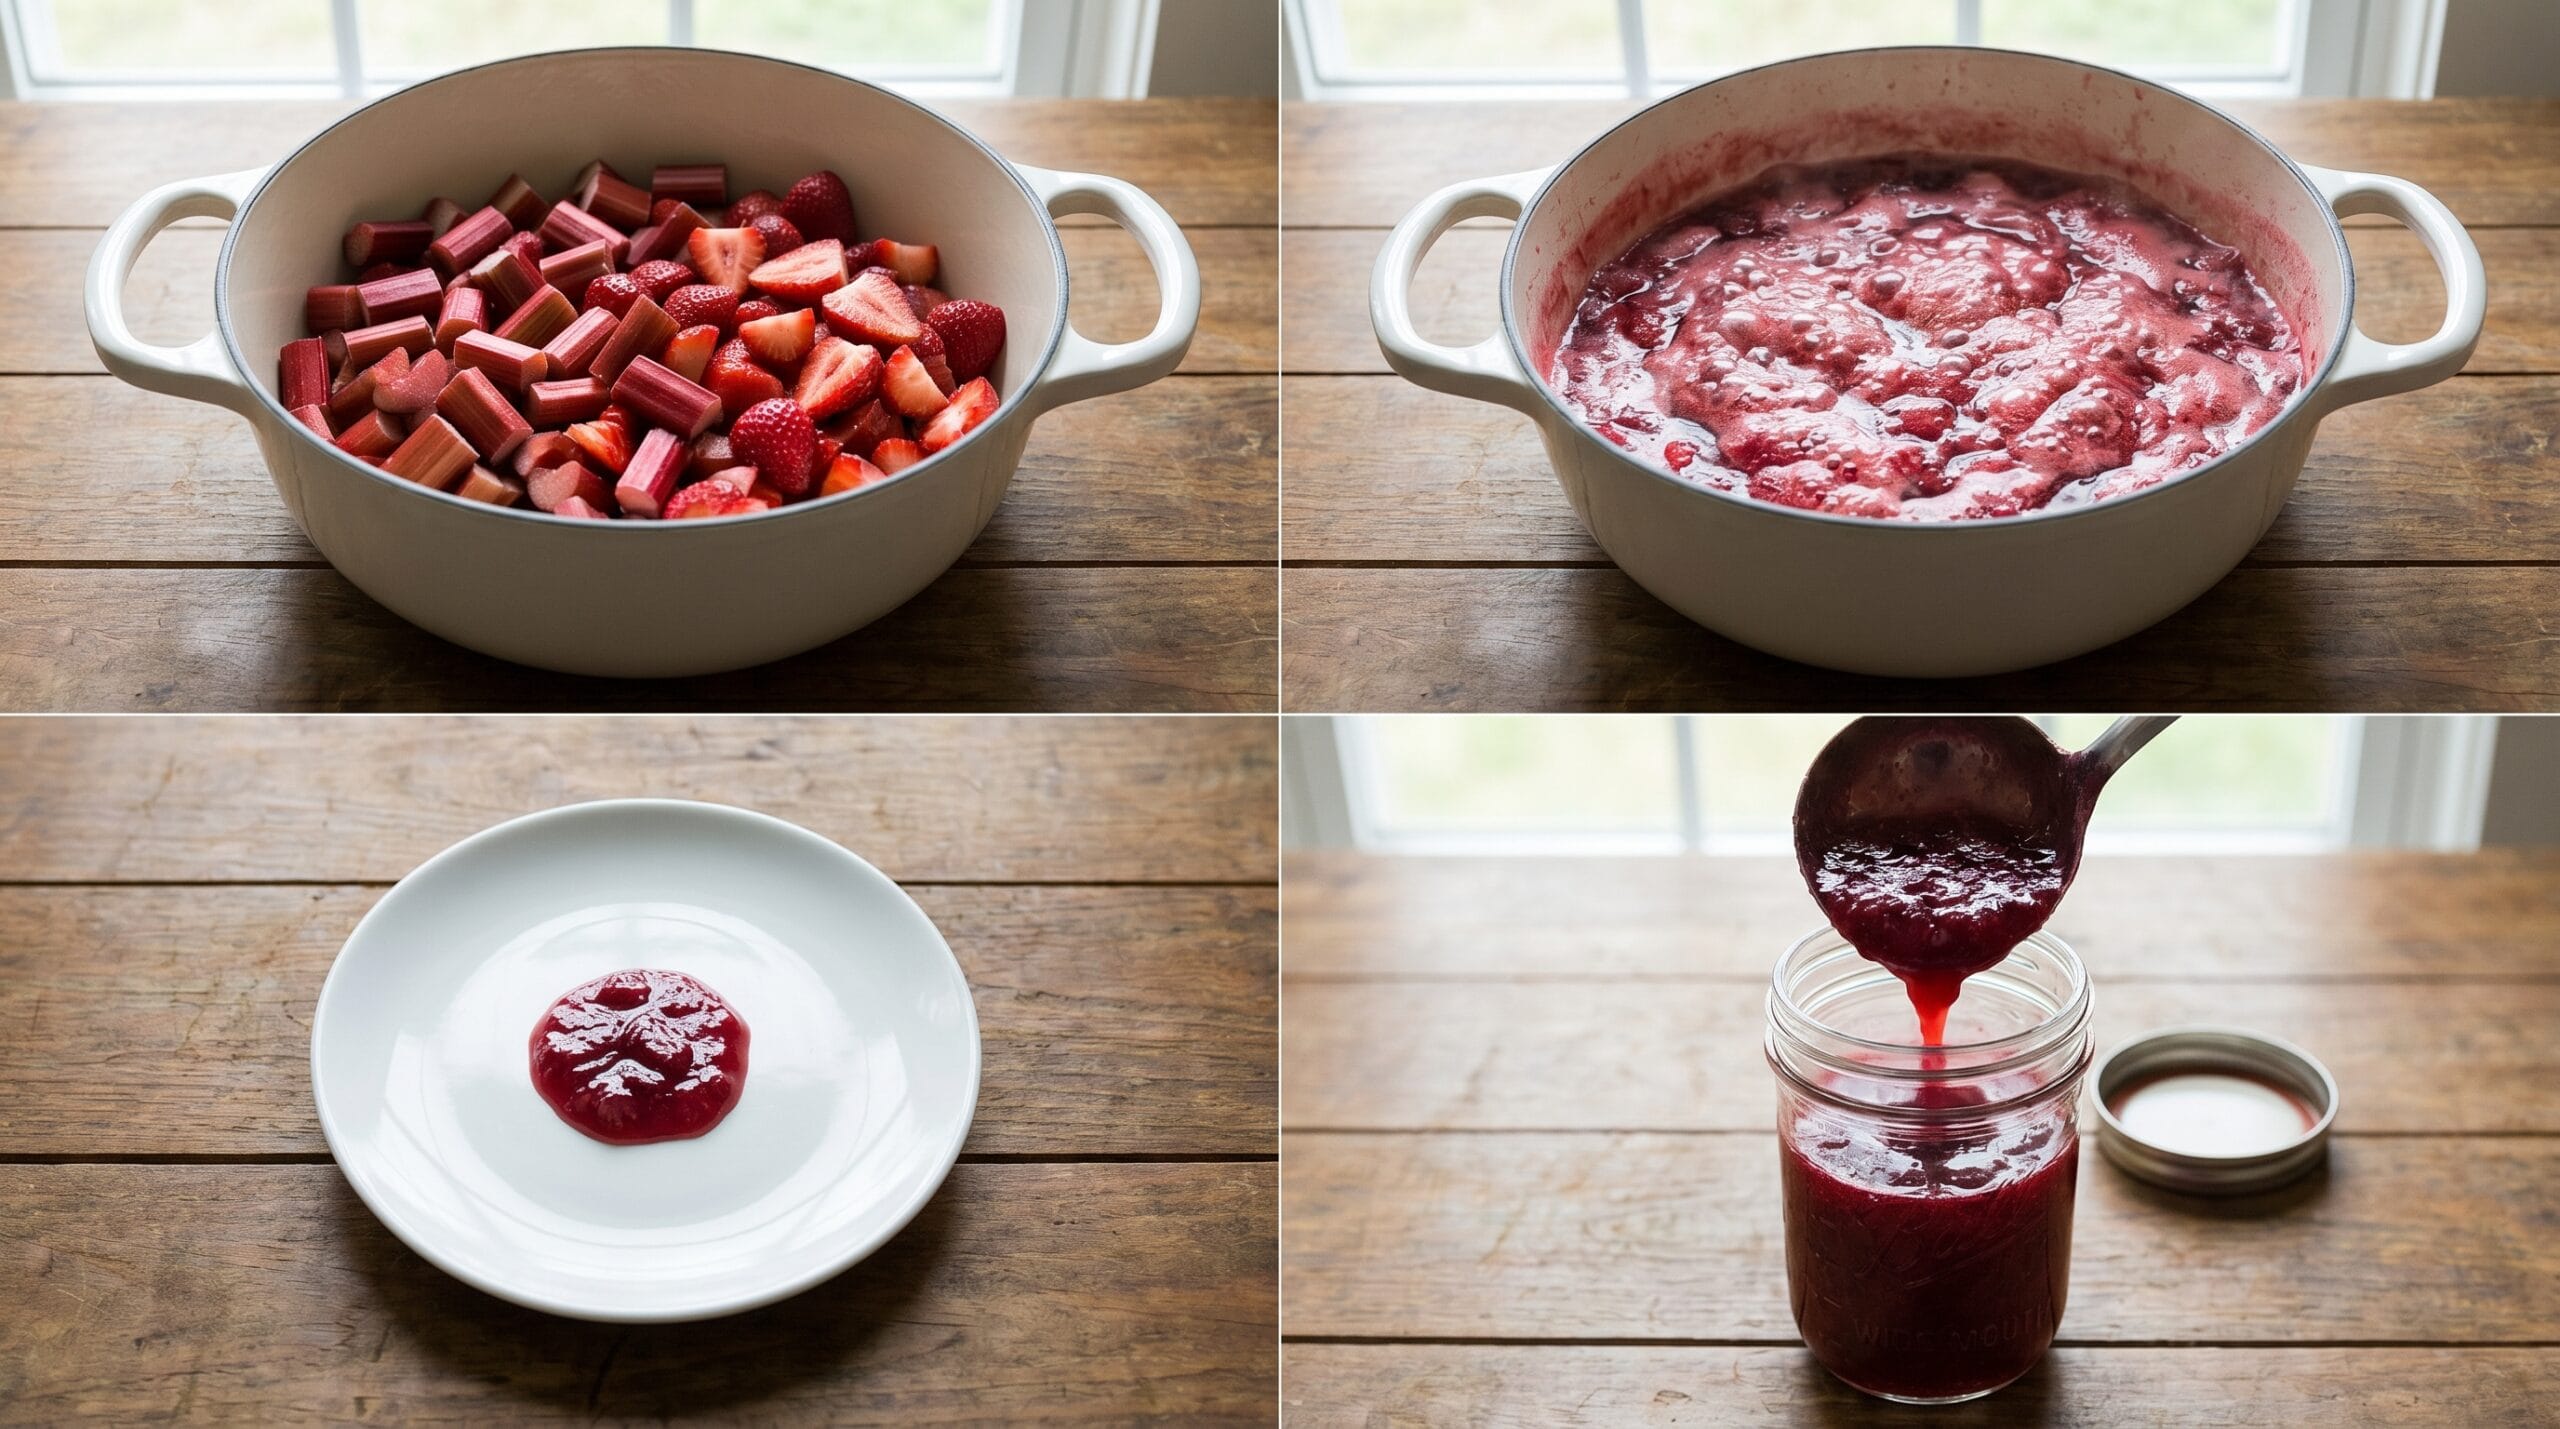
Put two or three small ceramic plates in the freezer when you start cooking. When the jam looks thick and has been cooking for at least 20 minutes, drop a small spoonful onto one of the cold plates. Let it sit for 30 seconds, then push it with your finger. If the surface wrinkles and the jam holds its shape, it has set. If it runs back together and feels liquid, it needs more time. Return the pot to heat and check again in 5 minutes.
What to Do with a Runny Batch
A batch that did not set is not ruined. You have a few options. First, you can reprocess it: return the jam to the pot, bring it back to a boil, add a tablespoon of commercial pectin stirred into a little sugar, and cook for another 5 minutes. Re-test with the plate method. Second, and simpler: pour it into refrigerator jars and use it as a sauce within a few weeks. Spooned over yogurt or ice cream, a runny batch is genuinely good and worth eating.
Do not water-bath can a batch you know has not set and simply hope for the best. The processing time and seal quality do not change, but opening jars of expensive watery liquid six months later is discouraging.
Does Strawberry Rhubarb Jam Need Pectin?
No. Pectin is optional in strawberry rhubarb jam, and many experienced home canners prefer leaving it out. Here is what actually changes.
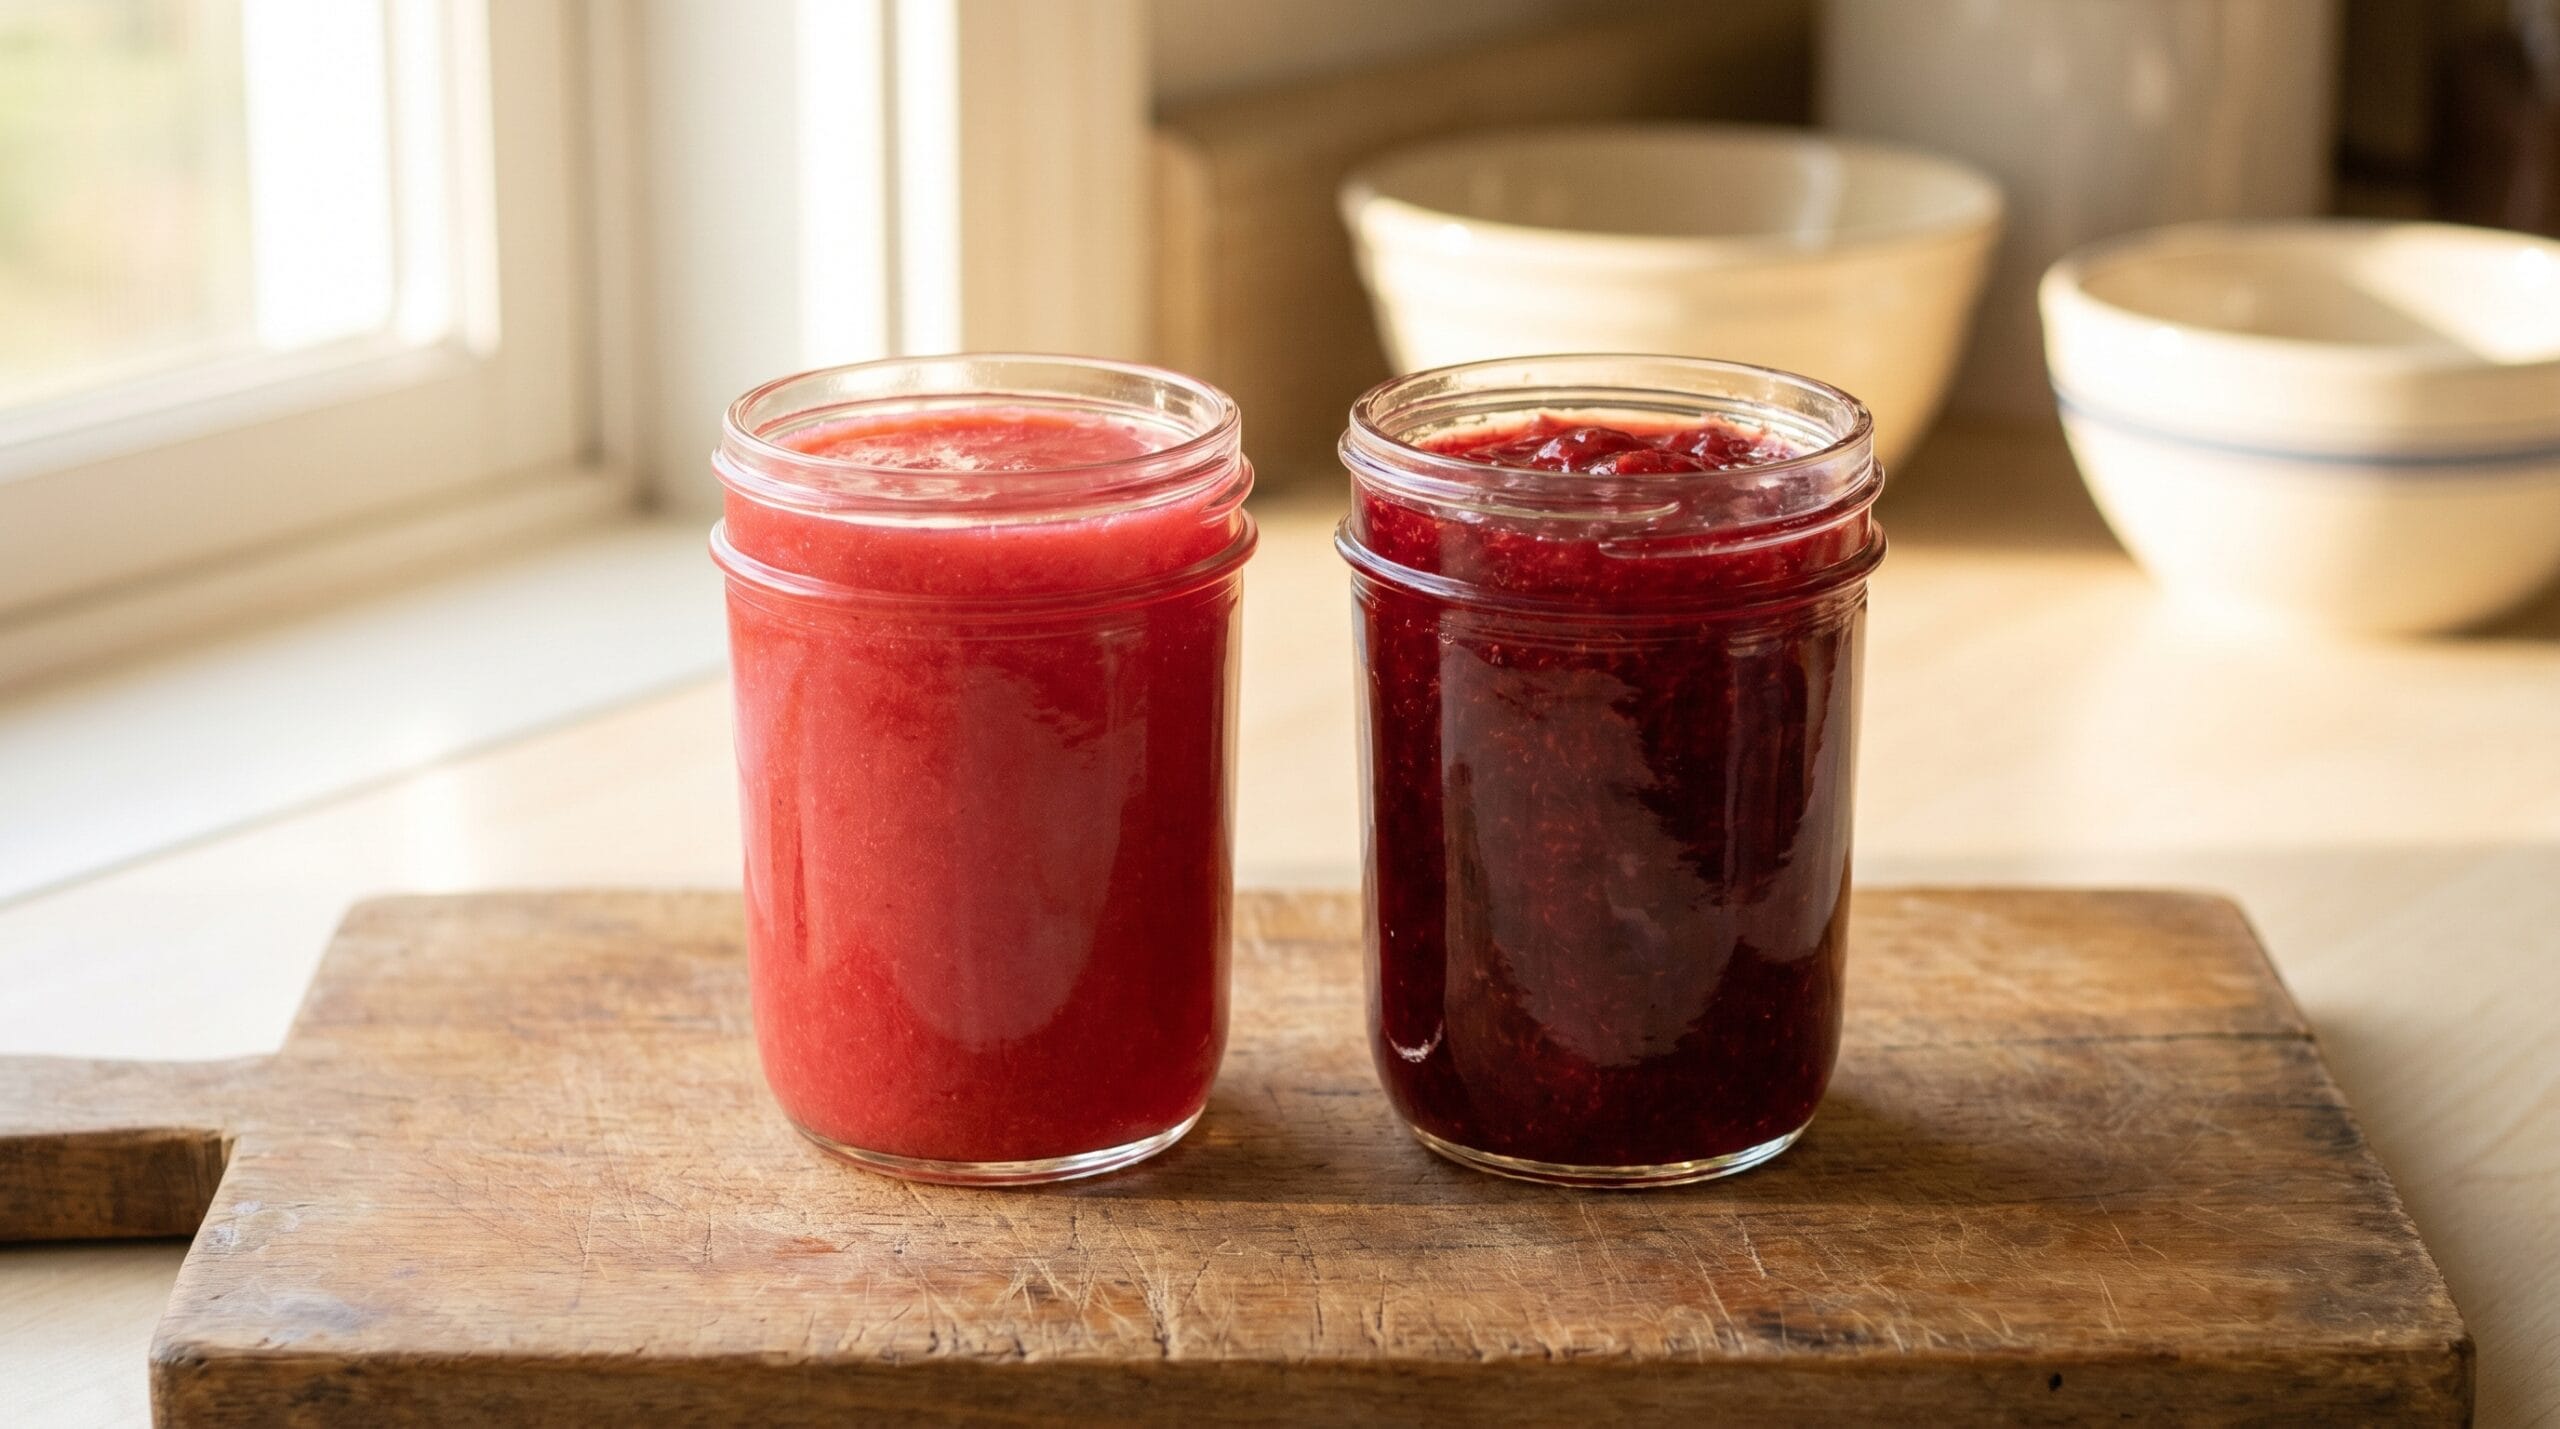
Without Commercial Pectin
The jam cooks longer, typically somewhere between 25 and 35 minutes from the point of a rolling boil, though that range shifts depending on your pan width and how strong your heat is. The extended cooking reduces more liquid, which concentrates the flavor significantly. The color turns a deeper, more jam-like red. The set is softer and slightly more spreadable than commercial-pectin versions, which some people actually prefer. The main challenge: you have to watch the jam more carefully and rely on the plate test rather than a strict timer.
With Commercial Pectin
Cooking time drops to roughly 8 to 10 minutes after reaching a full rolling boil. The set is firmer and more consistent. The color tends to be brighter because less cooking means less breakdown of the fruit. The flavor is a little fresher and less concentrated. If you are making multiple batches or prefer predictability, commercial pectin is a reasonable tool.
Both methods are safe for water-bath canning, as long as you include the lemon juice. The lemon is not optional for canned jam, even when it does not appear in a refrigerator jam recipe.
Step-by-Step Instructions
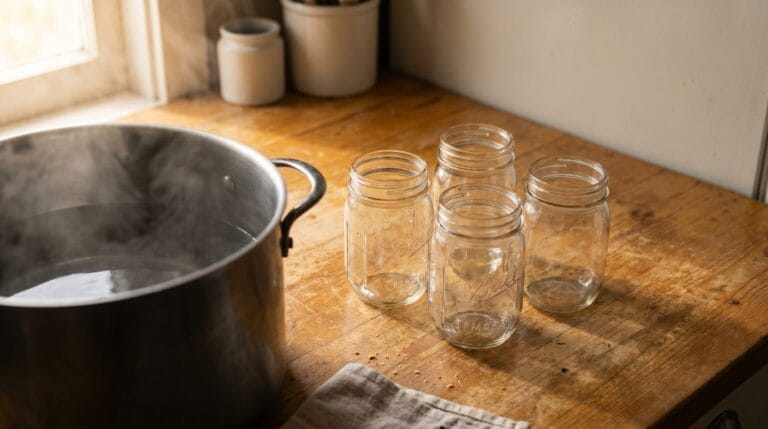
Work through this in order. Have your jars washed and hot before you start cooking, either from a dishwasher cycle or by keeping them in hot (not boiling) water. A cold jar dropped into boiling water during processing can crack.
Prep the fruit. Hull and roughly chop the strawberries. Chop the rhubarb into 1/2-inch pieces. No peeling required.
Macerate. Combine the strawberries, rhubarb, sugar, and lemon juice in a Dutch oven. Stir to coat. Let the mixture sit for 30 minutes at room temperature. This draws out the juice and begins dissolving the sugar, which shortens the active cooking time.
Heat. Set the pot over medium-high heat. Stir frequently as the mixture heats up. It will look very liquid at first, then begin to foam.
Rolling boil. Bring to a full rolling boil, which means a boil that does not stop when you stir it. Stir often. Skim off any foam that forms on the surface using a spoon. (The foam is harmless but makes for a cloudier jar.)
Cook until set. Continue cooking at a strong boil, stirring frequently, for 20 to 30 minutes. Check the temperature with a thermometer. When it reads 220 degrees F (adjusted for altitude), run the cold-plate test. If the jam wrinkles when pushed, it is ready.
Fill jars. Ladle the hot jam into hot mason jars, leaving exactly 1/4 inch of headspace. A wide-mouth funnel helps keep the rims clean, but a steady hand and a ladle work too. Wipe the rims with a clean damp cloth. Apply new lids and finger-tight bands.
Process. Lower the jars into a water bath canner filled with boiling water. The water should cover the jars by at least 1 inch. Process for 10 minutes, adjusting for altitude per NCHFP guidance: add 5 minutes for 1,001 to 3,000 feet, 10 minutes for 3,001 to 6,000 feet, and 15 minutes for 6,001 to 8,000 feet. If you are not sure of your elevation, your county extension office can confirm it.
Cool and check. Remove jars with a jar lifter and set them on a towel-covered counter. Do not tilt or press the lids. Let them cool undisturbed for 12 to 24 hours. Any jar whose lid flexes or pops after cooling did not seal and should go directly into the refrigerator to be used within 3 weeks.
Real Cost and Time for a First Batch
Most recipes skip this part entirely. Before you commit to an afternoon project, here is an honest estimate.
Hands-On Time vs. Hands-Off Time
- Prep (chopping, macerating): roughly 15 minutes of active work, then 30 minutes unattended while the fruit sits.
- Cooking: 20 to 35 minutes of frequent stirring and monitoring. You cannot walk away.
- Processing and cooling: 10 to 12 minutes in the canner, then 12 to 24 hours undisturbed. That part takes care of itself.
Total active time: roughly 45 to 60 minutes. Total elapsed time from start to sealed jar: roughly 2 to 2.5 hours, plus the overnight rest.
Estimated Ingredient Cost
This will vary by region and season. As a rough estimate at the time of writing, a batch using garden or farmers-market rhubarb and locally sourced strawberries might run somewhere between $4 and $8 in ingredients, producing four 8-ounce jars. Grocery-store strawberries in the off-season cost more and often taste less intensely of strawberry, which affects the final flavor.
Startup Equipment Cost
If you already own a large pot, a rack, and a thermometer, the remaining purchases are mason jars (roughly $10 to $14 for a dozen half-pints), new lids (often included or available for a few dollars), and a jar lifter (roughly $8 to $12). In that case, startup costs for a first batch land somewhere around $20 to $30.
If you need everything from scratch, add a water bath canner with a fitted rack (roughly $30 to $40) and a candy thermometer (roughly $8 to $15). A complete beginner buying the full kit should expect to spend closer to $55 to $80 total. Most of those items will last for many batches across many years, so the per-batch cost drops quickly.
Storage, Shelf Life, and How to Use the Jam
Shelf Life
Properly sealed jars stored in a cool, dark location will keep for up to 1 year at peak quality. The NCHFP recommends using home-canned jams within 1 to 2 years for best flavor and texture. Beyond that window, a correctly sealed jar is unlikely to be unsafe, but the color fades and the fruit flavor flattens noticeably. When in doubt, discard.
After opening, refrigerate and use within 3 weeks.
Check before eating. A properly sealed jar should have a concave, firm lid, a fresh fruit smell, and no visible mold. If the lid was never concave, if the jam smells off, or if you see any mold at the surface, throw it out. Do not taste to check.
Ways to Use It
The obvious use is toast or biscuits, and there is nothing wrong with that. Beyond the basics:
- Stir a spoonful into plain yogurt for a quick breakfast.
- Spoon it over vanilla ice cream or pound cake.
- Use it as a filling for thumbprint cookies or a small tart shell.
- Mix a tablespoon into a pan sauce with a splash of balsamic vinegar for a quick glaze over pork tenderloin or grilled chicken thighs.
- A slightly runny batch works especially well as a refrigerator sauce. Pour it over pancakes or waffles. Not a failure, just a different product.
Frequently Asked Questions About Strawberry Rhubarb Jam
Should Rhubarb Be Peeled for Jam?
No, rhubarb does not need to be peeled for jam. The skin softens completely during the cooking process and actually contributes a richer red color to the finished jam. Simply wash the stalks, trim the ends, and chop.
Do I Need to Add Lemon Juice to Strawberry Rhubarb Jam?
Yes, lemon juice is required for water-bath canned jam. It lowers the pH to ensure the jam is acidic enough for safe processing, and it also helps activate the natural pectin in the rhubarb. For a refrigerator-only jam that you plan to eat within a few weeks, you could technically skip it, but the set will be looser.
Can You Use Frozen Strawberries?
Yes. Thaw the strawberries completely first and drain off the excess liquid, or your jam will take noticeably longer to reach the gel point and may turn out thinner. Frozen rhubarb works the same way: thaw and drain before measuring.
Can You Eat 4-Year-Old Homemade Jam?
The NCHFP recommends using home-canned jam within 1 to 2 years for best quality, and that is the window worth following. High-acid jam like this one is lower-risk than low-acid canned goods, but a visual or smell check alone cannot catch every form of degradation. Color, texture, and flavor all decline after the two-year mark, often noticeably. The straightforward guidance: label your jars with the year, rotate your pantry, and discard anything past 2 years. A jar that cost you an afternoon is not worth the uncertainty.
How Do I Know If My Canning Jars Sealed?
Press the center of each lid 12 to 24 hours after processing. A sealed lid will be concave (bowed inward) and will not flex or make a popping sound when pressed. Any jar that flexes or pops has not sealed properly and should be refrigerated immediately and used within a few weeks. Do not re-process jars that failed to seal unless you are reprocessing within 24 hours with a fresh lid.
Wrapping Up
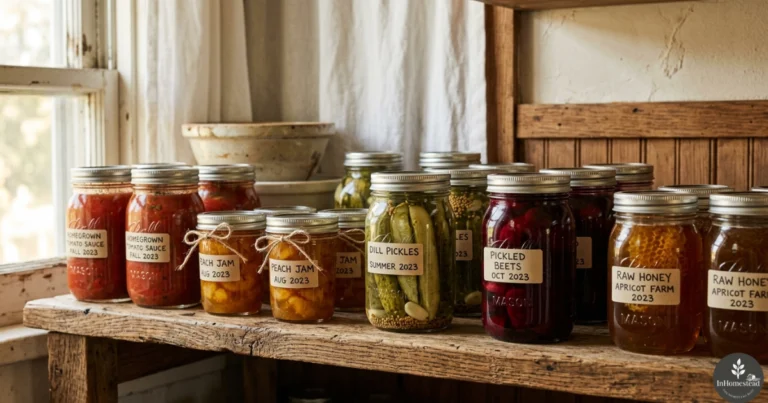
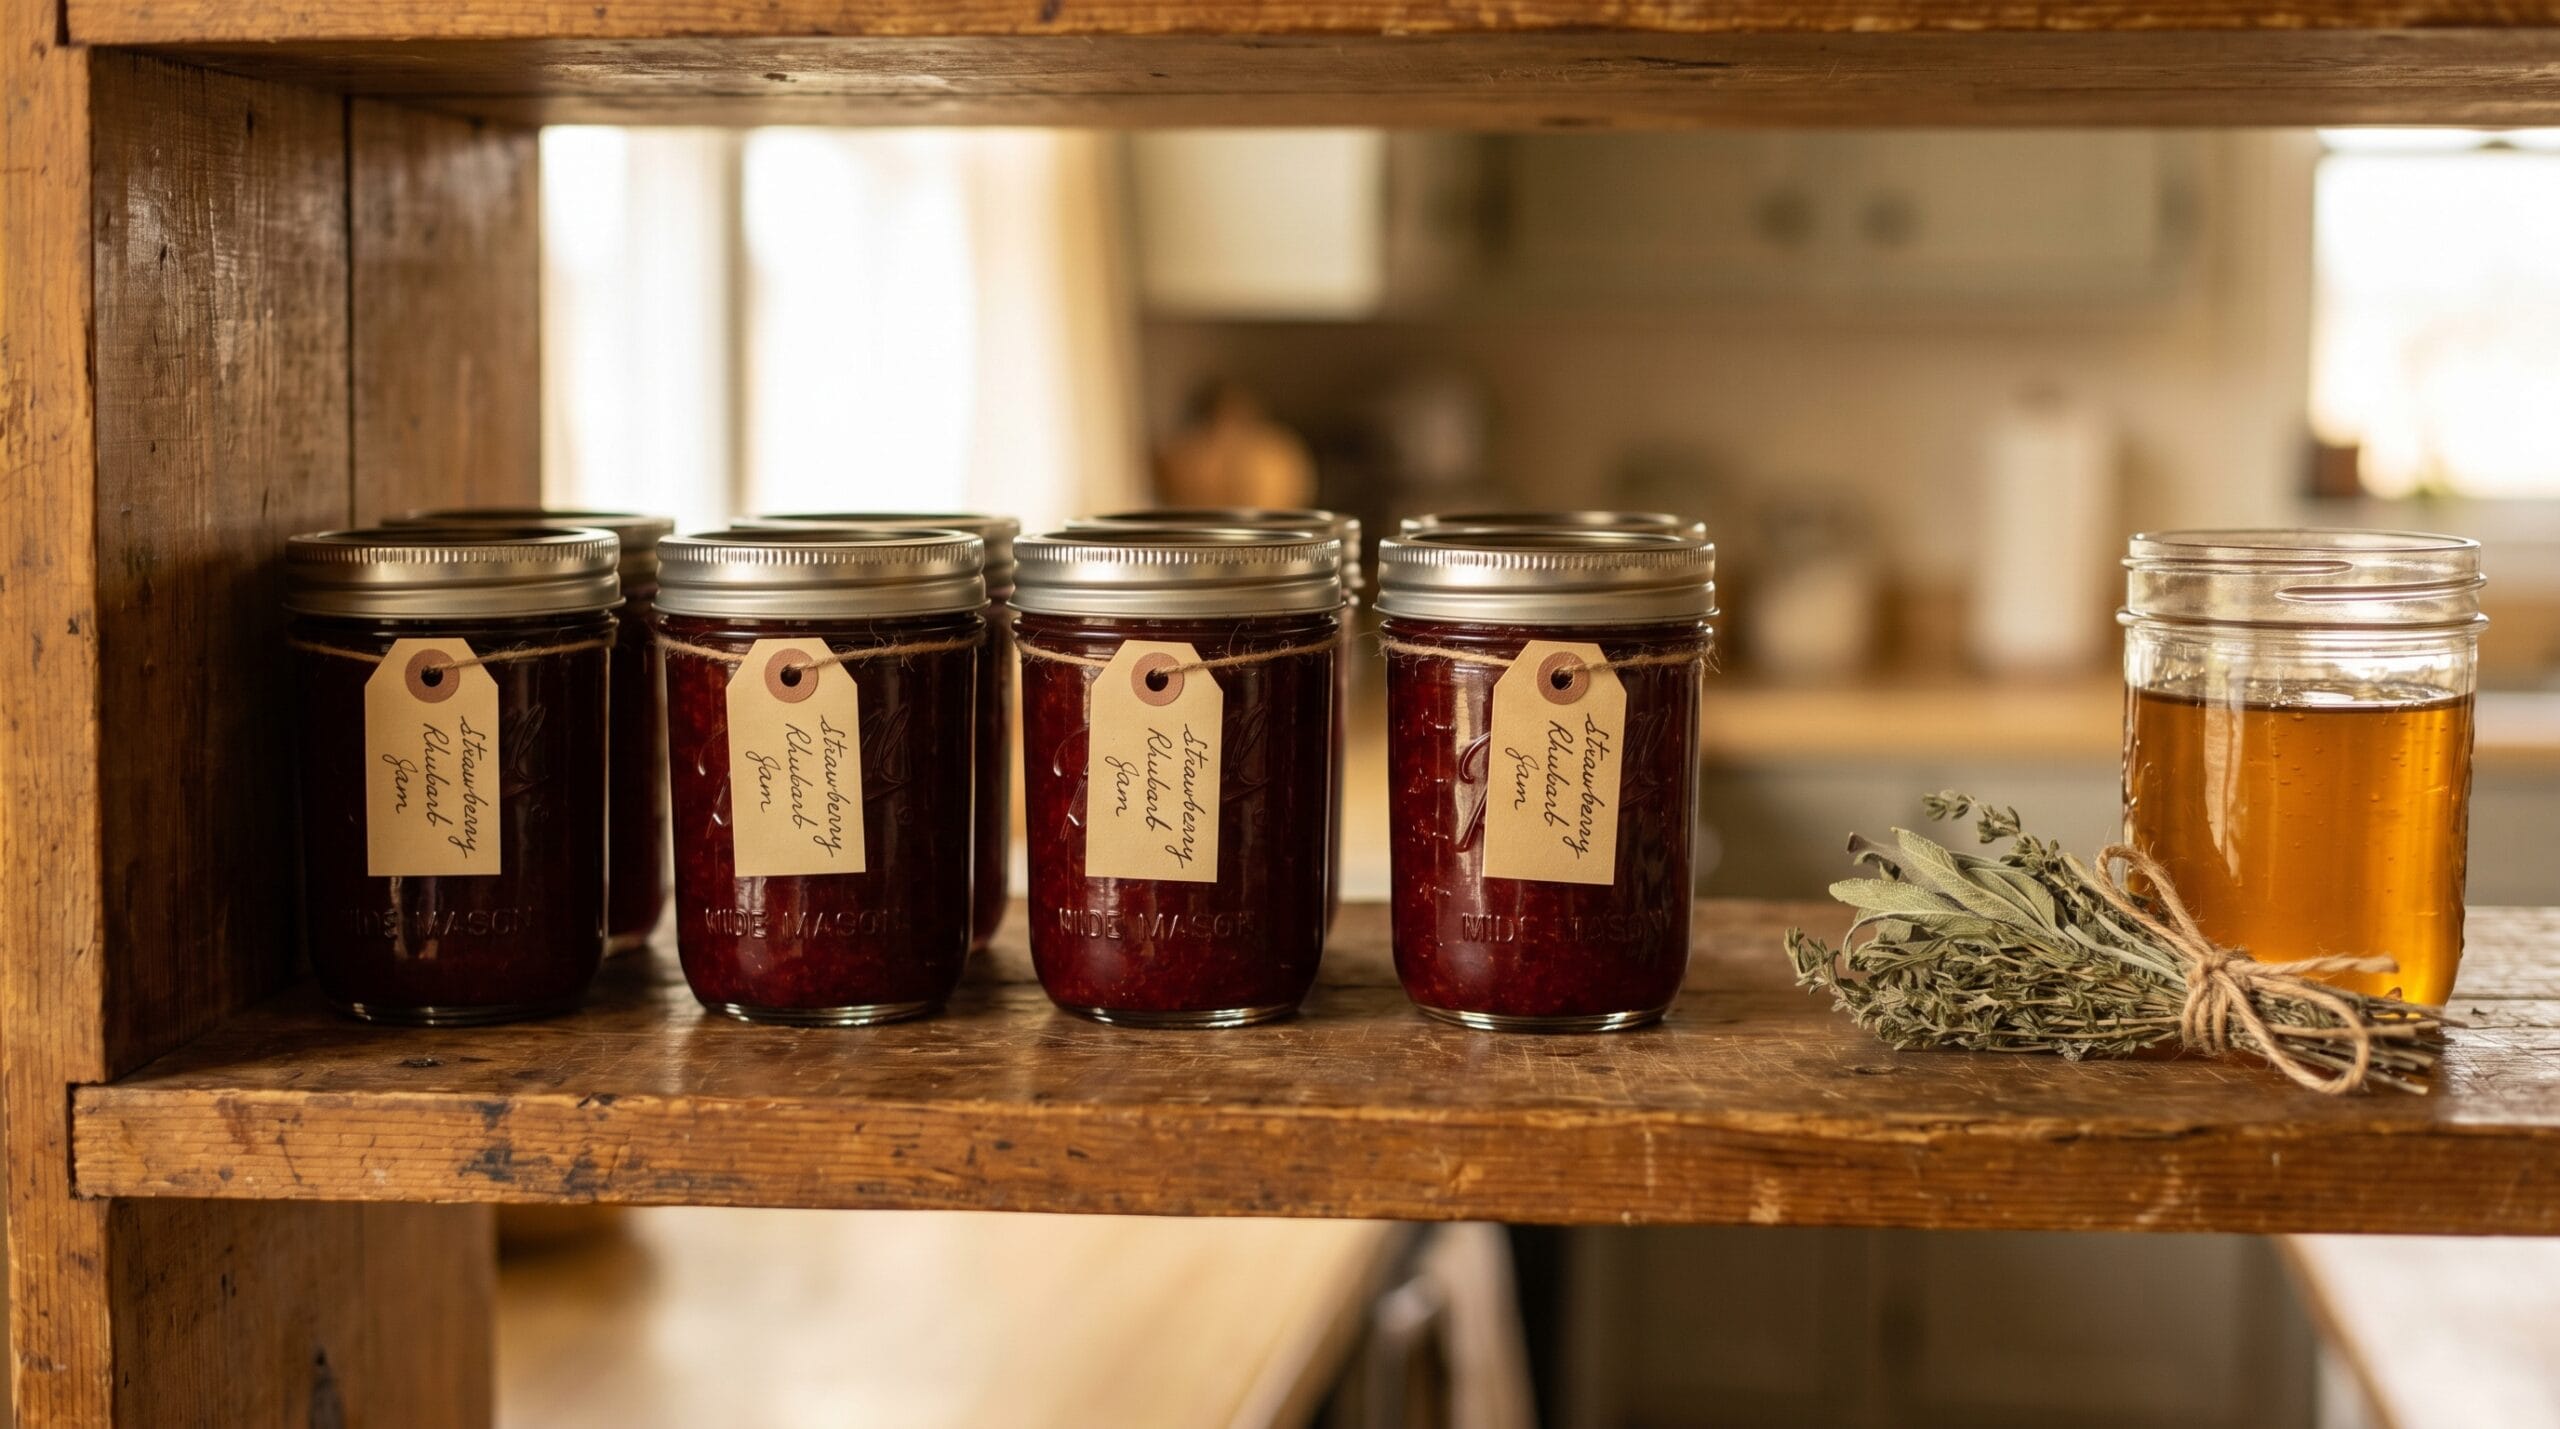
Four jars on a pantry shelf represent about an hour of real work and a process that is genuinely learnable on the first try. The ratio keeps the set reliable. The lemon juice keeps the canning safe. The plate test tells you when to stop cooking. None of it requires special skill, just attention to a few specific details.
The same water bath canner and mason jars you used here will carry you through pickles, fruit preserves, and tomato sauce. Once the equipment is in the house, the barrier to the next batch is mostly just finding the fruit.