How to Make Raised Garden Beds: Materials, Soil Mix, Cost & Step-by-Step Build
Building a raised garden bed comes down to three decisions: material, dimensions, and soil mix. For most home gardeners, the safest starting point is a 4-by-8-foot cedar bed, at least 12 inches deep, filled with a topsoil-heavy mix amended with compost and coarse aeration material. That setup is not the only way to build a raised bed, but it solves the most common beginner problems: poor native soil, bad drainage, shallow rooting, and awkward access.
Get any one of those decisions badly wrong and the bed becomes frustrating fast. Pick untreated pine in a wet climate, and you may be rebuilding in a few seasons. Build a 6-inch-deep bed and deeper-rooted crops will struggle. Fill the whole thing with peat-heavy bagged “raised bed mix” and you may spend too much money on soil that settles and compacts.
This guide walks through how to make raised garden beds using extension-backed principles: keep beds narrow enough to reach across, place them in full sun, build deep enough for the crops you want to grow, and fill them with a balanced soil mix. We will cover materials, 2026 price ranges, sizing rules, a step-by-step build, soil volume, placement, common failure points, and what to plant first.
Key Takeaways
- Best default build: untreated cedar 2x10s, 4 feet by 8 feet, with a 12-inch minimum depth.
- Best width: 4 feet if you can access the bed from both sides; 2.5 to 3 feet if the bed sits against a wall or fence.
- Soil math: a 4-by-8-foot bed at 12 inches deep holds 32 cubic feet, or about 1.2 cubic yards.
- Best soil starting mix: about 60 percent screened topsoil, 30 percent finished compost, and 10 percent coarse aeration material.
- Realistic 2026 cost: expect roughly $220 to $420 for one cedar 4-by-8-foot bed, fully filled, depending on lumber quality, soil source, and delivery fees.
- Do not skip placement: most vegetables need 6 to 8 hours of direct sun and easy water access.
Pick the Material First
Material choice drives lifespan, cost, and how the bed looks after years of weather. The four serious options are cedar, untreated pine or fir, galvanized steel, and composite or recycled plastic. Pressure-treated lumber is also available, but it deserves a more cautious discussion for vegetable beds.
Price note: the prices below are spring 2026 U.S. retail planning ranges based on common big-box, lumberyard, and landscape-supply pricing. Local prices vary heavily by region, delivery distance, board quality, and seasonal availability. Use these numbers for budgeting, not as exact quotes.
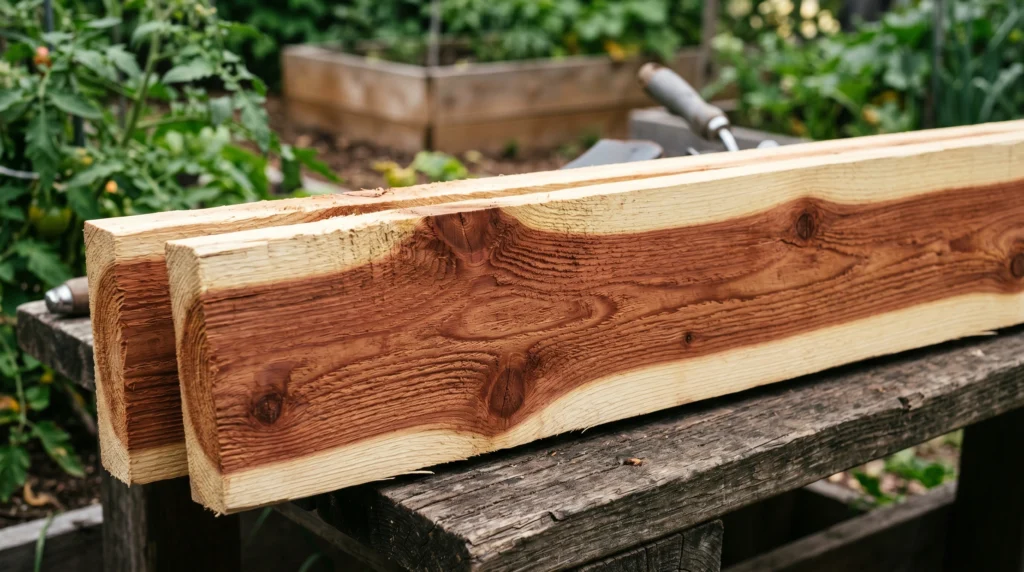
Cedar
Cedar is the best default material for most raised garden beds because it naturally resists decay without chemical treatment. Western red cedar and eastern white cedar are common choices. A 2x10x8 cedar board often falls around $32 to $55 in 2026, depending on region and quality. A cedar frame can last around 8 to 12 years in many climates, with shorter life in very wet regions and longer life in dry ones.
Do not assume every board labeled “cedar” will last the same. Boards with more reddish heartwood generally resist decay better than pale, sapwood-heavy boards. Inspect the boards before buying, especially at big-box stores where cedar quality can vary.
Untreated Pine or Douglas Fir
Untreated pine or Douglas fir is cheaper and easy to find. A 2x10x8 board may cost about $14 to $22. The trade-off is lifespan. In wet climates, the bottom boards can soften quickly. In dry climates, untreated pine or fir may last several years longer.
Use untreated pine or fir if you are building a temporary bed, testing a garden location, or working within a tight budget. If you want a bed to last a decade, cedar, metal, or composite is usually a better investment.
Pressure-Treated Lumber
Modern pressure-treated lumber is not the same as older CCA-treated wood, which contained arsenic and was phased out for residential uses in the early 2000s. Newer treatments such as ACQ and copper azole are copper-based, and some extension sources consider them acceptable for raised beds when used properly.
That said, cautious gardeners often still prefer untreated cedar, galvanized steel, or composite for edible crops when the budget allows. Our editorial recommendation is to avoid pressure-treated lumber as the default for vegetable beds. If you choose to use it anyway, use modern ground-contact-rated lumber and consider adding a physical barrier between the wood and soil.
Galvanized Steel
Galvanized steel raised beds are long-lasting, clean-looking, and increasingly common. Pre-fabricated kits often run about $180 to $400 for a 4-by-8-foot bed, depending on height and gauge. DIY corrugated panels with a wood frame may cost less.
The main trade-offs are heat and quality. Metal beds warm quickly, which is helpful in cool climates but can stress plants in hot regions. Cheap kits may use thin steel that dents easily or rusts at cut edges. Look for thicker panels, finished edges, and coatings such as Galvalume or powder coating when possible.
Composite or Recycled Plastic
Composite and recycled-plastic boards can last 20 years or more, do not rot, and do not splinter. They are expensive, often around $300 to $600 for a 4-by-8-foot bed frame, but they are useful for gardeners who want to build once and avoid replacing boards later.
The trade-offs are price, weight, petroleum-based materials, and appearance. Some gardeners love the low-maintenance look; others prefer wood.
Material Comparison
| Material | 2026 frame cost for 4-by-8-foot bed | Expected lifespan | Best for |
|---|---|---|---|
| Western red cedar | $130 to $220 | 8 to 12 years | Most gardeners and climates |
| Untreated pine or fir | $55 to $90 | 3 to 7 years | Tight budgets and dry climates |
| Galvanized steel kit | $180 to $400 | 15 to 25 years | Cold climates and modern garden layouts |
| Composite or recycled plastic | $300 to $600 | 20+ years | Build-once gardeners |
| Modern pressure-treated lumber | $70 to $110 | 15 to 20 years | Budget durability, though not our default for vegetables |
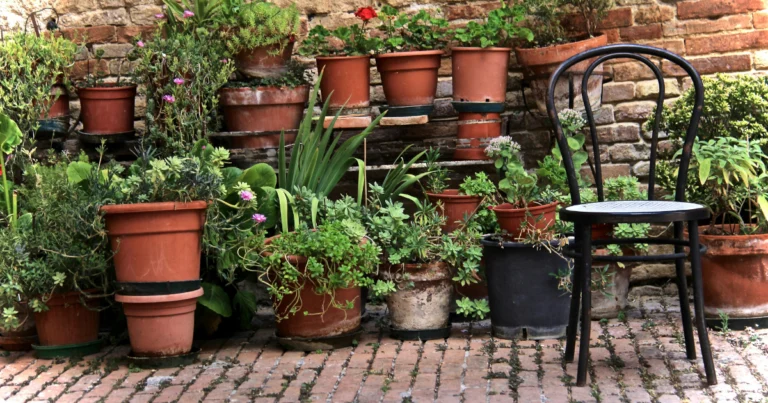
If you are still deciding whether a raised bed is the right move for your space, our guide on container garden ideas for small spaces covers smaller-footprint alternatives.
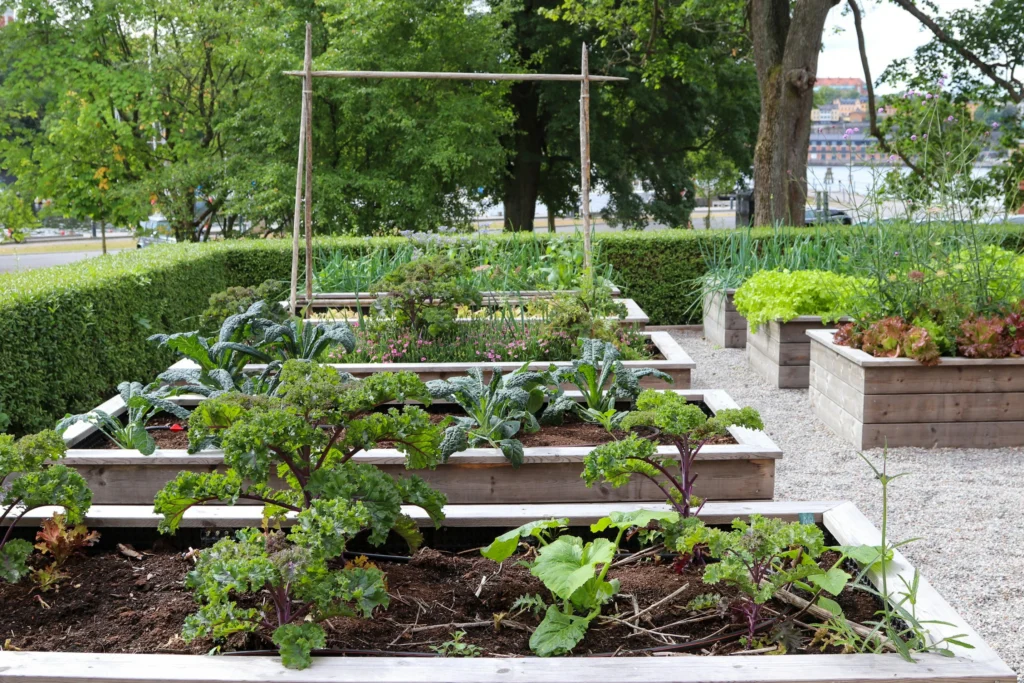
Get the Dimensions Right
Three numbers matter most: width, length, and depth.

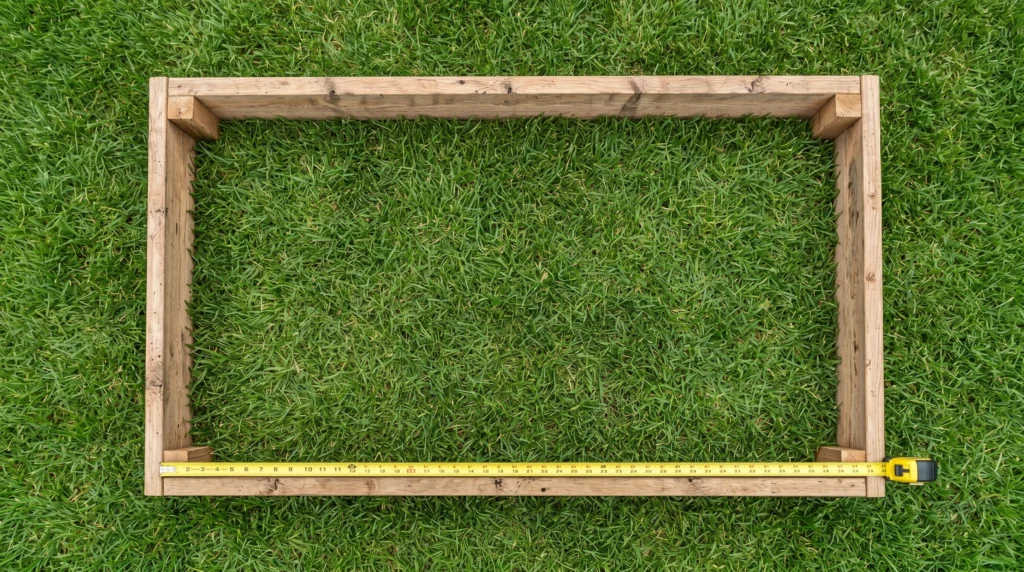
Width: 4 feet if accessible from both sides. A 4-foot-wide bed lets most adults reach the center from either side without stepping on the soil. Oregon State University Extension gives 4 feet as a good maximum width for adult gardeners when the bed can be reached from both sides. If the bed sits against a wall or fence, keep it closer to 2.5 to 3 feet wide so you can still reach the back.
Length: 8 feet is the sweet spot. Standard lumber comes in 8-foot lengths, which means the long sides require no cuts. Longer beds can work, but 12- or 16-foot sides need center bracing to prevent bowing under wet soil weight. A filled 4-by-8-foot bed at 12 inches deep can weigh roughly 1,800 to 2,200 pounds depending on soil moisture and mix.
Depth: 12 inches is the practical minimum. A 6-inch bed can grow lettuce, radishes, and herbs, but it is limiting for deeper-rooted vegetables. Twelve inches is a better baseline for beans, peppers, tomatoes, squash, herbs, brassicas, and greens. Go 18 to 24 inches for carrots, parsnips, daikon, potatoes, or beds placed on concrete, gravel, or compacted hardpan.
This 4-by-8-foot, 12-inch-deep design is not a magic formula. It is a practical design built around common extension-backed principles: keep the bed narrow enough to reach across, place it where vegetables get full sun, and provide enough root depth for the crops you plan to grow.
How Much Soil Do You Need?
Use this formula:
Length x width x depth = cubic feet of soil
Convert inches to feet before multiplying. For example, a 4-by-8-foot bed at 12 inches deep is 4 x 8 x 1 = 32 cubic feet.
| Bed size | 12-inch depth | 18-inch depth | 24-inch depth |
|---|---|---|---|
| 2 by 4 feet | 8 cu ft | 12 cu ft | 16 cu ft |
| 3 by 6 feet | 18 cu ft | 27 cu ft | 36 cu ft |
| 4 by 8 feet | 32 cu ft | 48 cu ft | 64 cu ft |
One cubic yard equals 27 cubic feet. That means a 4-by-8-foot bed at 12 inches deep needs about 1.2 cubic yards before settling. Order slightly extra if buying bulk soil, because fresh beds usually settle after watering and planting.
Tools and Materials for a 4-by-8-Foot Cedar Bed
Tools
- Cordless drill or impact driver
- 1/8-inch drill bit for pilot holes
- Tape measure
- Square
- Level
- Wheelbarrow
- Optional: miter saw or circular saw if your boards need trimming
Materials
- Three 2x10x8 cedar boards
- One 4x4x8 cedar post, cut into four 12-inch corner posts
- One box of 3-inch exterior-grade structural screws, such as GRK, SPAX, or equivalent
- Plain cardboard for under-bed weed suppression
- Optional: 1/2-inch hardware cloth for vole or gopher protection
Do not use drywall screws. They are not designed for outdoor structural use and can rust or snap. For a cedar build, expect the frame materials to land around $130 to $180 before soil, depending on board quality and local pricing.
Step-by-Step: how to make raised garden beds
- Cut the short sides. From the third 2x10x8 board, cut two 45-inch pieces. This gives you a true 48-inch outside width because the two long boards add 1.5 inches each. If you cut the short boards to 48 inches instead, your outside width will be about 51 inches.
- Cut the corner posts. Cut four 12-inch pieces from the 4×4 cedar post. These sit inside the corners and give the screws something solid to bite into.
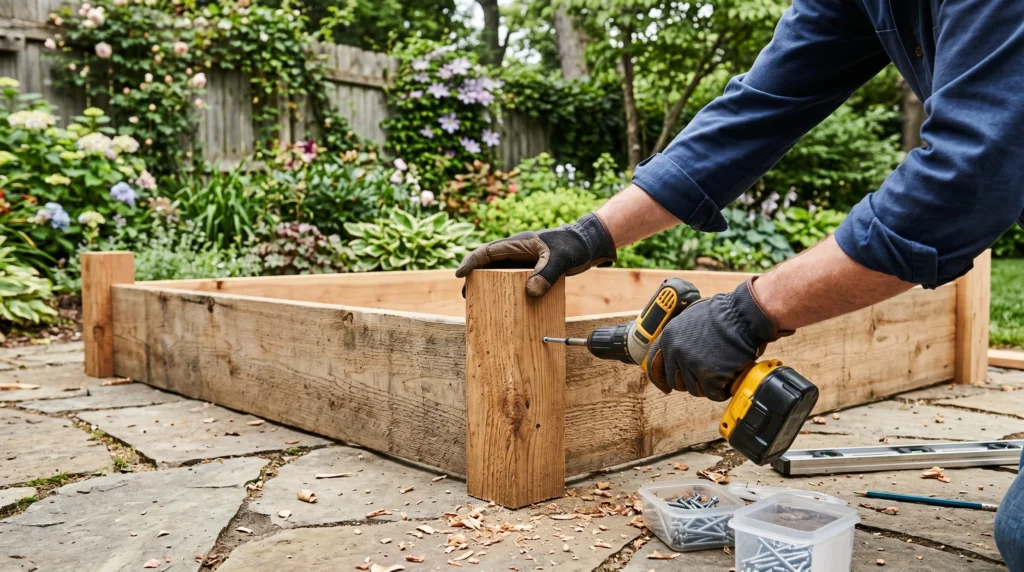
- Assemble one long side. Lay one 8-foot 2×10 flat. Stand a 12-inch corner post at each end, flush with the top edge and outside face. Pre-drill, then drive three 3-inch exterior screws through the board into each post.
- Repeat for the other long side. Build the second long side the same way.
- Stand the long sides up. Position them parallel to each other with the corner posts facing inward.
- Attach the short sides. Place a 45-inch board between the long sides at one end, flush with the corner posts. Pre-drill, then screw through the short board into each post with three screws per corner. Repeat at the other end.
- Square the frame. Measure diagonally from corner to corner. The two diagonal measurements should match within about 1/4 inch. Tap the frame into square before filling.
- Move and level the empty frame. Put the bed in its final location before adding soil. Check all four sides with a level. Dig down high spots or shim with flat stones until the frame is reasonably level. Water pools in low corners.
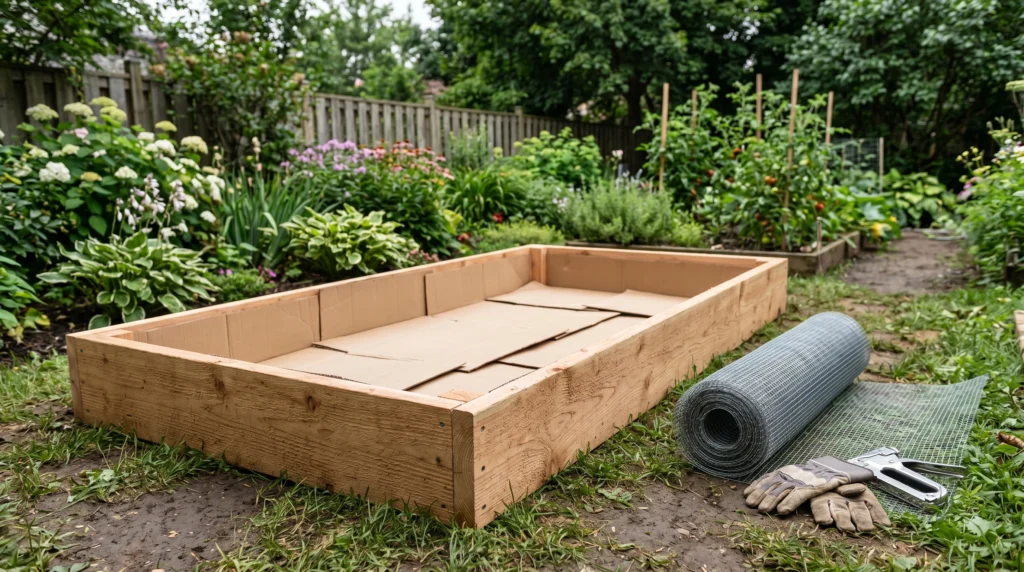
- Suppress weeds underneath. Lay 4 to 6 layers of plain cardboard directly on the ground inside the frame. Avoid glossy cardboard and remove tape or labels. The cardboard smothers grass and decomposes over time.
- Add hardware cloth if needed. If voles, gophers, or burrowing rodents are common in your area, staple 1/2-inch hardware cloth across the bottom before filling
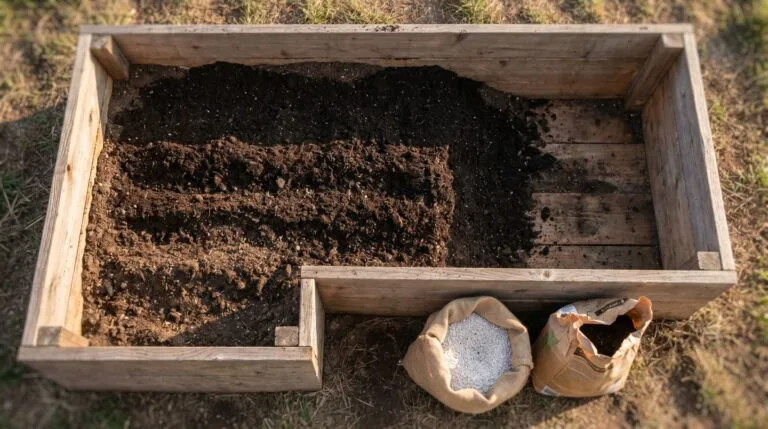
- Fill in layers. Add soil in 6-inch lifts, watering lightly between layers to settle air pockets. Plan to top off the bed after a few weeks of settling.
Filling the Bed: A Reliable 60/30/10 Starting Mix
A 4-by-8-foot bed at 12 inches deep holds 32 cubic feet of fill. Filling that entirely with bagged “raised bed mix” can get expensive fast, and some peat-heavy bagged mixes settle dramatically after the first season.
A reliable starting blend is:
- 60 percent screened topsoil
- 30 percent finished compost
- 10 percent coarse aeration material
For a 32-cubic-foot bed, that works out to:
- 19.2 cubic feet screened topsoil
- 9.6 cubic feet finished compost
- 3.2 cubic feet coarse aeration material
Good aeration materials include perlite, pumice, pine bark fines, or very coarse horticultural sand. Avoid fine play sand, which can make dense mixes worse.
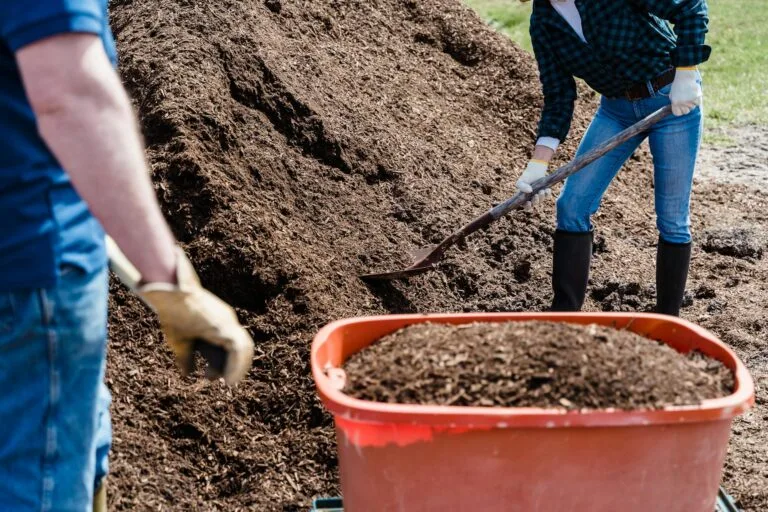
Bulk delivery is usually much cheaper than buying bags. A cubic yard is 27 cubic feet. In many areas, one cubic yard of screened topsoil or garden blend costs about $30 to $55 before delivery, while bagged soil can cost several times more per cubic foot. For one 4-by-8-foot bed, ordering about 1.25 cubic yards of topsoil-compost blend plus a few bags of aeration material is often the most cost-effective approach.
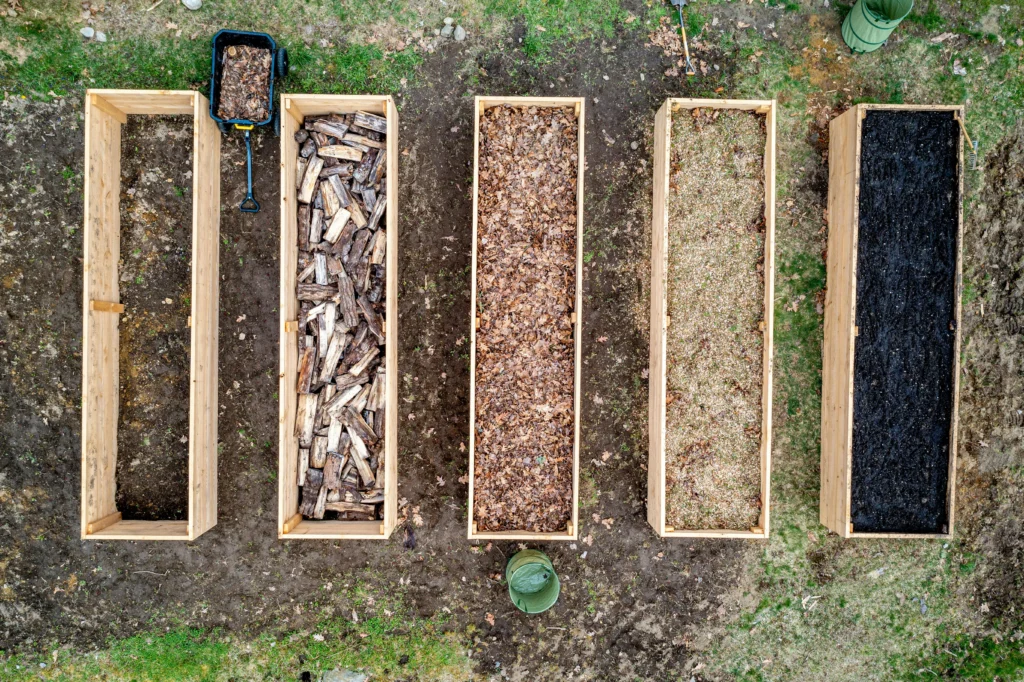
Hugelkultur Option for Deeper Beds
If you are building 18 inches or deeper, you can fill the bottom 6 to 8 inches with untreated logs, branches, leaves, and other clean woody material. This reduces soil cost and slowly adds organic matter as the wood breaks down.
The trade-off is settling. A hugelkultur-style bed may sink 2 to 4 inches during the first year and will need topping off with compost or soil. Avoid black walnut, painted wood, stained wood, pressure-treated lumber, and any material that may contain herbicide residue.
For a smaller-space version of the same soil principles, our article on growing vegetables in a planter covers container-scale soil choices.
Placement: Sun, Water, and Drainage
Sun
Most fruiting vegetables need 6 to 8 hours of direct sun. Cornell Cooperative Extension recommends choosing a raised-bed site with at least 6 to 8 hours of full sun and avoiding locations under trees or on the north side of buildings. Tomatoes, peppers, squash, cucumbers, eggplant, and beans all perform best with strong sun. Leafy greens and many herbs can tolerate 4 to 6 hours, especially in hot climates.
Water
Run a hose to the location before you build. Raised beds dry faster than in-ground beds because they drain well and lose moisture from the sides as well as the top. A drip line or soaker hose on a timer is one of the best upgrades you can add. Inconsistent watering is a common contributor to plant stress, bitter cucumbers, and blossom end rot in tomatoes.
Drainage
Raised beds drain well by design, but they still need a good site. Avoid placing a bed in a low spot where the surrounding ground stays saturated. If you cannot move the bed, build it 4 to 6 inches taller and loosen the native soil below before adding cardboard. Do not rely on a thin gravel layer as a drainage fix; it does not solve a poor site.
Orientation
A north-south long axis is useful for many low-growing crops because it helps sunlight reach both sides of the bed over the day. Site constraints matter too, so do not force a poor location just to get perfect orientation. If you grow tall crops like tomatoes, pole beans, or trellised cucumbers, put them on the north side of the bed so they do not shade shorter crops.
The USDA Plant Hardiness Zone Map was updated in 2023 and lets you search your zone by ZIP code. Use it as a starting point for crop selection and overwintering decisions, but remember that frost dates, heat, rainfall, and microclimates also matter.
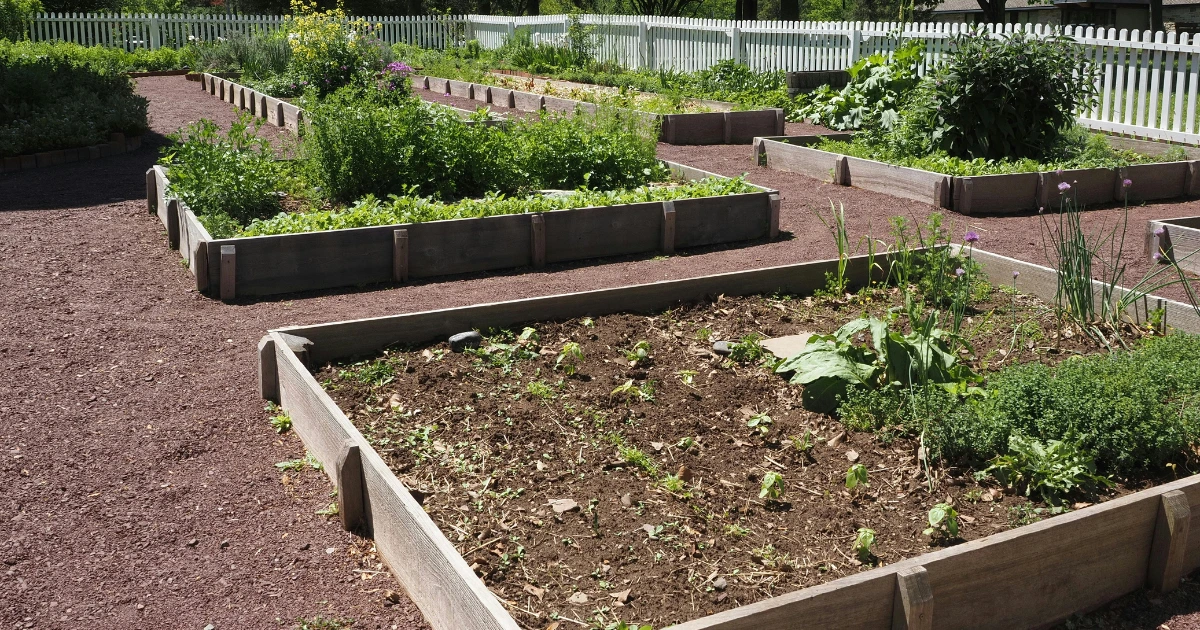
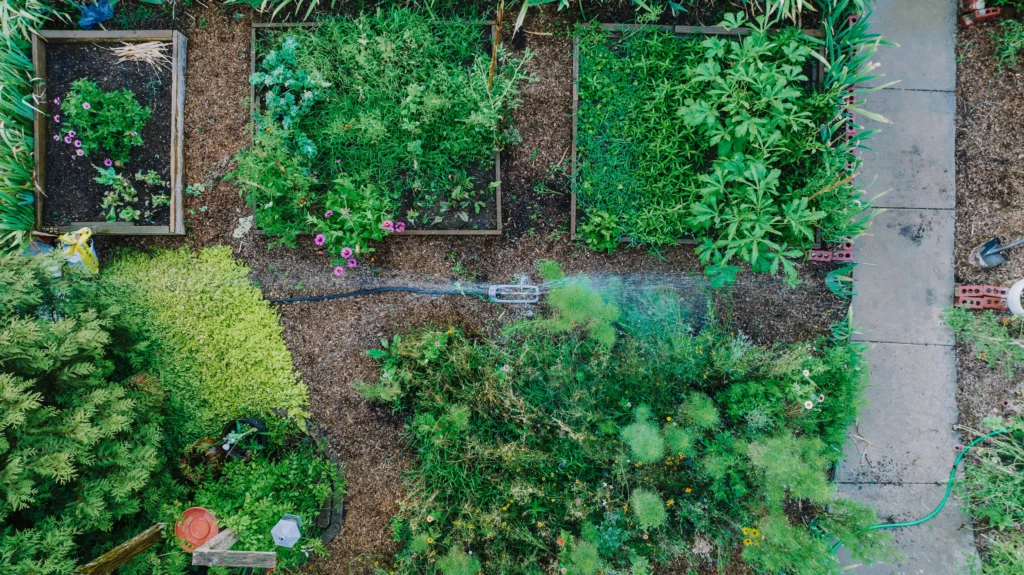
Layout Tips for Multiple Raised Beds
If you are building more than one bed, plan the paths before you fill anything. A raised bed full of wet soil is not easy to move.
- Leave at least 24 inches between beds for walking and kneeling.
- Use 30 to 36 inches if you want wheelbarrow access.
- Keep water in mind. One hose bib, a splitter, and simple drip lines can handle several beds if planned early.
- Put taller crops on the north side so they cast less shade over lower crops.
- Mulch paths with wood chips, straw, or gravel to reduce mud and weeds.
A simple starter layout is two 4-by-8-foot beds with a 3-foot path between them. That gives you 64 square feet of growing space without making the garden hard to maintain.
The Four Failure Modes We See Most Often
- The bed sat on unkilled sod. Bermuda grass, quack grass, bindweed, and other aggressive weeds can push up through surprisingly deep soil. Use thick plain cardboard, and for severe weeds, consider solarizing the site before building.
- The bed was filled with peat-heavy bagged mix. It looked fluffy in spring, sank by summer, and compacted by year two. Use a topsoil-heavy mix with finished compost and coarse aeration material.
- The bed was watered like an in-ground garden. Raised beds dry faster, especially during heat waves. Use mulch and consider drip irrigation.
- The bed was built too shallow. Six-inch beds are fine for salad greens and herbs, but they limit deeper-rooted crops. Build at least 12 inches deep for a general vegetable bed.
If you are brand new to gardening and still deciding between in-ground, raised, and container growing, our broader guide on how to start gardening for newbies walks through the basic decision.
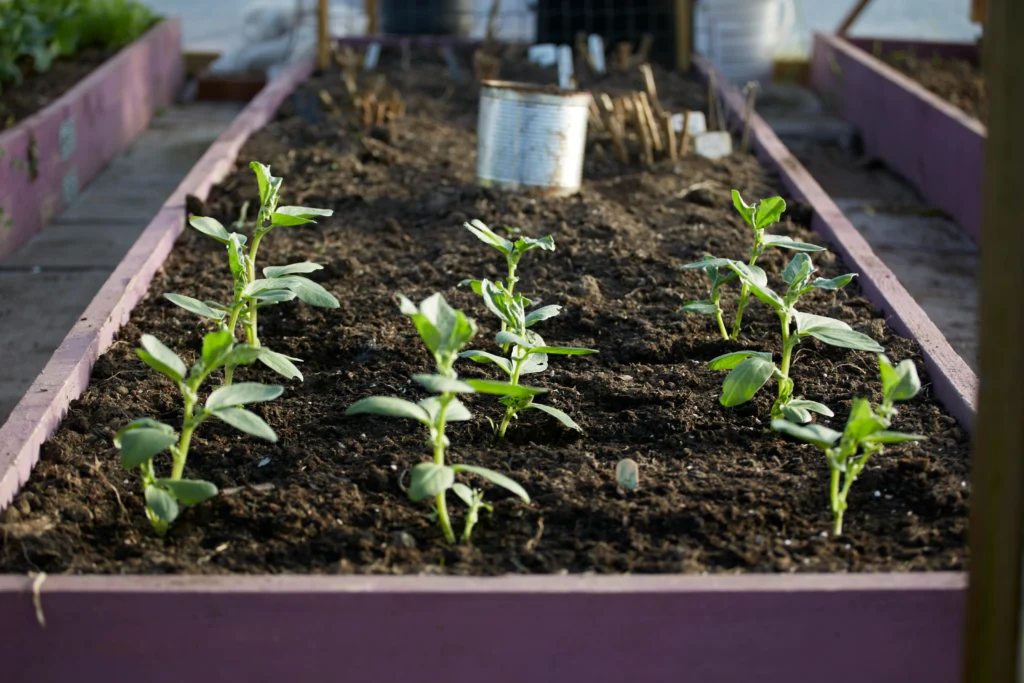
What to Plant First
For a first-year raised bed, choose forgiving crops that produce quickly and teach you how your bed behaves. Pick three or four of these, not all of them at once.
- Bush beans: direct sow after the last frost. Productive and beginner-friendly.
- Lettuce and salad greens: direct sow in cool weather and succession sow every 2 weeks.
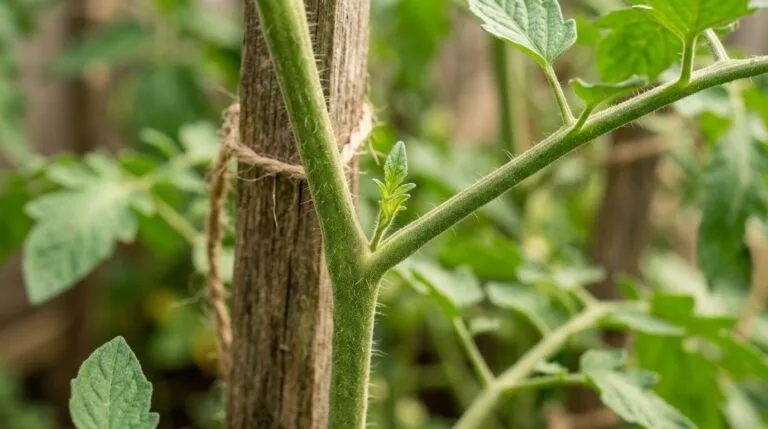
- Cherry tomatoes: plant one or two, with cages or stakes. More forgiving than many full-size slicers.
- Cucumbers: trellis vertically along one short side to save space.
- Bush zucchini: one plant is enough for a 4-by-8-foot bed. Vining types can take over.
- Basil and parsley: tuck herbs between larger crops where they will not be shaded out.
Skip corn, full-size pumpkins, and summer brassicas in your first raised bed. Corn needs more space and wind pollination. Pumpkins sprawl. Brassicas can be excellent, but summer pest pressure can frustrate new gardeners.
If you want flowers around the bed, our guide to flower pot ideas for beginners pairs well with edible beds and pollinator-friendly plantings.
Build This Week
Here is a simple action plan:
- Today: measure the spot, confirm at least 6 hours of sun, and run a hose to it.
- This weekend: buy three 2x10x8 cedar boards, one 4x4x8 cedar post, and exterior structural screws.
- Before filling: lay plain cardboard and hardware cloth if rodents are an issue.
- Soil order: price 1.25 cubic yards of screened topsoil-compost blend from a local landscape yard, then compare against bagged soil.
- Filling: add soil in 6-inch lifts, watering lightly between layers.
- Planting: plant after your local last-frost window, then top off the bed after settling.
Fast crops like radishes, baby lettuce, and some greens can start producing within 30 to 45 days. Fruiting crops like tomatoes, peppers, cucumbers, and zucchini take longer. Once plants are about 4 inches tall, mulch the surface with 2 inches of straw or shredded leaves to reduce evaporation and keep soil temperature steadier.
Want a planting calendar that matches your zone? Join the Sunday newsletter and we will send a zone-keyed checklist for what to plant, amend, and watch for each week.
Frequently Asked Questions
How deep should a raised garden bed be?
Twelve inches is the working minimum for most vegetables. Go to 18 to 24 inches if you want root crops like carrots and parsnips, or if the bed sits on concrete, gravel, or compacted clay where roots cannot extend into the native soil below.
Is pressure-treated wood safe for raised beds?
Modern treatments such as ACQ and copper azole are far safer than older arsenic-based CCA lumber, and some extension sources consider modern pressure-treated lumber acceptable for raised beds. Even so, many gardeners still prefer cedar, galvanized steel, or composite for vegetable beds. Our default recommendation is untreated cedar or metal when budget allows.
What is the cheapest way to fill a raised bed?
Order screened topsoil and compost in bulk by the cubic yard instead of buying everything in bags. Bulk soil is often much cheaper per cubic foot. For deeper beds, a hugelkultur base of untreated logs and branches can fill the bottom third while improving water retention over time.
Do I need to put anything under a raised bed?
On lawn or bare soil, use 4 to 6 layers of plain cardboard to suppress grass and weeds. In vole or gopher country, add 1/2-inch hardware cloth across the bottom. Avoid landscape fabric inside the bed; it can fail over time and leave synthetic fibers in the soil.
How long do cedar raised beds last?
Eight to twelve years is a realistic range in many climates. Cedar lasts longer in dry regions and may break down faster in wet or humid regions. Lifespan also depends on board quality; cedar with more heartwood generally lasts longer than sapwood-heavy boards.
Can I build a raised bed directly on concrete or a patio?
Yes, but treat it more like a large container. Build it 18 to 24 inches deep, make sure excess water can drain, and expect to water and fertilize more often than you would with an open-bottom bed on soil.
Should I line the inside of a raised garden bed?
For cedar, galvanized steel, or composite beds, usually no. Let the material breathe and avoid trapping moisture against wood. For pine or fir, some gardeners line the inside walls to slow decay, but the liner can also trap moisture. Do not line the bottom unless you are building on concrete and intentionally creating a large planter with drainage.
When should I build a raised garden bed?
Fall and early spring are the best times. Fall builds let the soil settle over winter, while early spring builds give you time to fill, water, and top off before warm-season planting. Avoid waiting until the week you want to plant tomatoes; fresh soil almost always settles.