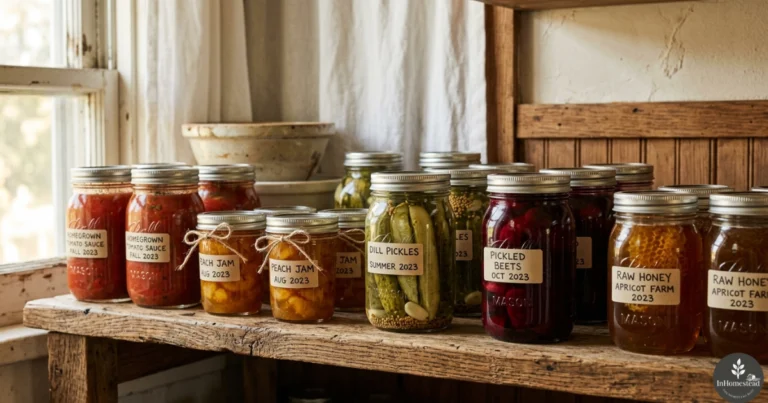
How to Freeze Green Beans (With and Without Blanching)
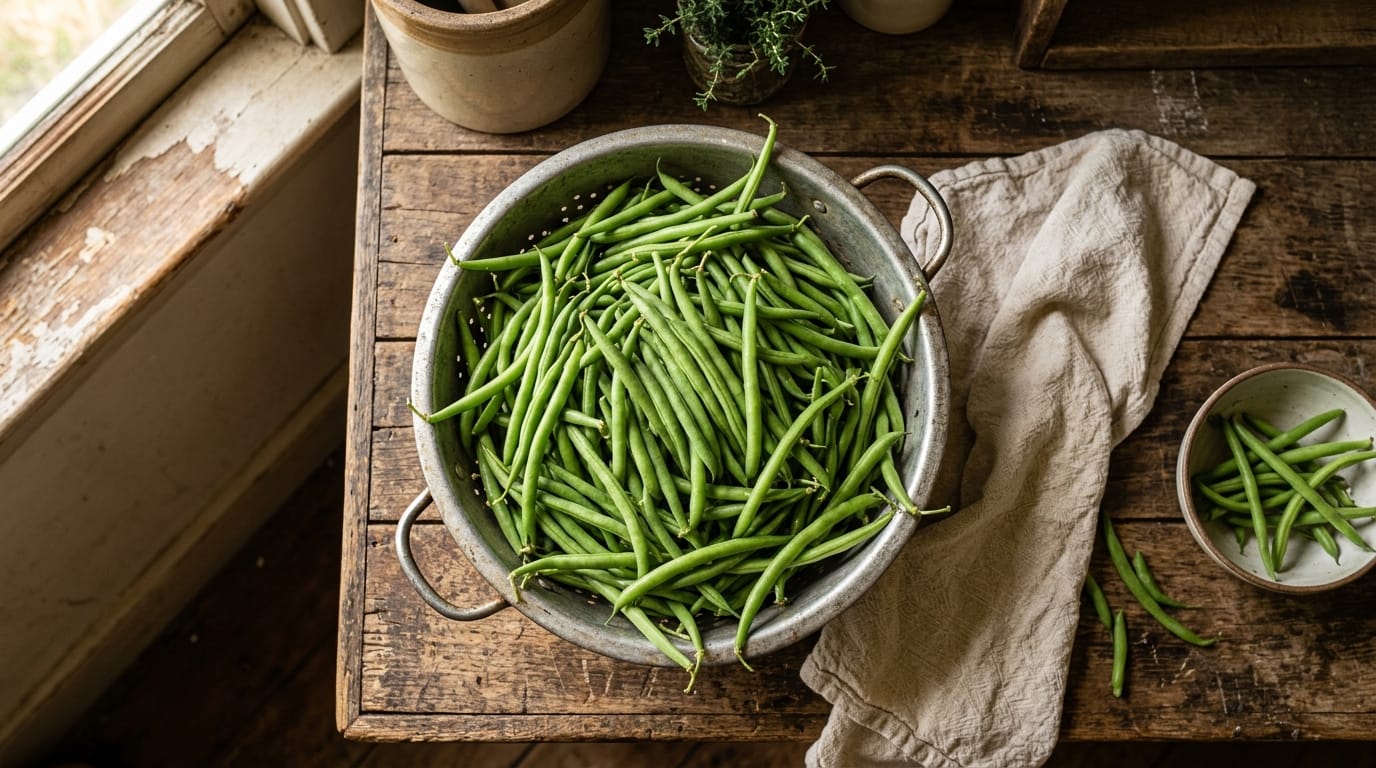
There is a point every summer when the green beans stop being a treat and start being a problem, a colander full every couple of days that you cannot eat fast enough. Freezing is the easiest way to catch that surplus, and done right, the beans come out of the freezer in winter nearly as crisp and green as the day you picked them.
The whole job takes about half an hour per batch, and most of that is waiting on a pot to boil. This guide walks through the method, the one step you should not skip, and how to keep the beans from turning rubbery or bland along the way.
Quick Answer: How to Freeze Green Beans
Wash and trim the beans, blanch them in boiling water for 3 minutes, move them straight into ice water for 3 minutes, dry them well, freeze them loose on a baking sheet for 1 to 2 hours, then pack them into freezer bags with the air pressed out. Blanched green beans keep their best quality for 8 to 12 months. You can freeze them raw and skip the blanching, but plan to use those within 1 to 2 months before the color and texture fade.
Should You Blanch Green Beans Before Freezing?
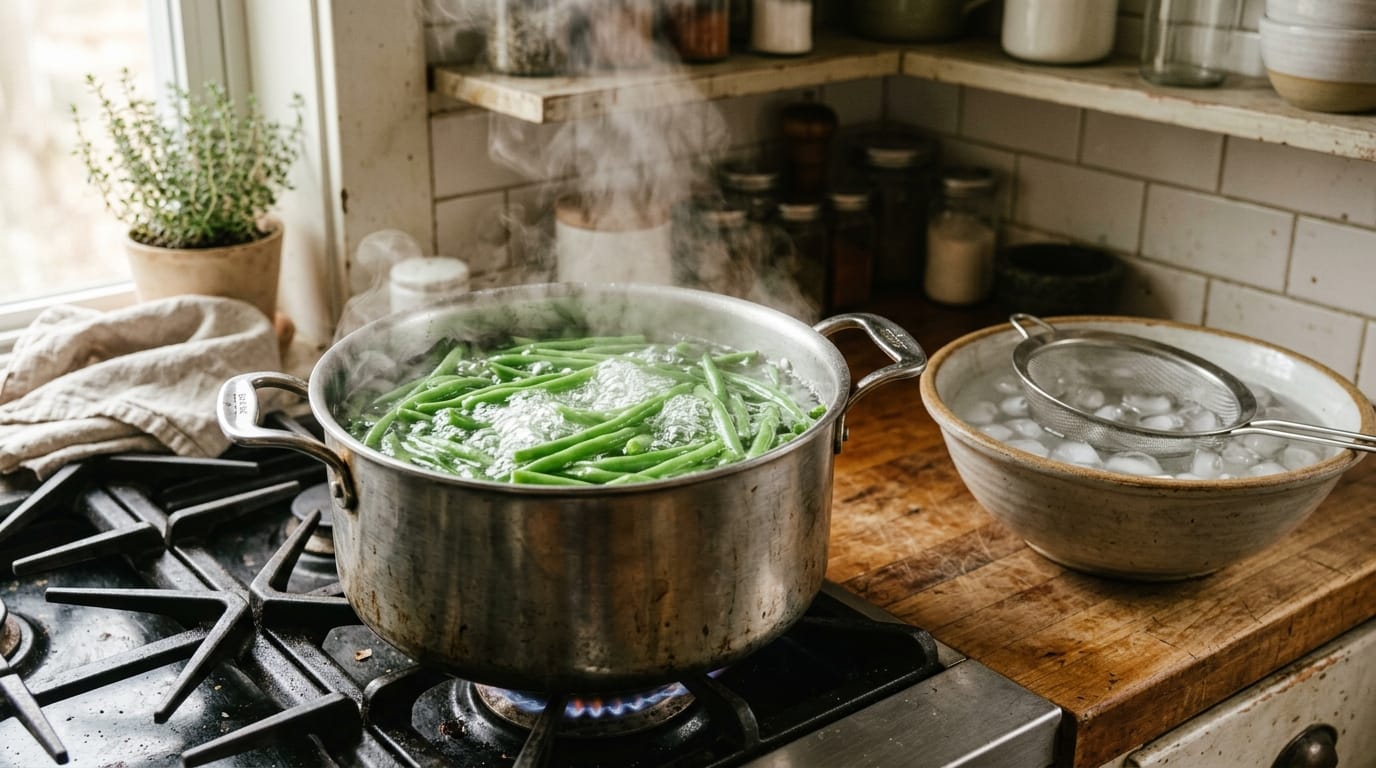
Yes, for anything you want to store past a month or two. Blanching is a quick dip in boiling water that stops the enzymes which otherwise keep working in the freezer and slowly steal the beans’ color, flavor, and snap. The 3 minute blanch time comes from the National Center for Home Food Preservation, and it is worth following closely in both directions.
Overblanching cooks the beans soft before they ever reach the freezer. Underblanching is actually worse than skipping the step entirely, because a too-short dip wakes the enzymes up instead of shutting them down. Three minutes at a full rolling boil, timed from the moment the beans go in, is the number to hold.
If you would rather not deal with a big pot of boiling water, steam blanching works too. Keep the beans in a single layer in a steamer basket over rapidly boiling water and give them about 5 minutes instead of 3.
Picking and Storing Beans Until Freezing Day
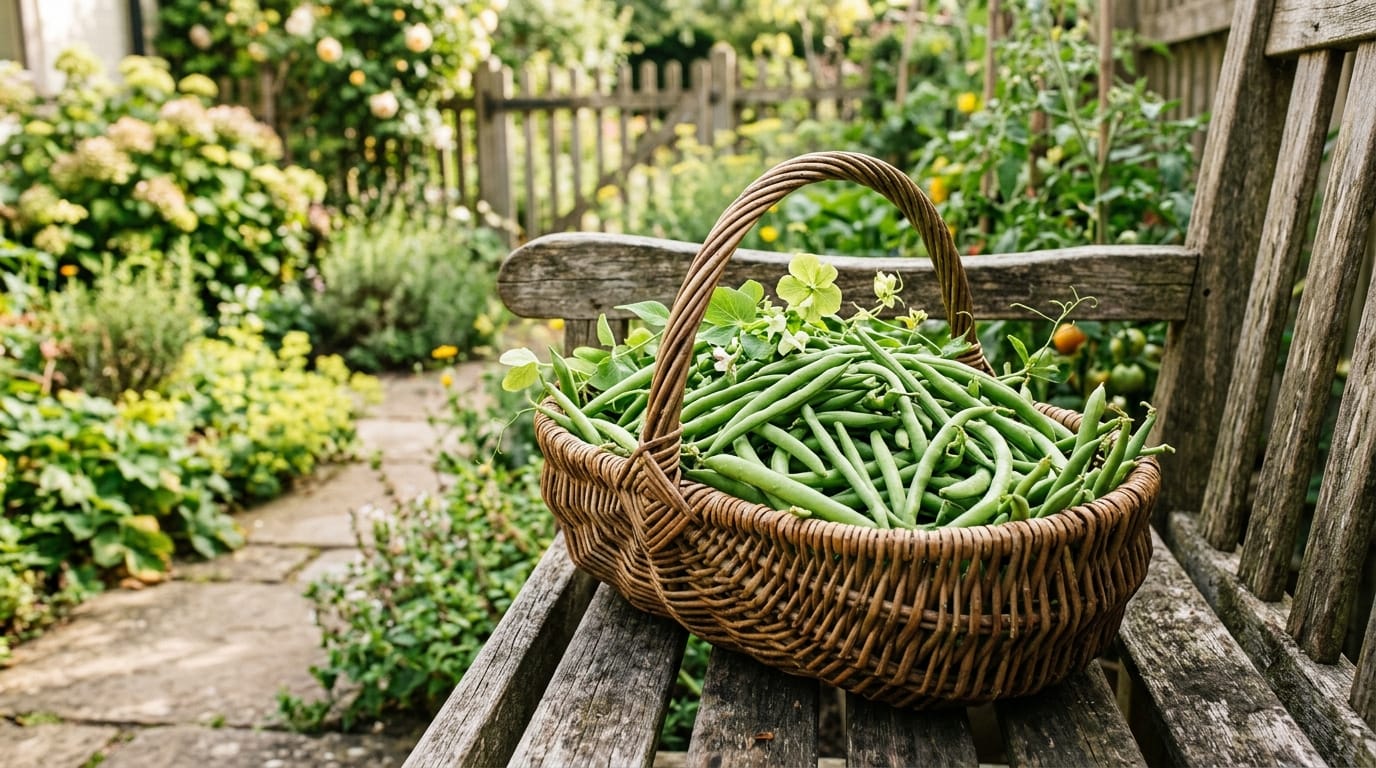
Quality going into the freezer decides quality coming out. The best beans for freezing are young and slender, picked before the seeds inside start to bulge against the pod. A fresh bean should snap cleanly in half when you bend it. If it folds instead of snapping, or the pod looks lumpy, it is past its prime, and freezing will not improve it.
You do not have to process every picking the day it comes in. Unwashed beans hold for up to a week in a plastic bag in the refrigerator crisper drawer, so it is fine to collect two or three pickings and freeze them as one batch. Just wash them right before blanching, not before storing, since damp beans in the fridge spoil faster.
How to Freeze Green Beans (Step by Step)
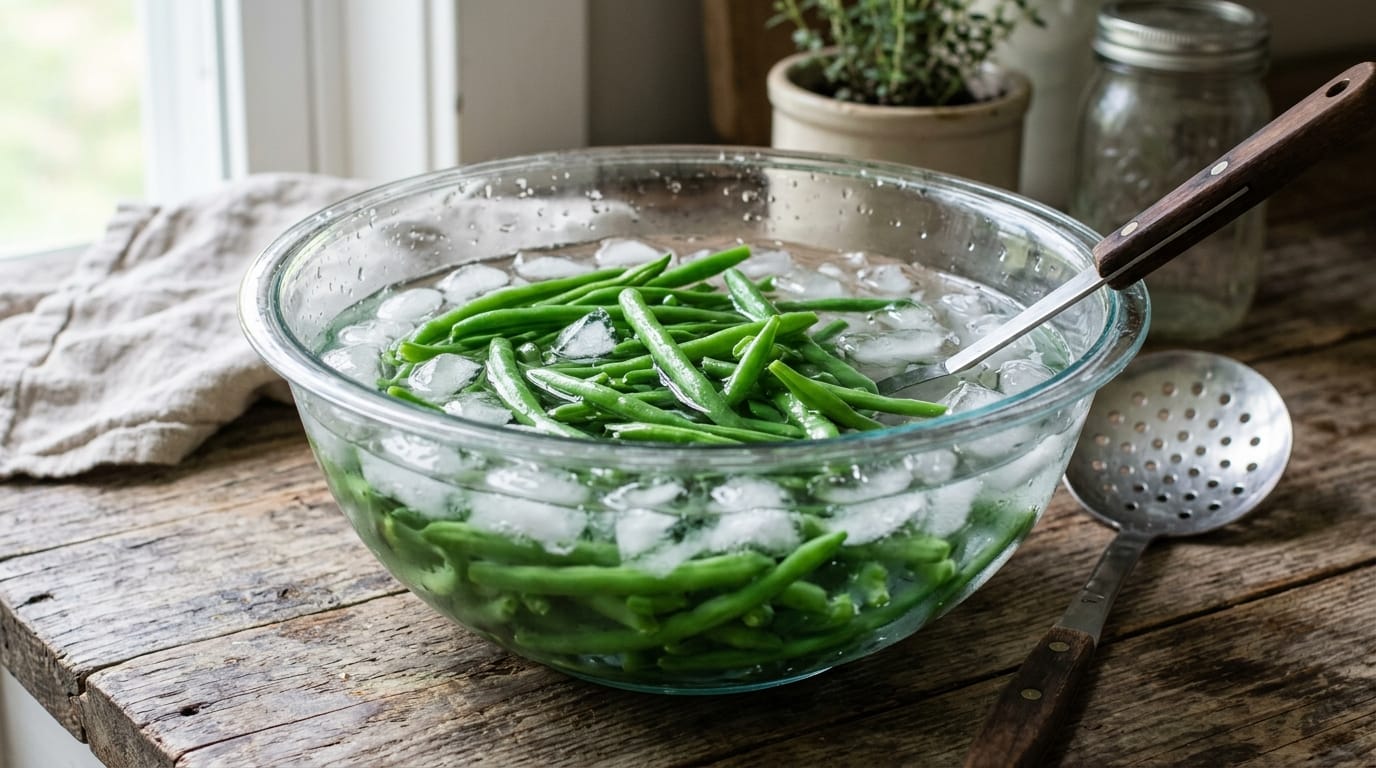
- Wash and trim. Rinse the beans in cool water, snap or cut off the stem ends, and cut them into 1 to 2 inch pieces or leave them whole.
- Boil a big pot of water. Use about a gallon of water per pound of beans so the water returns to a boil quickly after the beans go in.
- Blanch for 3 minutes. Work in batches of a pound or so. Start timing as soon as the beans hit the water, and keep the heat on high.
- Shock in ice water. Move the beans straight into a bowl of ice water for 3 minutes, the same time they blanched. This stops the cooking and locks in the color.
- Drain and dry well. Spread the beans on a clean towel and pat them dry. Any water left on the beans turns into ice crystals in the bag.
- Flash freeze. Spread the beans in a single layer on a baking sheet and freeze for 1 to 2 hours, so they freeze loose instead of in one solid clump.
- Bag and label. Pack the frozen beans into freezer bags, press out as much air as you can, label with the date, and return them to the freezer.
The same pot of blanching water can handle batch after batch, so a big harvest is mostly a rhythm of blanch, shock, and dry. Reuse the water and keep the ice bath cold with fresh ice as you go.
Bags, Containers, and How Much to Pack
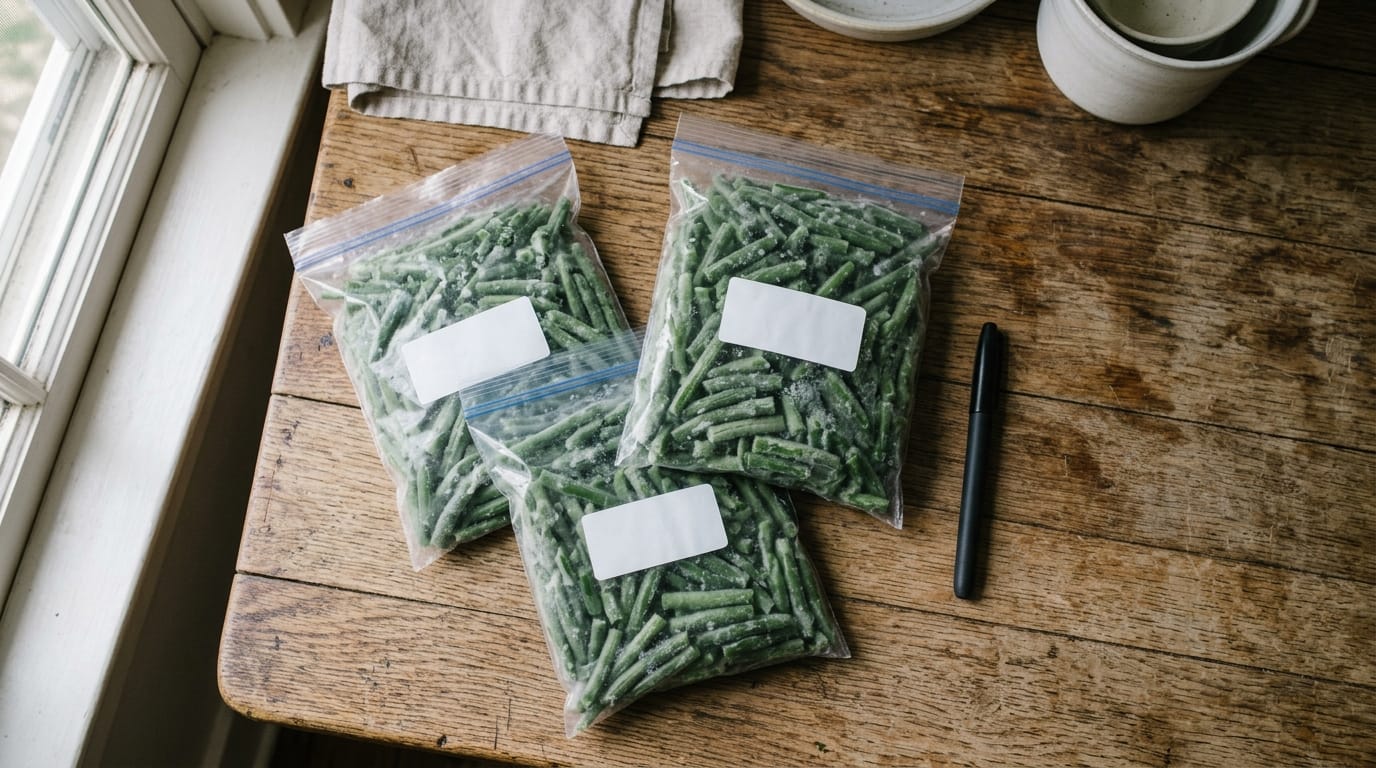
Ordinary sandwich bags let air through and invite freezer burn, so use freezer-grade zip bags or a vacuum sealer. A vacuum sealer gives the longest quality life, but a freezer bag works fine if you press out as much air as you can before sealing. If you prefer rigid containers, leave about a half inch of headspace so the beans have room to expand as they freeze.
Pack in meal-sized portions rather than one giant bag. A quart bag holds roughly enough beans to feed four as a side, and because the beans were flash frozen loose, you can also pour out just a handful at a time and reseal the bag. Label every bag with the date, because in January they all look the same.
Why Frozen Green Beans Turn Rubbery
Rubbery or mushy beans almost always trace back to one of four things. The blanch was skipped or cut short, so the enzymes kept working. The beans went into bags wet, so ice crystals shredded the texture. They froze slowly in one big clump instead of loose on a tray. Or they were boiled too long after freezing, which is the most common one, since frozen beans are already partly cooked and only need a few minutes of heat to finish.
How to Use Frozen Green Beans
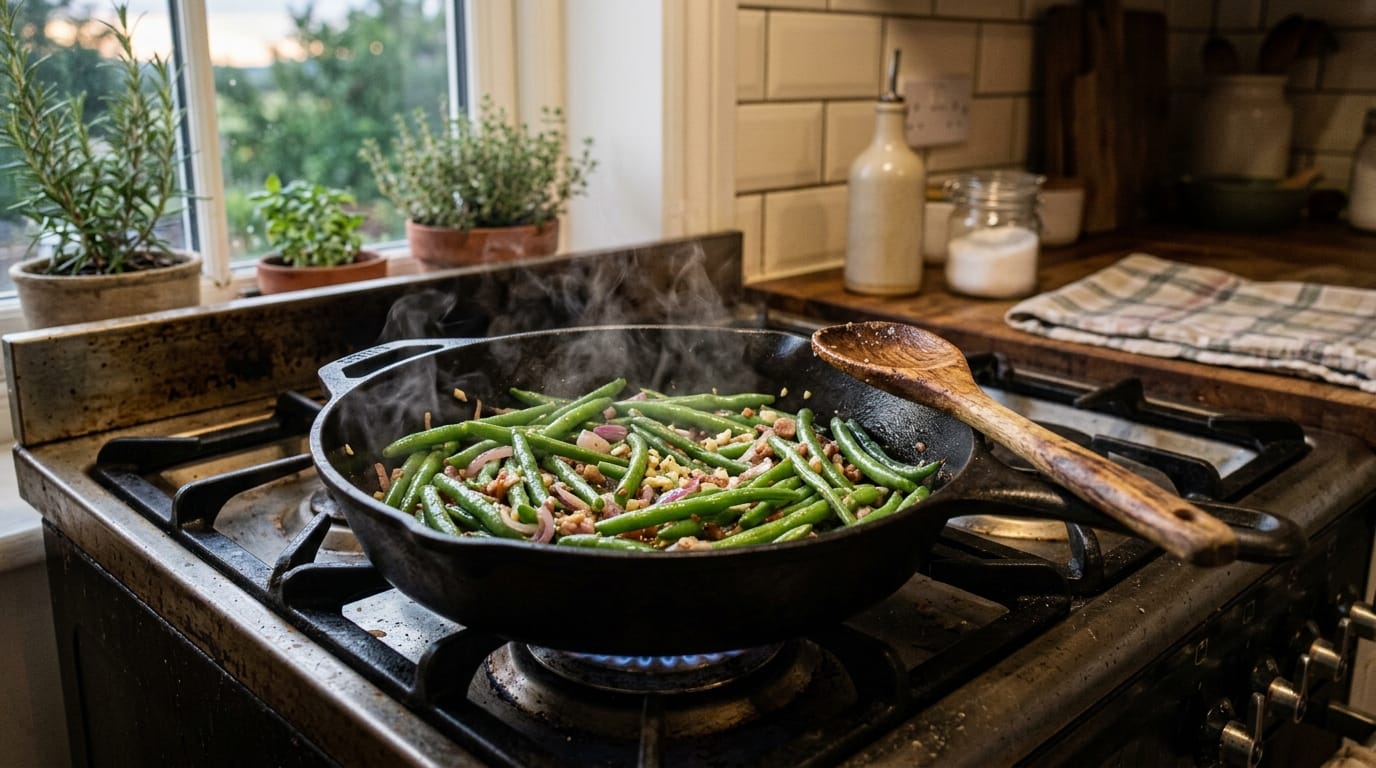
Cook frozen green beans straight from the freezer without thawing. Thawing first just makes them watery and soft. A few reliable ways to use them:
- Soups and stews. Stir them in frozen during the last 10 minutes of cooking.
- Sauteed. A hot skillet with butter or olive oil, 5 to 7 minutes, finished with garlic and salt.
- Roasted. Toss frozen beans with oil on a hot sheet pan at 425°F for about 20 minutes. The high heat drives off the moisture and browns the edges.
- Casseroles. Add them frozen or briefly steamed. They release a little water as they cook, so drain heavy sauces accordingly.
Frozen beans finish faster than fresh because the blanching gave them a head start. Taste early rather than trusting the clock.
How to Tell When Frozen Green Beans Have Gone Bad
White, dry, papery patches are freezer burn. The beans are still safe to eat, just tough and bland in those spots, so trim them off and use the rest. As long as the beans have stayed solidly frozen, they remain safe past the 12 month mark, they just fade in flavor and texture. The true throw-them-out signs show up after thawing: an off or sour smell, sliminess, or any stickiness on the pods. When in doubt, the compost pile settles the question cheaply.
Freezing vs. Canning Green Beans
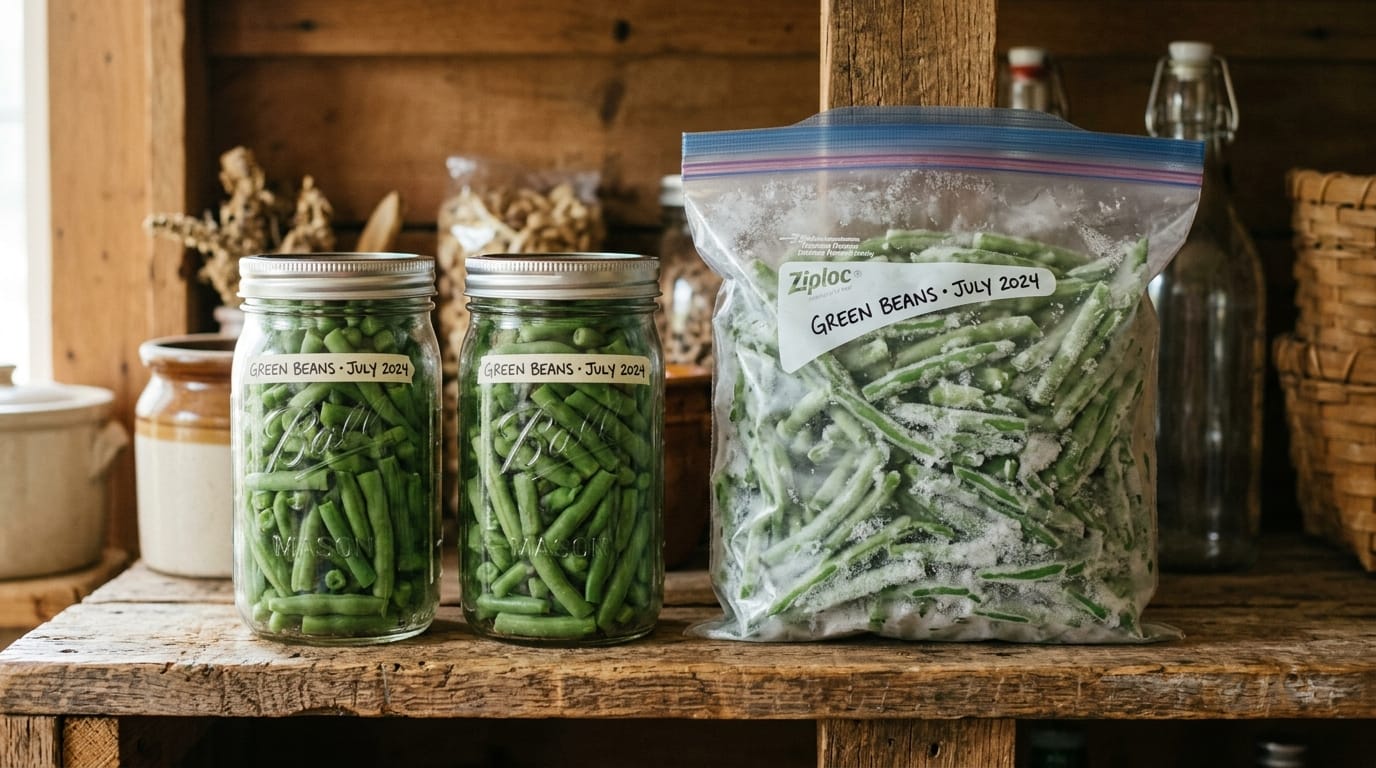
Freezing is the simplest way to preserve green beans, but it is not the only one. Green beans are a low-acid vegetable, which means they cannot be safely water-bath canned and must be processed in a pressure canner instead. If shelf-stable jars appeal to you, our guide to the best pressure canners for beginners walks through the equipment before you spend anything.
Freezing wins on flavor, color, and simplicity. Canning wins on shelf space and independence from the power grid. Plenty of homesteads do both, freezing the tender early pickings and pressure canning the big mid-season flushes. For the full menu of options, from dehydrating to pickling, see the methods of preserving food at home.

New to canning? Start with the basics.
Our Beginner’s Canning eBook walks you through safe processing, headspace, and altitude adjustments step by step, so your preserving pays off from day one.
The Free Garden Starter Pack
Five printable pages that take the guesswork out of a first season, plus a short email every week or two when something is worth planting, picking, or putting up.
- A garden planning worksheet you can actually fill in
- A seed-starting and planting calendar
- A harvest log to track what really produced
No spam, ever. Unsubscribe in one click.
Thank you. You are on the list.
Your Garden Starter Pack is ready right now. Grab it here:
Download the pack (PDF)Keep an eye on your inbox. The next seasonal guide lands there first.
Frequently Asked Questions About Freezing Green Beans
Can you freeze green beans without blanching?
Yes, and for a bag you will cook within a month or two, raw-packed beans are fine. For longer storage, blanch. Unblanched green beans lose color, flavor, and crispness within 1 to 2 months, while blanched beans keep for 8 to 12 months. If you are freezing a big harvest to last the winter, the 3 minute blanch is worth the pot of water.
How long do frozen green beans last?
Blanched green beans keep their best quality for 8 to 12 months at 0°F. They stay safe to eat beyond that as long as they have remained frozen, but the texture and flavor slowly decline, so plan to finish last summer’s beans before the new crop comes in.
Do you thaw frozen green beans before cooking?
No. Cook them straight from frozen. Thawing makes them soft and watery, while adding them frozen to a hot pan, oven, or pot of soup keeps more of their snap. The one exception is a cold salad, where a quick 30 second blanch-and-chill from frozen works better than a countertop thaw.
Can you freeze green beans whole?
Yes. Trim the stem ends, blanch whole beans for 3 minutes, shock, dry, and freeze them exactly like cut beans. Whole frozen beans hold their shape especially well for roasting and sauteing, and they make a prettier side dish.
Can you blanch green beans in the microwave?
It is not a good idea. Microwaves heat unevenly, which can leave parts of a batch underblanched, and underblanched beans lose quality faster than raw ones. Stick with a pot of boiling water or a steamer basket.
Can you refreeze green beans after they have thawed?
If they thawed in the refrigerator and still feel cold, refreezing is safe, but every freeze-thaw cycle costs texture, so expect softer beans. If they thawed on the counter or smell off, cook them right away or let them go. The better habit is packing small bags so you only ever thaw what one meal needs.
The Bottom Line
To freeze green beans, trim them, blanch for 3 minutes, shock in ice water, dry, flash freeze on a tray, then bag. That short blanch is what keeps them green and crisp for up to a year, and the tray step is what keeps them loose enough to pour out a handful at a time. It is one of the simplest preserving skills there is, and a good first step before moving on to canning.