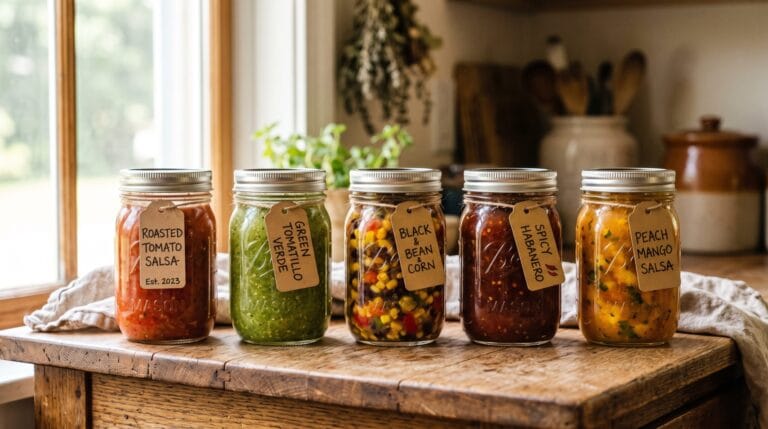
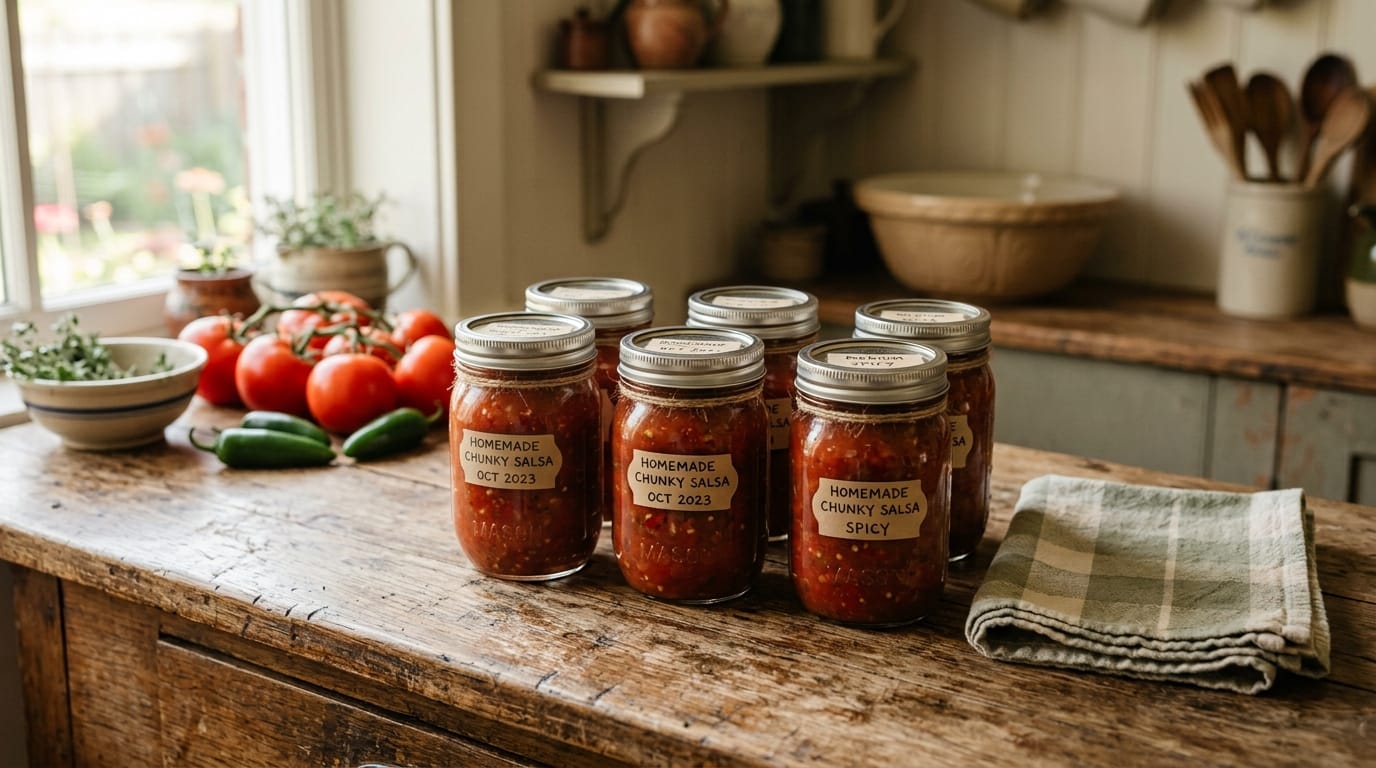
Canning Salsa: A Safe, Tested Recipe for Beginners
The first batch of salsa I canned looked perfect going into the jars and came out looking like tomato soup with vegetables floating in it. It tasted fine. It just poured off a chip instead of sitting on one. I had chopped everything by eye, added a splash of vinegar because a video said to, and hoped for the best.
The texture was the small problem. The bigger one was that I had no idea whether the jars on my counter were safe, because I had changed a recipe without understanding which parts of it were doing the safety work.
Canning Salsa is the one canning project where improvising actually matters. Not because it is difficult, but because a jar of salsa is a mix of low-acid vegetables and higher-acid tomatoes, and the ratio between them is what keeps it safe in a boiling water canner. Get that ratio right and the rest is chopping. This guide walks through a tested recipe, the processing times by altitude, and the handful of changes you can safely make.
The Short Answer
- Use a tested salsa recipe. The ratio of tomatoes to vegetables to acid is the safety mechanism, not a suggestion.
- Acid comes from commercially bottled lemon or lime juice, not fresh-squeezed. Bottled juice has a standardized acidity that fresh fruit does not.
- Process pints in a boiling water canner for 15 minutes at up to 1,000 feet, longer as elevation rises.
- Expect a looser salsa than the jarred kind. Commercial salsa is thickened with additives you are not using.
- You can freely adjust heat level and which peppers you use. You cannot adjust the total volume of vegetables or the amount of acid.
Why Salsa Is the One Recipe You Do Not Improvise
Most canning recipes are forgiving about small changes. Salsa is not, and the reason is worth understanding rather than just obeying.
Tomatoes sit right at the edge of the acidity line that makes boiling water canning safe. Onions and peppers sit well below it. When you add a few extra cups of onion because you like onion, you are diluting the acid across a larger volume of low-acid vegetables. The salsa still tastes the same. The pH has moved, and a boiling water canner does not get hot enough to handle the difference.
This is why a tested recipe specifies volumes rather than “3 onions” or “a handful of peppers.” It is also why the acid in a tested salsa recipe is bottled juice. Fresh lemons vary in acidity from fruit to fruit and through the season. Bottled juice is standardized, which is the entire point of using it. If you would rather see a few before you commit to one, we compared five tested salsa recipes side by side.
You do not need a pressure canner for salsa. You do not need pH strips or additives. You need to follow the proportions in a recipe someone has actually laboratory-tested, and there are more of those available free than most beginner guides mention.
The Tested Recipe: Choice Salsa
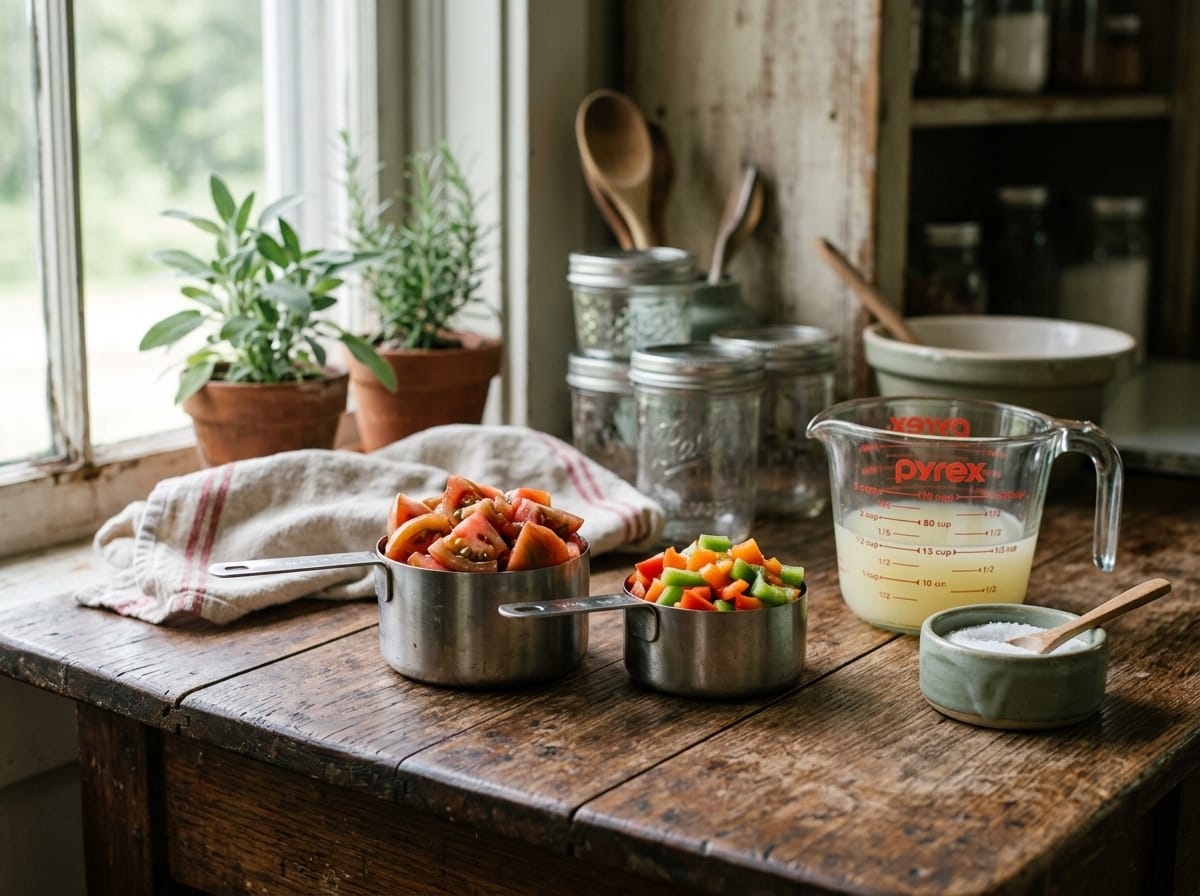
This is the Choice Salsa recipe from the National Center for Home Food Preservation, developed at the University of Georgia. It exists because home canners kept wanting to vary their vegetables, so it was tested across a wide range of tomatoes, peppers and onions to leave room for choice while keeping the acidity where it needs to be.
Yields about 6 pint jars
What You Need
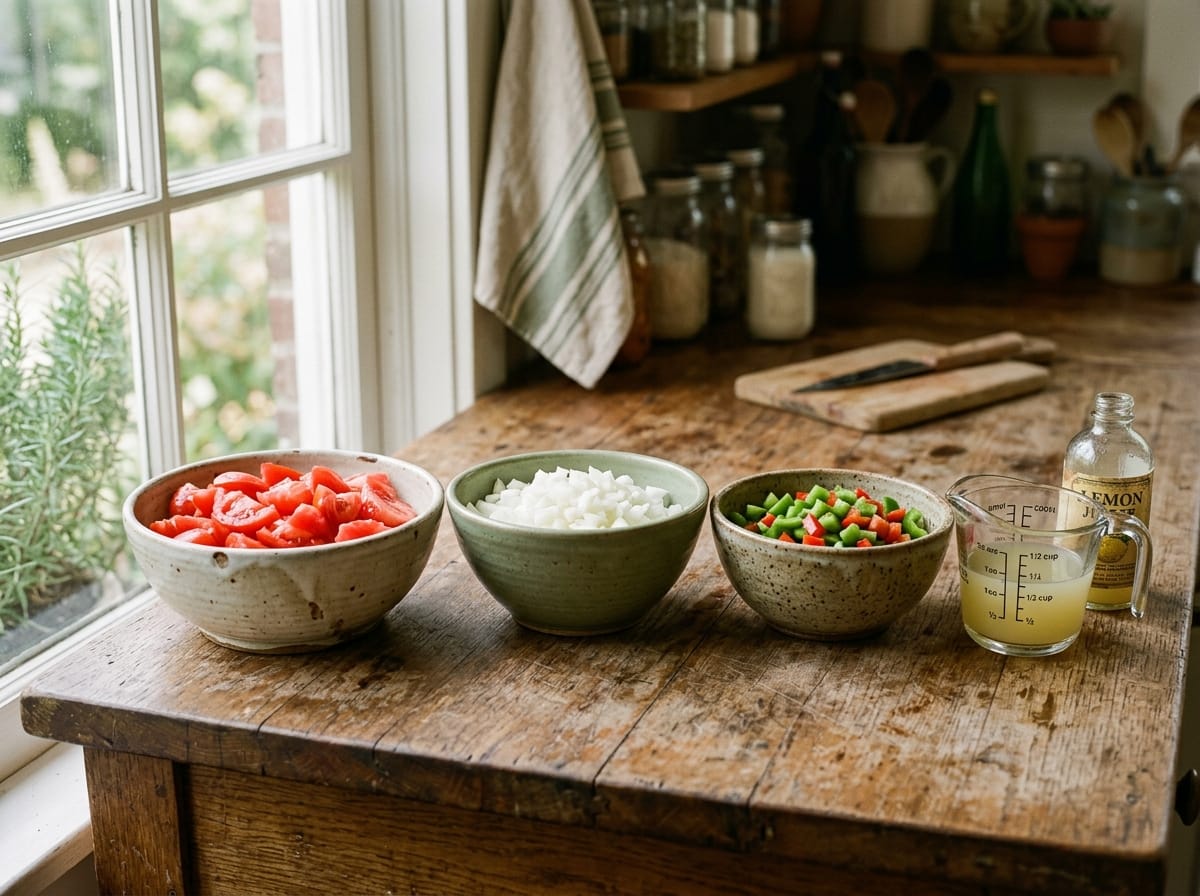
- 6 cups peeled, cored, seeded and chopped ripe tomatoes
- 9 cups diced onions and/or peppers, any variety
- 1 and 1/2 cups commercially bottled lemon or lime juice
- 3 teaspoons canning or pickling salt
Measure the tomatoes and the diced vegetables level in dry measuring cups. Measure the juice in a liquid measuring cup. That distinction is part of the tested recipe, not fussiness.
The 9 cups of onions and peppers is where your choice lives. All sweet bell peppers gives you a mild salsa. All hot peppers gives you something that will make your eyes water. Most people land somewhere in between, with a few cups of onion, several cups of bell pepper, and a cup or two of jalapeno or serrano. The total still has to come to 9 cups.
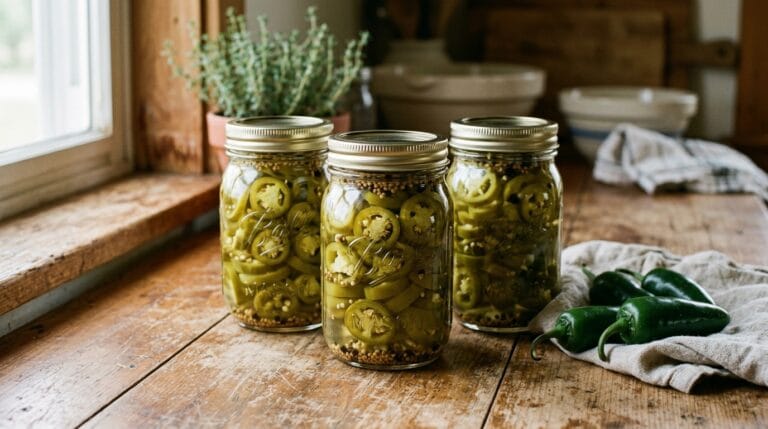
Wear gloves when you handle hot peppers, and keep your hands away from your face. If you skip the gloves, wash thoroughly with soap and water before you touch your eyes. This is the step people learn once and never skip again. The same rule applies if you go on to put up a batch of pickled jalapenos on their own.
Equipment
What You Need
- A canning tools kit that includes a rack. The rack is the part that matters. It keeps jars off the bottom of the pot, which means a stockpot you already own will do the job of a canner. The kit also has the jar lifter, funnel, magnetic lid lifter and headspace tool.
- An 18-piece canning tools kit. Tongs, jar wrench, magnetic lid lifter, funnel, bubble tool and labels. No rack in this one, so pick it if you already have a canner.
- Jars, lids and bands. Buy these locally. They are heavy, inexpensive, and stocked by most hardware and grocery stores, so shipping them rarely makes sense. Lids are single-use for sealing; bands and jars are reusable until a rim chips.
- Thin kitchen gloves. Any disposable pair works. Handling several cups of hot peppers without them is a mistake you make exactly once.
Some links above are affiliate links. If you buy through them we earn a small commission at no extra cost to you, and it does not change what we recommend. As an Amazon Associate, we earn from qualifying purchases.
How to Can It, Step by Step
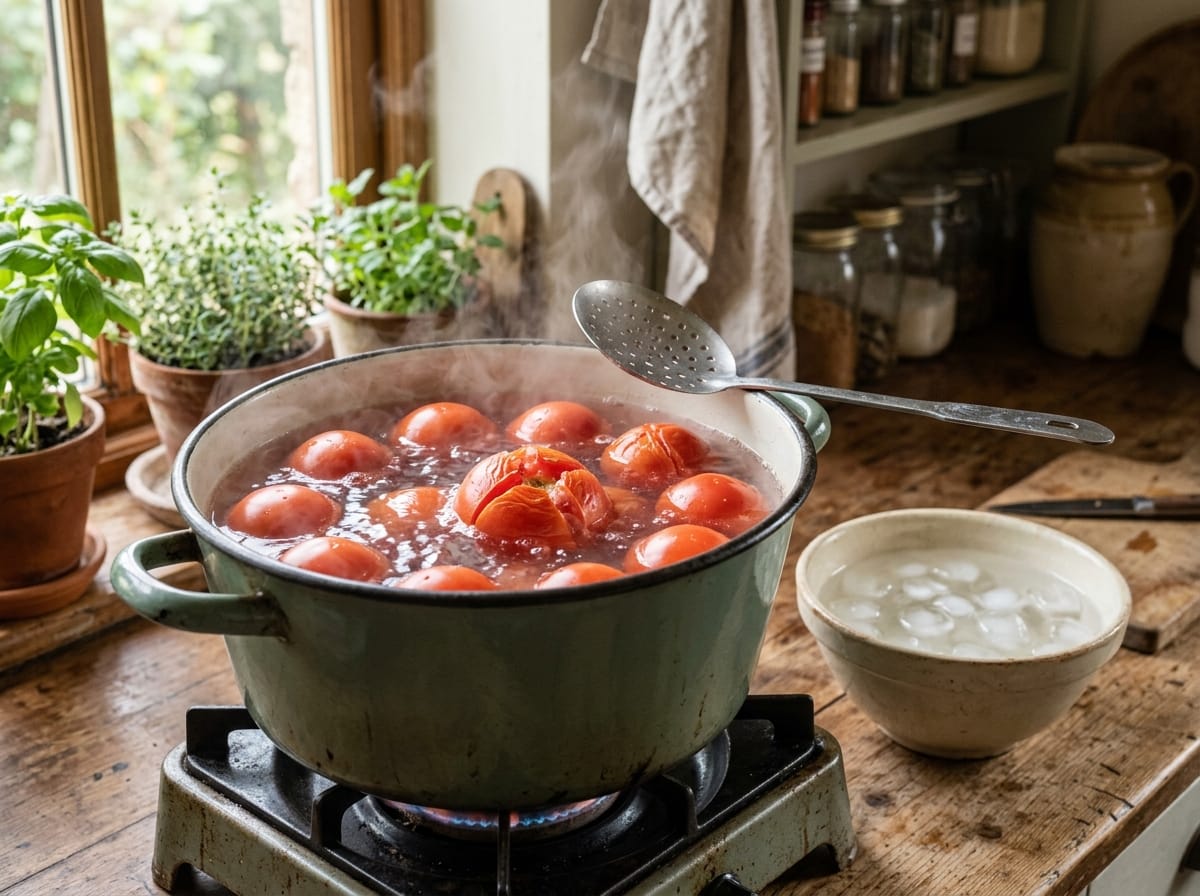
- Get the jars ready. Wash pint or half-pint jars and keep them hot until you fill them. Prepare lids and bands according to the manufacturer’s directions. If you are unsure whether your jars need sterilizing, our guide to sterilizing jars for canning covers when it matters and when it does not.
- Peel the tomatoes. Dip washed tomatoes in boiling water for 30 to 60 seconds, until the skins split. Move them straight into cold water. The skins slip off. Core them, remove the seeds, and chop into quarter to half inch pieces.
- Dice the vegetables. Peel, wash, core and dice the onions into quarter inch pieces. Core and seed bell peppers, then dice. For hot peppers, remove the stems and keep as much of the seeds and membranes as you want heat.
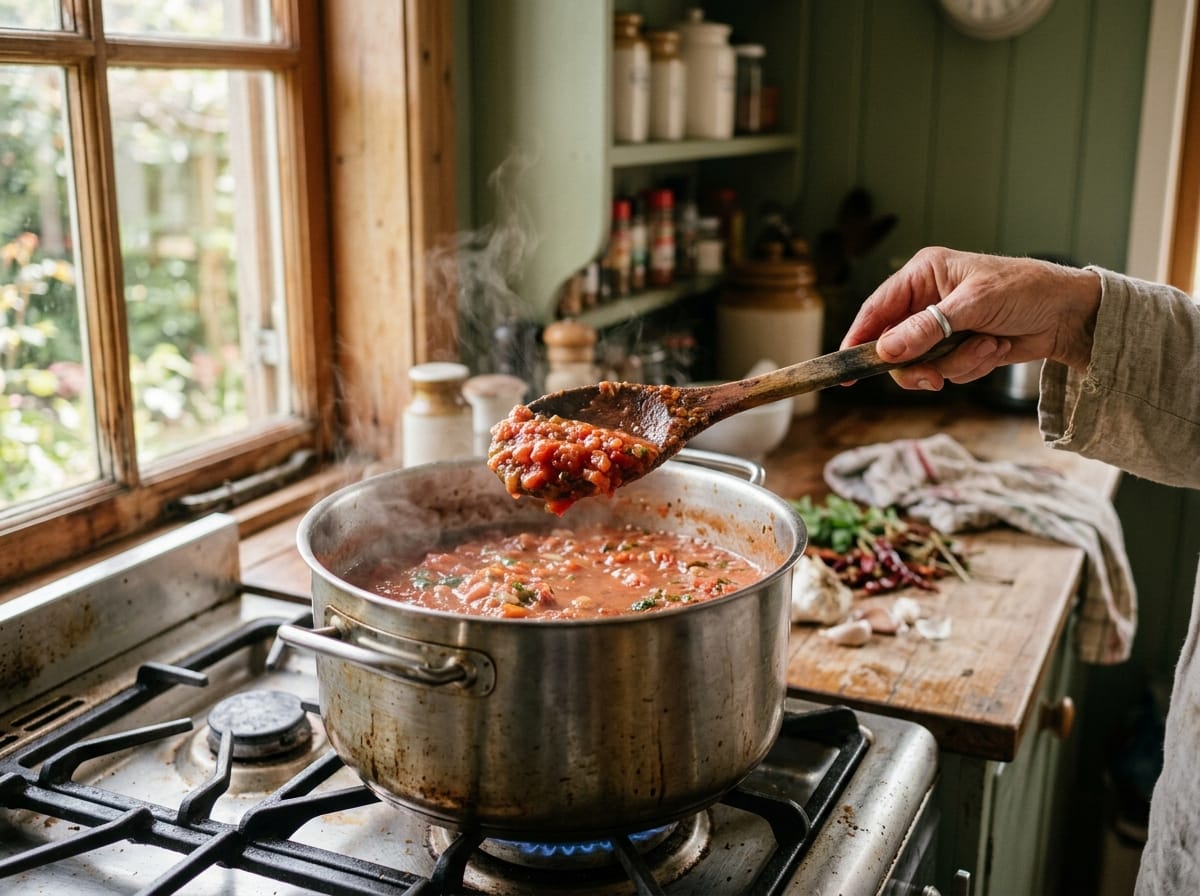
- Combine and simmer. Put everything in a large pot with the lemon or lime juice and the salt. Bring it to a boil over medium heat, stirring. Reduce the heat and simmer for 3 more minutes, stirring so it does not scorch on the bottom.
- Fill the jars. Ladle the hot salsa into hot jars, leaving half an inch of headspace. Slide a bubble tool or a chopstick around the inside to release trapped air, then top back up to half an inch if it dropped. Wipe the rims with a clean damp paper towel and put on lids and bands.
- Process. Lower the jars into a boiling water canner and process for the time in the table below.
- Cool and check. Leave the jars undisturbed for 12 to 24 hours, then check the seals before you put anything away.
Whatever is left over after the jars are filled goes in the refrigerator to eat that week. There is no rule that a partial jar has to be processed, and a warm bowl of fresh salsa is a fair reward for an afternoon of chopping.
Processing Time by Altitude
Water boils cooler as you go up in elevation, so the processing time goes up to compensate. These are the times for Choice Salsa, hot pack, in half-pint or pint jars.
| Jar size | 0 to 1,000 ft | 1,001 to 6,000 ft | Above 6,000 ft |
|---|---|---|---|
| Half-pint or pint | 15 minutes | 20 minutes | 25 minutes |
Two things trip beginners up here. The timer starts when the water returns to a full rolling boil after the jars go in, not when you lower them. And these times apply to this recipe. A different tested salsa recipe may specify different times, so read the one you are actually using.
Quart jars are not recommended for salsa. The tested times cover half-pints and pints, and a quart of dense vegetable mixture does not heat through predictably.
Why Home-Canned Salsa Turns Out Watery
This is the most common disappointment, and it is mostly a matter of expectation. Jarred supermarket salsa is thickened. Yours is not, and the safe ways to fix it are limited.
What you can do is start with paste tomatoes. Roma and similar varieties have thicker walls and less gel around the seeds, so they give up far less liquid than a slicing tomato. Seeding the tomatoes properly helps as well, since most of the water sits in the seed cavity.
What you should not do is simmer the salsa down for an hour to thicken it, or add cornstarch or flour to the jars. Long reduction concentrates everything including the acid, which sounds helpful but moves you away from the tested recipe. Starch thickeners interfere with heat penetration during processing and are not safe to add before canning.
The practical fix most people settle on is to drain a little liquid off the jar when they open it, or to thicken the salsa in the pan at serving time. Neither affects the safety of what is on the shelf.
What You Can Change and What You Cannot
This is the part worth reading twice, because most of the advice floating around gets it backwards.
| Change | Safe? | Why |
|---|---|---|
| Swapping which peppers make up the 9 cups | Yes | The recipe was tested across pepper varieties. Heat level is yours to choose. |
| Reducing or leaving out the salt | Yes | Salt is for flavor here, not preservation. |
| Adding more onion or pepper | No | Increases the low-acid volume and dilutes the acidity. |
| Using fresh-squeezed lemon or lime | No | Acidity varies fruit to fruit. Bottled juice is standardized. |
| Substituting vinegar for the juice | No | This recipe was tested with lemon or lime juice specifically. |
| Adding corn, beans or carrots | No | Untested vegetables with unknown effect on acidity. |
| Stirring in fresh cilantro before canning | Not advised | Flavor turns muddy through processing. Add it to the bowl instead. |
One more that catches people out: do not use bottled key lime juice. It is the single exception the NCHFP calls out by name among the bottled juices.
Checking Seals and Storing Your Jars
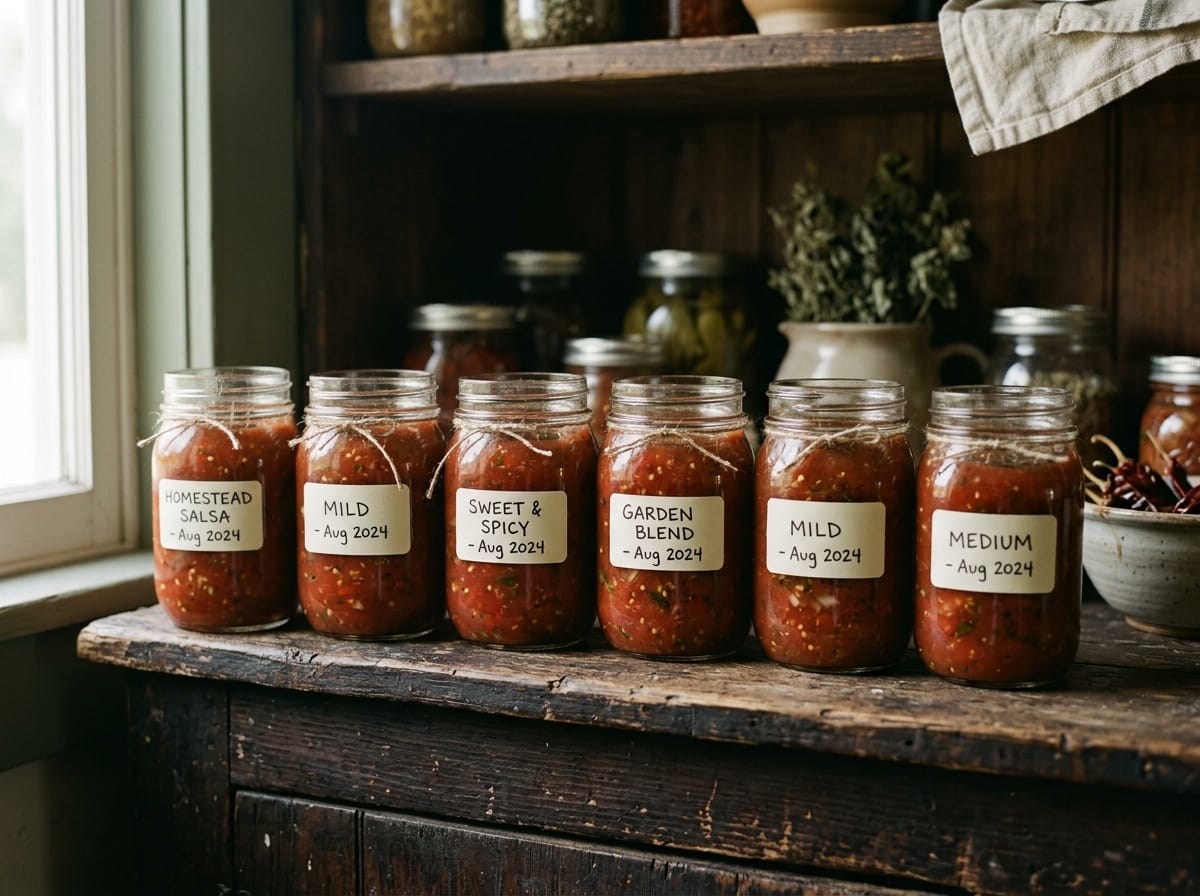
After 12 to 24 hours, press the center of each lid. A sealed lid is slightly concave and does not flex. If one flexes back, that jar did not seal, and it goes in the refrigerator to eat within a week rather than onto the shelf.
Take the bands off before storing. Left on, they trap moisture against the rim and hide a seal that has failed later. Wipe the jars, label them with the contents and the date, and store them somewhere cool and dark. Quality holds best for about a year, though a properly sealed jar stays safe beyond that.
If a jar ever looks cloudy, smells wrong, spurts when opened, or has a bulging lid, do not taste it. Dispose of it without sampling. That is the same rule that applies to canned tomato sauce and every other water-bath project on the shelf.
Canning more than salsa this season?
The Beginner’s Canning eBook covers water-bath canning end to end: altitude and headspace charts, the acidity rules that decide what is safe, and step-by-step walkthroughs for a first season. The Canning Starter Bundle adds both Quick Kits for jar prep and fermenting.
Frequently Asked Questions About Canning Salsa
Can I can salsa without a canner?
Not safely for shelf storage. You need a boiling water canner or a deep stockpot with a rack that keeps jars off the bottom and lets water cover them by at least an inch. What you can do without any of that is make refrigerator salsa and eat it within a week. If you are buying equipment, our comparison of water-bath canners for beginners covers what actually matters.
Do I have to peel the tomatoes?
Yes, for a tested recipe. Skins loosen during processing and end up as tough curls floating through the jar, and the tested proportions assume peeled fruit. The boiling water dip makes it fast once you have a rhythm going.
How long does home-canned salsa last?
Best quality within about a year, stored cool and dark. Color and texture slowly decline after that even though a sealed jar remains safe. Once you open a jar, it goes in the refrigerator like any other opened salsa.
Why does my salsa taste more sour than the recipe suggested?
The bottled juice is doing safety work, and 1 and 1/2 cups is more acid than most fresh salsa recipes call for. The flavor settles over two to three weeks on the shelf. If it is still sharper than you like, balance it in the bowl with a little sugar at serving time rather than changing the recipe.
Can I use this recipe for green tomatoes or tomatillos?
No. Both have different acidity from ripe red tomatoes, and the NCHFP publishes a separate tested tomatillo salsa for that reason. Use the recipe written for the fruit you have.
Before You Start
My watery first batch was still edible. It sat in the refrigerator and got eaten with eggs for a week, and nothing bad happened. But I did not know that at the time, and the not knowing is what took the pleasure out of it.
Measure your 6 cups and your 9 cups level, use the bottled juice, and set a timer when the water comes back to a boil. Everything after that is chopping and patience. A shelf of salsa you trust is worth an afternoon in August, and it is one of the more useful things to do with a glut of tomatoes. If you are still deciding which method suits which crop, our overview of home food preservation methods is a good place to look next.
Utah State University Extension keeps a plain-language summary of salsa canning research that is worth a read if you want the reasoning behind the ratios in more depth.
The Free Garden Starter Pack
Five printable pages that take the guesswork out of a first season, plus a short email every week or two when something is worth planting, picking, or putting up.
- A garden planning worksheet you can actually fill in
- A seed-starting and planting calendar
- A harvest log to track what really produced
No spam, ever. Unsubscribe in one click.
Thank you. You are on the list.
Your Garden Starter Pack is ready right now. Grab it here:
Download the pack (PDF)Keep an eye on your inbox. The next seasonal guide lands there first.